
Hey Scrap Shotz Fans!
Today, I'm back and sharing with you three more projects that I created using the fabulous January Kit which features Kaisercraft's "Documented" Collection. This line is filled with awesome masculine papers perfect for manly projects as well as vintage projects.
To kick off my three projects, I created this masculine project using one of the Mini Clipboard from Tim Holtz's Idea-ology Line, some of the Kaisercraft Documented paper and Collectables as well as chipboard gears. Read below as I share with you how to recreate my altered mini clipboard at home.

To start, remove the hardware at the top of the clipboard. Choose three pieces of patterned paper from the Documented paper pack.
You'll need to cut the following papers:
- Patterned Paper #1: 4 3/8" x 6 7/8"
- Patterned Paper #2: 4 1/8" x 6 5/8"
- Patterned Paper #3: 3 7/8" x 6 3/8"
Once the pieces of paper have been cut, round all four corners on each patterned paper piece. Distress the edges of each patterned paper and ink the edges using Bark Ink and a blending tool with foam. After the edges have been inked, Adhere the 4 3/8" patterned paper piece to the clipboard. Adhere the 4 1/8" patterned paper piece to the 4 3/8" patterned paper piece. Adhere the 3 7/8" patterned paper to the 4 1/8" patterned paper piece. Punch two holes at the top of the clipboard. Re-install the hardware at the top of the clipboard.

Place the words stencil on the right hand side of the clipboard. Start dabbing Emboss It Ink through the stencil, inking as much of the stencil as desired. Lift the stencil up and sprinkle Dirty Sand Embossing Powder over top of the stencil area. Tap off the excess powder and emboss with your heat tool.

From the ruler paper, cut two rulers out. Once ruler will measure 4" long and the other ruler will measure 3 3/4" long. Adhere the 4" ruler 2" from the bottom of the clipboard. Adhere the 3 3/4" ruler 1 3/4" from the bottom of the clipboard. Adhere a couple of collectables on the top right hand side of the clipboard.

In the bottom right hand portion of the clipboard, adhere four different collectable images.

Pick out a Found Relative and cut the card down to 2 5/8" x 5". Distress the edges of the card and ink the edges using Bark Ink and a blending tool with foam. Use foam squares to adhere the Found Relative 5/8" from the right of the clipboard.

From one of the strips at the bottom of the patterned papers, choose one of the sayings and cut it apart. Distress the edges of the sentiment strips and ink the edges using Bark Ink and a blending tool with foam. Adhere the sentiment to the left of the Found Relative.

Next you'll need four gears from the add on kit. Apply Emboss It Ink to each gear. Sprinkle Rocky Road Embossing Powder overtop of each gear. Tap off the excess powder and emboss with your heat tool.

Adhere one of the gears in the bottom right hand corner of the Found Relative Card. Adhere the other three gears in the top left hand corner of the Found Relative Card.

Here are a few closeup shots of the altered mini clipboard.


And here's the finished Whatever You Are, Be A Good One Altered Mini Clipboard.

For the second project out of the three, I created this fun quick and easy "Wander without Reason" card.

To the left of the sentiment, I layered a couple of the rulers from the ruler paper. One ruler measures 3 1/4" long and the second ruler measures 3 1/2" long. The third ruler is from the collectables package.

To finish off the card, in the bottom right hand corner, I layered five different elements from the collectables.

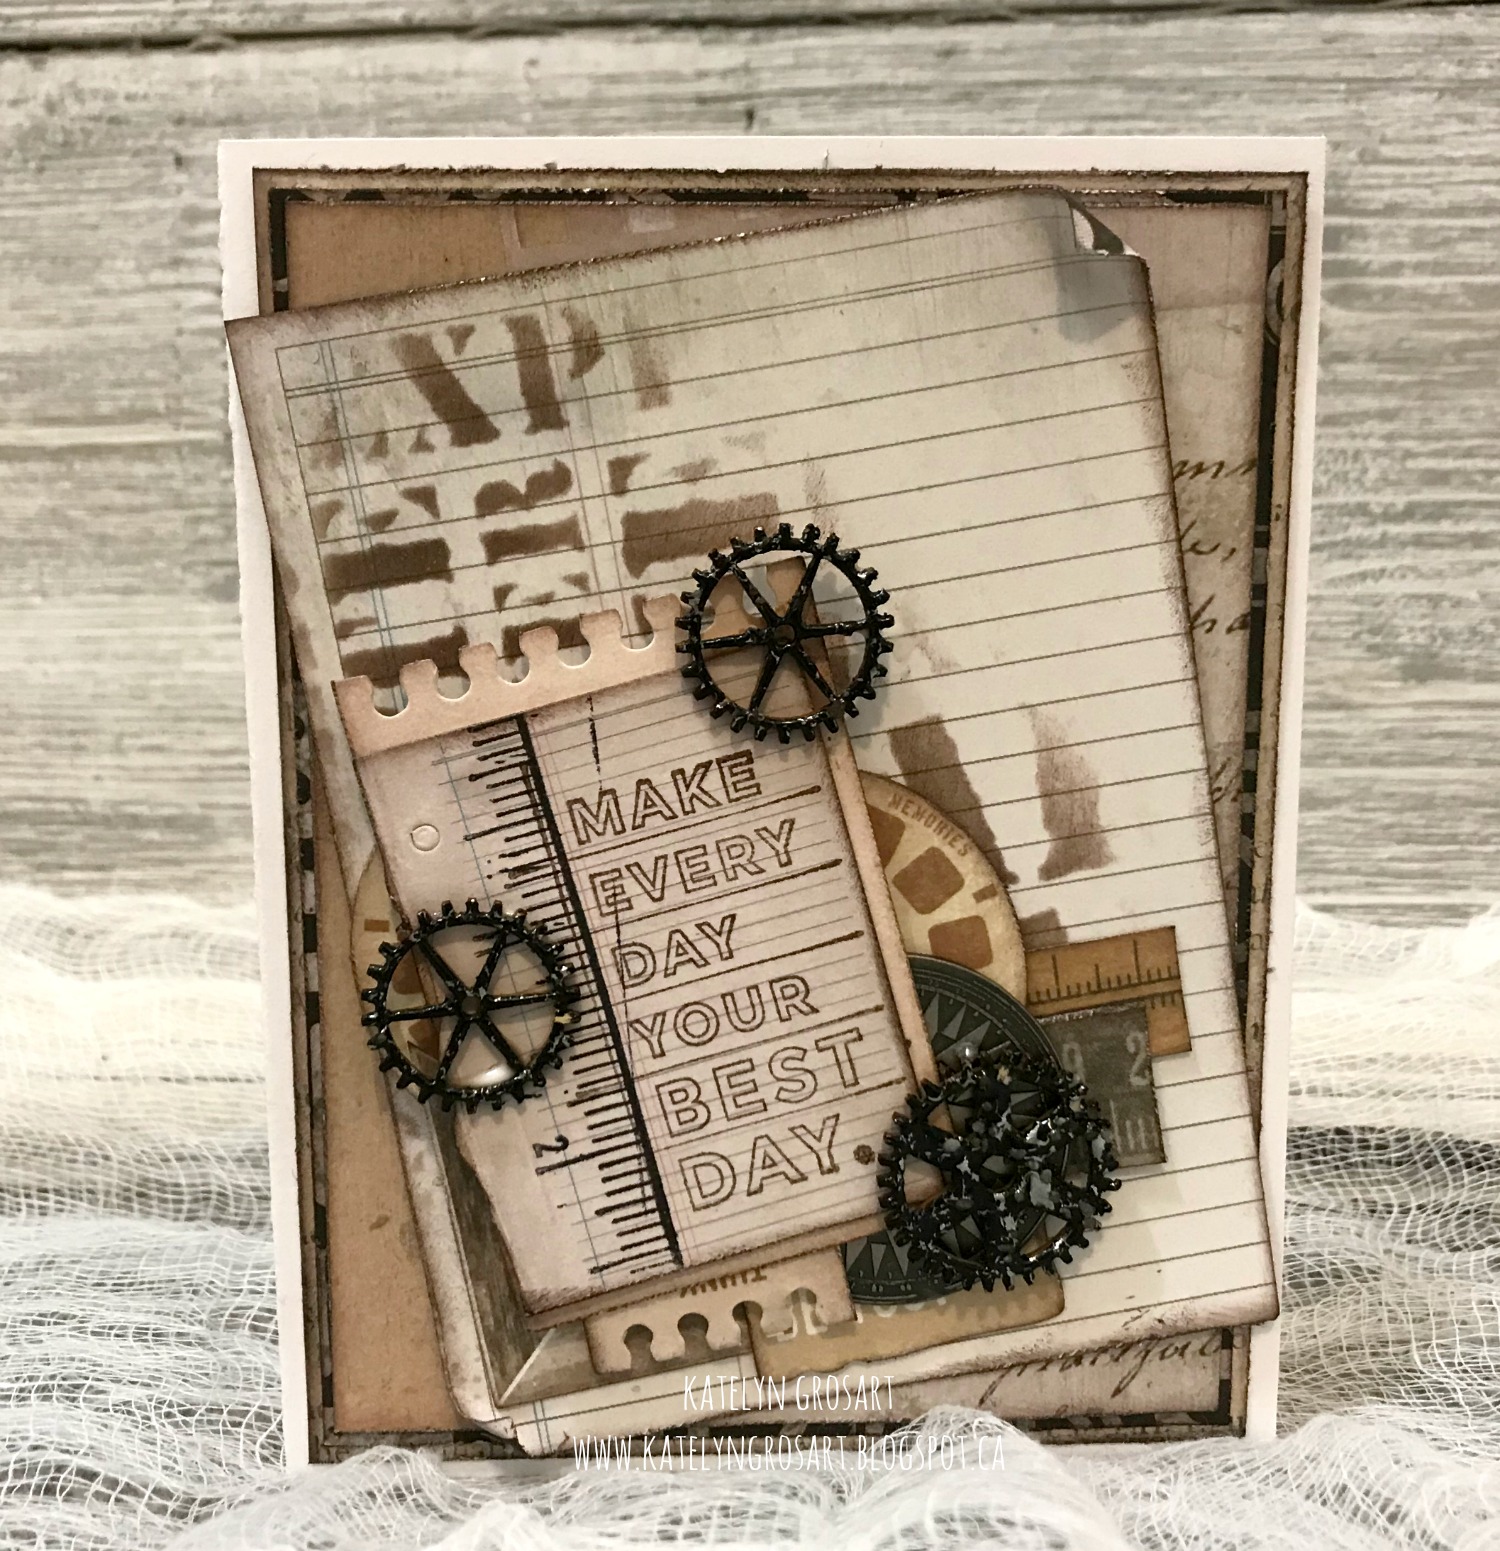
For the last project using the January Kit, I created this masculine "Make Every Day Your Best Day" card.

To add some extra interest and patterned to the ledger paper, I placed the Words stencil on the left hand side of the paper. With the stencil down, blend Bark Ink through the stencil on desired sections. Lift off the stencil.

I stamped the ruler and the Make Every Day Your Best Day sentiment onto a ledger piece from the collectables packaged. Most of the elements on the card came from the collectables package. I layered in rulers from the ruler paper. The gears are embossed using Rocky Road Embossing Powder and then adhere using liquid glue.

To finish off the ledger paper, I rolled the top right corner down and bottom left corner up.
The January Kit is available in the Scrap Shotz's store. Make sure to stop by the blog as the design team is sharing more crafty inspiration.
Supplies Used:
- January Kit
- January Kit Add on
- Tim Holtz/Idea-ology: Mini Clipboard & Found Relatives
- Emerald Creek Craft Supplies: Baked Texture - Dirty Sand and Rocky Road Embossing Powder
- White Cardstock
Thanks for joining me today!


2 comments:
Hey Katelyn. I love this release from Kaisercraft and the way you layered all these elements. And oh yeah...love the baked texture too ;-)
Wow! Such awesome projects! I can't wait to try out the baked texture.
Post a Comment