Hello and welcome back to the blog for a look at my projects created with the
June Scrap Shotz kit, 'Bon Voyage' featuring the Old World Travel line by Carta Bella. Remember you can click on an photo for a larger view.
These papers are a lot more versatile than you'd think, let's begin with a using them for their themed purpose:
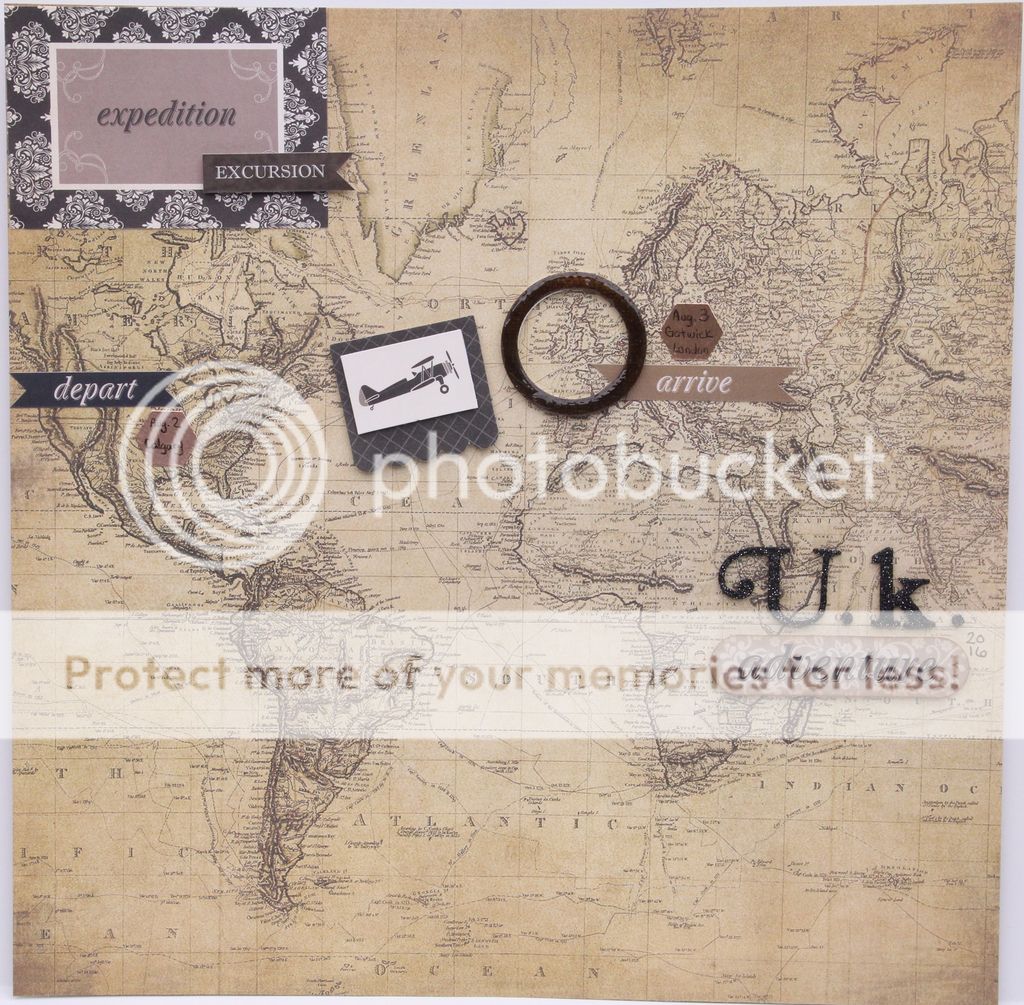
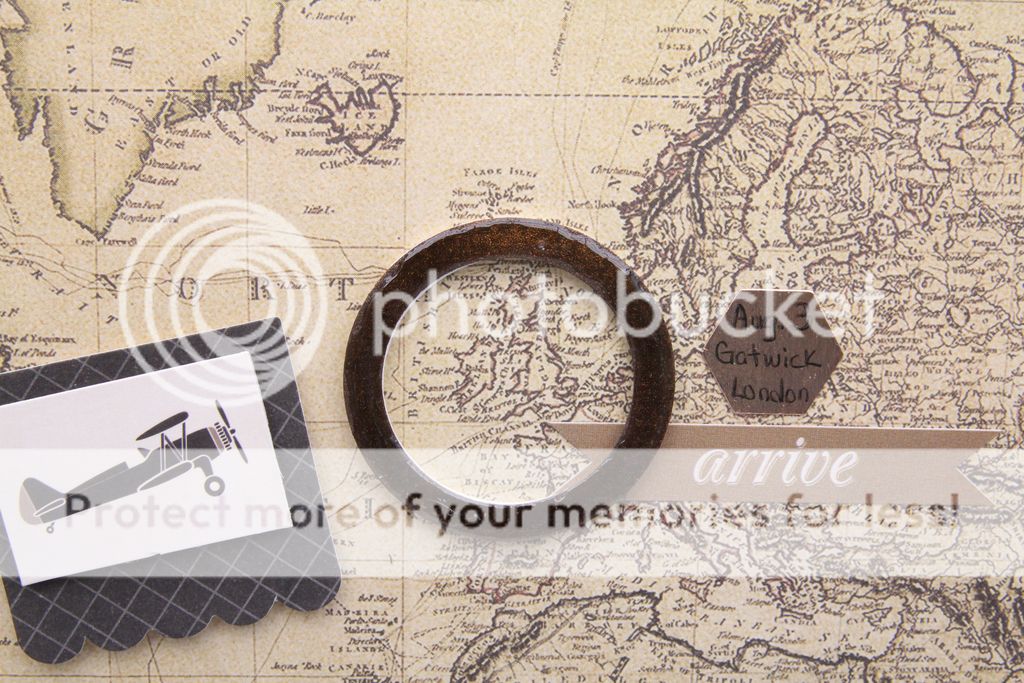
U.K. Adventure
This will be the title page for my vacation album when we return from our summer vacation. I layered stickers over the patterend paper and used the negative cuts from the Tim Holtz die to indicate the starting point of our trip and our destination. The airplane sticker represents our mode of travel.
I die cut the circle frame from card stock and misted with a custom spray I mixed with Distress Ink, Perfect Pearls and water. After it dried I adhered it to fun foam and then coated in Glossy Accents to get the shine.
I edged the adventure sticker with Versa Magic Jumbo Java ink to pop it off the page and the kit stickers complete the title.
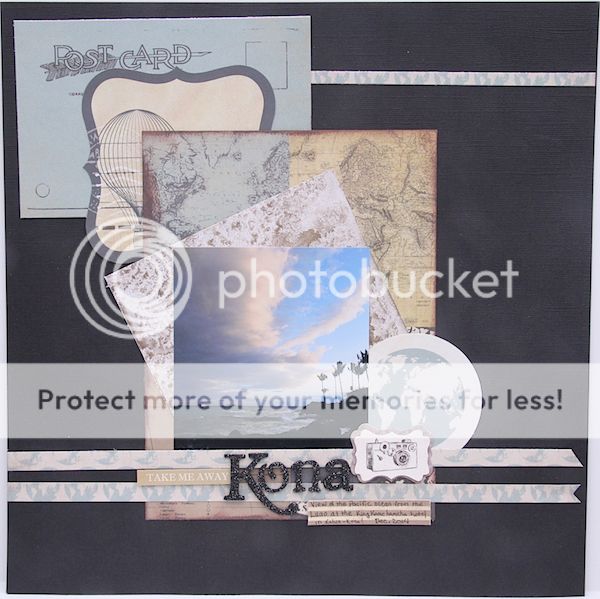
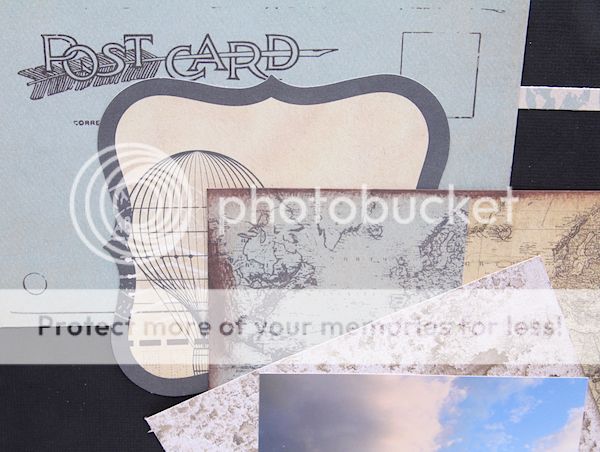
Kona
Here is another travel layout, this time a with a photo :). The neutral tones of the Old World line help make this photo the star of the layout. I've used papers and stickers with a blue tone to them to tie in with the blue/blue-gray sky in the photo.
The layer of white card stock behind the photo here has been misted lightly with my custom spray mix (I learned how to make the spray in Tim Holtz's Creative Chemistry class).
Love those glitter alphas!
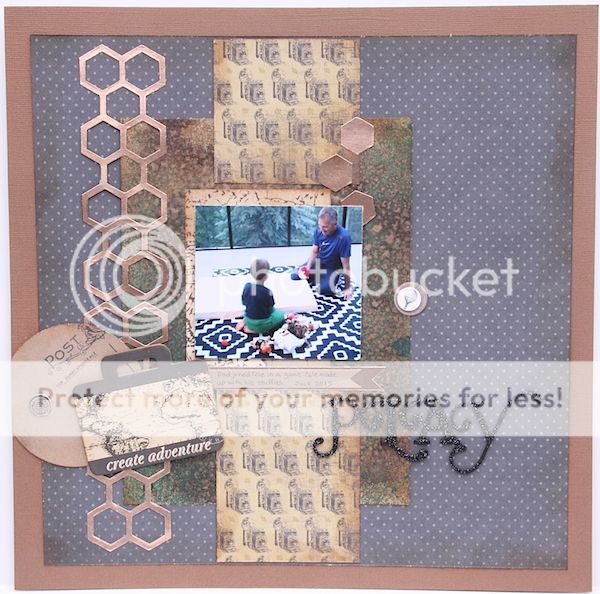
This next project is an 'everyday life' layout with a masculine feel:
Play
The design is based on this sketch:
I used the Tim Holtz honeycomb Frame works die to create the border along the left side.
The border is cut our of Tim Holtz Metallic card stock. I've also edged some of the layers with Versa Magic Jumbo Java brown ink so they don't all disapper into the background.
The card stock just peeking out behind the die cut border was again misted with my custom mixed spray mist but after it dried I also added Tim Holtz distress ink in Broken China. Some of the negative pieces from the honeycomb die cut are used as accents as well.
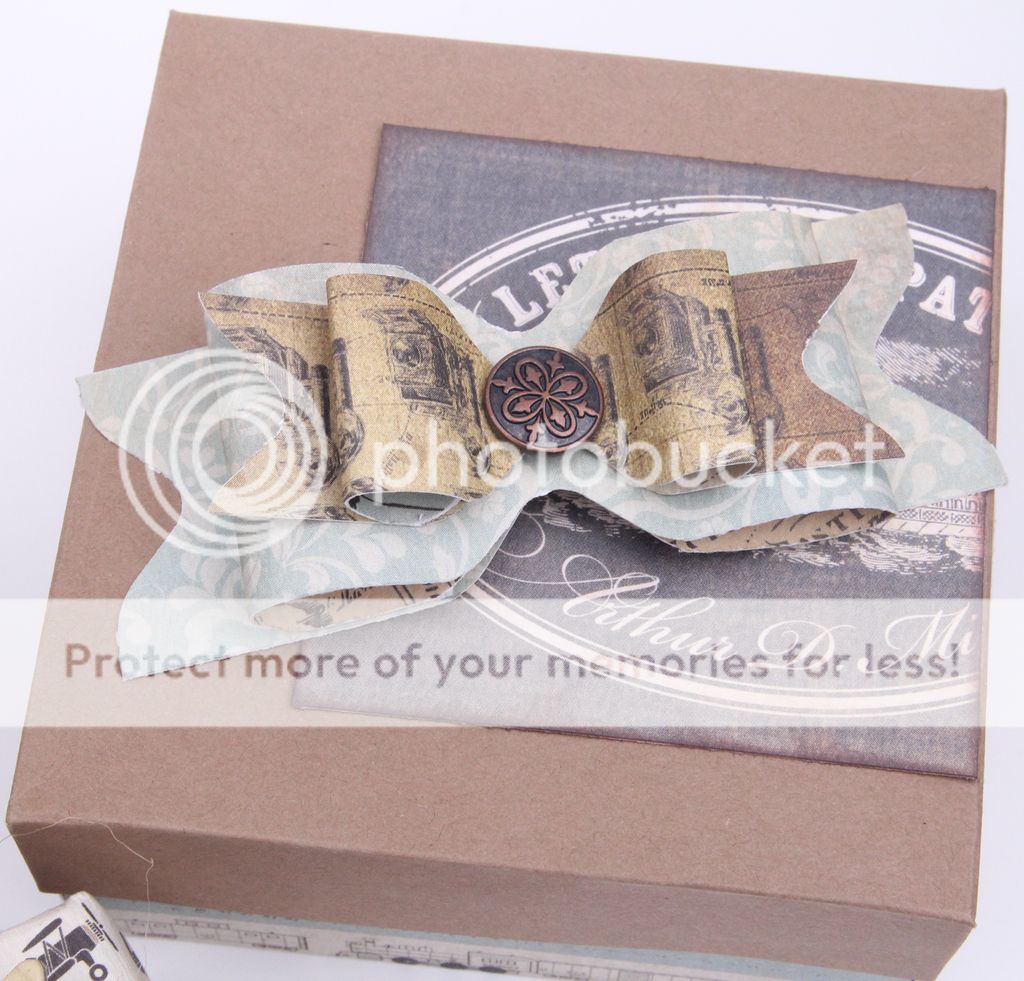
If you are looking for a unique way to give gift cards, cash, candies, small gifts etc., how about a handmade gift box? Here's a trio that would work perfectly for a dad, male grad or any boy:
Each of the boxes was made using a different method, method is linked in the title. Let's take a closer look at each.
I created a 'ribbon' out of patterned paper that slides over the box. It is embellished with a die cut star that has been heat embossed with
Emerald Creek Hammered Metal embossing powder. This box is 4"x4" and 2" high, it comfortably fits a gift card and/or cash.
This box measures the same as the first box, about 4"x4" and 2" high, again it easily fits a gift card. I cut the lid a little shorter in order to see more of the patterned paper I dressed up the plain card stock in. A layered bow made using the WRMK envelope punch board and embellished with an Emerald Creek brad from the kit finish up the box.
This box is just over 4"x just over 3" but also easily fits a small item. It was the most challenging to make because the weight of the patterened paper is a bit too heavy for an origami fold project, a lighter weight paper works best. You don't need to use adhesive for this type of box but as my folds were a bit thick, red line double sided tape helped keep the box's shape. I embellished it with a piece of kit chipboard and kit burlap twine.
Happy Anniversary
This image is stamped in layers beginning with your lightest ink (there will be future blog posts on this technique so either bookmark us or check back frequently). As I inked each layer I also misted the inked stamp with water before stamping. The resulting image creates a watercolour effect as you can see best in the lower right image.
The flower centers are stamped in Versamark ink and heat embossed with silver embossing powder. The sentiment is layered over a fussy cut ticket from the ticket patterned paper and enamel dots and
Nuvo crystal drops complete this anniversary card.
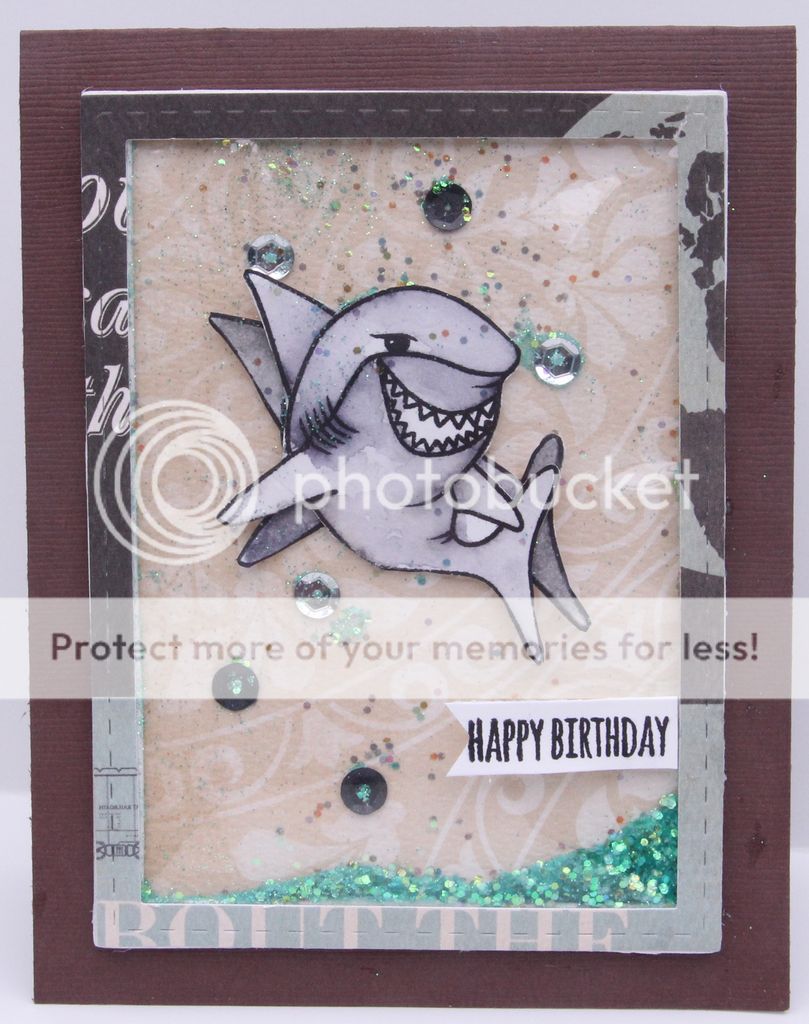
Happy Birthday
When I saw this kit I thought the colours would work perfectly for this fun shark image from the
Avery Elle Hello Chum stamp set {again if it's out of stock or not in the store, contact info@scrapshotz.com
info@scrapshotz.com to order}. I stamped the images on watercolour paper and colored using Zig Clean Color Real Brush markers in light gray and gray. I also layered 2 shark images over top of each other as you can see by the duplicate fins :). I then die cut the patterned paper frame and a matching fun foam frame with the
Elizabeth Craft Designs Stitched Rectangle die (which I special ordered from Sandy ;). The clear panel is cut with the larger sized rectangle die and then adhered to the inner edge of the frame in between the paper and fun foam frame layers. I then glued sequins randomly, so they don't all stay at the bottom of the frame, and added some Wow glitter.
The card is completed with the birthday sentiment from the stamp set.
Now back to a few more layouts, first up:
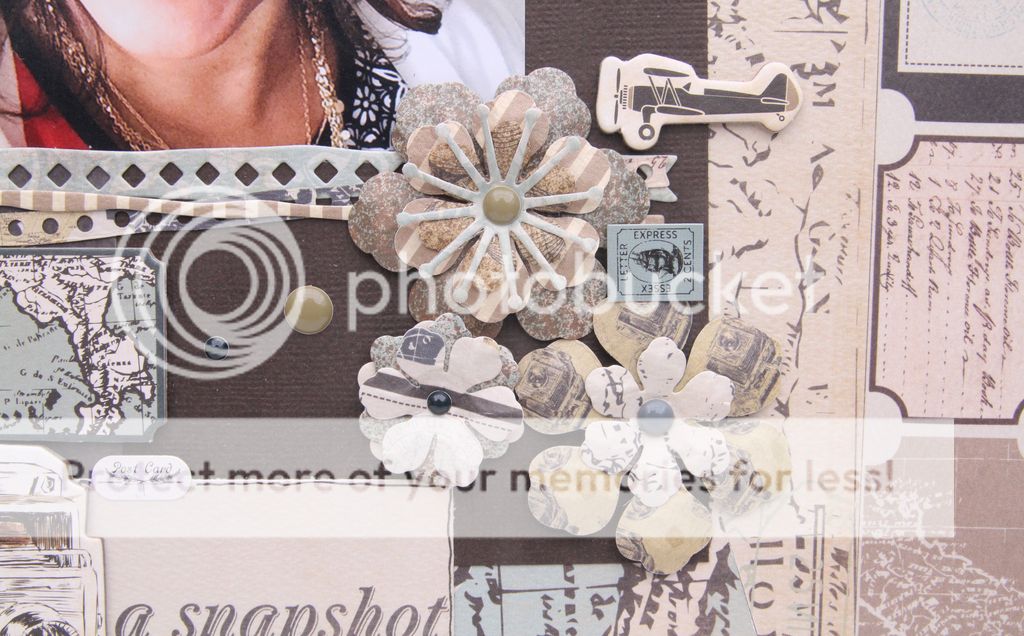
A Snapshot
I put together a patterned paper background from offcuts of other projects just working with however they were cut previously which takes into account the angles created from other cuts but leaving all 4 sides as straight edges. I combined the brown card stock with another patterned paper off cut to create the photo mat under the photo.
The die cut paper "ribbons" to the left of the large flower are cut with the
Elizabeth Craft Designs Paper Ribbon die. The Heartfelt creations die cut flowers give this layout a feminine feel and I've given them shape using
flower shaping tools. The title, 'a snapshot' is cut from kit paper and a sprinkle of kit chipboard and enamel dots complete the layout.
Just when I thought I had no photos to use with this kit I remembered that I had not yet scrapped my daughter's school play photos (my daughter is in the blue) and as the play was about a princess living in a castle, this kit is a fit for the photo!
School Play
The 'take me away' journal block was the start of this layout, I added some small alphas from my stash to connect the block to the 'school play' title. The middle striped photo mat was made by masking off card stock with washi tape, applying Versamark ink direct to paper and then covering the ink with Emerald Creek hammered metal embossing powder and heat setting.
Kit stickers, chipboard and gray flanner Pico embellisher from my stash complete the layout.
Thanks for taking the time to stop in and check out these projects, keep popping in to the blog over this summer as the Design Team has some fun projects in store for you :).