I don’t know about you but I am not ready to let go of summer just yet! I love a good sweater and a warm pumpkin spice latte as much as the next crafty gal but I would also take another month of summer if someone asked me. So I have decided that playing with the
Cocoa Vanilla Studio, Happy Days goodies from the Scrap Shotz shop will keep summer alive in my scrappy space.
I love the happy theme of this collection - sunshine, rainbows and happiness! The classic goodness of a Cocoa Vanilla Studio collection. For the layouts below I had the following goodies on my desk: Happy Days Collection Pack, Happy Days Title Stickers, Happy Days Ephemera, and Happy Days Floral Ephemera.
Ok here is the fun I had ;)
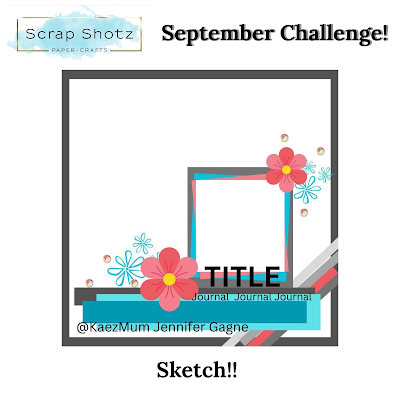
September Sketch Challenge
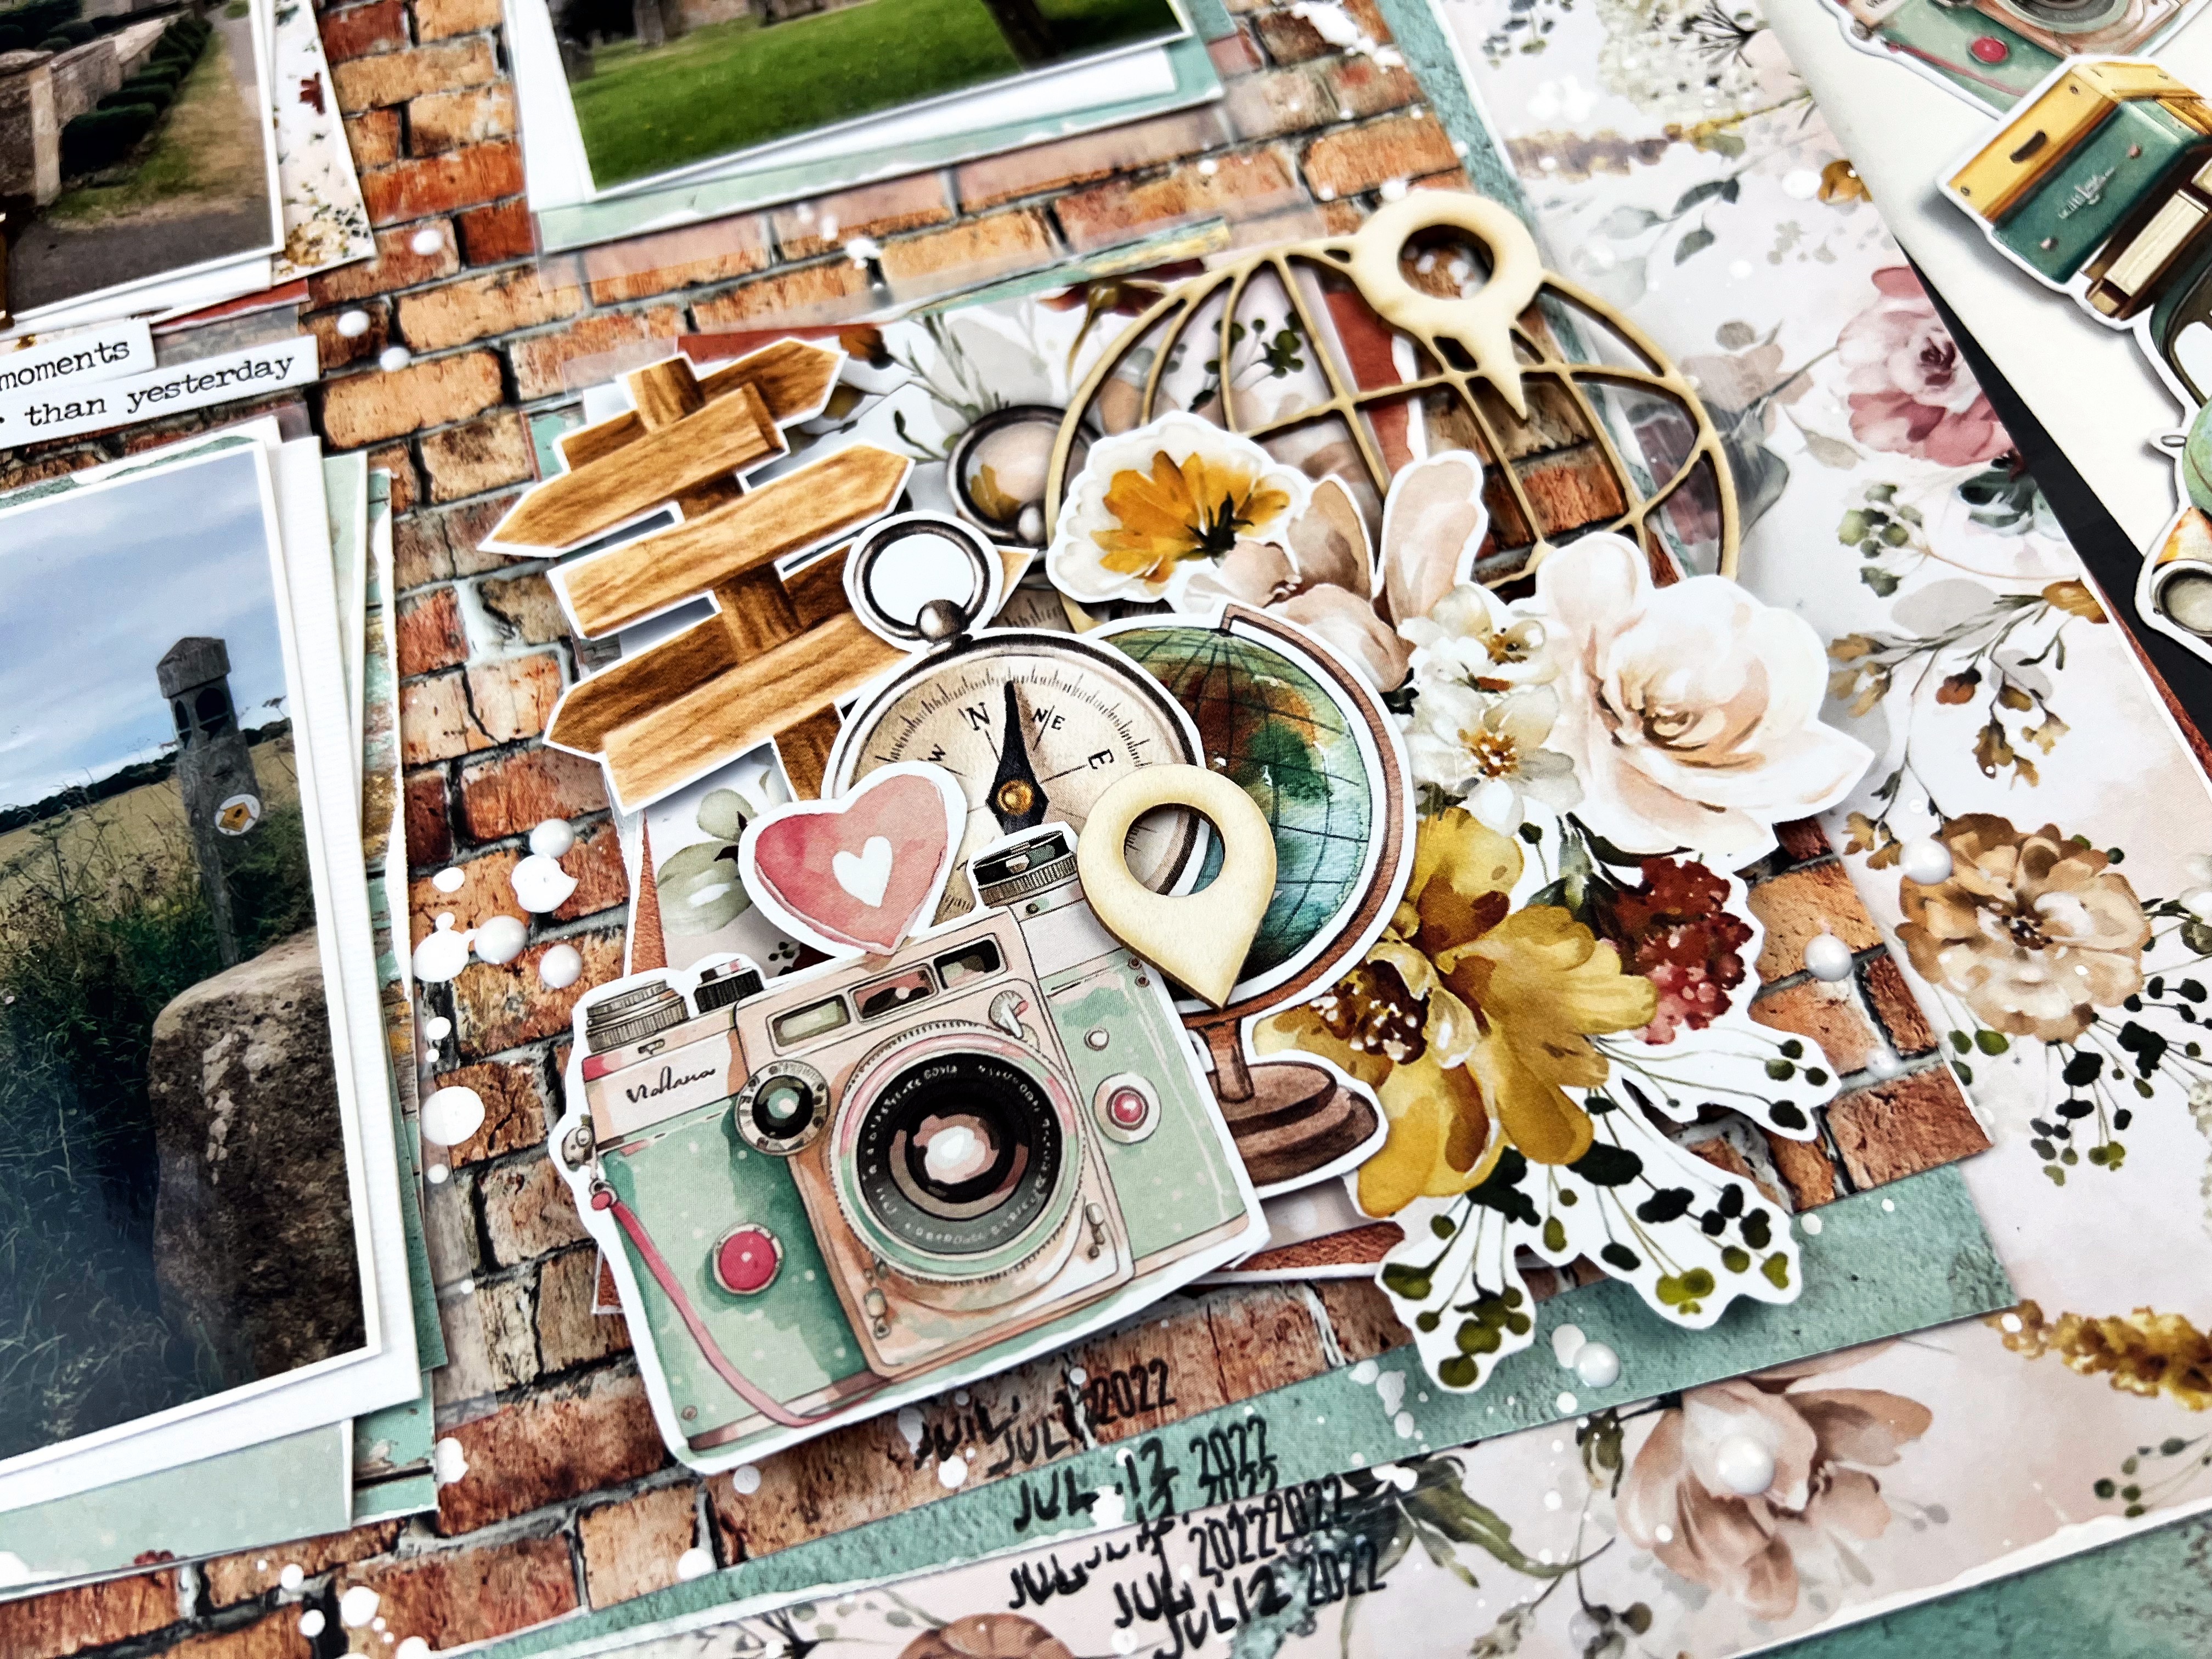
For my first layout I played with our September Sketch Challenge. I love the sketch’s focus on the lower right of the page but also the touch of design across the bottom. So classy.
This sketch design gave me a perfect opportunity to use this word pattern background - I knew the busy pattern wouldn’t steal the show with a single focal point on the lower right. Instead of the straight lines of the sketch, I let the rainbow curves of the Happy Days collection guide my design.
A black and white photo made sure the ephemera really popped off the page and didn’t draw attention away from the amazing florals embellishing my photo. I will add my journalling to those empty tags along the bottom (in my own hand writing!) before I drop this one in my 2023 album.
If you get a chance to play with the sketch, drop a photo in the September challenge album on the Scrap Shotz Facebook Group for a chance at a prize!
Grunge Up Those Rainbows
I love Cocoa Vanilla Studio’s bright and fun style but I really, really am a grunge-girl at heart. So I decided to ‘grunge up’ the rainbow.
I used my black journal pen to messily trace the lines between each of the rainbow colours. Then I added a few spritz of water to some
Tonic - Nuvo Crystal Drops in Black Ebony and used a small paintbrush to flick some splatters on the page.
I printed my photos in 1x2 to make a wonky photo strip down the right of the page - I added at least a couple different patterns from the Collection behind each photo for some depth and contrast to the rainbow. I added the fun sketched frame from the ephemera pack to draw attention to my main photo and the flags from the pack as well in and around the others. The phrase stickers I added to bring some white to the layout so there was a place for the eye to rest on all the busy! I will add journalling in a column to the left of the photos before putting this one in my Scotland Trifect 2023 album.
Inspired to Doodle
I had such fun with this layout! First, I took out my stash of
Lindy’s Stamp Gang - Magicals from the shop and the striped rainbow pattern from the Collection and matched Magicals to each colour section of the stripes. Then I used the Magicals, mixed with a bit of water, and the packaging technique to splotch the colours next to the corresponding colour down the middle of a white 12x12 cardstock. I ripped the stripe pattern for the left hand side of the page.
Before adding my photos and ephemera, I used my journal pen to trace the lines between the colours on the stripes, added some black splatters and a few random stamps here and there to add to the ‘mess’.
I printed 6 photos for this layout, 2 are 2x3 as the feature photos and the other 4 are 1x2. I backed the photos in white to create some space between the photo image and the colourful background. For the larger photos, I added a couple of Collection pattern papers behind too.
Liking the doodle look of my journal pen on the stripes, I decided to keep going and create my own leaves to pop out behind the florals ephemera pack goodies. To make these, I literally doodled loops connected to a line on white cardstock and then fussy cut them. I like the pops of white/sketch look with all that colour. To make the florals match the doodle look a little more, I also doodled some lines on each flower.
I am off to play some more with his amazing collection, stay tuned for part 2 …