Wednesday, November 29, 2017

Pretty Pink Posh Is Here

Happy Wednesday everyone! Cathy here with a couple of projects featuring Pretty Pink Posh! For these projects I used the Birdie Friends stamp set and the Birdie Friends Die set. I had to switch gears from Christmas creating, but loved the sentiments in this set. And what a great set to use just to let someone know you're thinking about them.

I started with a manilla tag and Distress Oxides, used my heat tool to dry them and then did some edging with a stencil and a Distress Crayon in Hickory Smoke.

Distress Oxides in Picked Raspberry, Fossilized Amber and Spiced Marmalade. I stuck with these colours because they just say spring to me and so do the little chicks!


To cut out all the tiny leaves (thank goodness for matching die sets) I used scraps of other bits of paper that had shades of green on them. Sometimes it does pay to be a paper hoarder! I did stamp of the little leaf images on the green backgrounds as well.

The branch was stamped then embossed in Emerald Creek Burnt Copper Leaves

I coloured my little chicks with a water brush and my Oxides and added a touch of blue for their little eyes.


Little leaves stamped directly on the background and ones I cut out with the die set, these were put on with some foam tape for dimension.

The chicks are put on with foam tape as well as they stand on their little fence post.
And a little ribbon on top and the tag is ready to go.


For my next project I made a quick and easy card. I got the idea for my background from fellow DT member Rosie when I saw a background on a Christmas card of hers. I used to have tons of big background stamps with words for every occasion. But after moves and purges etc I don't have any left. So I made my own with most of the sentiments from the Birdie Friends stamp set .


I used the larger chick and coloured in with the Oxides again, staying with the same bright happy colours.  Once the chick was ready I ran it through with the die to cut it out. I stamped a sentiment on a scrap piece of paper and made a little banner sign using a toothpick, and tucked it under the chick's wing.

I edged my banner and my card with Vintage Photo Distress Ink 


Attached the chick and his little banner with foam tape to pop it up just a bit.


Thanks for stopping by and be sure to get your Pretty Pink Posh sets in the Scrap Shotz online store! And be sure to check out the holiday stamps that are in too!! 

I'll be back on Friday with some wintery goodness from Scrap Shotz and Pretty Pink Posh!! Have a great week everyone!


Monday, November 27, 2017

Christmas Cheer Turnabout stamp and more courtesy of Concord and 9th

Hello Scrap Shotz Friends!

Rosie here with just a few more Concord and 9th stamp/die projects for your enjoyment 😀

I am in love with the C9 Christmas Cheer turnabout stamp, it's so easy to use and also includes some fabulous sentiment stamps which are tailored made for the C9 ribbon banner die:

the solid colours were stamped over the turnabout outline, with the detail stamps, quick and easy. Hats, mitts, reindeer and presents were "coloured" with the fill in stamp from the set:

The C9 Ribbon Banner Die houses the 'Christmas cheer' sentiment, black ink is striking on kraft card stock.

For this card I stamped in Versamark ink and heat embossed with silver embossing powder. 
I then coloured in the images with glitter gel pens.

Up next is a shaker card using the Trim the Tree stamp set with matching die (available via special order).


To create this card first ink a 5.5" x 4.25" white card front with Distress Inks in Peeled Paint and Bundled Sage and then die cut tree with Trim the Tree die.

Place the die cut negative over white card stock, cut to the same size, line up the un-inked stamp in desired position and then stamp Versamark ink, cover image with red embossing powder and heat set.


Then adhere the die cut negative to a piece of clear acetate to create the window for the shaker card. Attach foam tape all around the tree shape, placing it as close to the inner edge as possible. This will keep all the shaker elements visible within the "window".

Now flip the card front face down so the foam tape side is up and facing you. You will see that you now have a "contained area" to place the shaker elements. I peeled off the foam tape, then added gold stars cut from glitter paper with the star die in the set and Studio Katia beads and sequins.


Thanks so much for stopping by and taking a look😊!

Cathy will be here in a couple of days to share her fabulous projects with you so make sure to come back and visit.


Friday, November 24, 2017

C9 Christmas Card Fun!!

Glad to have you join me, Rosie, for more cards featuring Concord and 9th 😊. I know I have only scratched the surface of the card possibilities so please share your creations with any of these stamps either in the comments or email to me directly at rosieneust@shaw.ca.

I'll begin with a card using the Concord&9th Ornamental stamp:

The stamp images are coloured with Copic markers, small berries were heat embossed with gold embossing powder.

"Merry Christmas" is the cursive merry Christmas die by Tonic Studios, coated in 2 coats of Versafine black ink and heat embossed with clear embossing powder, cooling between layers.

This card begins with a distress inked base of Tumbled Glass, Mermaid Lagoon and Blueprint Sketch. The tree is cut with the Concord and 9th Trim the Tree Die and embossed with the stitched lines from the die. "Snowfall" circles are stamped with clear embossing ink from the stamp set, coated with Emerald Creek Soft Fallen Snow embossing powder and heat set.

"Merry Christmas" is cut with a Tonic Studio die in 2 layers of white card stock and The Ton gold Glitter adhesive paper.
Studio Katia clear 'drops' add more shine to complete this card.


This card features the Concord and 9th Christmas Cheer Turnabout stamp which has been stamped and heat embossed in silver embossing powder. The stamped base and silver 'the ton' glitter paper are die cut with the Pretty Pink Posh Stitched Borders 3 die

 The papers have been alternated across the 4"x 5 1/4" white card stock base.

The ribbon banner is cut from the C9 ribbon banner die and hosting a red embossed (powder from my stash) Concord and 9th Christmas Cheer turnabout stamp sentiment.
The red glitter flower is cut with the Fill In Blooms die and accented with a Tim Holtz Fluted Star metal embellishment.

Thanks for stopping by and taking a look!

Wednesday, November 22, 2017

Christmas Gift Tags Featuring Concord & 9th

Hello!

It's Rosie back with some Christmas gift tags!

These tags were created using the Concord & 9th Ornamental Stamp Set and matching die. Please contact Sandy to order the matching die :).  This ornament is large enough to also use as the focus on Christmas cards too.

Let's take a closer look at the simplest tags to create first:


The image was stamped on navy blue card stock with Versamark ink, then heat embossed, 1 in gold embossing powder and the other in silver. I've then used the 'merry Christmas' from the Christmas Cheer Turnabout set and also heat embossed in the opposite colour of the main image. The ornament itself and the top are both die cut with the ornamental die.


To create this tag I've die cut the ornament shape, then dry embossed with the inner portion of the die.   You can dry emboss with any metal die by building your cutting machine sandwich as follows from bottom to top:

1. Regular platform
2. Plastic plate
3. Tan embossing mat
4. Paper
5. Metal die (cutting side face down on paper)
6. Plastic plate


Pretty Pink Posh Sparkling Clear Confetti Mix, sentiment from the Ornamental stamp set and a  topper die cut from glitter paper finish off this tag.

This tag is created in the same manner as above, I've just flipped the die over. This die can also be cut apart into 3 pieces and used individually. I've accented portions with Elizabeth Craft Designs glitter dots from my stash.

These leaves were die cut with the leaf die from the Bloom Fill In Dies on green glitter paper then snipped apart with scissors.

For this final tag I took a background I had watercolored with Gansai Tambi watercolours and die cut with the ornamental die. I then backed the die cut with gold glitter paper. The sentiments were stamped from the Ornamental stamp set.

Thanks for taking a look at his fabulous stamp set, you can see all the Concord and 9th products currently available in the store here

I'll have more to share using Concord and 9th products so stay tuned😀!

Thanks for stopping by!


Monday, November 20, 2017

Concord & 9th

Hello Scrap Shotz Friends!

I was able to play with a few Concord and 9th stamps and dies and I have a couple of cards to share with you using the Blooms Fill In Stamp.


This 6x8 stamp stamps the solid background leaving white space to customize the floral as desired. I used Altenew Dusk ink for this first card.

The set includes a solid leaf stamp, small flowers a large flower and berries which I used here.
I die cut this banner with the Ribbon banner die and stamped and heat embossed the sentiment from the Christmas Cheer Turnabout stamp set. A few Studio Katia sequins and Nuvo Crystal drops finish off this card.


This card uses the leaf vein, small flowers, 2 different flower centers and the large flower tip stamps from the set.

I gold heat embossed the berries and die cut the vellum with the Fill In Blooms Die. The sentiment was stamped in versa fine onyx ink and heat embossed with clear embossing powder.

This is a very versatile set spanning Christmas cards, thank you's , birthdays, etc...


Thanks for taking a look!

Friday, November 17, 2017

November Kit Projects Part 2 with Katelyn

Hey Scrap Shotz Fans!

Today, I'm back and sharing with you two more projects that I created using the beautiful November Kit which features the Amber Moon Collection designed by Frank Garcia for Prima Marketing. This line is filled with beautiful fall colours perfect for all your fall projects.

To kick off my projects, I created a pretty card using one of the 3"x4" cards and some chipboard pieces to create the focal points on my card.


For the focal point of my card, I layered the chipboard wreath overtop of the wreath that is on the 3"x4" card. To highlight the bottom right hand corner of the wreath, layer a few other chipboard elements. To cover up the "welcome" tittle on the bottom of the card, layer a sticker from the Word Stickers. You'll need to cut the word banner down to fit. To the left of the word banner, add a few coordinating jewels. Because a card can never enough a bling, right?!


To add some interest in the top left hand corner of the card, I fussy cut out one of the butterflies from the 3"x4" cards and used foam squares to adhere it to the left of the wreath.


For my last project, I created a pretty Give Thanks Home Decor piece using some of my leftover pieces from creating my projects. I have a tutorial for you on how to create my home decor piece below so that you can recreate it for your home.


To start, pull out the large Vignette Box by Tim Holtz. Ink the top edges of the box using Gathered Twigs Distress Ink and a blending tool.


Cut the striped 3"x4" card out as well as the "Give Thanks" 3"x4" card out. Trim the "Give Thanks" card down to 2 5/8" x 3 7/8". Distress the edges of each card using an edge distressor. Ink the edges of each card using Gathered Twigs Distress Ink and a blending tool with foam.


From the borders paper, cut two different borders out. Trim one border down to 3 1/2" and cut the other border down to 3 1/4". Distress the edges of each border using an edge distressor. Ink the edges of each border using Gathered Twigs Distress Ink and a blending tool with foam.


Cut a piece of the wood paper to 3" x 4 1/4". Distress the edges of the paper using an edge distressor. Ink the edges of the paper using Gathered Twigs Distress Ink and a blending tool with foam.


From the striped paper, cut one piece that measures 3 1/2" x 5 1/8". Cut a second piece that measures 4 7/8" x 3 1/4". Distress the edges of the papers using an edge distressor. Ink the edges of the papers using Gathered Twigs Distress Ink and a blending tool with foam.


Pick out two leaves.


Adhere the cream side of the smaller striped paper piece to the striped paper piece. Adhere the wood paper piece to the cream patterned paper piece. Adhere the first border 1/2" from the bottom of the striped paper. Adhere the second border 1/4" overtop of the first border.


Adhere the "Give Thanks" card to the striped card. Use foam squares to adhere the striped card to the wood paper.


Take one of the square stickers from the word stickers and cut it in half. Ink the edges using Gathered Twigs Distress Ink and a blending tool with foam. Adhere one of the sticker halves in the bottom right hand corner of the patterned paper. Adhere the other half of the sticker in the top left hand corner of the patterned paper. 


Adhere the large striped patterned paper piece to the inside of the Vignette Box.


In the bottom right hand corner of the "Give Thanks" card, adhere the two leaves, the puffy pumpkin sticker, the chipboard coffee cup, the "blessed" chipboard piece, a fussy cut butterfly and a chipboard butterfly. Use foam squares were desired. 


In the bottom right corner, add a few of the coordinating jewels. In the top left hand corner of the "Give Thanks" card, foam square the puffy sticker butterfly close to the g. 


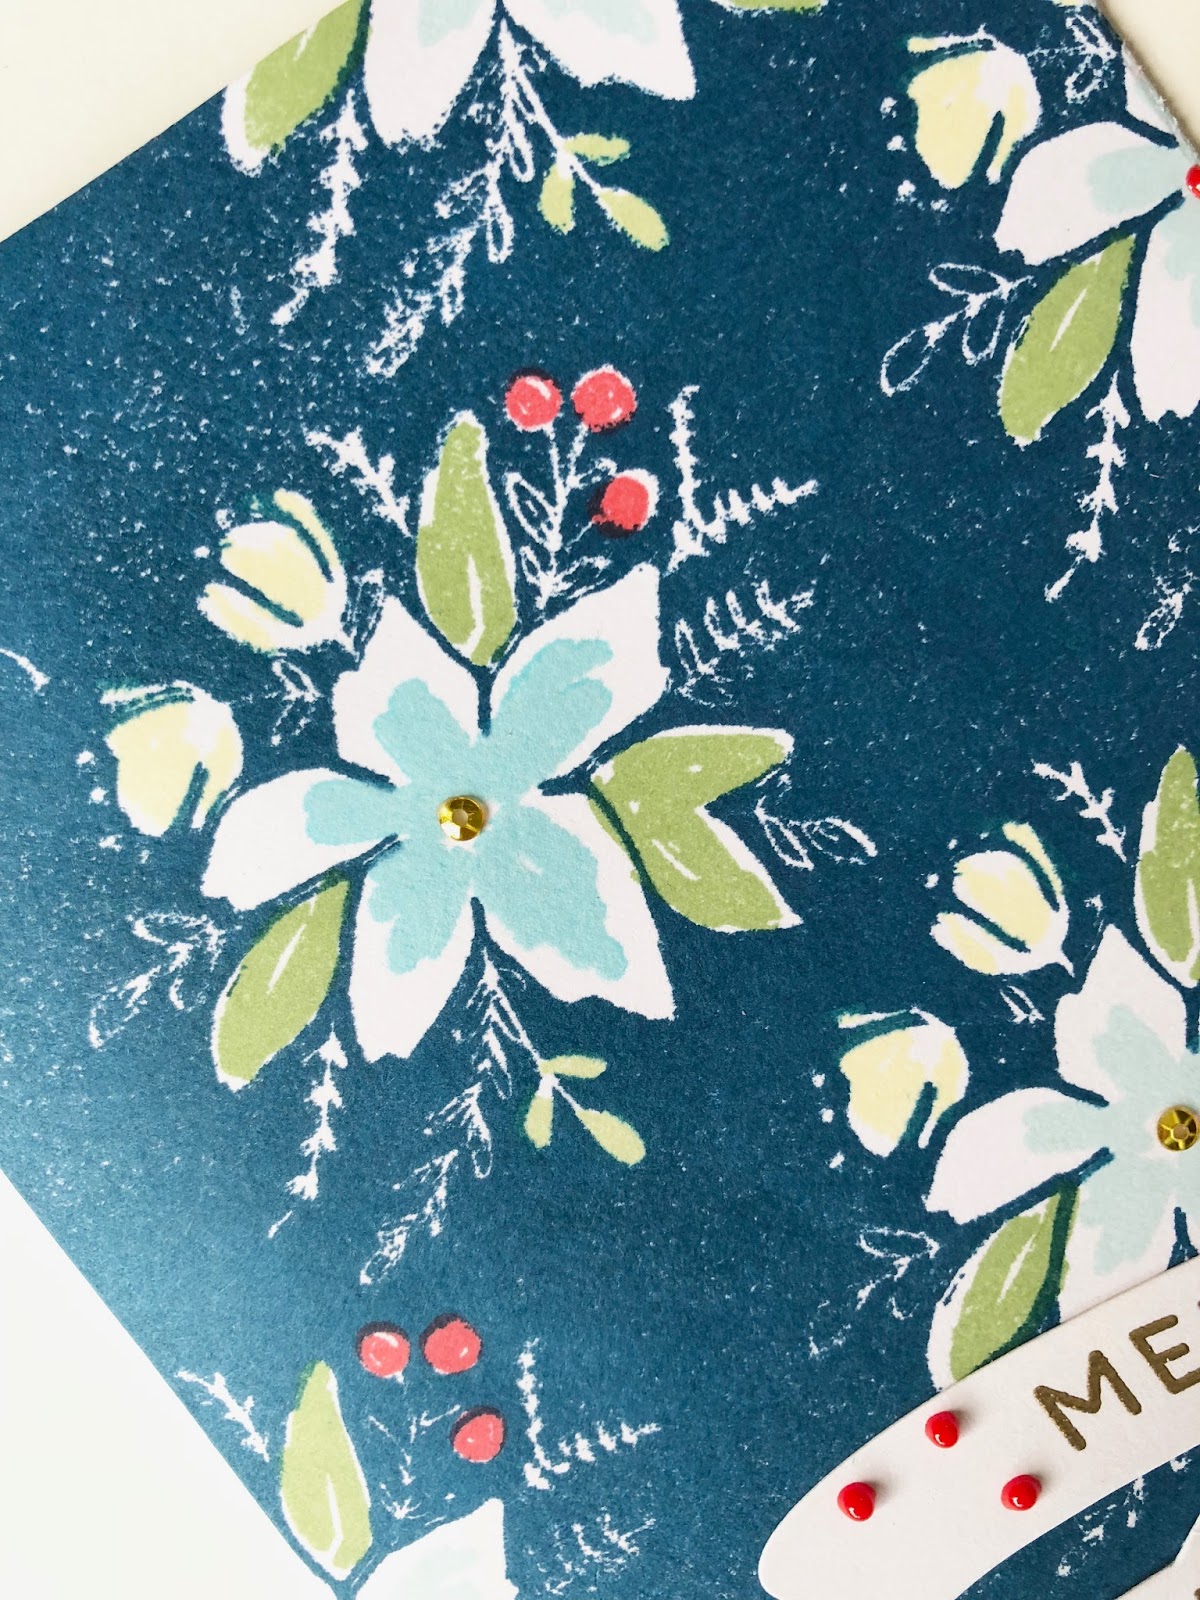
Here are a few closeup shots of the corners on the Vignette Box.


And here's the finished Give Thanks Home Decor piece.


The November Kit is available in the Scrap Shotz's store. Make sure to stop by the blog as the design team is sharing more crafty inspiration.

Supplies Used:


Thanks for joining me today!