
Wishing you all Happy Holidays and a Merry Christmas!
From Sandy and the team!

Hello!
Rosie back to share a couple of cards I created with the November Scrapbook Kit featuring the Vicki Boutin Fernwood line!
The December Kit is now available as well and it features Simple Stories Vintage Weathered Garden so you can subscribe beginning with the November kit or pick up the single November kit and begin your subscription in December, it's your choice!

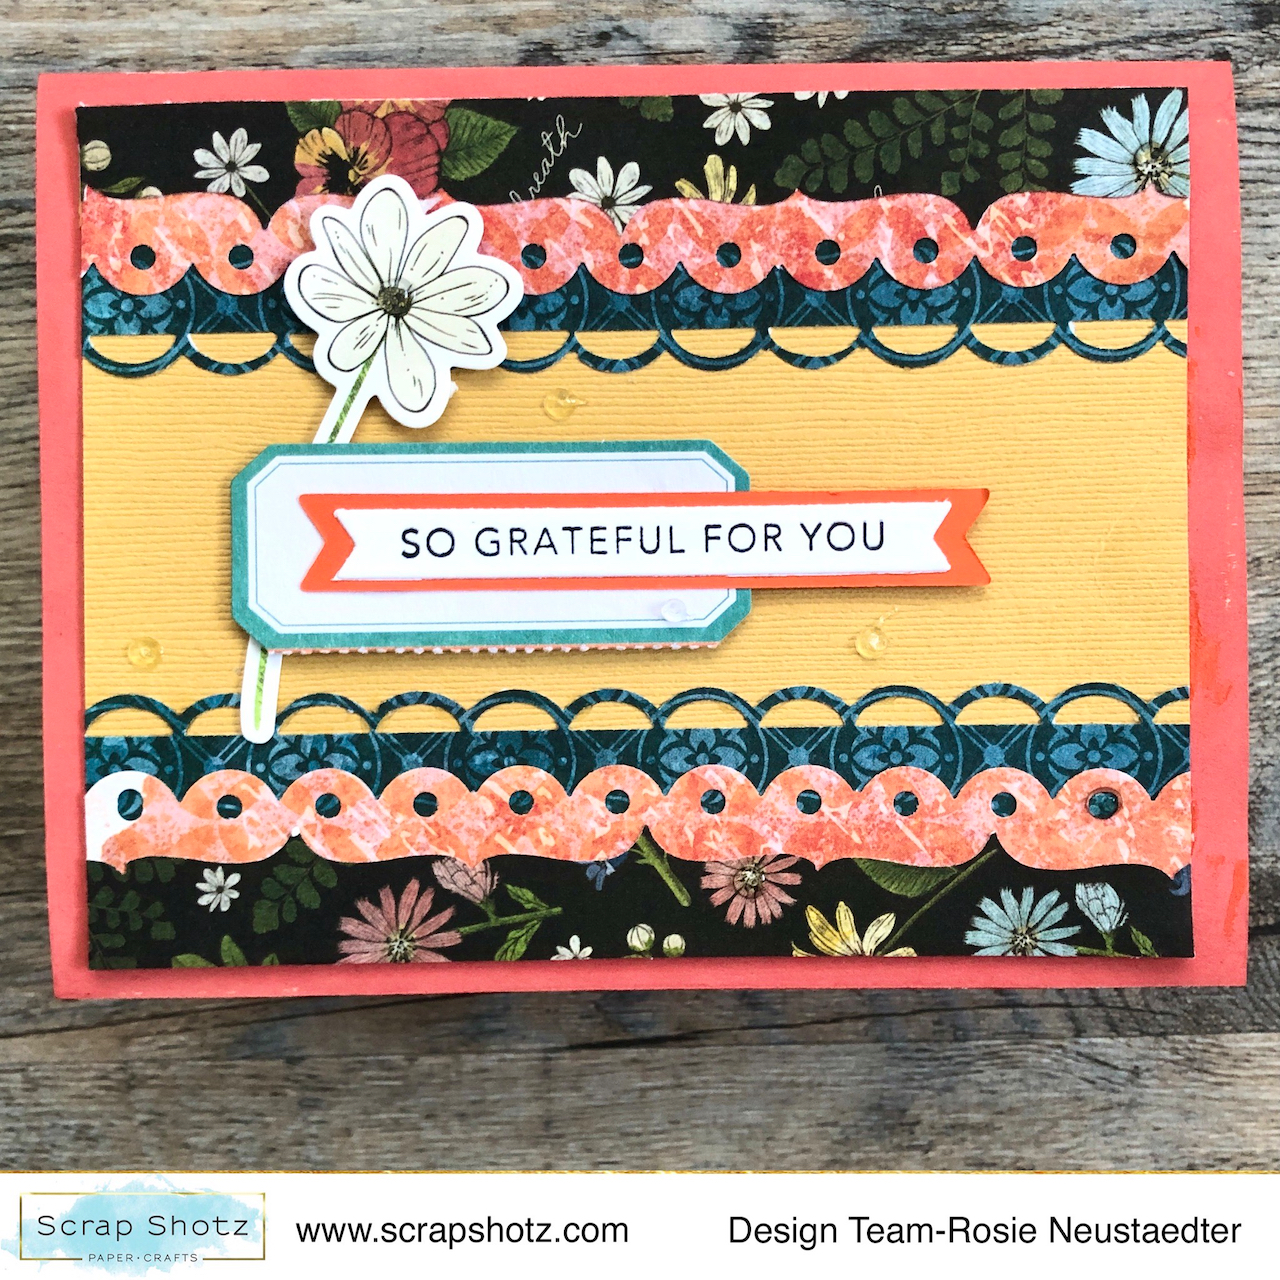
This card is created with a kit stencil and some Vicki Boutin pastes I've had in my stash for awhile. You can recreate it with whatever pastes you have or just plain ink!
The sentiment is from the kit puffy Thickers and is adhered over a strip of gold card stock from my stash. A few Studio Katia crystals.

Do you still have border punches from back in the day?

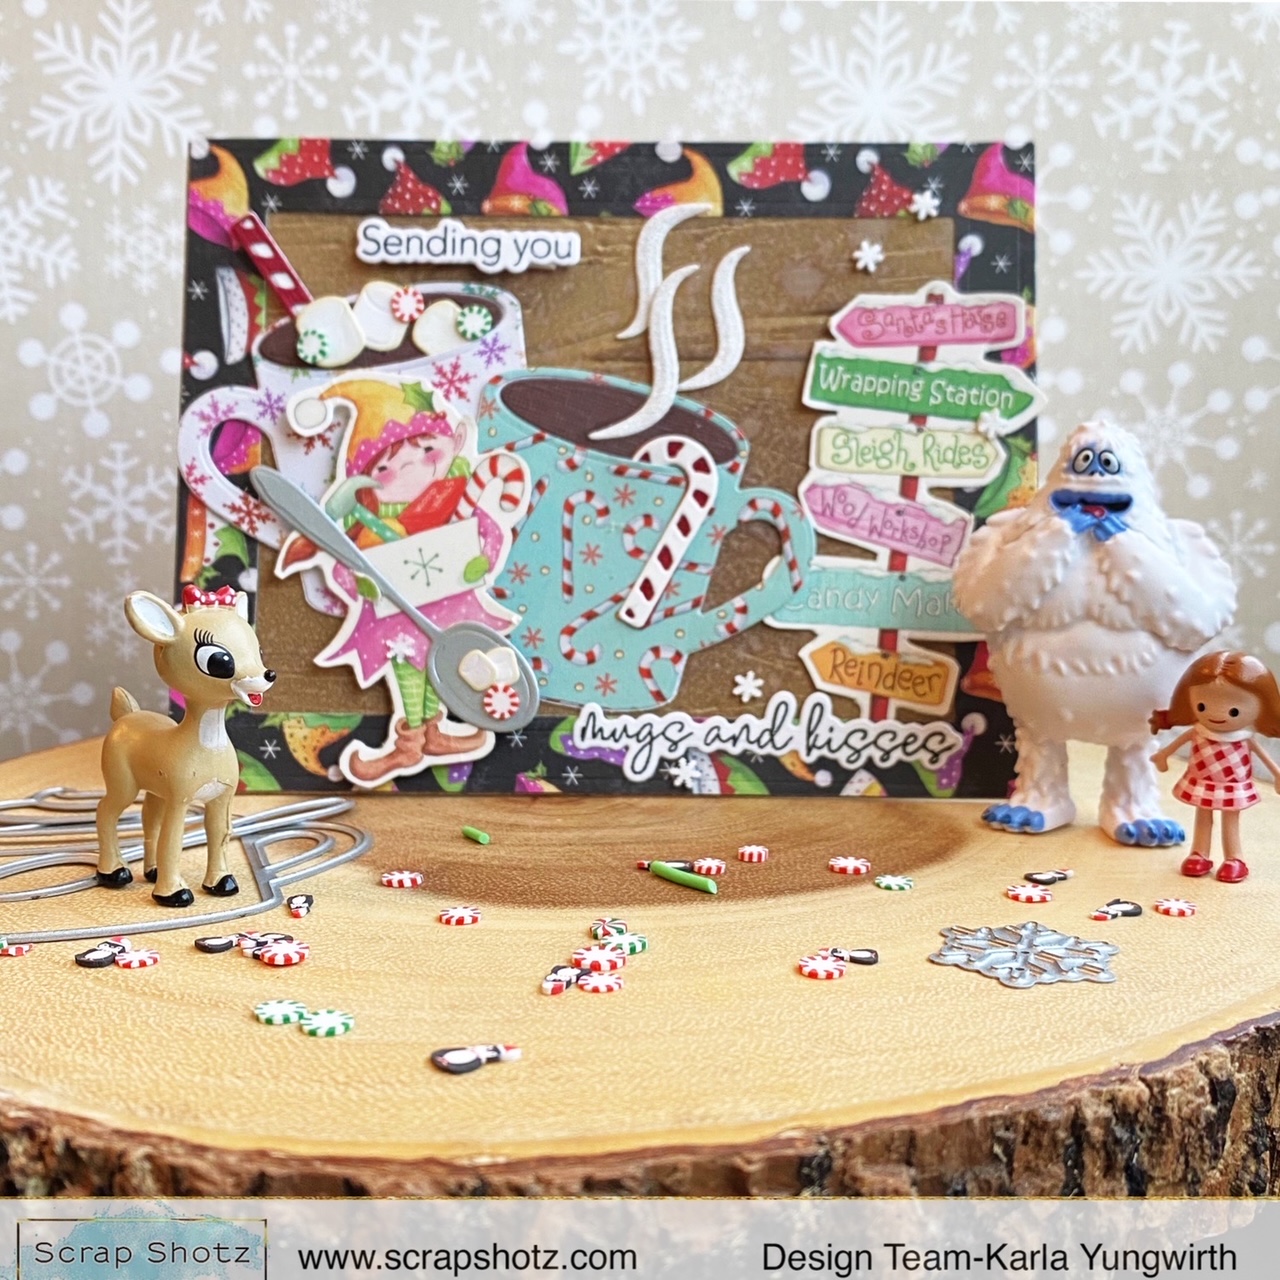
Hello friends! Karla back today with a sweet little hot cocoa card for you as well as closeups of the tags we made in last week's Crafty Thursday Live Video! In case you missed it, be sure to check it out HERE or scroll down to watch! I used the Honey Bee Stamps Hug in a Mug Stamps and Dies along with the fantastic Mugs & Kiss Die Set to create these fun projects!


Hello friends! It's Karla back today to share a look through the Scrap Shotz Exclusive Christmas Cheer Mini Album Flipbook Kit!! I was so excited to design this kit for Scrap Shotz using the Simple Stories Simple Vintage Rustic collection, which is absolutely gorgeous!


This mini album will be perfect for documenting your Christmas memories and photos! Be sure to check it out in the Shop HERE! Thanks so much for stopping by! I hope you have a very crafty day!!

Hello!
Rosie back with another project featuring the November Kit and I'm going to walk you through how I put this layout together.

I started with the Gather paper in the kit:

I then added some black splatters with the Altenew Jet Black Watercolor Brush Marker:


Hello Friends!
Above is not only the title of my project but what I feel every time I sit down to create with a monthly kit!
Sandy takes all the guessing on what works together out of the equation by doing the work you!
You never have to search for the 'right' colour of cardstock in your stash, Scrap Shotz does that for you.

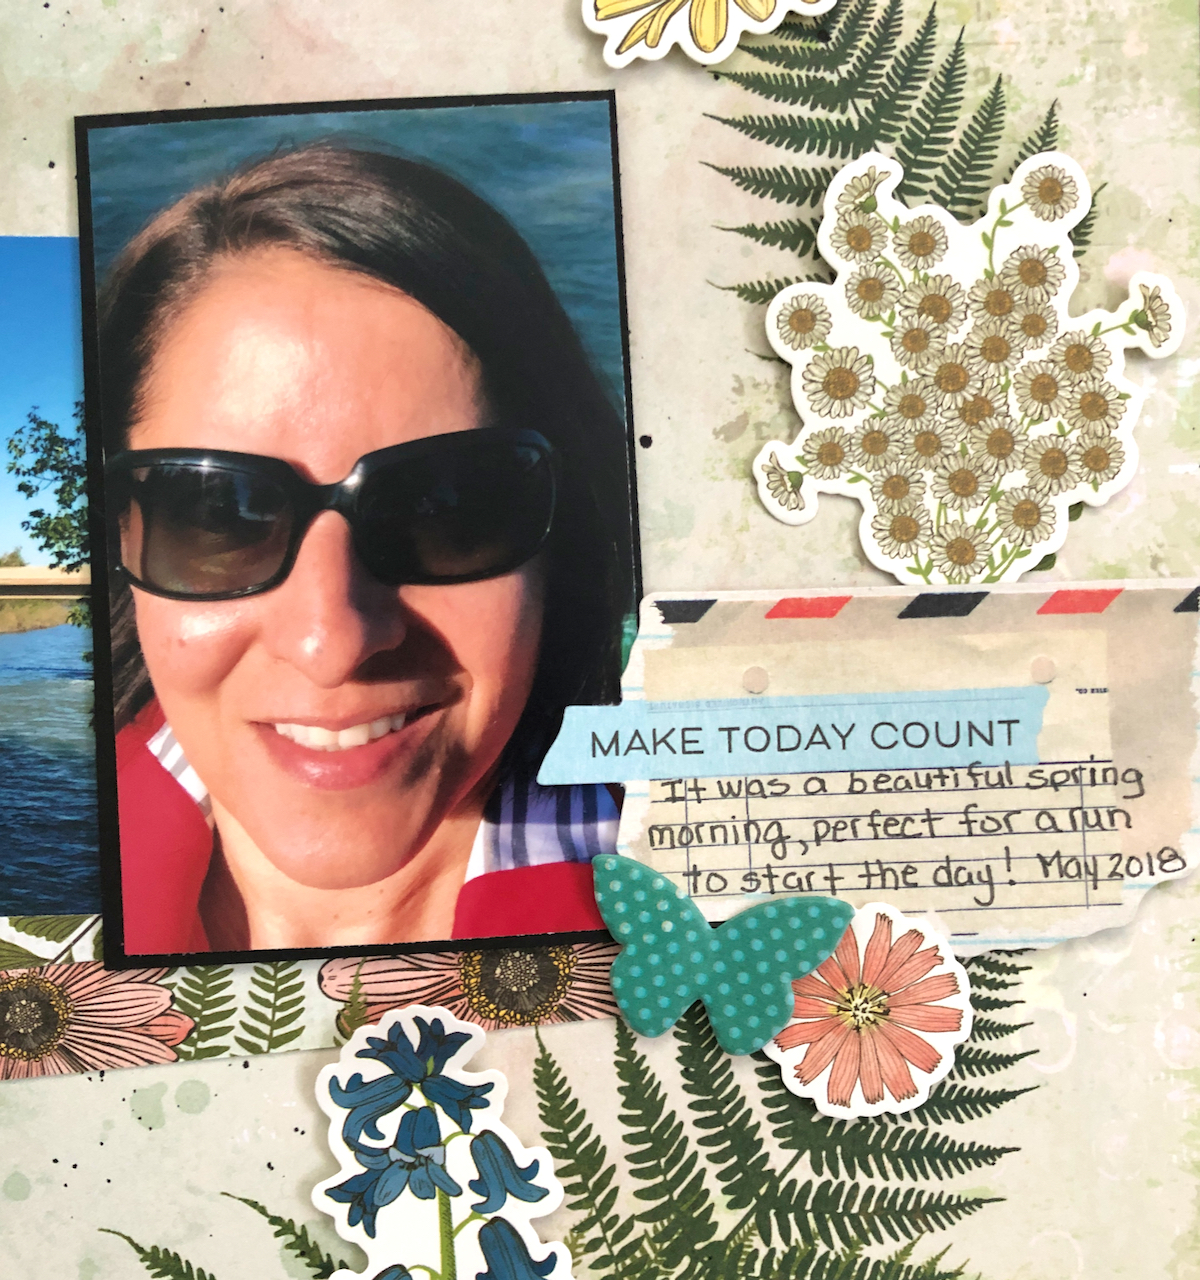
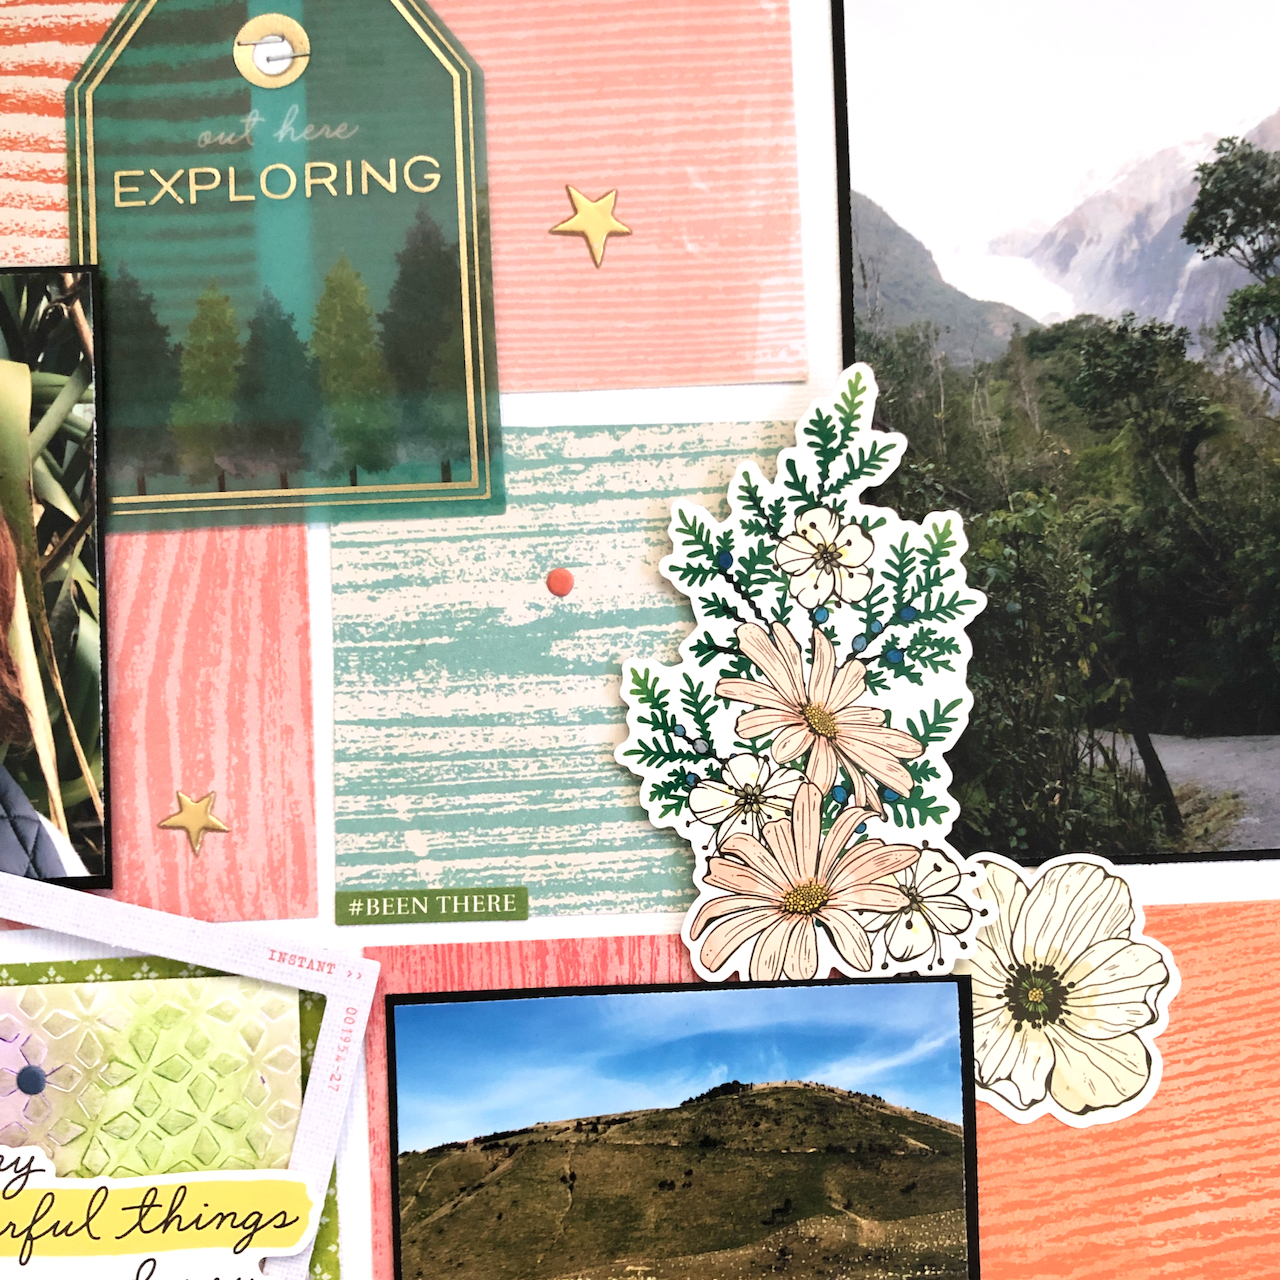
This patterned paper is printed with the large floral cluster in the bottom left and I didn't want to cover that up so I fussy cut around portions of the image with a craft knife and slid the photos underneath.
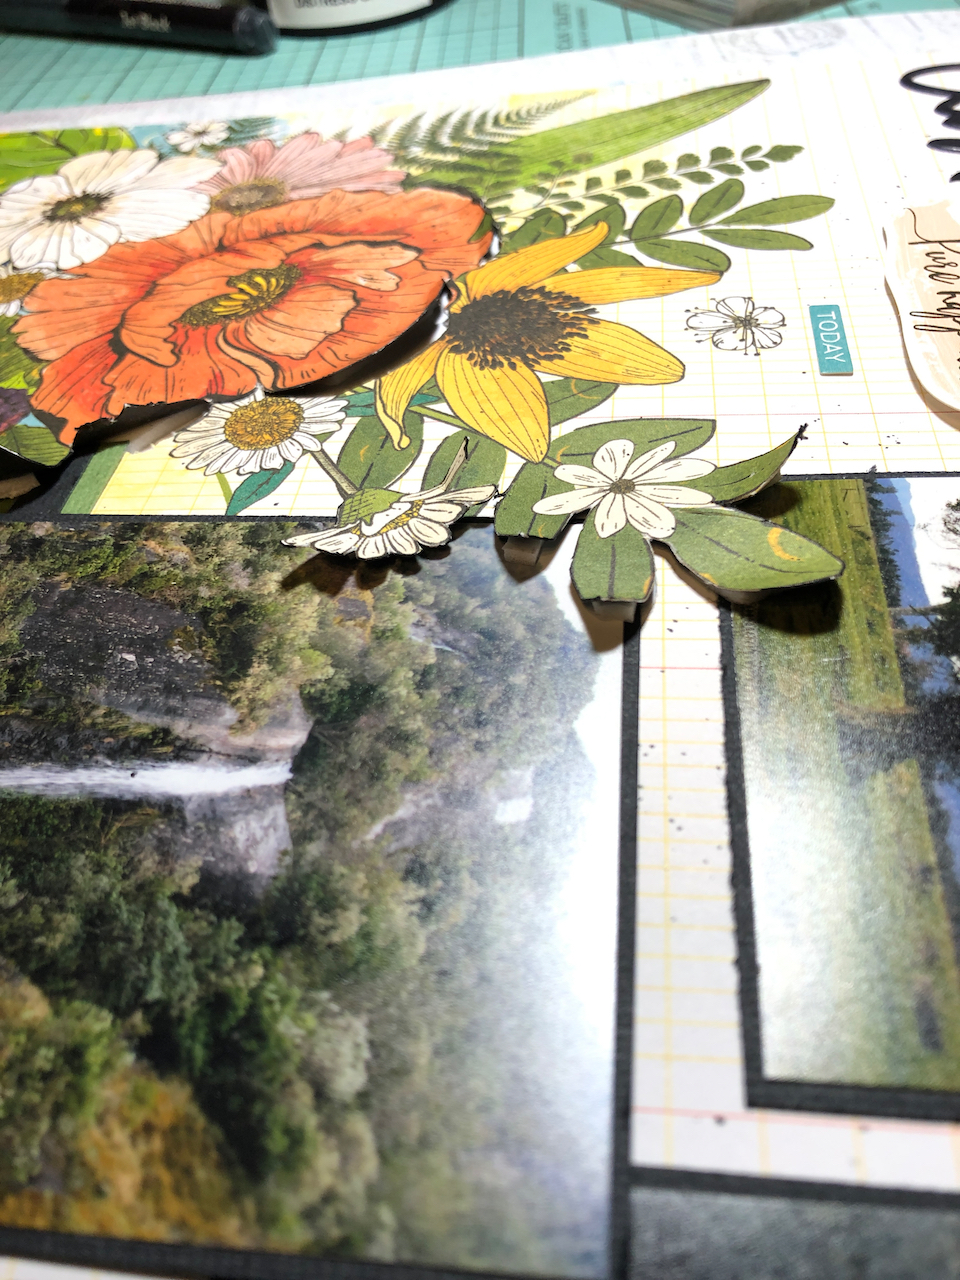
I also added foam tape under the fussy cut pieces.

The black splatters are created with the Altenew Jet Black Watercolour Brushmarker from my stash and I've curled up the edges of the fussy cut images.
The title is built by combining a Puffy Thicker and stickers from the kit, the butterfly and tall foliage are from the the Fernwood Icon Ephemera.
Pop on over to the store to see all the great products available, lots of time to get your Christmas Wish List together :)
Hello Scrap Shotz Friends!
Rosie here and I'm lucky to be playing with the November kit featuring Vicki Boutin's Fernwood line!

So Many Wonderful Things
Lots of fabulous product in this kit and let me start out by sharing a layout I created during a recent Facebook Live (click the link if you'd like to watch the video):

I cut apart a sheet of the kit paper that was printed in a grid pattern and recreated it on white card stock popping up some of the squares with foam tape.

The cardstock piece "framed" in the photo is a piece of Vicki Boutin Foundations Paper that has been dry embossed with a stencil from the kit and then colour added with the Ranger *Limited Edition* Distress Mica Crayons.
Ephemera, stickers Thickers and Puffy Thickers from the kit embellish the layout. The kit has a great selection of Fernwood products in it but if you want it all, all the products are available open stock in the store!
Purchase Fernwood Products HERE
Go After Your Dreams

I trimmed the panel and before adhering to a piece of kit patterned paper and then an A2- 4 1/4" x 5 1/2" card base from the kit cardstock, I spritzed it with Distress Resist Spray then misted with a Glitter Duster and Tinsel Distress Glitter. Honestly I thought the Glitter Duster was silly the first time I saw it but after watching Tim Holtz demo it I had to pick one up and it is fantastic at misting out the fine glitter!
Lastly, I popped up one of the kit stickers with foam tape for the sentiment.
There's still time to pick up a kit if you want this line and I'll be sharing more kit projects as well as projects combing the kit and more of the fabulous products in the Fernwood line!
With all the recent shipping issues we just barely get the current out before it's time for next month's kit so if you're interested in the kit program the add on's are up for the December kit featuring Simple Stories Vintage Weathered Garden, click HERE to check it out as well as all the new items in the shop as of December 1.

Hello! I'm working with this lovely fall collection from Simple Stories, and it's amazing! It's called Simple Vintage Country Harvest, and is full of beautiful colors and images of that lovely season that is gone all too quickly.
First of all, I challenged myself to do a 8.5x11" layout. I found it a great way to use a couple of photos that wouldn't maybe print in a 4x6' size so well. This layout can be easily added to my 12x12 D ring albums with a sheet protector and will provide a fun variation from the regular 12x12 pages.

The second layout created used the Creative Scrapbooker Sketch for December. Here is the sketch and my layout.


I love the beautiful patterned paper and the way the photos with the simple backgrounds are highlighted.

Thanks for having a look. I'll be back with more from this line!!

