Showing posts with label facebook live video. Show all posts

Saturday, August 10, 2024

Simple Stories Simple Vintage Meadow Flowers Layouts & Video!

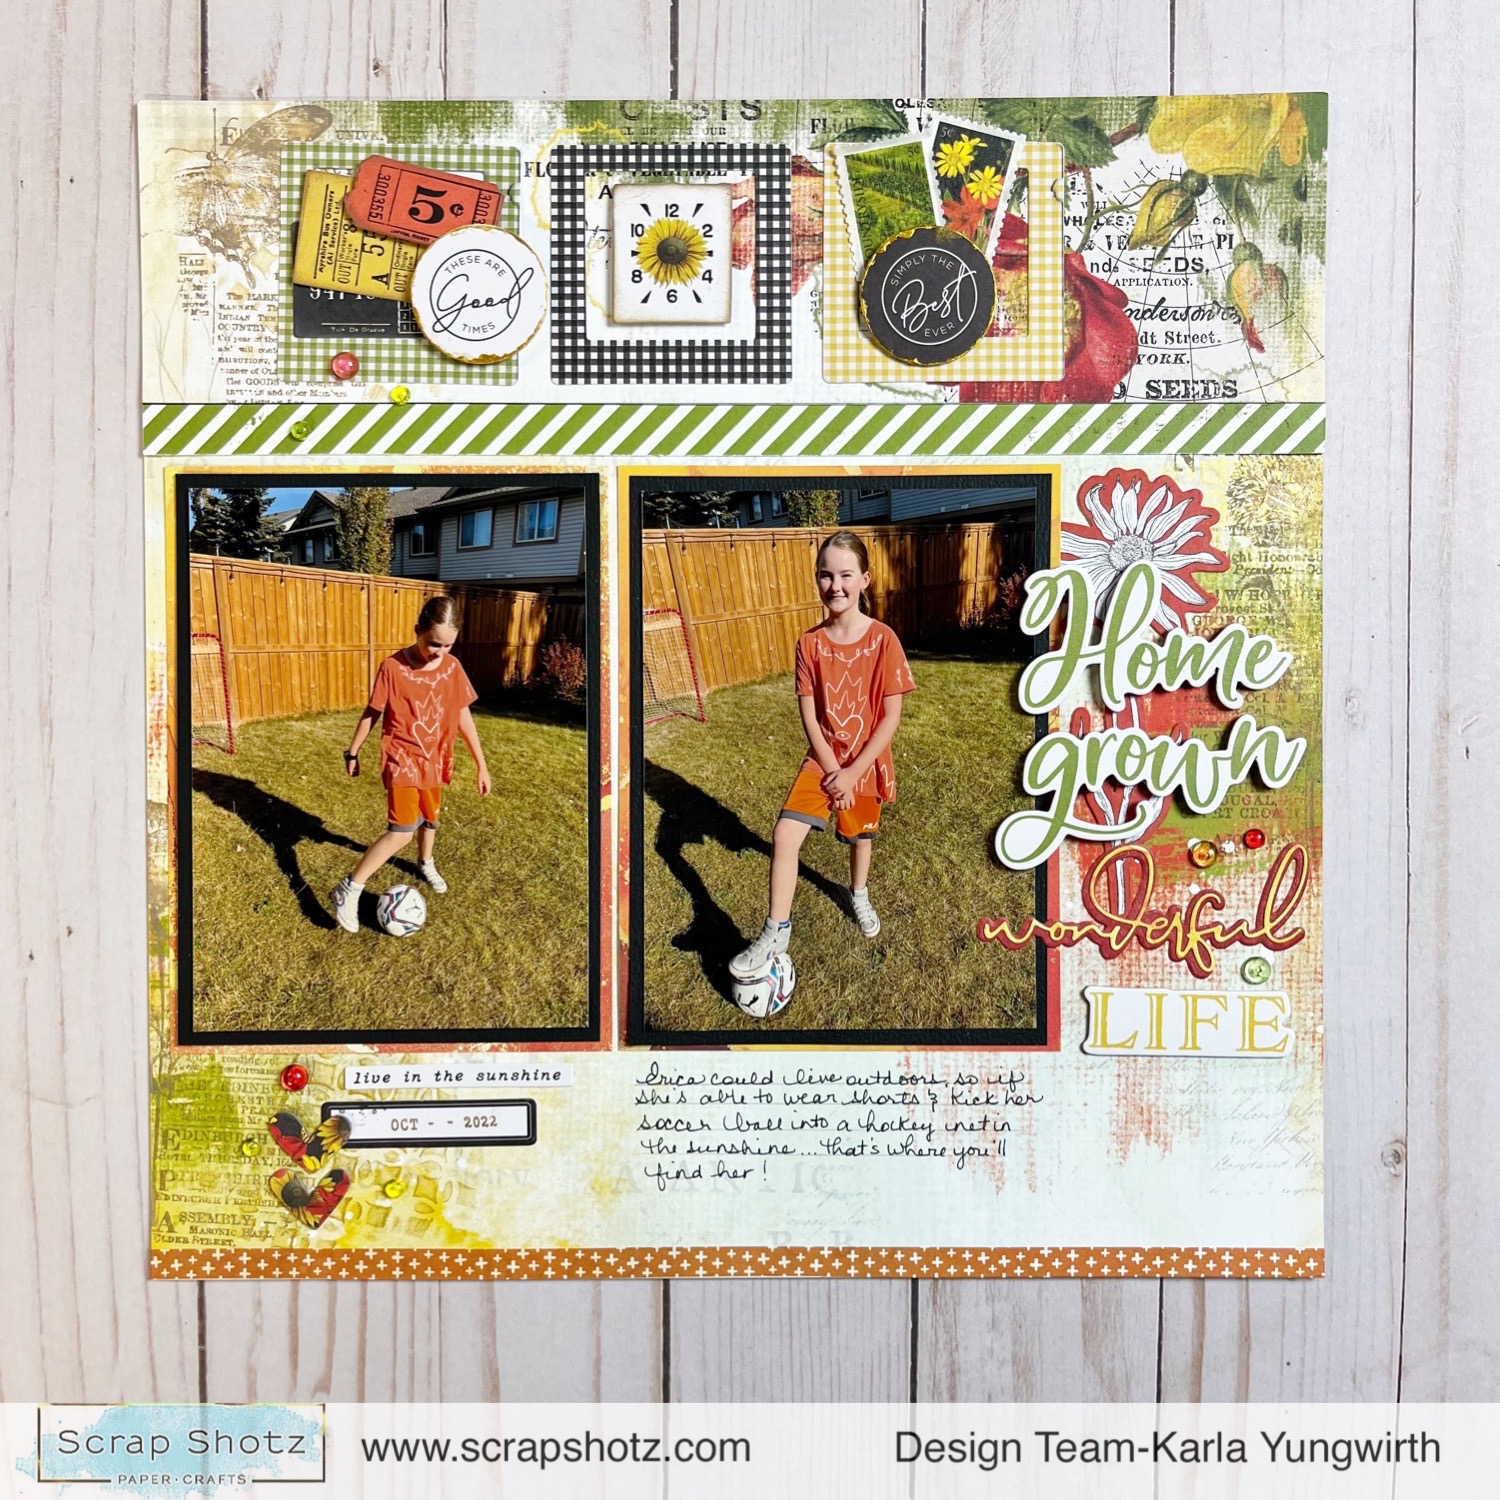
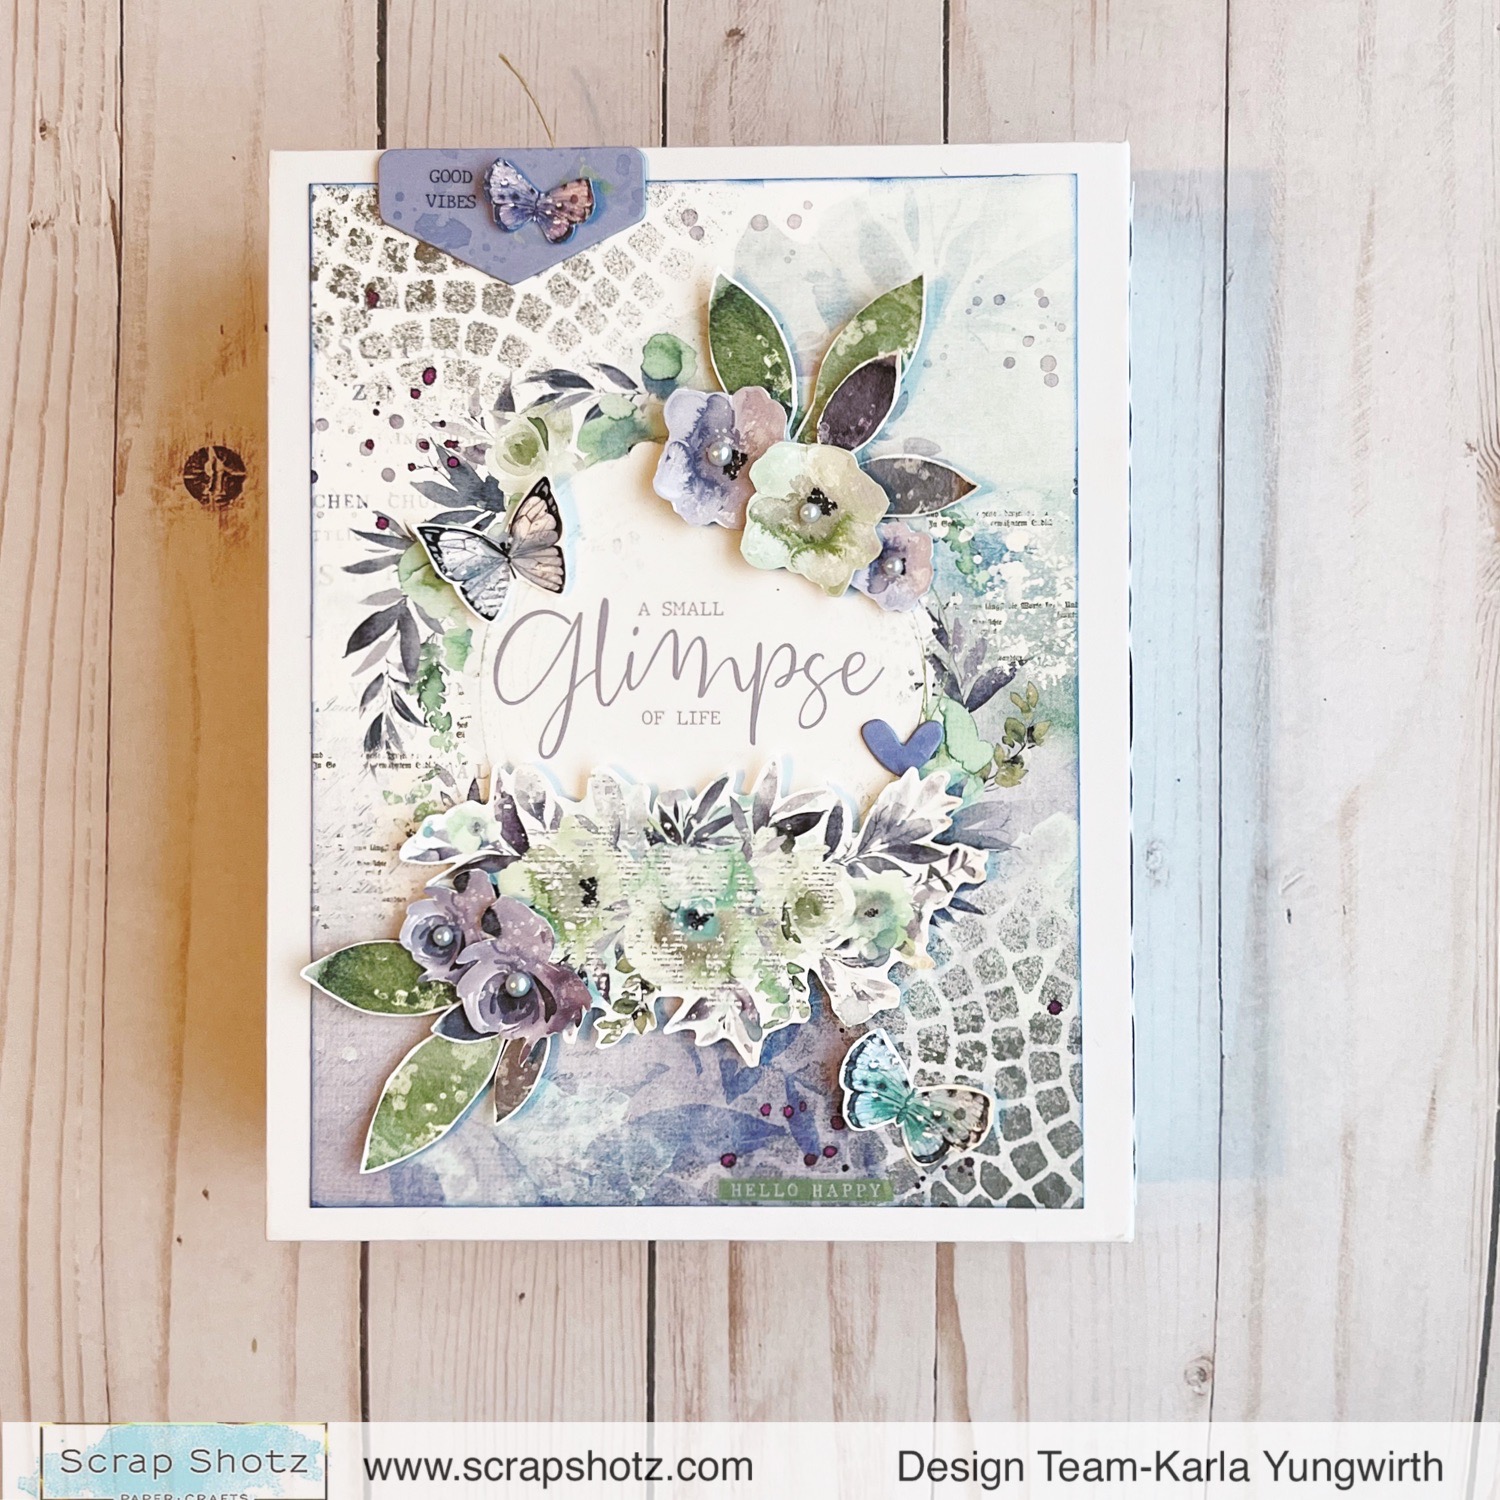
 Hello friends! Karla back today to share the layouts I created in one of the Scrap Shotz' Thursday Live Demos using the beautiful Simple Stories Simple Vintage Meadow Flowers collection. This collection is so lovely for spring or summer with its soft colours and vintage feel, and could work for so many different occasions! You can follow along to see the process to create these layouts, which came together quickly and easily HERE!


I used two 12x12 backgrounds from the collection pack that had preprinted layers already, creating a quick and easy layout base.


I used the chipboard frames for my focal photos, sizing my pictures using my Canon Selphy.
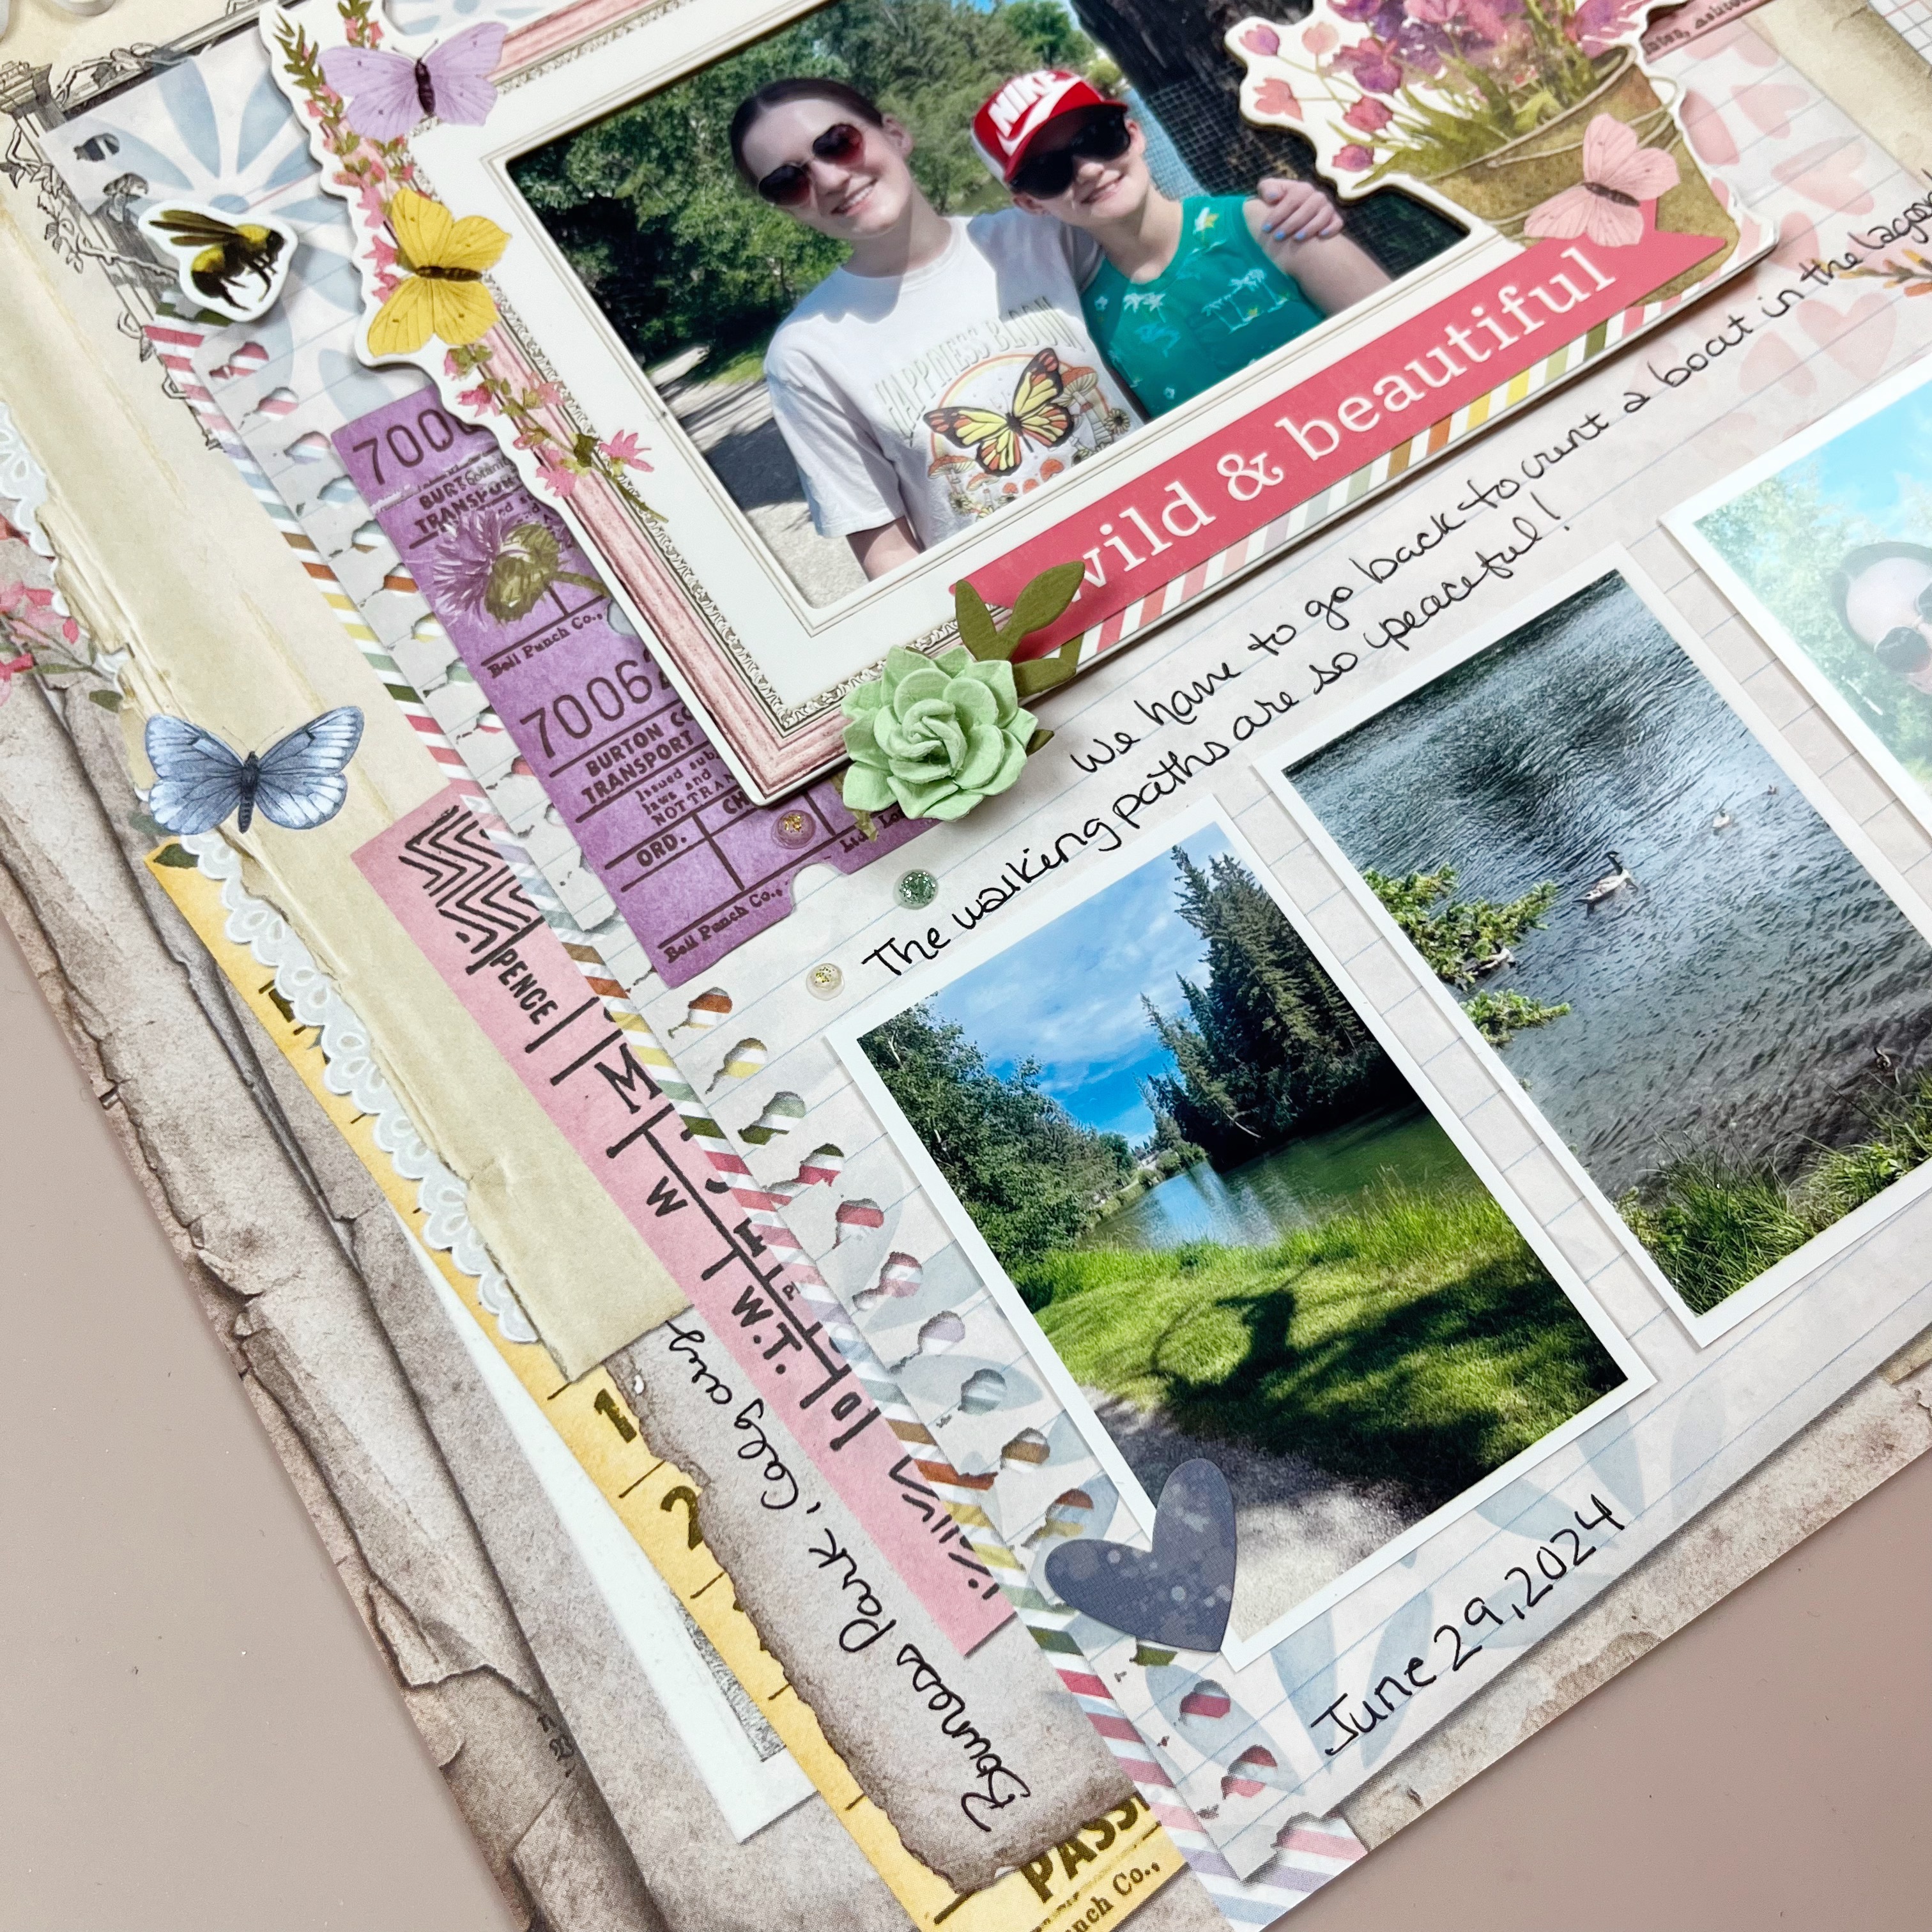

There are so many beautiful stickers on the 12x12 sticker sheet included in the collection pack,plus lots of pretty ephemera and chipboard elements to add dimension.


I used Vicki Boutin stencils and Distress Oxide ink to add some subtle areas of stenciling, using coordinating colours.

\

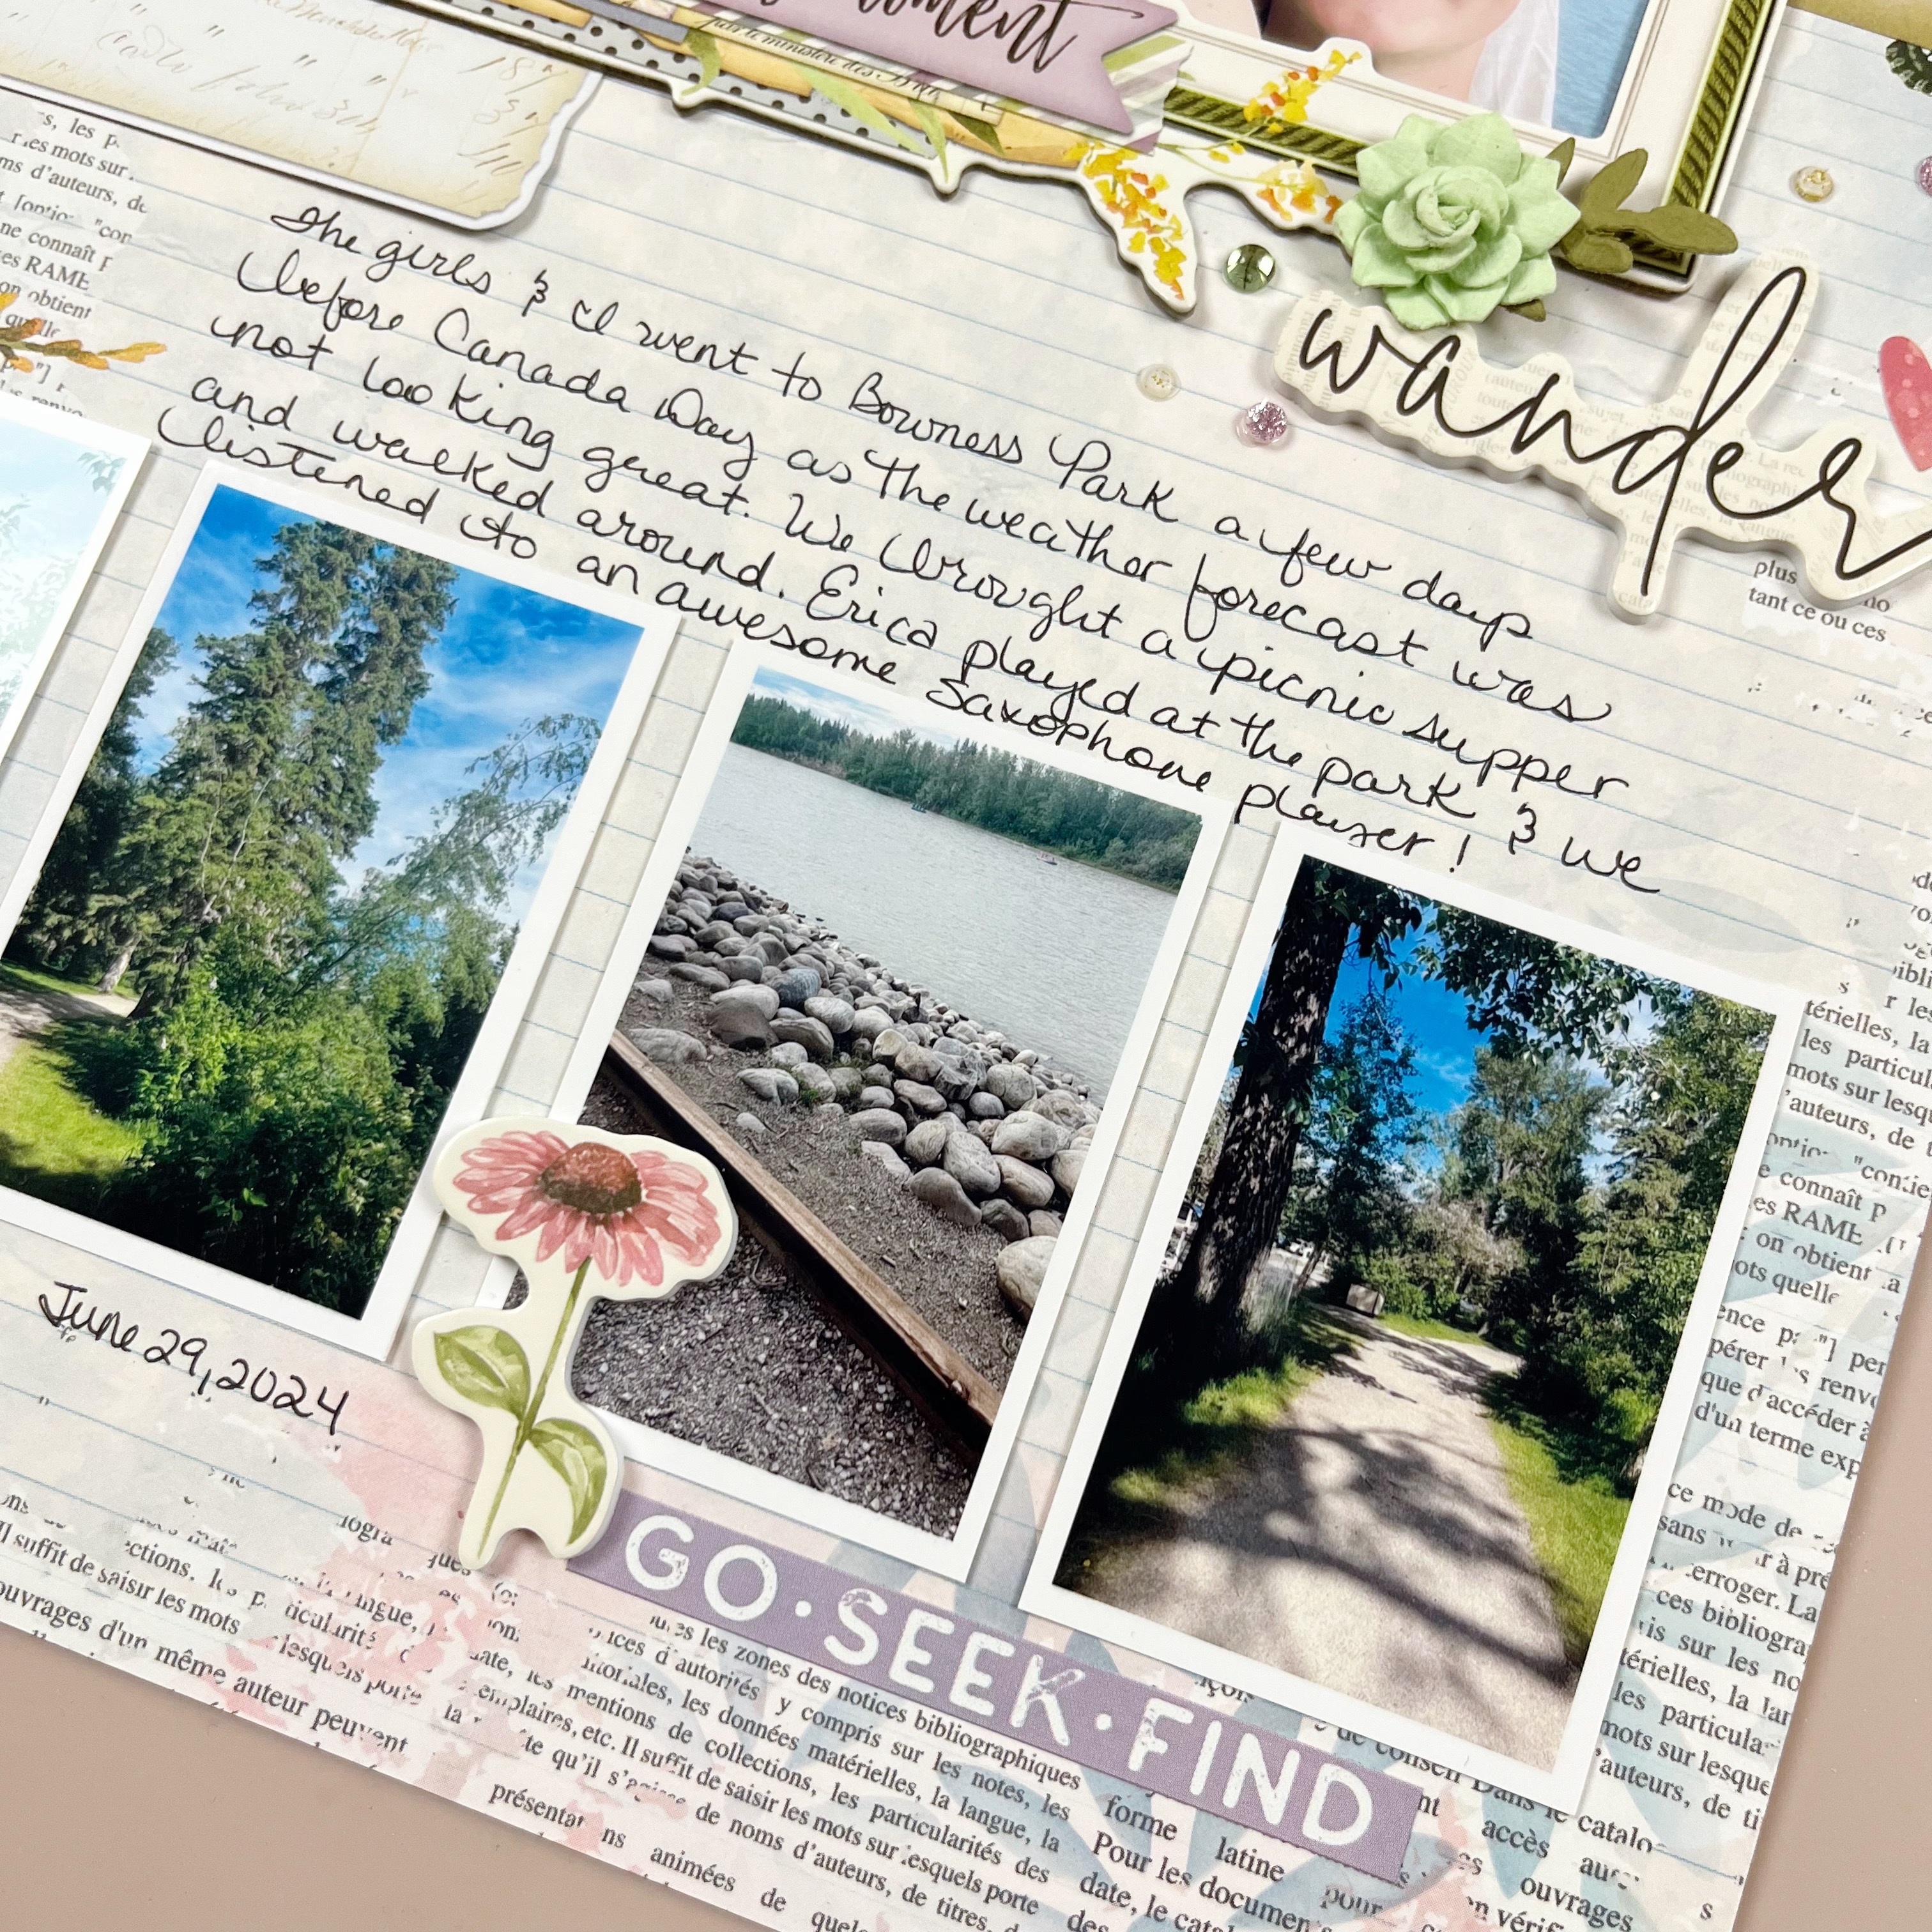
I used the preprinted lines on the background paper to write my journaling directly on the background.


This paper was perfect for our trip to a local park for a nature hike and picnic on Canada Day!


I added some of the foam stickers, pretty 49 & Market flowers and various gems to finish it off!

Be sure to head over to the shop to check out Simple Vintage Meadow Flowers! Happy crafting friends!


Saturday, February 10, 2024

Back To Basics Facebook Live with Rosie - Inks!

 Hello, Jenn here to share this week's Scrap Shotz Back To Basics Facebook Live series. This week Rosie shared all the tips and tricks you need to know to use your INK! 


Grab a drink, and a snack, and enjoy this Live class, perfect for beginners and experts alike. And be sure to check the entire series for everything you need to know to start your cardmaking and paper crafting journey, or spark creative inspiration to take your crafting to the next level.

See you next Thursday with the next installement Live on the Scrap Shotz Facebook Page at 1pm MST. And here on Friday with the replay!!!

Happy Scrapping :)
Jenn 

Sunday, February 4, 2024

Back To Basics: Facebook Live Series!

Have you been following along with our new Back To Basics series?!! We want to help you start making cards if you’re not sure where to start- or if you’re a seasoned cardmaker this will be an awesome weekly refresher and a great excuse to get out your supplies and share what you’ve made each week in our Scrap Shotz Paper Crafting Group! You can find us live weekly on our Facebook Page at 1 pm MT on Thursdays!


On week 1 we shared an overview of the series and talked about what is in a basic card kit and reviewed Adhesives!! Feel free to share your favs and let us know if there are topics you’d love to know more about! Watch the Facebook Live video HERE or click the link below!


Week two of our Back to Basics series and we talked trimmers, scissors and using your 12x12 scrapbook supplies to make cards! Watch the Facebook Live Video HERE or click the link below!

Back To Basics Week 3: Craft Mats and Scoring Boards - Watch the Facebook Live Video HERE or click link below!


Set your reminder to find us live weekly on our Facebook Page at 1 pm MT on Thursdays!

Saturday, March 11, 2023

Scrapbooking with 49 and Market Countryside! Plus a Video!

 Hello friends! Karla here today with a couple layouts and process video using the beautiful 49 and Market Vintage Artistry Countryside Collection


You can see how this first layout comes together in the process video linked below! Every week you can join us on the Scrap Shotz Facebook page for demos, projects, how-to's and what's new in the shop on Thursday's at 1 pm MST! 


I used some of the Craft Consortium Ink Drops Sunset paper pad to frame my photos and used the Creative Scrapbooker March Sketchy Challenge as inspiration for this layout. There are so many pretty embellishments in the Countryside Ephemera Pack - perfect to use on the top of this layout! 


I added a title with the Chipboard Words pack and the Spellbinders Yana's Wonderful Script Sentiments Die Set. The Stamperia Velo Glue was perfect to glue down the intricate diecut!


For the second page, I again used the beautiful 49 and Market Countryside 12x12 Paper Pack as my base. I used some fall photos with this paper, but it could totally be used for summer scrapbooking as well! 


I cut out the images on the back of the paper pack cover and added them beside my daughter's photo. The stamp washi tape is so beautiful, and works perfectly as embellishments on the page. 


I added The Robin's Nest Dew Drops, which are beautiful translucent acrylic drops soon to be in the shop, with the Stamperia Extra Strong Glue. They add soft pops of colour around the page!


I used Slippery When Wet Lunar Paste to add texture around the circle ephemera pieces on both pages and add stenciled details using the new Dina Wakley Coaster Stencils. I used the Botanic Collage stamp set and Frayed Burlap Distress Oxide Ink to add a bit of stamping over the stencilled areas. If you're looking for a similar scripty effect, you could try the Festive Collage Stamp, some of the AALL Stamps or the Wendy Vecchi Background Script Stamp!


Here's a look at both of these layouts together.


Watch the video replay to see how I put the first layout together and see a few new things in the shop this week! 


Thanks so much for stopping by! I hope you have a wonderful weekend, and happy crafting!

Monday, February 20, 2023

Mixed Media Card Inspiration!

Hello friends! Karla back today to share some cards I put together over the weekend using various pieces created in the Scrap Shotz Thursday Live Demo's over the last few weeks! That's the fun thing about playing with your supplies... you have panels and stamped images and diecut pieces that you can then put together to create pretty projects!! I added in the pretty Ink Drop Sunset 6x6 papers and Yana's Wonderful Script Sentiments Dies by Spellbinders!


For this first card, I used Nuvo Embellishment Mousse to paint the pretty Pinkfresh Floral Border Stamp! It is so shimmery and worked great alongside the Vicki Boutin Cosmic Watercolor Set! I popped the frame up over a Spellbinders 3D embossing folder background.

Check out the video HERE to see lots of other ways to use the pretty Nuvo Embellishment Mousse!


I layered the Script Sentiments Dies cut with the Sunset paper over  shimmery Tonic Pearlescent Cardstock and added Pinkfresh Gold Glitter Drops to embellish! 


I was left with a tag base after demoing the lovely Lost Shadow Distress in this demo HERE. It is such a beautiful, soft grey, perfect to add a shadow of colour and wonderful to mix in with other colours. Definitely a must-have! I sprayed through the AALL & Create Lotza Stars Stencil for a soft grey background using the Lost Shadow Spray Stain and then added a bright pop of yellow using Harvest Moon Distress Mica Stain, which has a lovely sparkle! I even sprayed my seam binding ribbon to match! 


I added a foiled Pinkfresh Detail Leaf diecut - you can check out all the fun ways we used the new Pinkfresh collection in this video HERE - and layered on those beautiful Spellbinders diecut words!


Last week we had fun playing with the New and exciting Vicki Boutin Black Foundations Paper!! You can check out that video HERE! For this card I used the Pinkfresh Floral Border Stencil and Distress Oxides, which look gorgeous over the black paper. I love that the stencils can be used alone or with the stamps, and the border die is so detailed! I used the Ink Drop Sunset 6x6 paper as a base for the frame and added a hello beautiful Sentiment


I accented the flowers with the Pinkfresh Gold Glitter Drops and Nuvo Lemon Twist Dream Drops.


Of course, Lunar Paste looks amazing on a black background, and because the Black Foundations Paper is heavy weight, and perfect for mixed media, it works beautifully for this technique! I used Gold Rush and Tropical Tango Paste through a Vicki Boutin Print Shop Stencil, mixing them for a pretty patina'd look. Be sure to check out the video to see how easy it is to create this effect!


I added some Lucy's Cards Gems to this card for just a little more bling!


Here, I heat embossed the Pinkfresh Mixed Blooms Rubber Stamp with Ranger White Embossing Powder and painted it in with the Vicki Boutin Cosmic Watercolor Set, which look amazing on black as well as white paper!


I used the Ink Drop paper as a base and embellished with Dream Drops.


For this last card I again stenciled the Pinkfresh Floral Border with Distress Oxides, but this time I stamped over top with the coordinating Floral Border Stamp using Hero Arts Unicorn White Pigment ink to add in the sketchy details! 


I used the white ink again to stamp the sentiment - I love how many pretty sentiments are included with the Floral Border stamp set and added a few Lucy's Cards Gems to finish it off! 


You check out more fun ways we used the new Black Foundations Paper in the Thursday Demo HERE or click to watch below!


Thanks so much for stopping by! Be sure to watch this week's Live Demo on the Scrap Shotz Facebook Page, and have a happy, crafty week!


Monday, October 24, 2022

Christmas with Lawn Fawn!

 Hello friends! Karla back today with a whole lotta Lawn Fawn Christmas fun!! I was fortunate to be able to take a retailer class for Scrap Shotz last week and got to put together the cards below with Kelly and Jenn from Lawn Fawn!! 

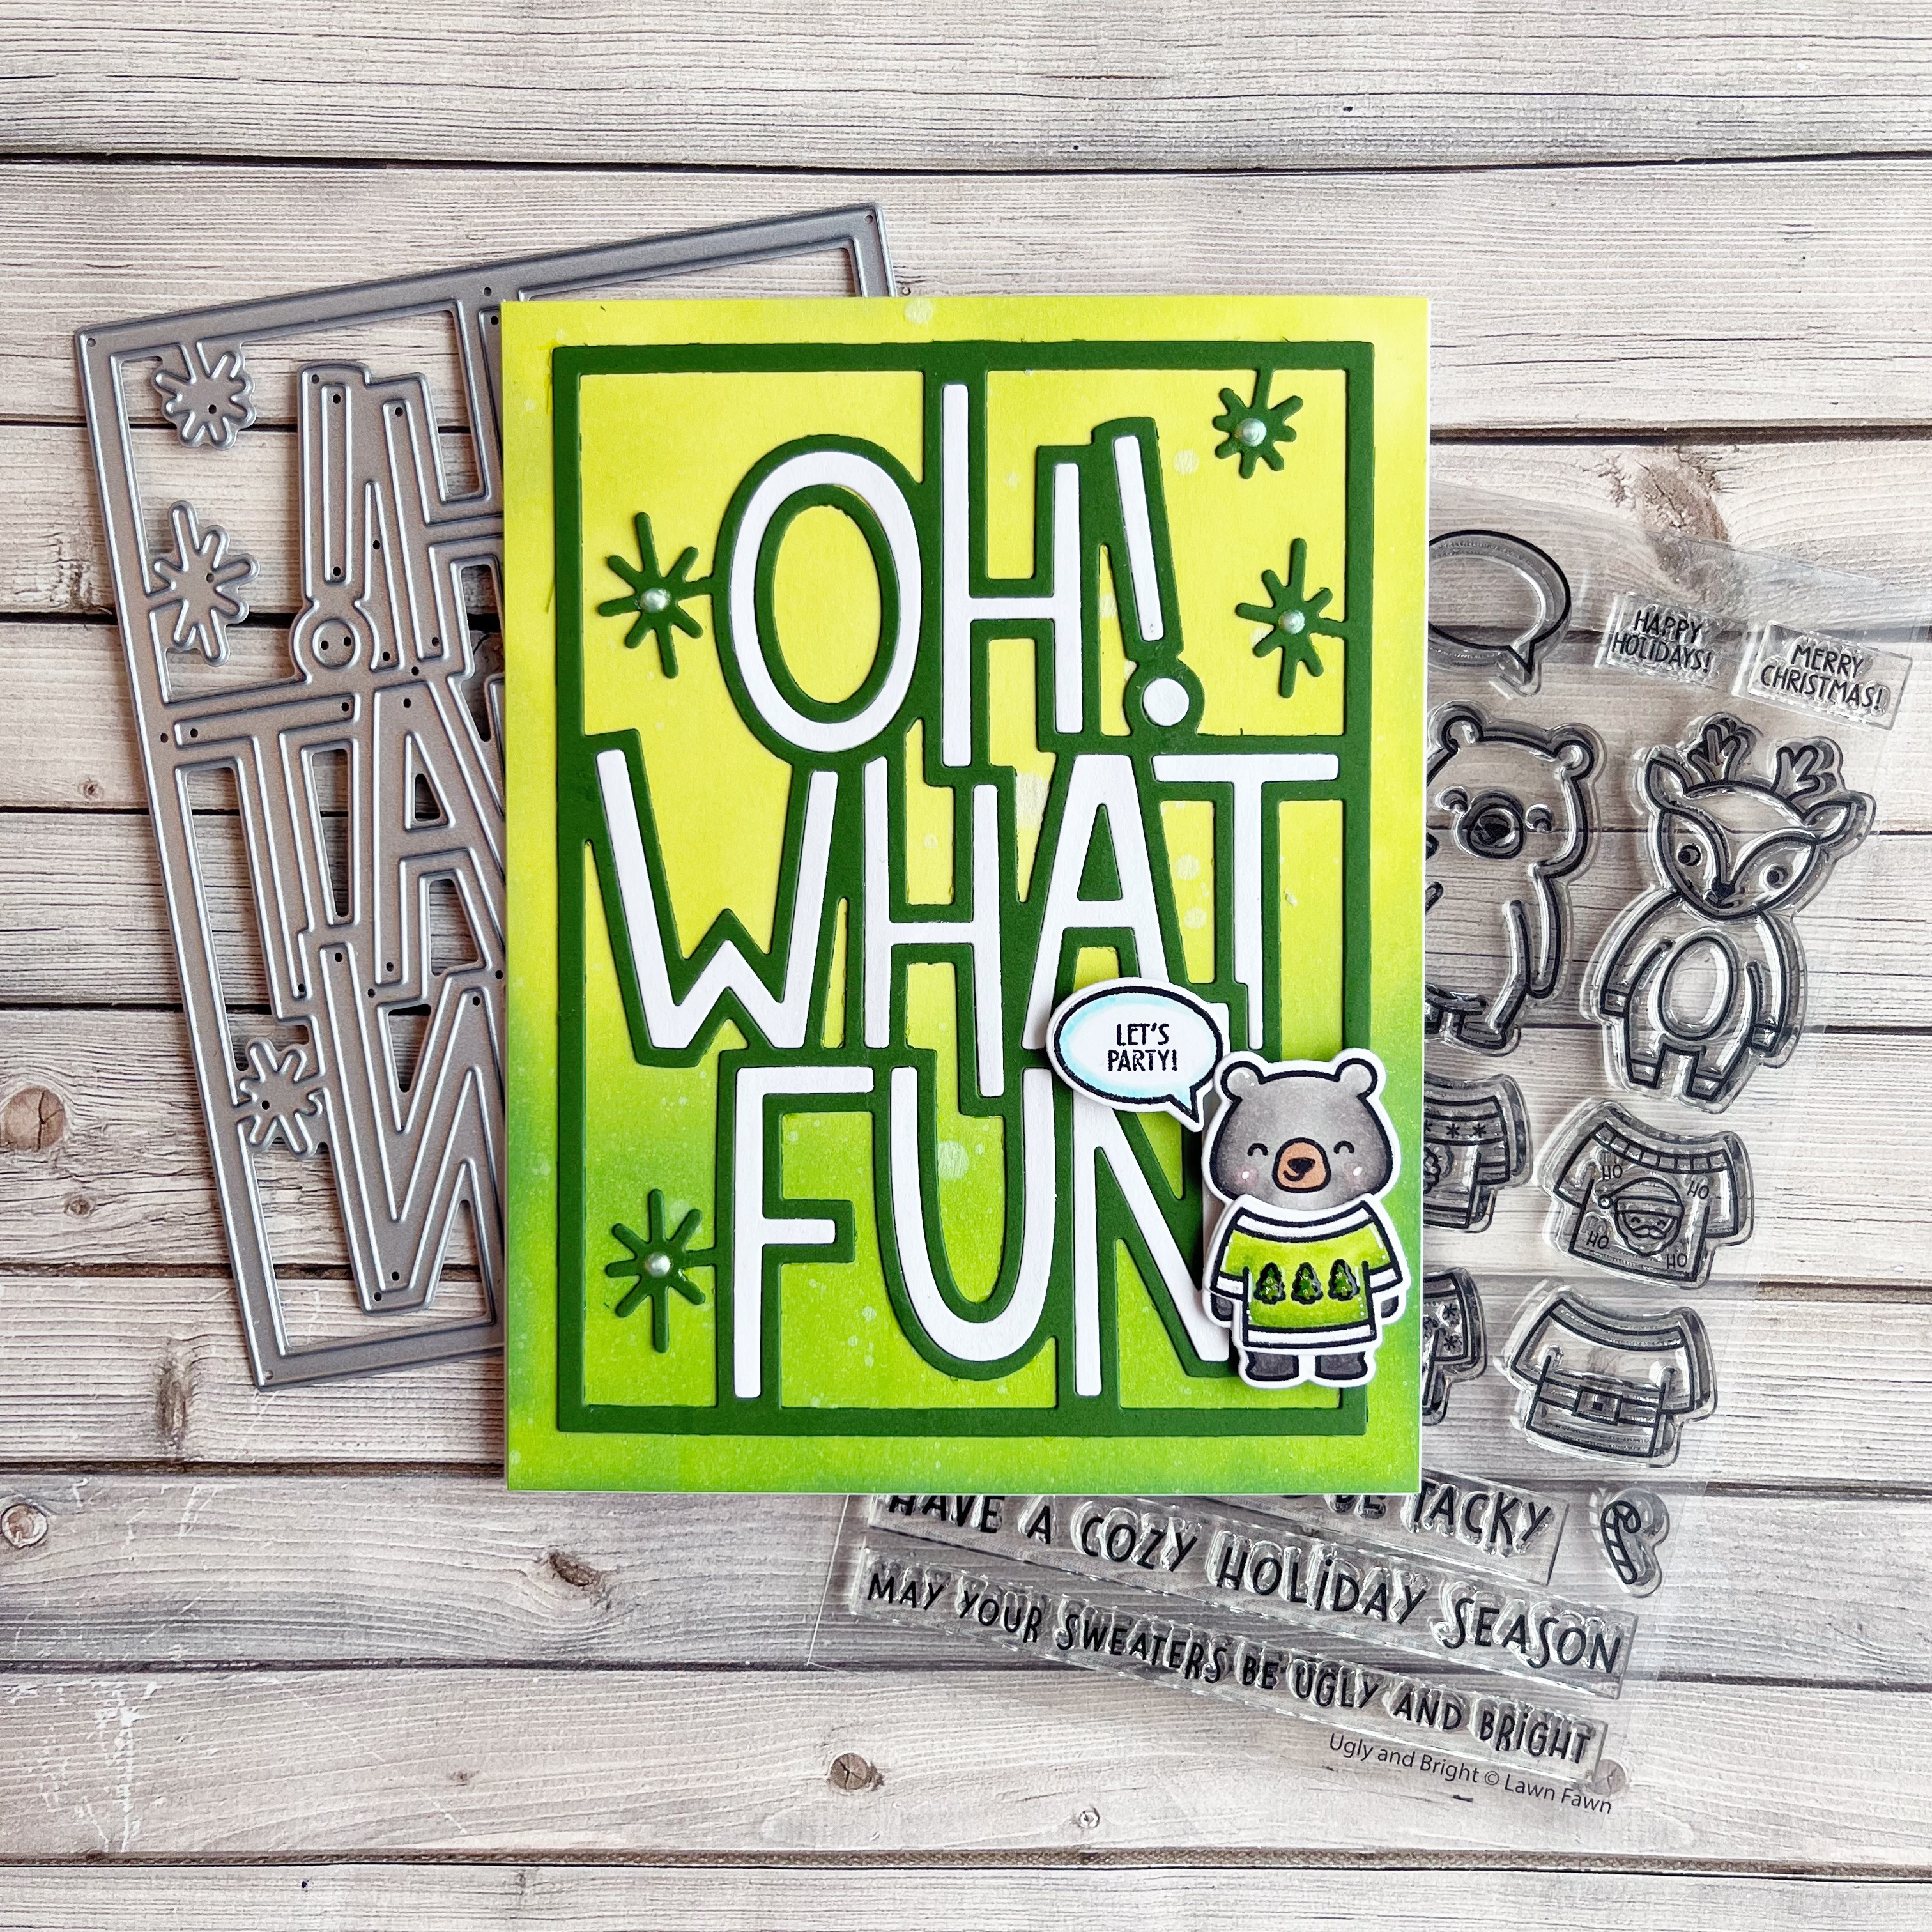
Here is a card with the Oh What Fun Lawn Fawn die, which is great by itself, or in combination with stamps and various backgrounds! We added the cute bear from Ugly & Bright coloured with Copics and layered the diecut over a background blended with Twisted Citron and Mowed Lawn Distress Oxide Inks.


Here is a very similar card using the opposite colours of cardstock for the Oh What Fun Lawn Fawn diecut - inserting the green letters inside the openings. I used a metal shim when cutting this die and it cut so smoothly! This time the cute critters from Snow One Like You decorate the card. PS - if you're ever looking for out of stock or older product from Lawn Fawn, feel free to email Sandy@scrapshotz.com with your requests and she'll add them to her next order!


Next we created a fun 'warm wishes' Christmas card using the Beachy Christmas Stamp Set, Lawn Fawn Background Sunray Stencil, Merry Christmas die and Christmas Palm Tree die. Santa is looking super cool and relaxed!!


This card uses the same Beachy Christmas Stamp Set with a cute little Lawn Fawn penguin character. Lawn Fawn sets work together so well, and there are so many images in this set you could use in many different ways, combined with other sets!


The Ugly & Bright Set is one of my favourites!! I just love their adorable little sweaters!! There is even a plain shirt waiting for you to add your own tiny image to! This card is so basic and sweet with Lawn Fawn patterned paper on the bottom of the card, a bit of bling with the strip of gold glitter paper and the cute little critters. The card was finished off with a couple cute sentiments!


Lastly, again using the Beachy Christmas Stamp Set and Lawn Fawn Background Sunray Stencil, we created a warm Christmas wishes card! By using a pink ink to create the sunray background and changing the images around we get a totally different look!


And here is a look at the card I created for last week's Thursday Live Class using the Oh What Fun Lawn Fawn Die, Distress Mica Stains and Crayons, Spellbinders Origami Embossing Folder and Pinkfresh Ornaments! That fun large die is great to mix and match with lots of stamps!!


The embossed background sprayed with Mica Stains is so beautiful peeking out from behind the Oh What Fun Die!


Watercolouring with the Mica Crayons on the stamped ornaments creates a soft, pearly effect!


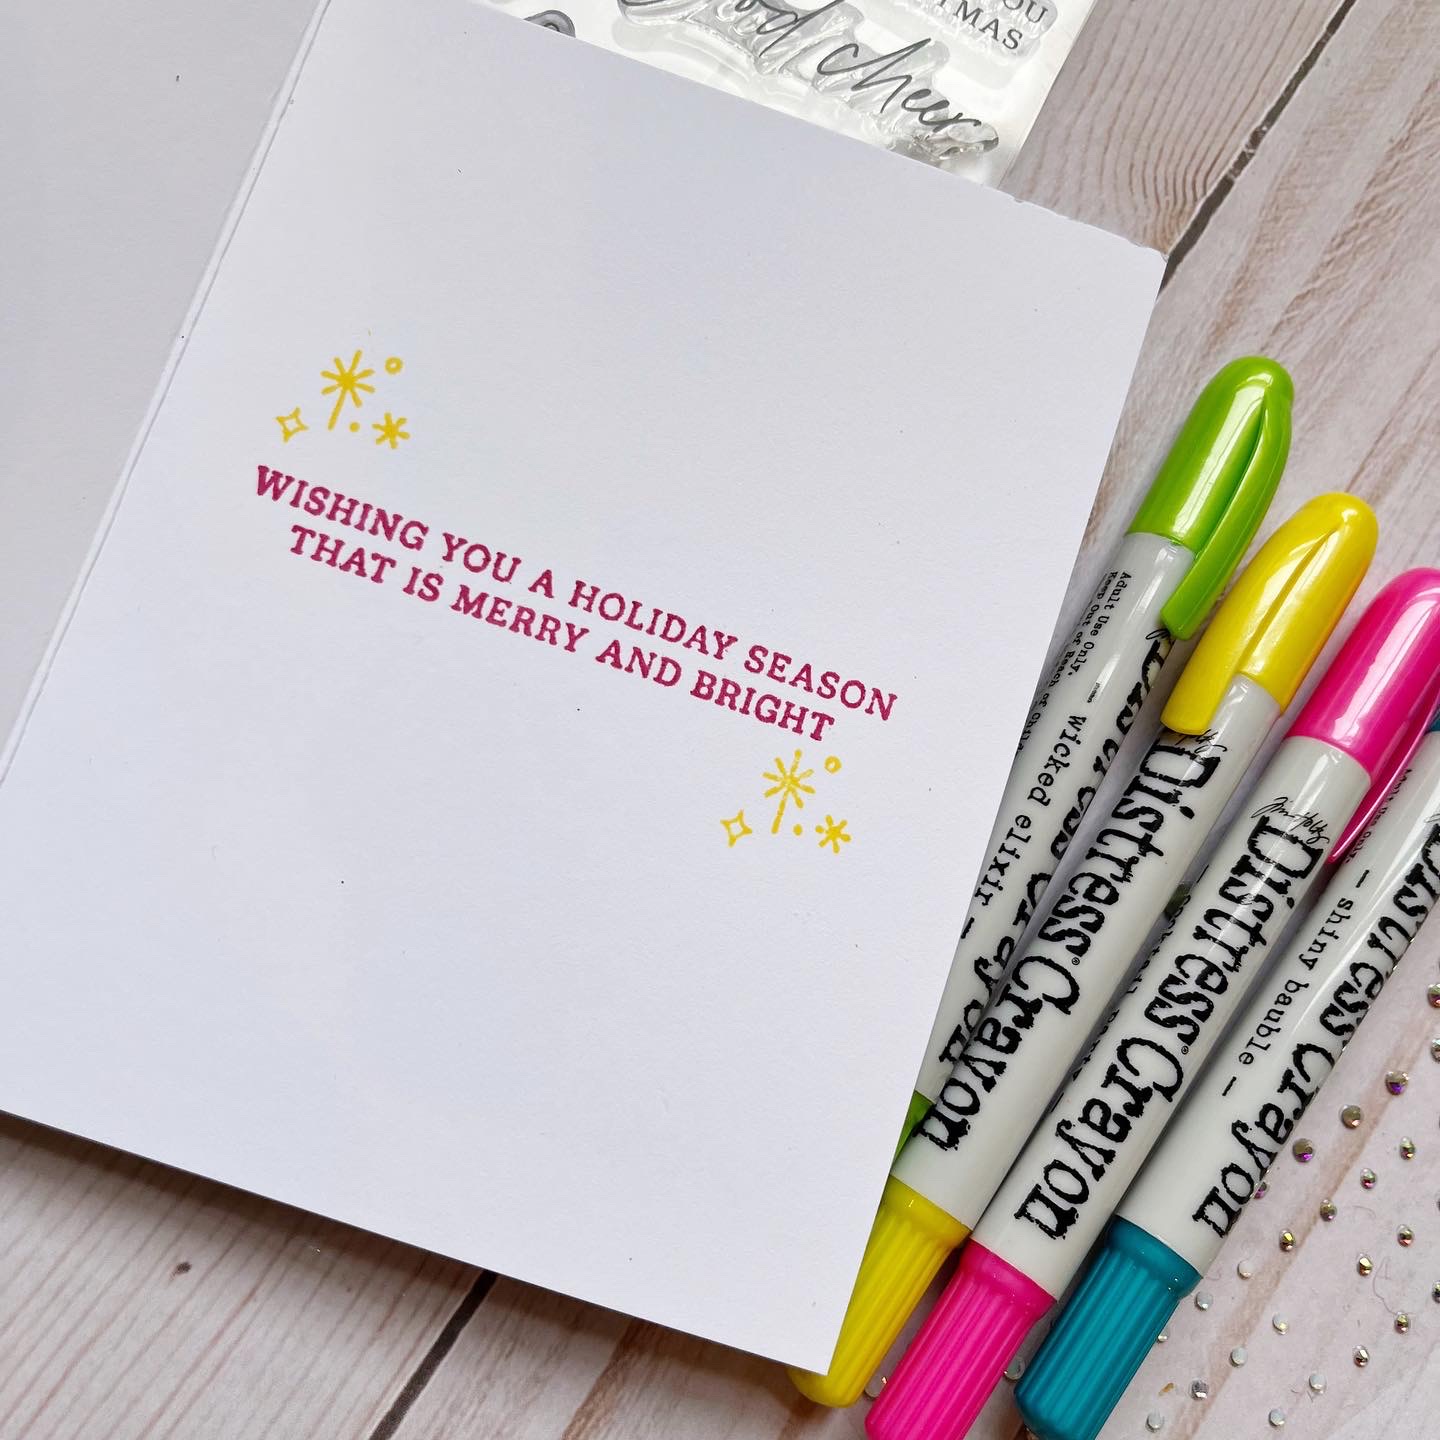
Inside, I've stamped with Altenew Inks - some of my favourite for blending and stamping!


Here's the Facebook Live process video where you can craft along!!

Happy Crafting!

Monday, August 22, 2022

49 and Market ARToptions Viken Album!

Hello friends! Karla here today with a look at the completed album we started to put together in the weekly Facebook Live  last week. You can check out the Facebook Live Replay below as well as a completed flip through on YouTube at the bottom! You'll find the 49 and Market Quad Folio, Waterfall Set and ARToptions Viken Collection in the Scrap Shotz Store, along with the Spellbinders Tufted 3D embossing folder and Tonic Pearlescent Cardstock. I also used Lavinia, A Colorful Life and Tim Holtz Stencils, Prize Ribbon Distress Oxide Ink, Midnight Snack Lunar Paste and the Limited Edition Tim Holtz Mica Stains!


Here is a look at the Facebook Live Replay where we put together the Waterfall Pages and some of the Album! 


I used Rub-ons to create dimensional elements by adding them to white cardstock and fussy cutting, as well as cutting out the cut-apart sheet included in the 6x8 paper pack.


The Rub-ons look beautiful added directly to the spine, with a chipboard label.


I added the Mica Stain Sprays by both spraying through the stencils and then turning them over for a negative effect. They are so shiny!


As you open the Quad Folio you'll find areas to embellish, perfect to add the Waterfall pages.


We put the waterfall set together in the Facebook Live, so be sure to check that out! The Spellbinders Tufted 3D folder and Tonic Pearlescent Cardstock looks like a quilted effect on the edges of the album!


There are magnets included in the Waterfall set so the top flap stays closed. 


I added layers of Rub-ons, paper and chipboard and then added chipboard and Rub-on sentiments throughout the waterfall pages. I used Midnight Snack Lunar Paste with a sponge through a stencil on the flaps.


I sponged the edges of the 6x8 paper with Prize Ribbon Distress Oxide Ink.


There are 3 waterfall sets included in the pack - two small and one large. 


The large waterfall fits the whole page and fits larger photos perfectly!


I used some elements from the cut apart page included in the 6x8 paper pack and added a Rub-on sentiment directly onto the page.


On the back I added some stenciling with the Tim Holtz focus stencil and the Mica Stain Spray. There is a magnetic closure that keeps the album flap closed.


And here's a look at the full flip through on YouTube


Happy Crafting Friends! Be sure to stop by and hang out again this Thursday on the Scrap Shotz Facebook Page for another Live Demo at 1 pm MST!