Friday, August 19, 2016

The More the Merrier

Hello!

If you're like me you have more than one stamp set in your crafting space so I want to show you how you can get more out of stamp sets by using more than one set on your projects.

I chose to use 2 stamp sets, Painted Butterflies and Vintage Flowers by Altenew.

{supplies: stamps and inks-Altenew; sequins from my stash}

I punched a mask with an EK Success 3" circle punch and temporarily adhered the circle to the card stock base.
I then stamped around the circle mask with an outline stamp from the Vintage Flowers stamp set, alternating light and dark shades of ink.

The butterflies were again stamped with Altenew ink and die cut with the matching die, they are adhered with pop dots in the centre of the wreath. The sentiment is also from the Painted Butterflies stamp set and sequins add some shine to the cards.

{Morning Frost & Moon Rock Altenew Ink}

I added a punch of color to this last card by coating a wood star with Viva Decor red paint. I hope you've enjoyed these simple ways to make use of more than one stamp set on one project. 

Thanks for stopping in!


Wednesday, August 10, 2016

Die Cut Fun!

I don't consider myself a card maker however I have been enjoying making cards the last year or so and I have a few more share in this post.

The lovely Virginia cut a couple of die cuts for me with the Altenew Dodec Cover Die* one in black and one in white. I had a grand idea to foil one of the die cuts and EPIC FAIL is all I can say about that one.

I layered this die cut over Elizabeth Crafts card stock I inked with Tim Holtz Distress Inks in Blueprint Sketch, Mermaid Lagoon and Peacock Feathers and then splattered with water to get the light areas:

Silver, white iridescent and clear sequins hightlight the die cut, a Tim Holtz phrase sticker popped up with foam squares and accented on either side with Nuvo glitter drops complete this card.

This next card began with these Ken Oliver Color Burst backgrounds and the My Favorite Things Circle Scribbles die:

The white die cuts were pieces I cut out of white foam which I did not use, I glued the die cuts made from these watercolor backgrounds directly to a white piece of card stock die cut with the Elizabeth Crafts Stitched Rectangles die*.
The solid stamped images are from the My Favorite Things Circle Scribbles stamp set which has the coordinating die I used for the die cuts.
The 'thank you' sentiment is from the Altenew Oriental Orchid stamp set.

Dies can be used in more ways than just accenting or cutting out stamped images as you can see here. 

*Items may not be in store but you can contact Sandy directly to inquire about ordering.


Thanks for stopping by :)


Saturday, August 6, 2016

Water Colour Powders Tutorial

**Please Note: Photobucket very recently changed their terms of service and no longer supports direct linking for 3rd party hosting of images. To view the images not displayed, hover and right click over image, then choose either "open image in new window" or "open link in new window" **

Hello,

So pleased you can join me for a look at a couple cards I created using the 
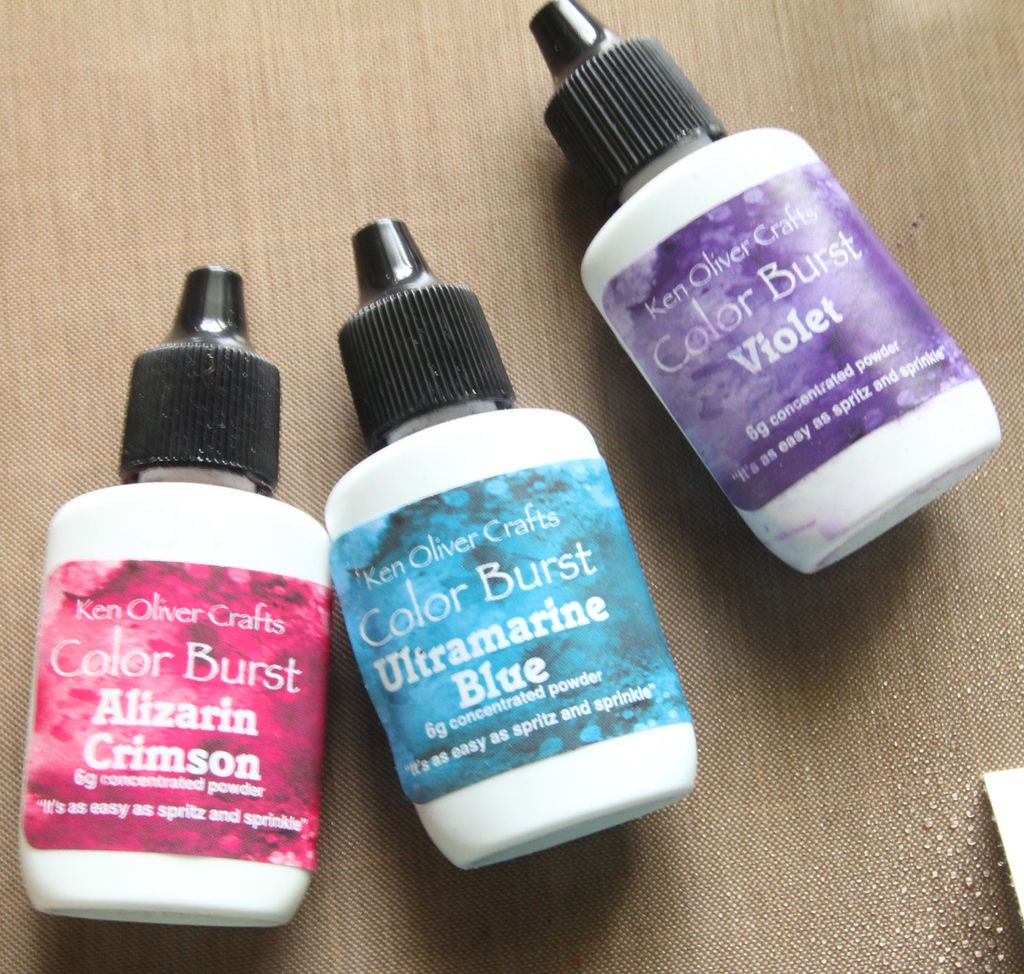
Ken Oliver Color Burst Powders available in the store.
I am going to walk you through the process of making these cards. Please note that these exact colors may not be in the store but you can contact Sandy to inquire about ordering them.
You can create a similar effect with the Magenta-Nuance Watercolor Powders as well.

The Color Burst powders are available in singles in the store while the Nuance powders come in a set of 15 colors.

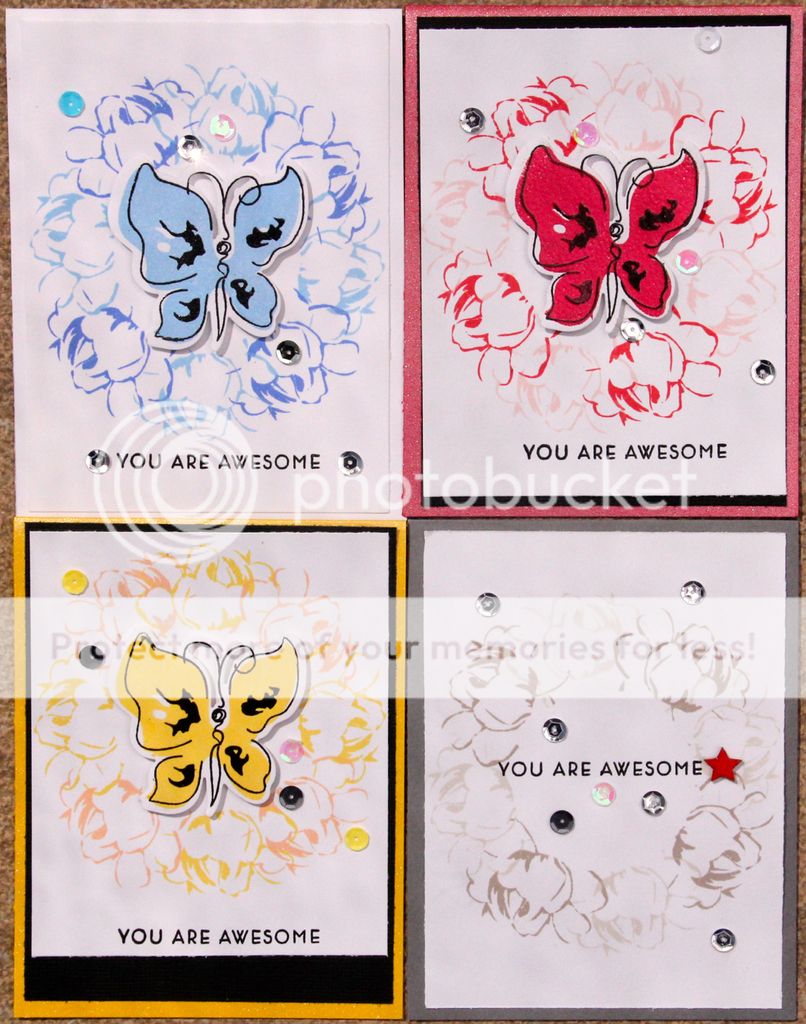
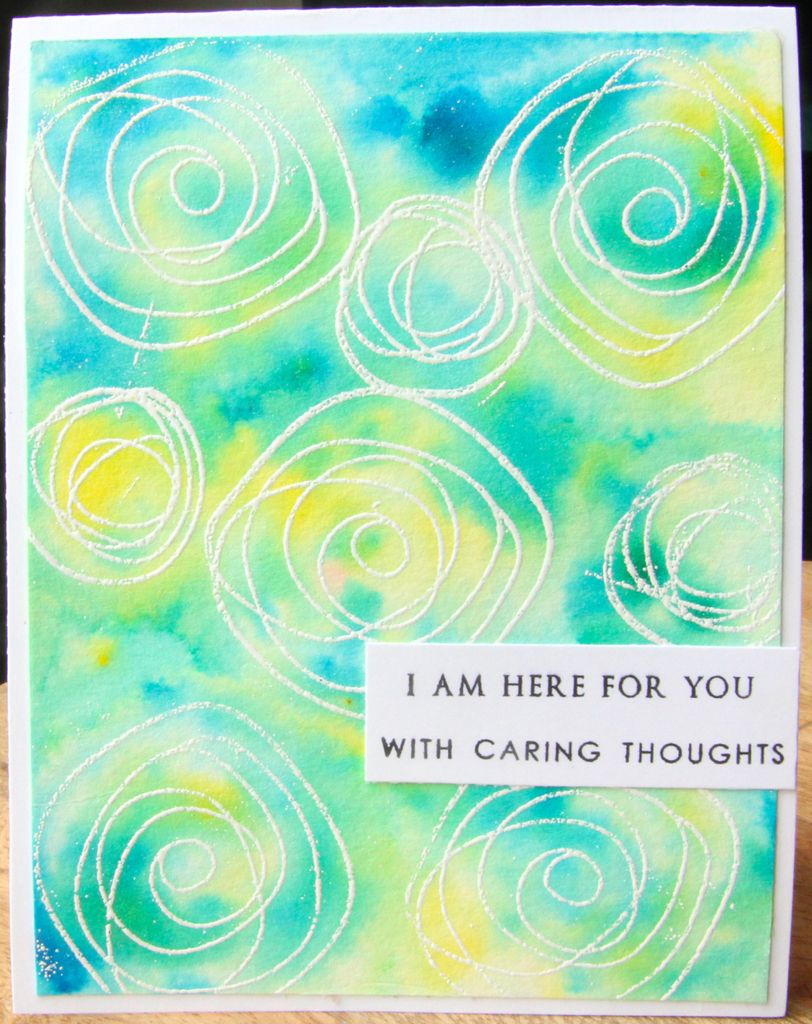
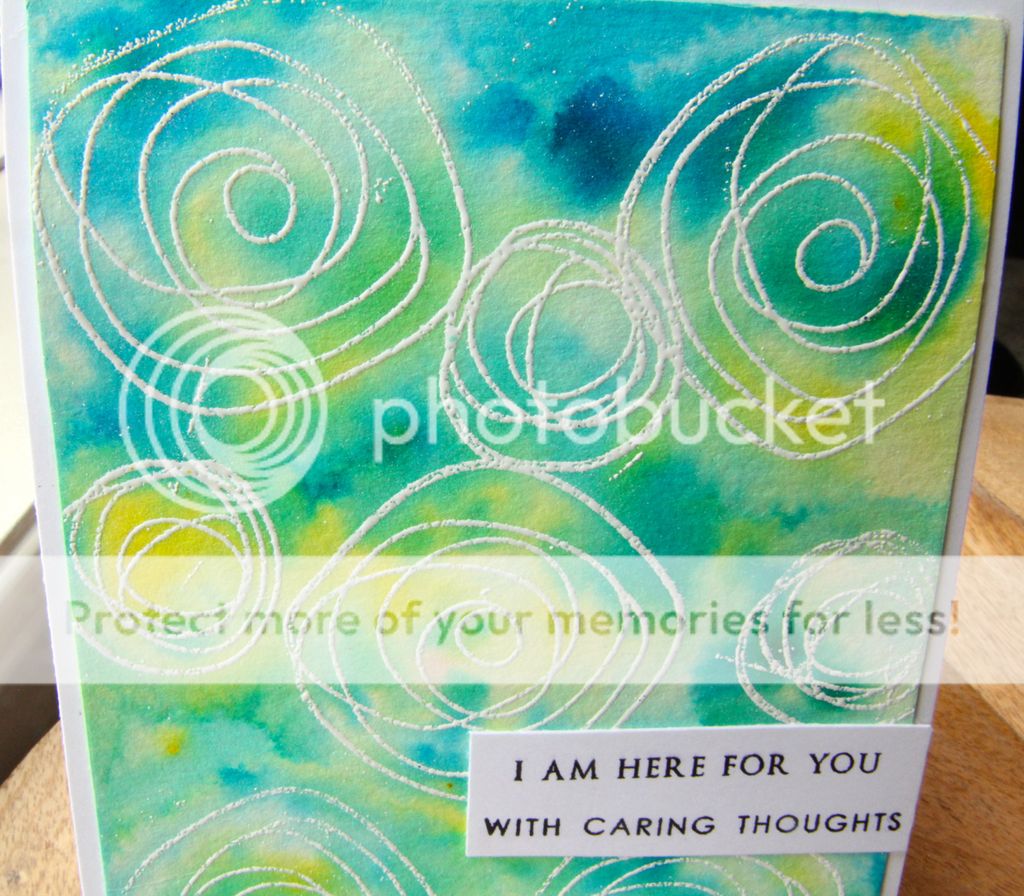
Let's take a look at the first card:


These are the colors I used for this first card:


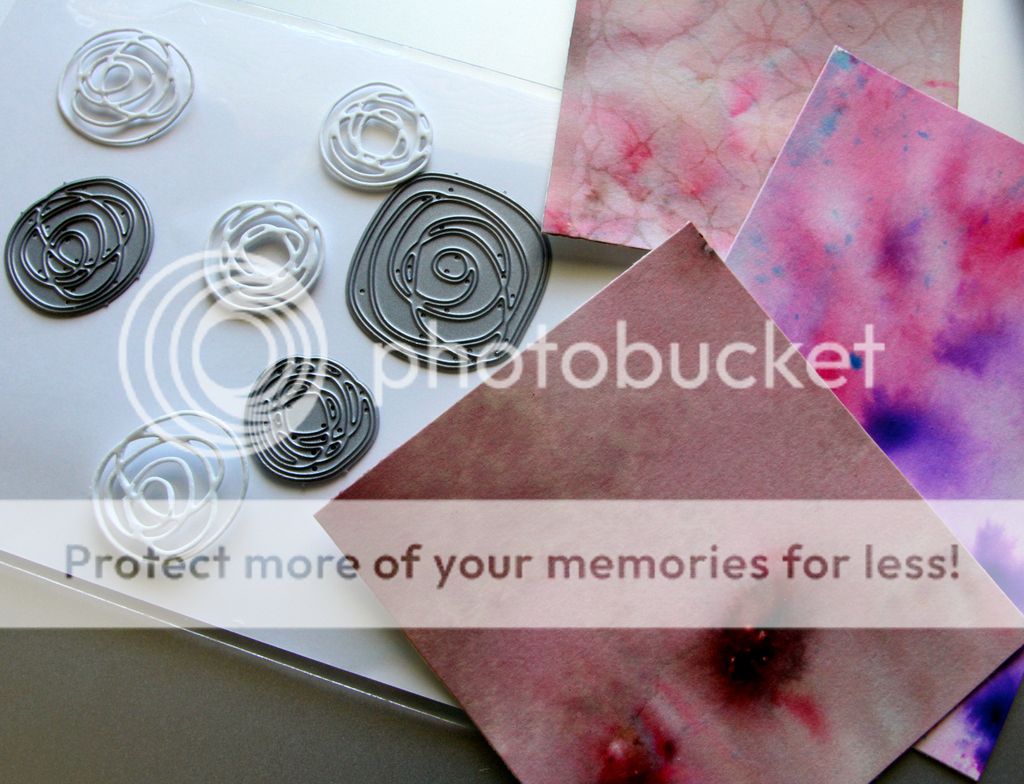
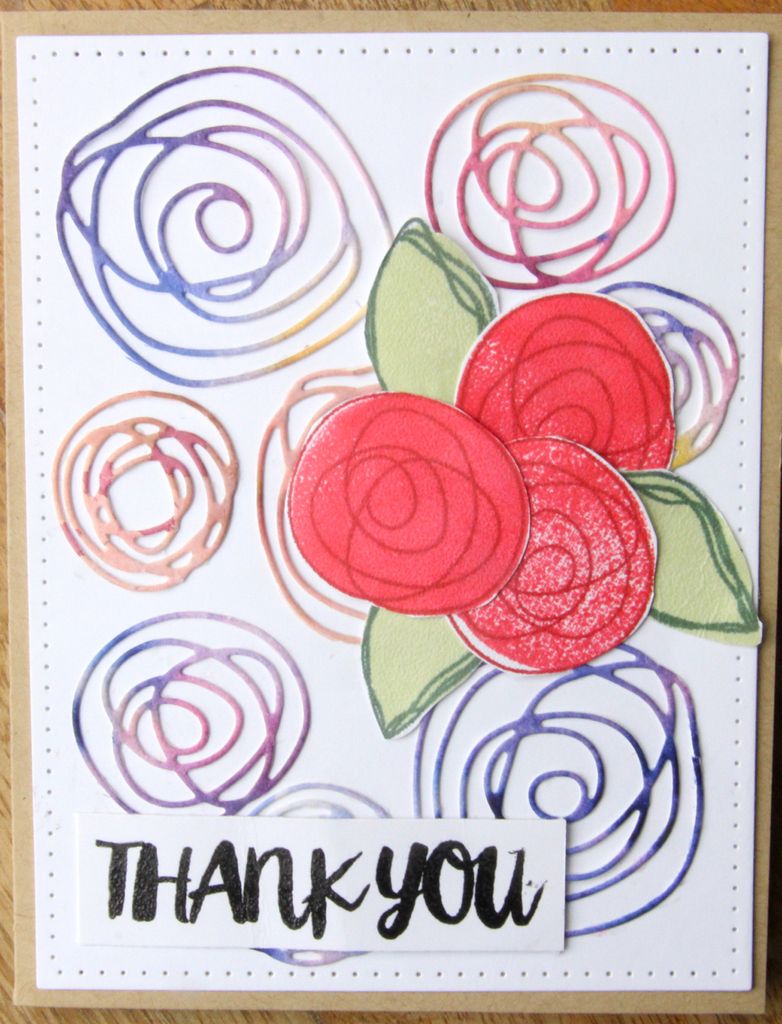
For this second card I used Pthalo Green, Lemon Yellow and Ultramarine Blue:


I experimented with color groupings prior to working on the actual card fronts to see which colors would mix without getting all muddy.

Step 1
Cut watercolor paper down to 4"x5 1/4", I used Strathmore watercolour paper.

Step 2
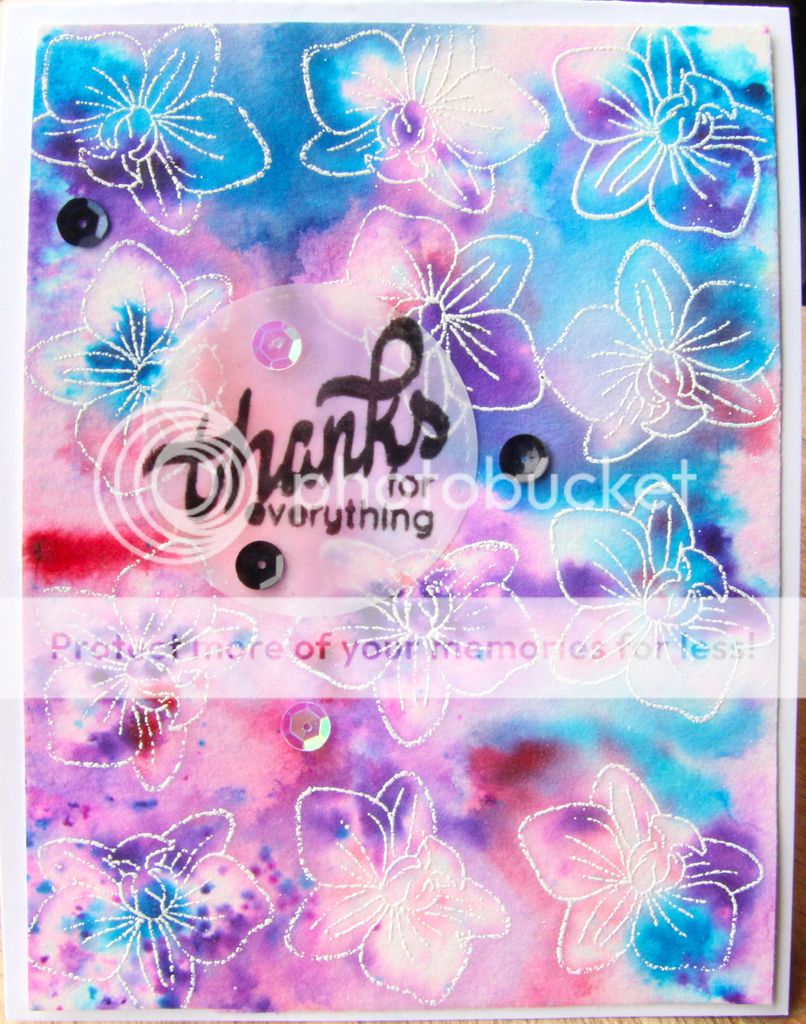
Stamp paper with chosen stamp and Versamark embossing ink. I used Altenew's Oriental Orchid* stamp set for the red/blue/purple card and My Favorite Things Circle Scribble* for the blue/green/yellow card. An outline stamp works best to allow open areas for your watercolor powder to fill.
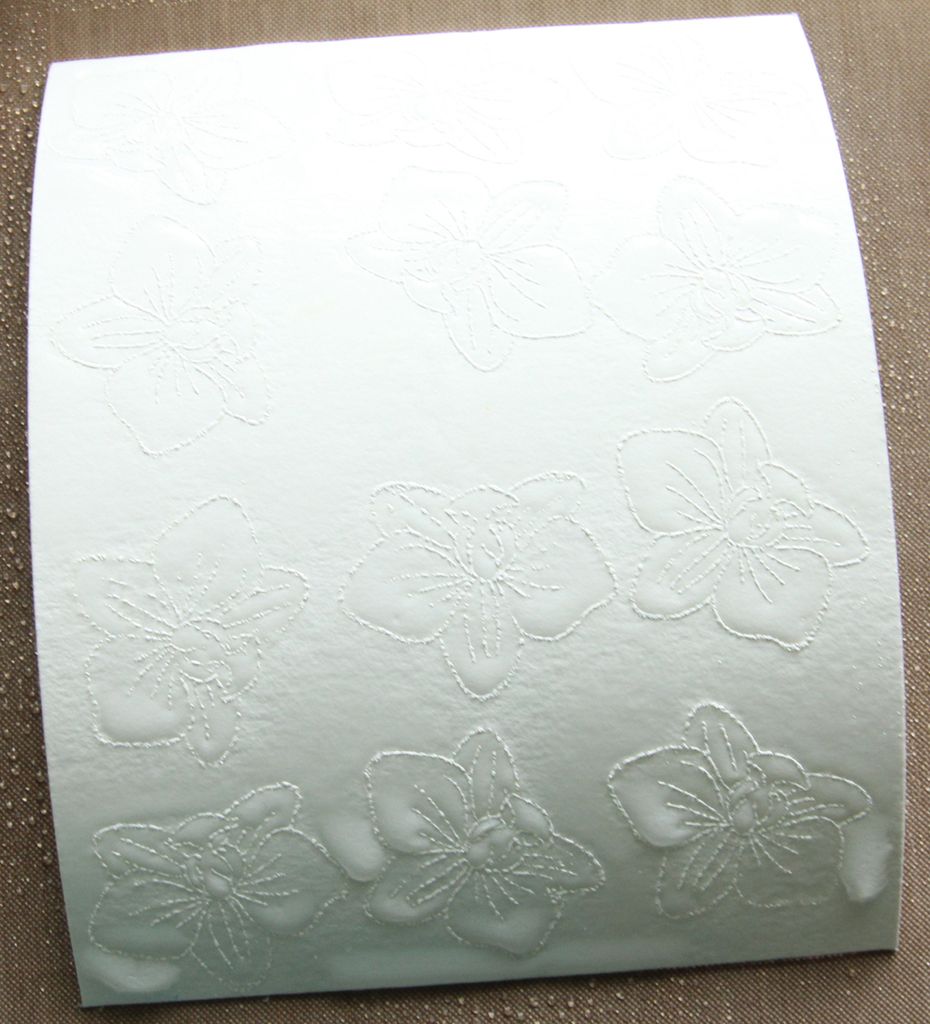
Step 3
Sprinkle white embossing powder over the Versamark images and heat emboss. I've used Hot Stuff Embossing Powder in Glacier White by Emerald Creek Craft Supplies*

Step 4
Let cool, then spray generously with water, you can see that the paper curled up once the water hit it, I taped the card front down to prevent the curl.
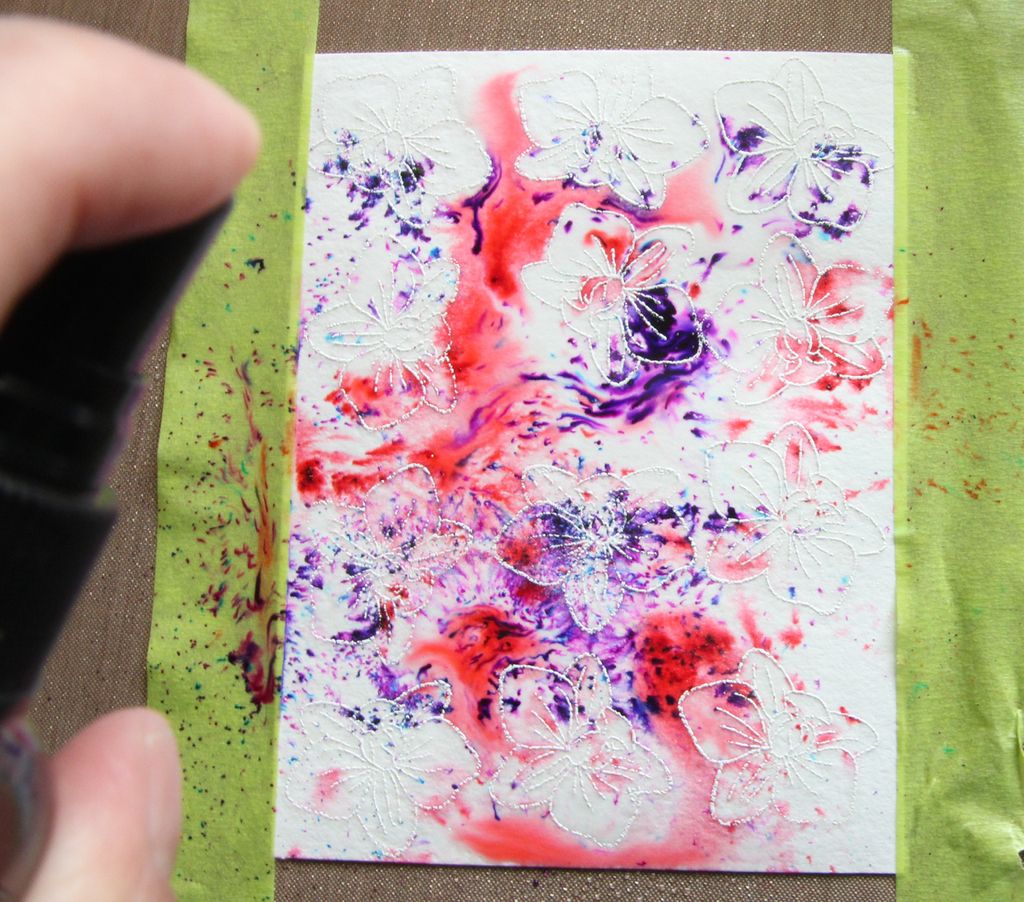
Step 5
Here I taped the paper down which also made it easier to drop various colors of watercolor powder exactly where I wanted them. 
A little goes a long way so tap the bottle lightly, you can always add more as you go. You can see the powder spreads or 'bursts' as it hits the water.

Step 6
Add additional colors and water, you'll see the embossed images begin to stand out as you add more colors.
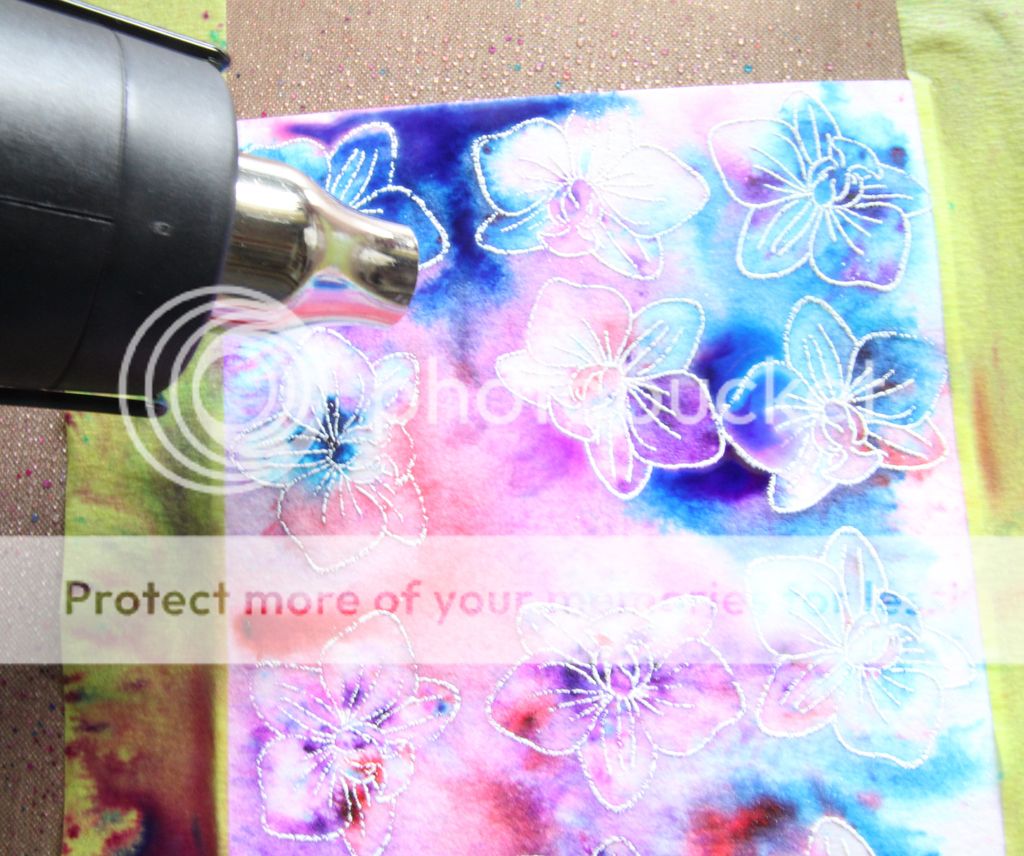
Step 7
You can also use your heat tool to move around the colors while they are wet.

Step 8
Once you are happy with the results set aside to dry, I let them dry overnight.

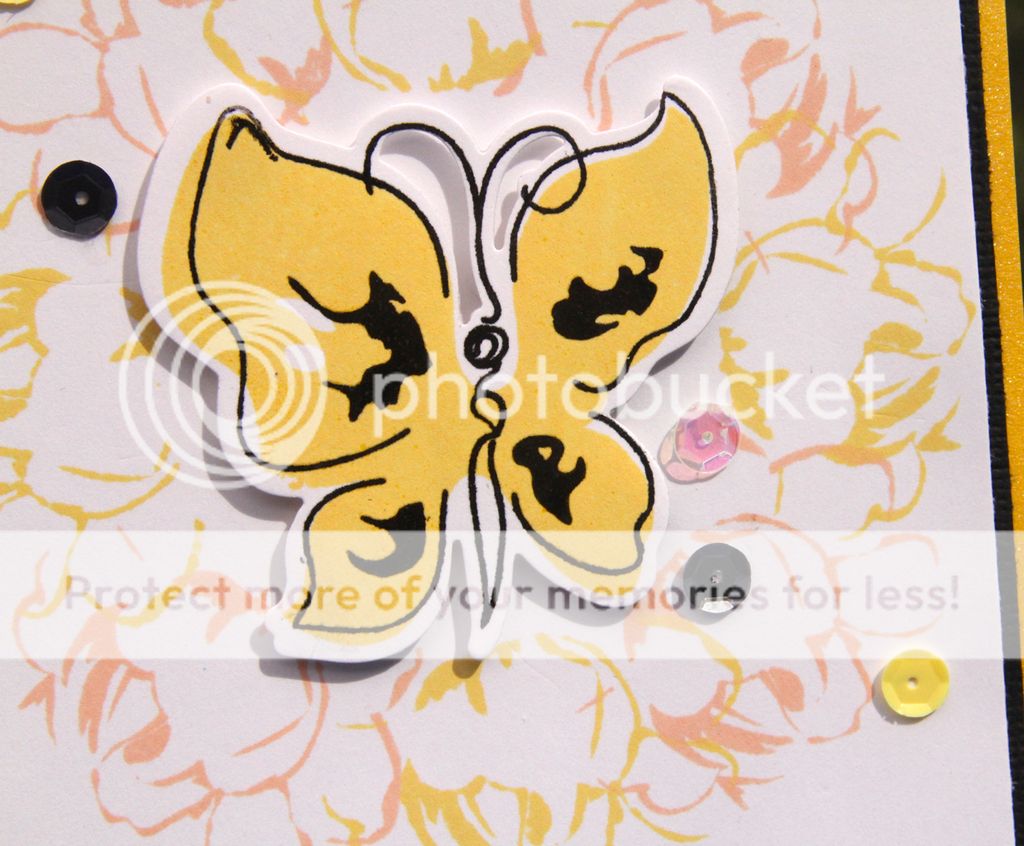
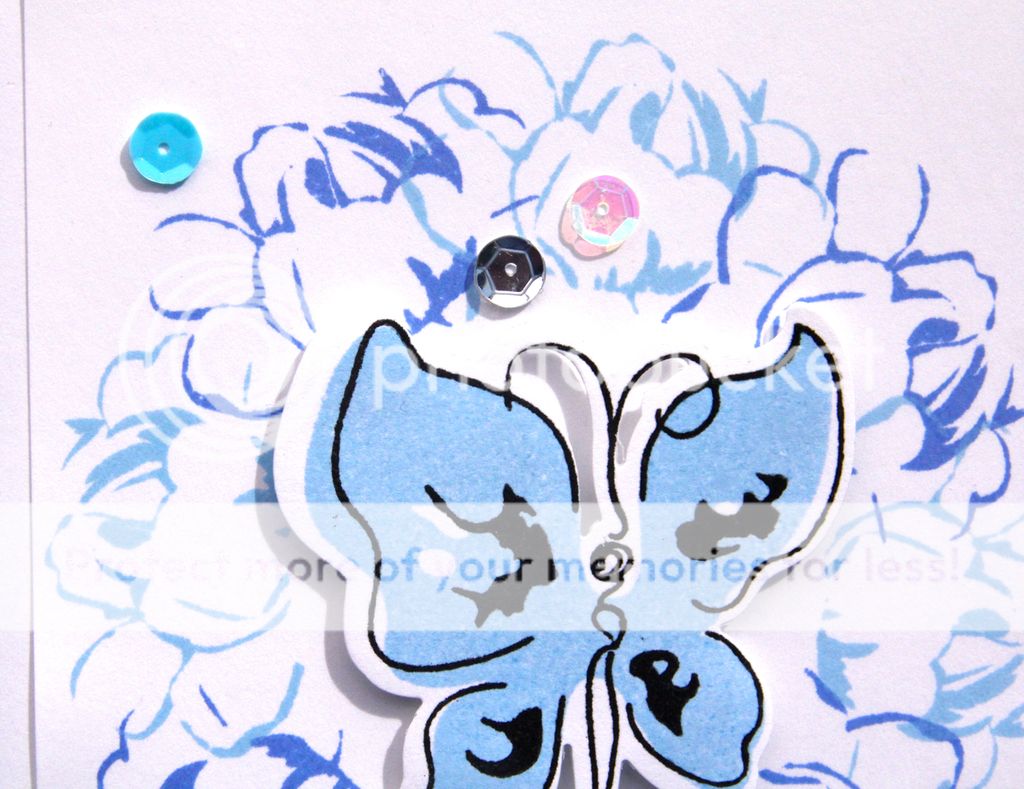
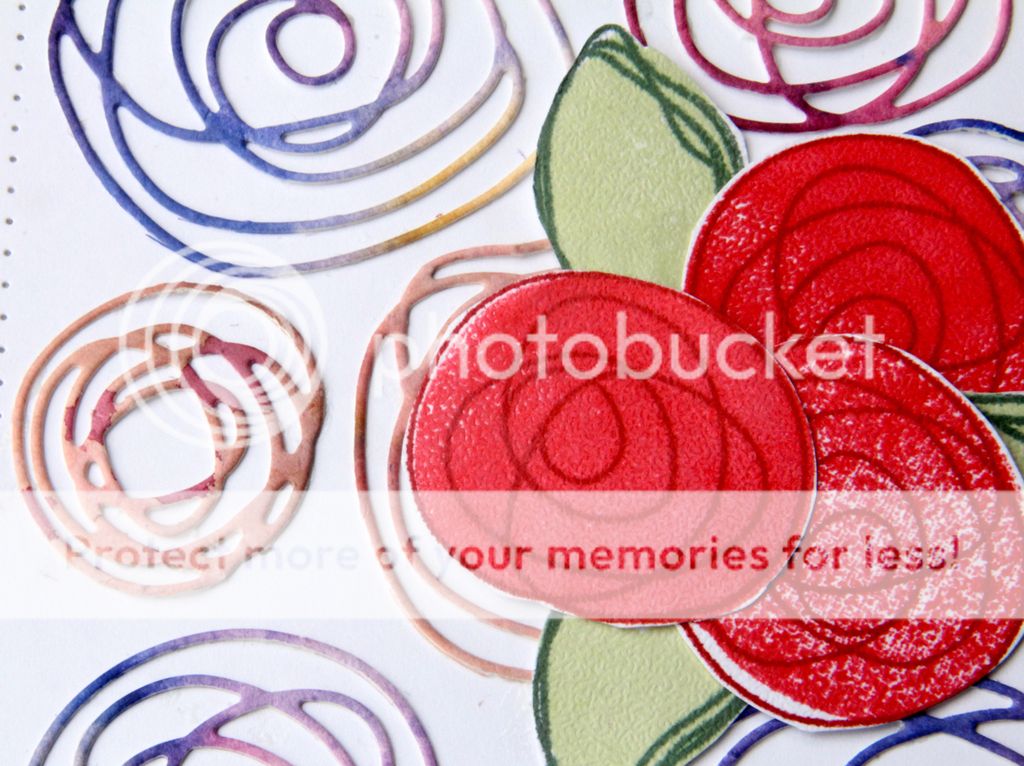
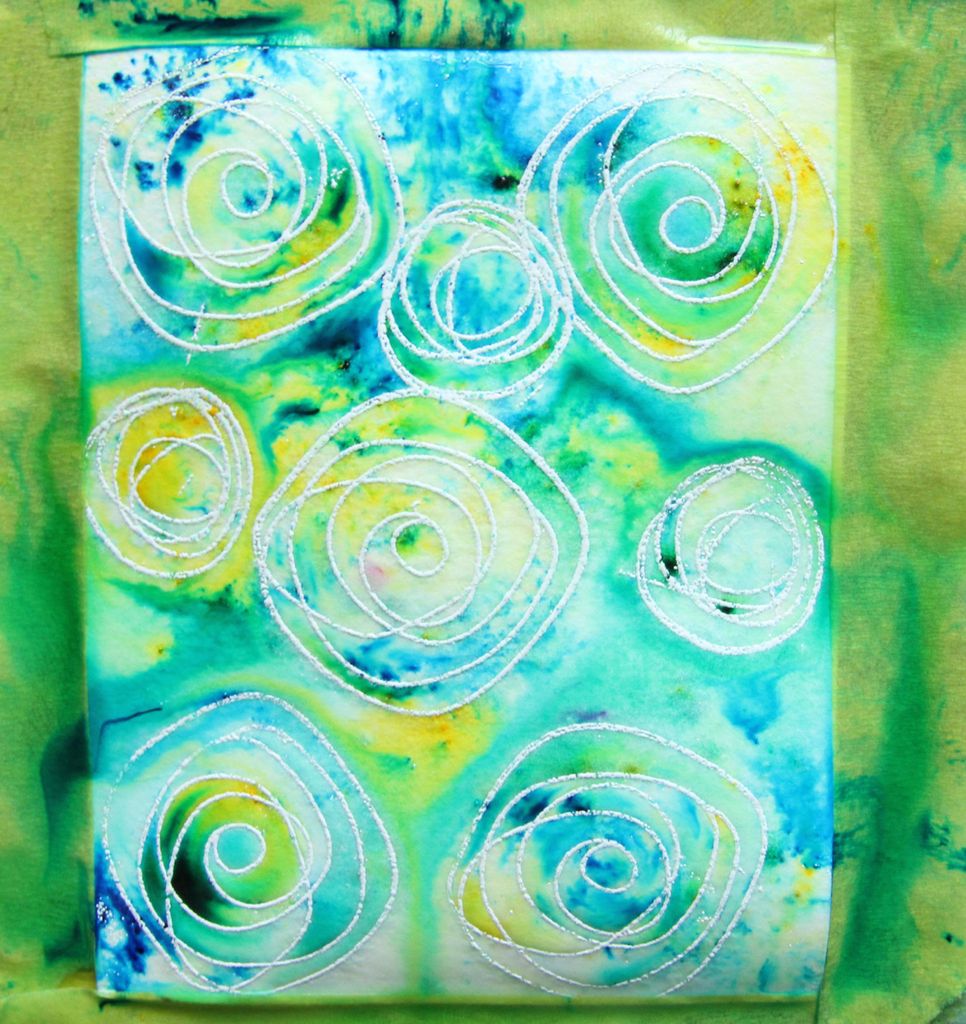
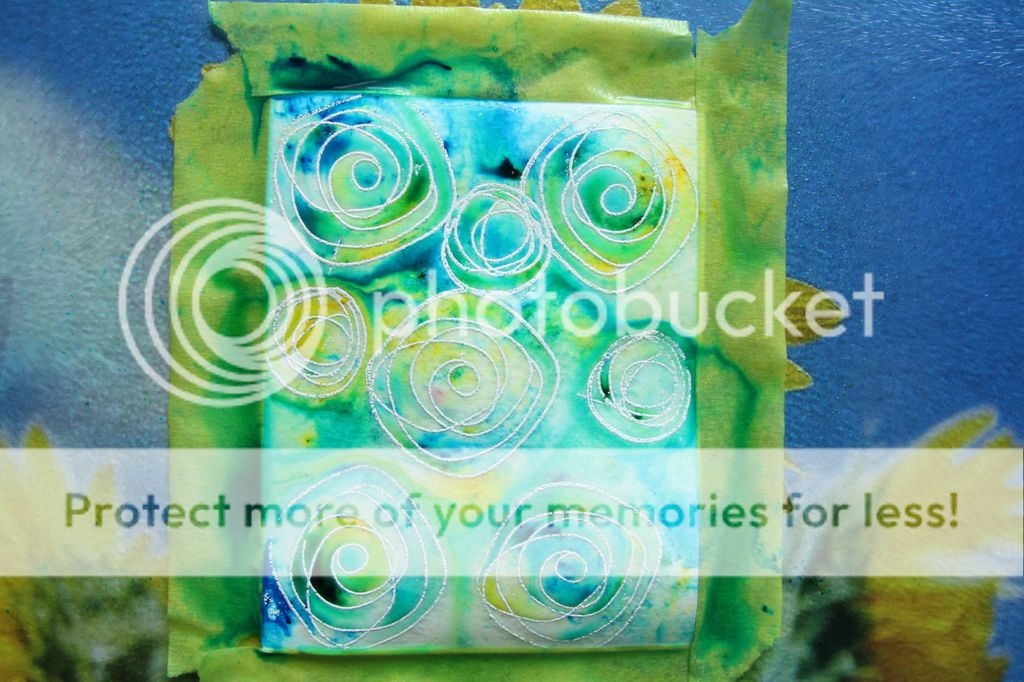
I followed the same steps to create the card front for the blue/green/yellow card, here are a couple of photos of the card front in progress:

To finish off the cards I trimmed the fronts a tiny bit to remove the white edges left by the tape and applied adhesive along the edges and liberally on the entire paper to keep it nice and flat.
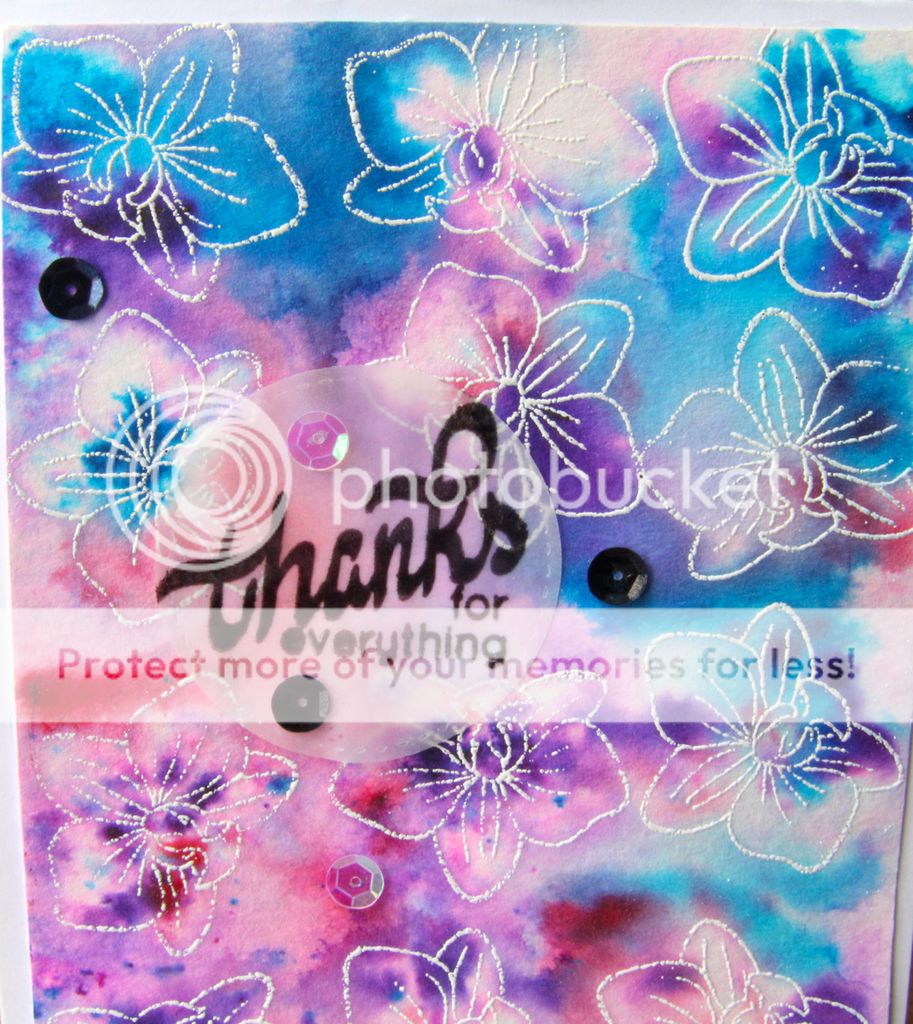
I die cut a vellum circle with the My Favorite Things Stitched Circle Die-namics*. The sentiment is from the Altenew Layered Lily* stamp set, stamped with black Versafine ink and embossed with Ranger Clear Embossing Powder. I applied liquid adhesive behind the 'thanks' and completed the card with a scattering of clear and black sequins.


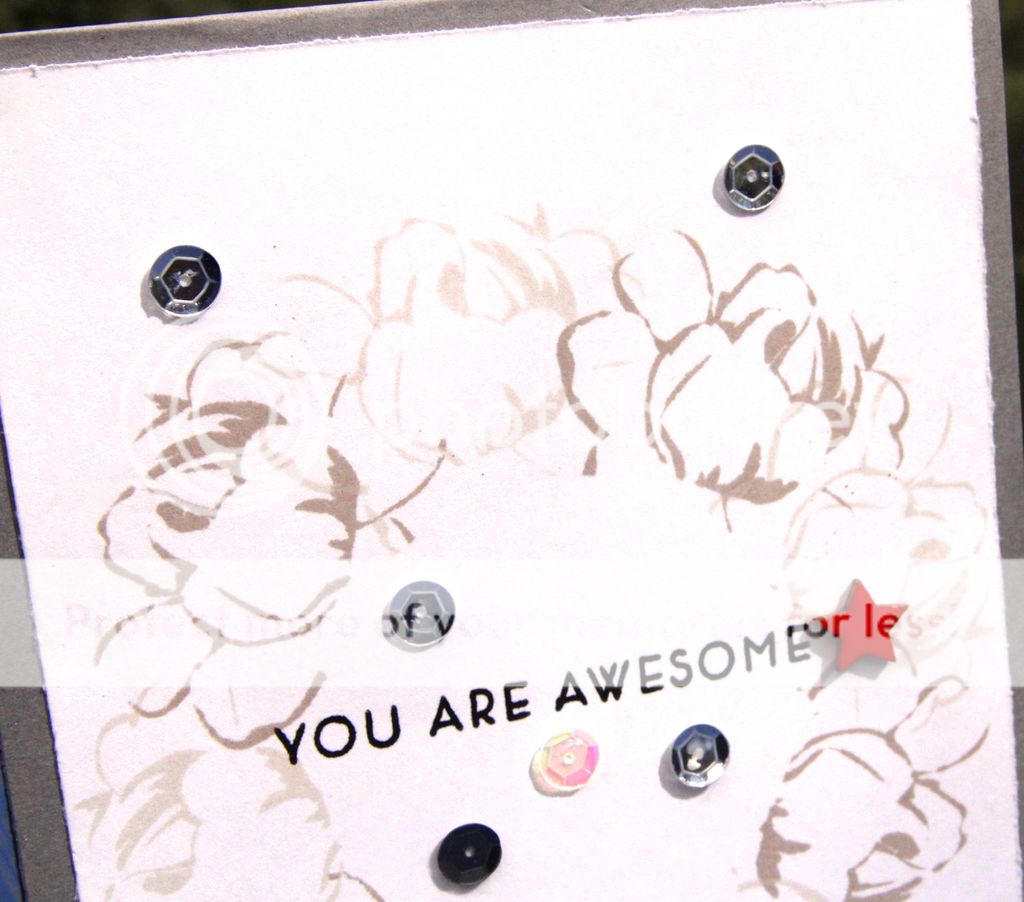
I kept this card simple trimming the white edge left by the tape, adhering to the card base and adding a sentiment from the Altenew Thinking of You* stamp set. 

I hope you've enjoyed this tutorial and give this technique a try, it is a lot of fun!

*please note that items listed not found in the store may be available as a special order, contact Sandy directly to inquire.*

Thanks for stopping by :)

Happy Crafting!
Rosie

Wednesday, August 3, 2016

A Cut Above...


...with Scrap Shotz Monthly Kits:

Greetings and a warm welcome to this blog post combining a Silhouette Cameo cut file and multiple past Scrap Shotz kits.
I was fortunate to receive a Silhouette Cameo for christmas a few years ago which, unfortunately, had been little used until this year.
This really is a very versatile machine if you allot time to play around with it.
I created this 12 x 12 cut file from a card cut file I purchased in the Silhouette store:


I have used pieces from the following Scrap Shotz monthly kits:
-Jun.15 Teresa Collins Collector's Edition
-Sept.15 Simple Stories
- Nov.15 My Minds Eye My Story
- Feb.16 Life in Colour
-Apr.16 Spring Delights
-May16 Shimelle Starshine
-Jun.16 Carta Bella Old World Traveler

Yes, lots of little pieces to cut out but the end result is so rewarding.

I added enamel dots and buttons from the kits to the die cuts.
Various kits chipboard and stickers complete the embellishments on this layout.

Now let's see how I used some of the inside pieces of this die cut frame in a layout:

Yes the solid white pieces are the negatives from the cut file. I combined flair buttons, puffy stickers, chipboard stickers, stickers, adhesive ribbon and alphas from the Scrap Shotz ***Shimelle Starshine monthly kit, Scrap Shotz FP monthly kit and Scrap Shotz MME monthly kit. 

You can also see the Design Team projects for these kits here on Pinterest, just scroll to the month you'd like to view.
***please note most of these are sold out but if you would like to reserve future kits please contact Sandy @ Scrap Shotz as soon as possible to reserve future kits***

A close up of the negative pieces.


Kit stickers, flair buttons and clear gems.

Kit alphabet stickers, chipboard, puffy stickers and flair button.

So you can see that one cut file can produce more than one layout and also become a gathering place for various leftover kit products.

Thanks for stopping by and feel free to leave a comment!

Cheers,
Rosie