Showing posts with label Emerald Creek. Show all posts

Wednesday, March 28, 2018

New Prooducts!!

Happy Wednesday!! Cathy here to share a couple of projects featuring all new supplies that you can get right here from Scrap Shotz! 
My first project features some of the new Tim Holtz Thinlits! Don't even think about it, just add them to your must have list! These are the perfect size for your traveler's journals! 

I've started a journal for my mini get away I had in February. The TH Stitched Slots die is perfect for adding more spots to tuck in your keepsakes.


I used some paper from my TH stash and glued it to some cardstock so the pocket would be sturdier.

I do not have a sewing machine to stitch, so I just used a black marker to emphasize the stitch marks. I did use a fine tip pen so the nib fit right in the stitches.

I cut mine out so the bottom part showed the map that shows the Canada/US border on the side I live on. My little getaway was just across the border into Washington.  At the top of the page I used the Tim Holtz Thinlits Shadow Script #1 for my word.
In the first stitched slot I slid in a pic from our first stop and a tag with a description of where we were and what we were up to on the first stop.


 A quick word of advice, don't throw out the little slot pieces that get cut out! I've used them on the next page.

On my second page I used the little cut out parts as embellishments. They'd make a great page border too!

This little label in blue is also from the Stitched Slots set. Perfect for adding a title or words and make them stand out a bit.

For my second project I used the Sizzix Textured Impressions 3-D Bohemian Botanicals. All I can say is WOW!! I found a piece of thin metal in my stash and decided to use that to emboss.

This folder is gorgeous!

Look how amazing the metal looks with the 3-D embossing! When using one of these 3-D folders with your Big Shot, use only 1 cutting plate. The folder itself is very thick.

To add my colour I used alcohol ink and touch of blending solution.
Once I was done with the inks, I loved how it looked just as it was. So I used a canvas board for the background and did all the edges using the glorious Baked Texture Embossing Powders.On my project I used Ancient Amber, Patina Oxed and Rocky Road.


And here a few close ups of the texture from the embossing powder and the alcohol inked 3-D embossing folder.


And the finished project!


Such amazing products just in at Scrap Shotz! You'll want to get your order in for these great tools for creating!

Thanks for supporting Scrap Shotz and our fantastic Design Team! Stay tuned because the April Kit is going to be released soon!!


Friday, February 23, 2018

Graphic 45 Sun Kissed Collection

Hi there!

The Graphic 45 Sun Kissed collection is so beautiful!!  The minute I saw the papers, I knew exactly which photos I would scrap.  This is not a two page layout, but companion pages.


I started with by fussy cutting the flower arrangement from the Sun Kissed paper.  Using some Nuvo Crystal Glaze, I added clear dimension to the "Sun Kissed" and some of the flowers. The photos were mounted on some of the coordinating 4x6 journaling cards.  
To give the cardstock some texture, I splattered the background with some Faded Jeans Distress Oxide  mixed with some water.  Then I inked the edges of the page with some Versamark and then sprinkled the edges with the new Baked Texture embossing powder from Emerald Creek in Deep Sea.
This embossing powder leaves a lovely distressed embossing.  I can see lots of uses for this product in the future!
I finished the layout with some wood veneer shapes from Kaisercraft and some Nuvo Drops in Midnight Blue.

My next page is pretty simple.  Just lots of layering, more fussy cutting and wood veneer shapes.  Once again, I used the journaling cards as photo mats.  The journaling is tucked into one of the photos on a tag that I cut from a journaling card.

The title is from some older Simple Stories alphas and the "Botanical Beach" was cut using my Silhouette and the Pacifico font.

I loved working with this collection and already have a few more ideas for scrapping the rest of my photos from this trip.

Be sure to check out the store for all the supplies!

Thanks for looking!
Sylvie

Wednesday, September 20, 2017

Flowers and Butterflies

I am still all about flowers and butterflies! I have done some Christmas stuff, but I'm not quite ready yet! First up are two cards featuring the great stamp set from Waffle Flower called Pretty Wings and the matching die set

I love this set. So many possibilities and no fussy cutting. The wings can be layered and there is a little body shape for each set of wings, and the flowers can be layered too. 

On my first card I used some watercolour paper, stamped some butterfly wing images and embossed them in Emerald Creek clear embossing powder  and then for the colour I used Color Bursts from ken Oliver.


And I kept the under sheet I had after spraying and making a mess, and used it to die cut my flowers. No sense wasting pretty paper!

I then used my Kelly Creates Studio Love stamp, inked in Distress Oxide Wilted Violet and then embossed with Emerald Creek Fractured Ice.


I love the rich colour from the Color Burst but it still looks watercoloured. I also used some Lawn Fawn Watercolur Paper to layer behind my Color Burst piece.

I used the Pretty Wings die cuts for the flowers on this one and added a few 49th and Market Pink Flamingo flowers for the centers. 

 And the finished card in shades of purple.


The second card is in shades of blue.

I stamped my images in Distress Oxide using the colours Faded Jean and Salty Ocean. For the little antenna and the center of my flowers I used Nuvo Crystal Drops in Caribbean Ocean

I put my layers together and used some pop dots to add some dimension. All the butterflies are popped up and I just kind of rolled the wings around my finger to make them pop a bit more.
And for just a bit more texture I embossed the green Lawn Fawn Watercolor Paper with the Darice Fern Background Embossing Folder.


And for my last project I did a reverse canvas.

I used some of the wonderful chipboard from SRTC and used Distress Oxide Peeled Paint then embossed in EC Fractured Ice and did the branch part in EC Burnt Copper Leaves

For the background I used some TH cork and ran it through the Fern Background folder and just highlighted the leaves with Distress Ink in Peeled Paint.

For the center I used Kelly Creates "Create" stamp and embossed ii in EC Hammered Metal.

A little sign post from American Crafts Thickers and the beautiful flowers from 49th and Market in Blue Hawaiian


The finished canvas! I also added a couple of the TH Quote Chips on the side and did a small strip of metallic blue on the canvas.
 
Thank so much for stopping to have a look and click on the links for all the great products that are available from Scrap Shotz!!
 
Have a great day!
Cathy

Saturday, August 6, 2016

Water Colour Powders Tutorial

**Please Note: Photobucket very recently changed their terms of service and no longer supports direct linking for 3rd party hosting of images. To view the images not displayed, hover and right click over image, then choose either "open image in new window" or "open link in new window" **

Hello,

So pleased you can join me for a look at a couple cards I created using the Ken Oliver Color Burst Powders available in the store.
I am going to walk you through the process of making these cards. Please note that these exact colors may not be in the store but you can contact Sandy to inquire about ordering them.
You can create a similar effect with the Magenta-Nuance Watercolor Powders as well.

The Color Burst powders are available in singles in the store while the Nuance powders come in a set of 15 colors.

Let's take a look at the first card:


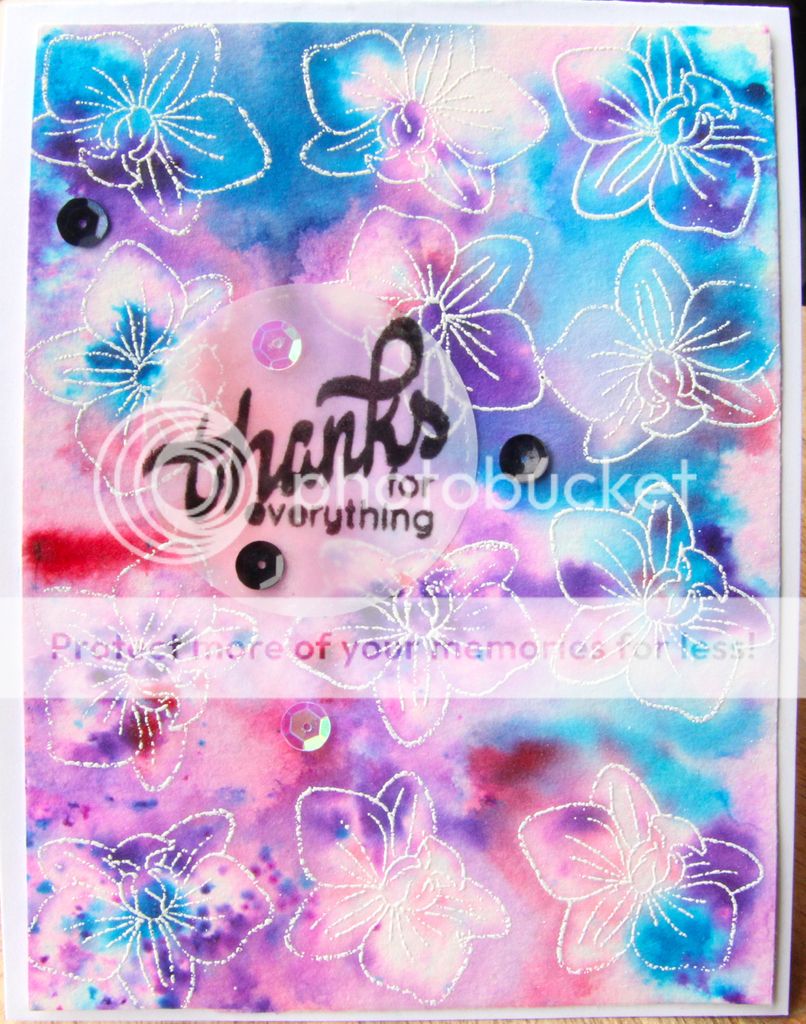
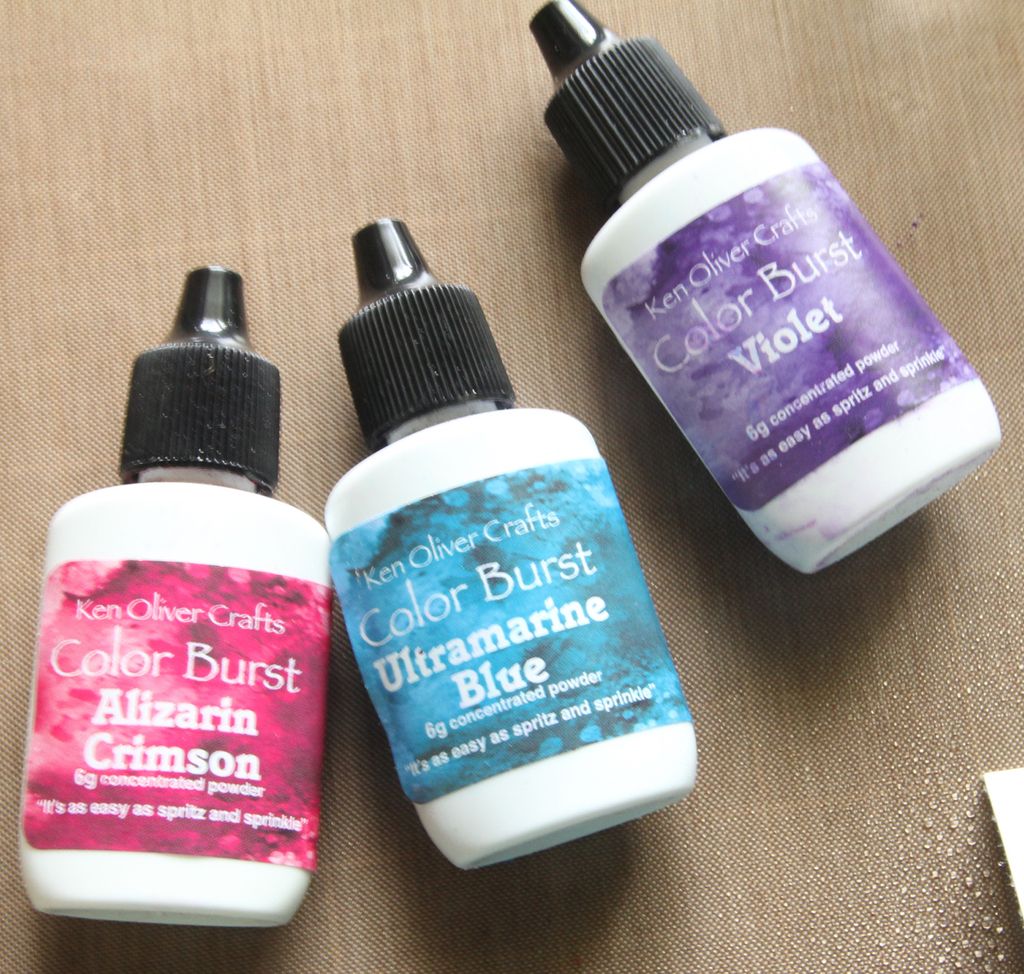
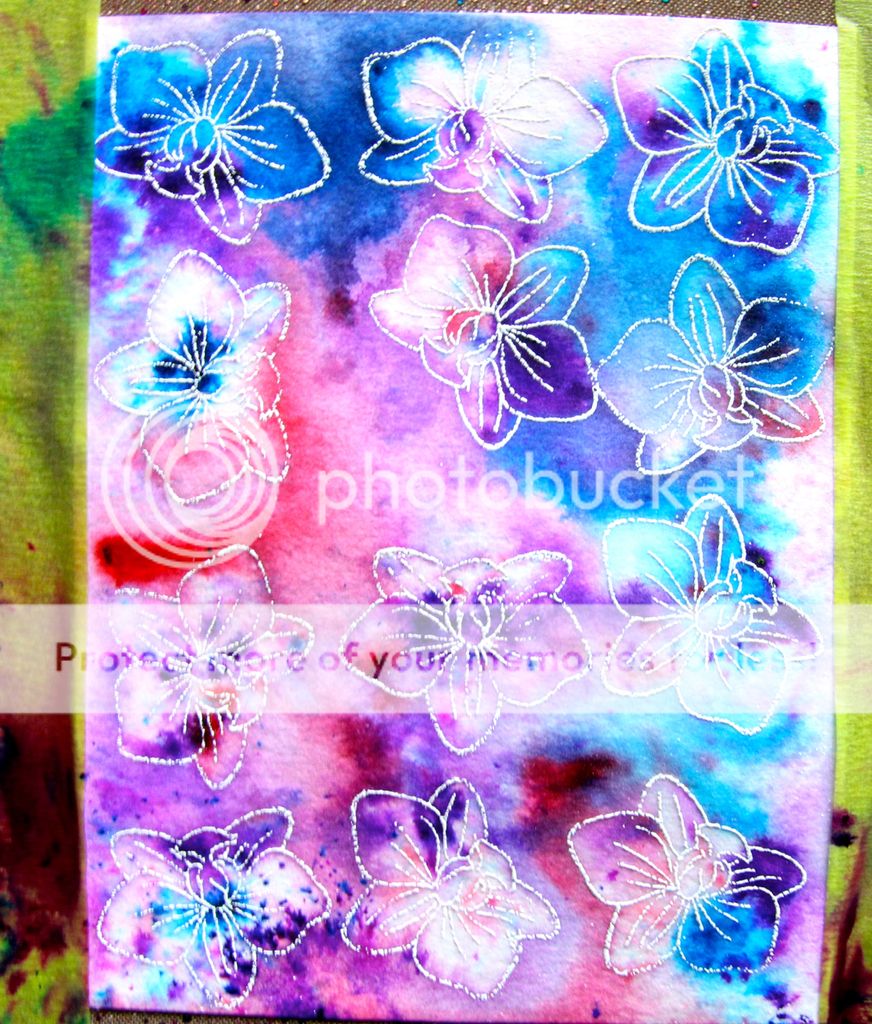
These are the colors I used for this first card:


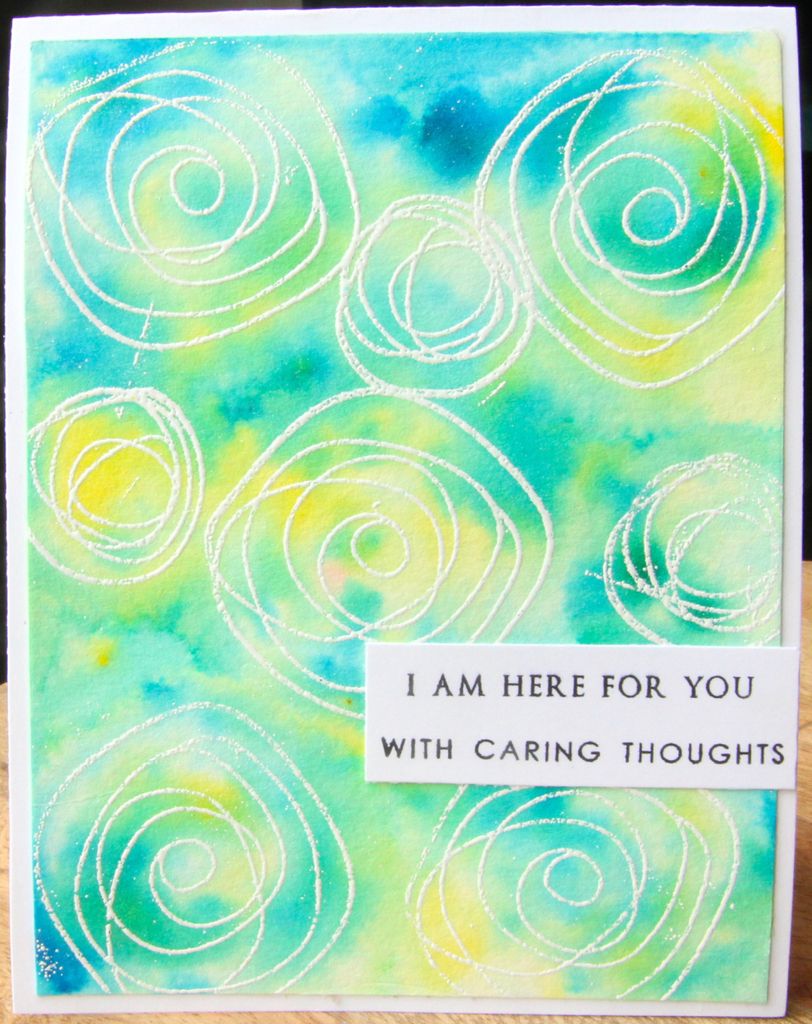
For this second card I used Pthalo Green, Lemon Yellow and Ultramarine Blue:


I experimented with color groupings prior to working on the actual card fronts to see which colors would mix without getting all muddy.

Step 1
Cut watercolor paper down to 4"x5 1/4", I used Strathmore watercolour paper.

Step 2
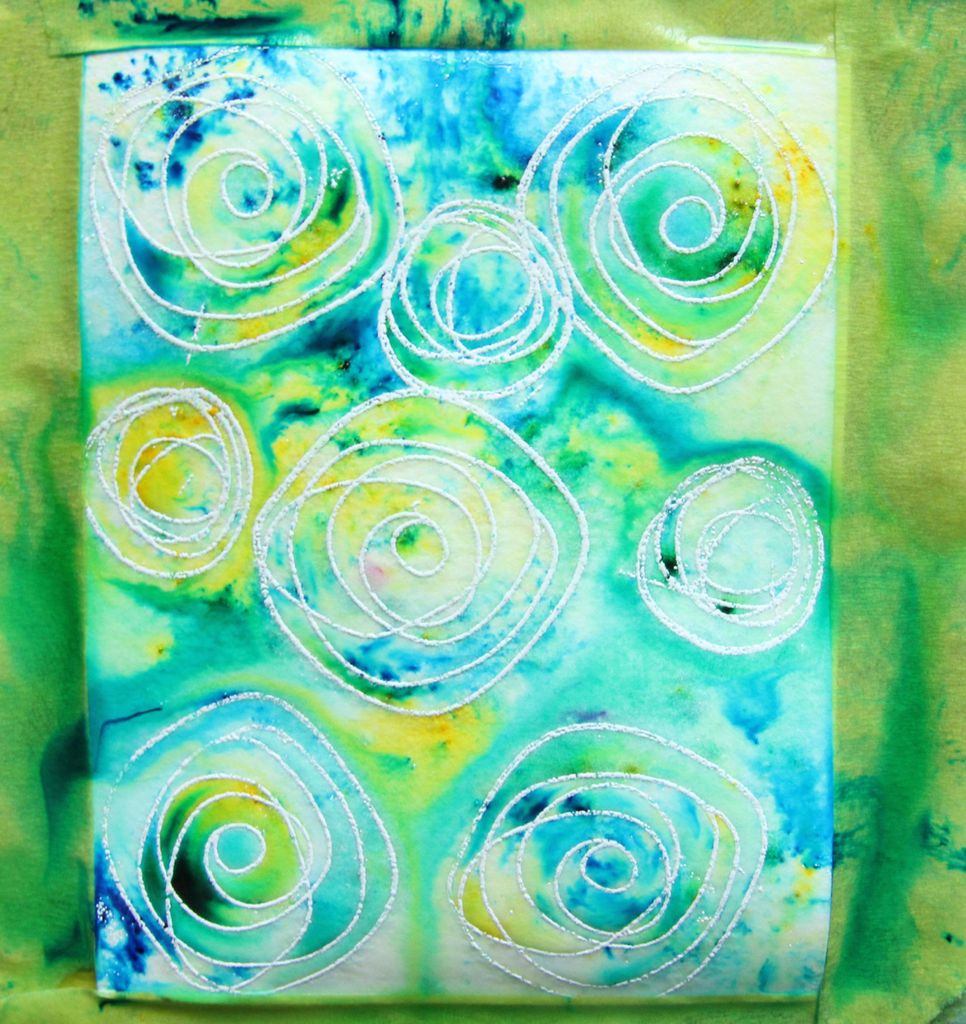
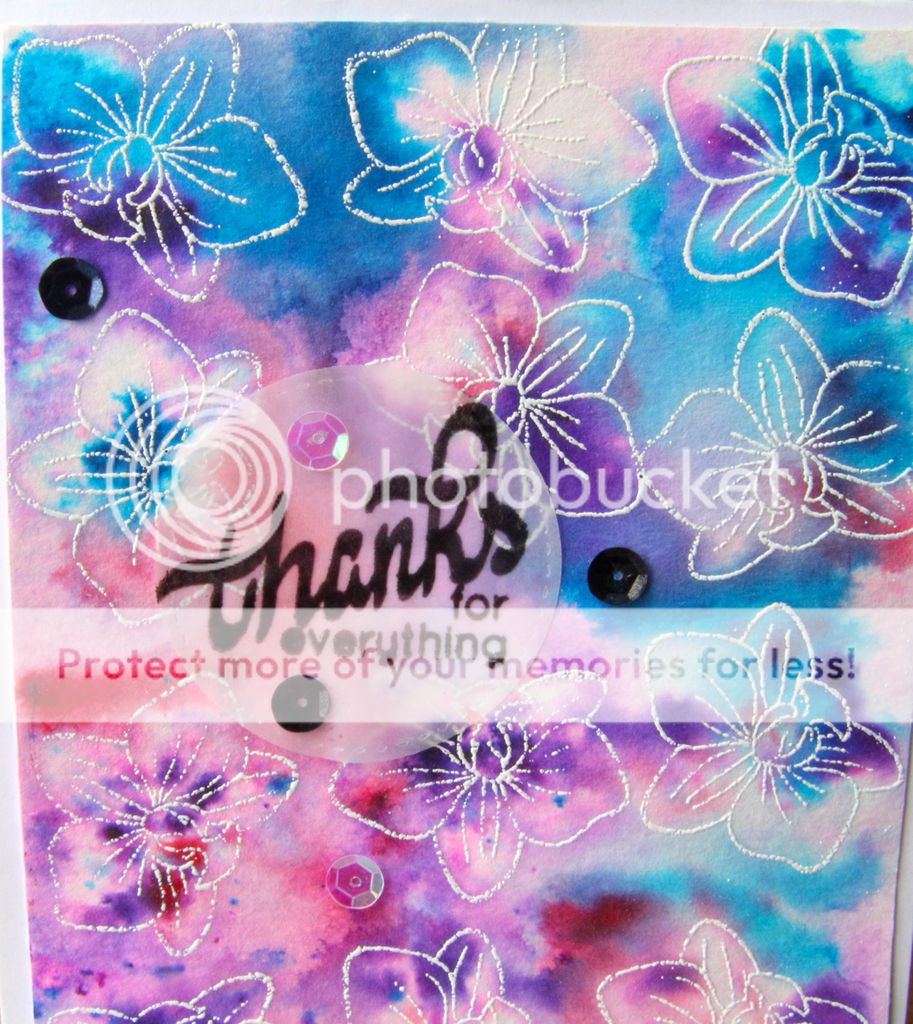
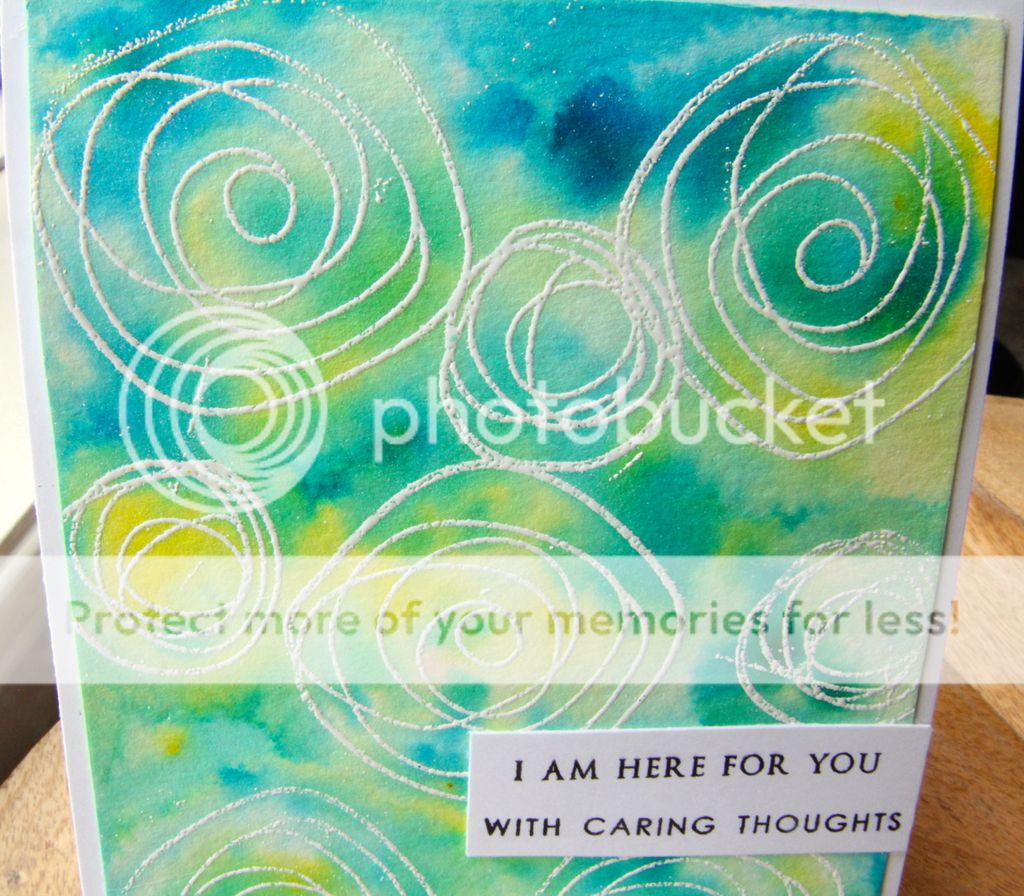
Stamp paper with chosen stamp and Versamark embossing ink. I used Altenew's Oriental Orchid* stamp set for the red/blue/purple card and My Favorite Things Circle Scribble* for the blue/green/yellow card. An outline stamp works best to allow open areas for your watercolor powder to fill.

Step 3
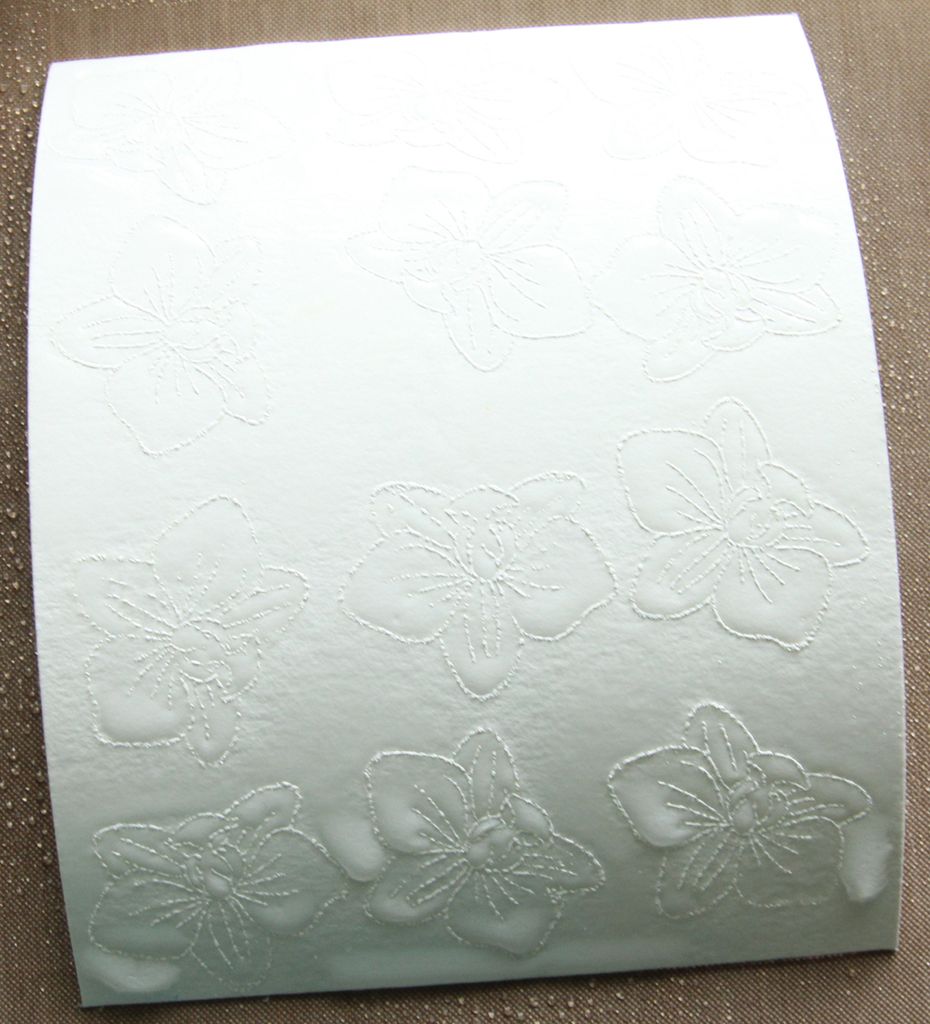
Sprinkle white embossing powder over the Versamark images and heat emboss. I've used Hot Stuff Embossing Powder in Glacier White by Emerald Creek Craft Supplies*

Step 4
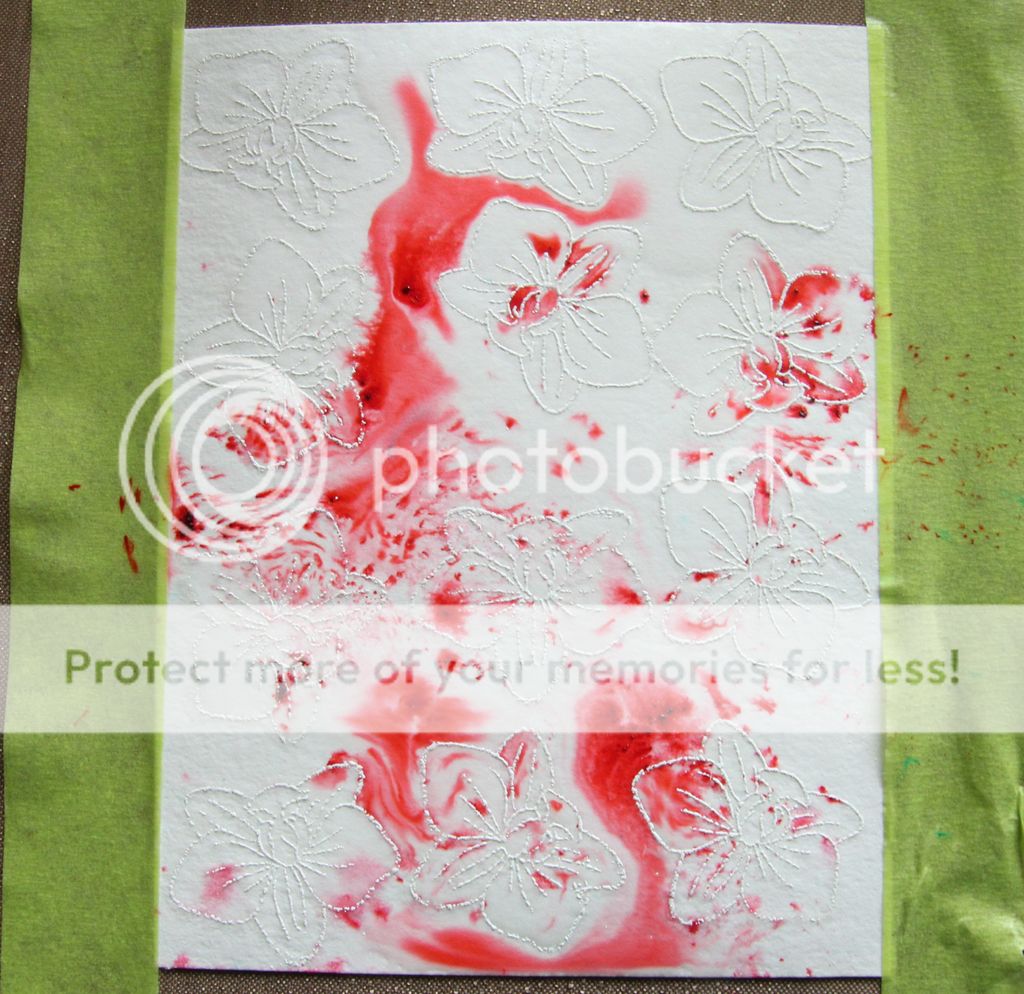
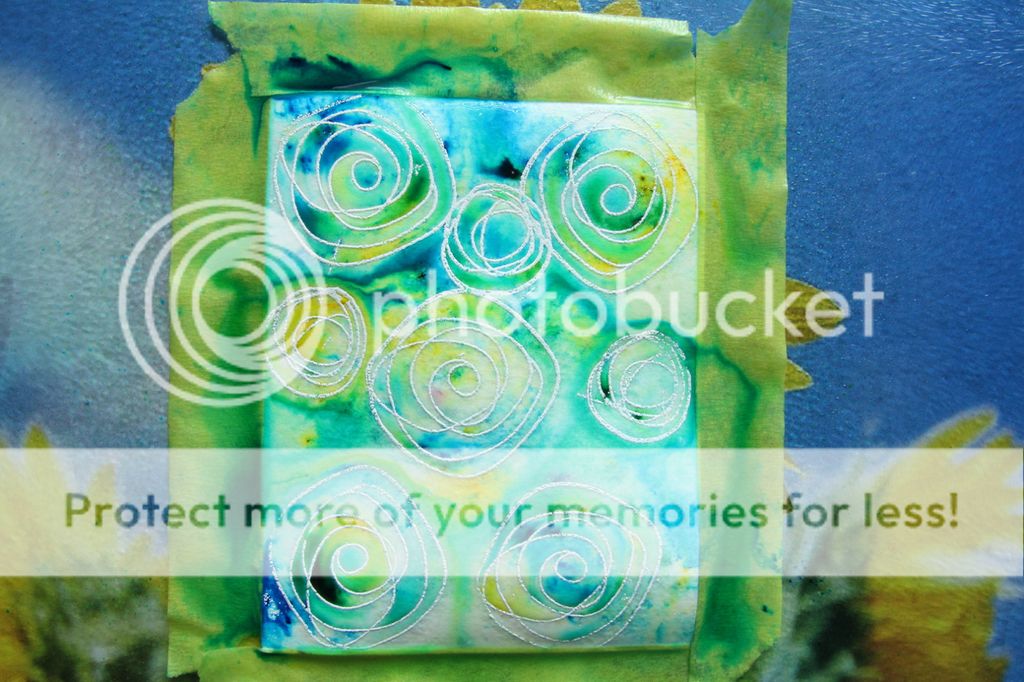
Let cool, then spray generously with water, you can see that the paper curled up once the water hit it, I taped the card front down to prevent the curl.

Step 5
Here I taped the paper down which also made it easier to drop various colors of watercolor powder exactly where I wanted them. 
A little goes a long way so tap the bottle lightly, you can always add more as you go. You can see the powder spreads or 'bursts' as it hits the water.

Step 6
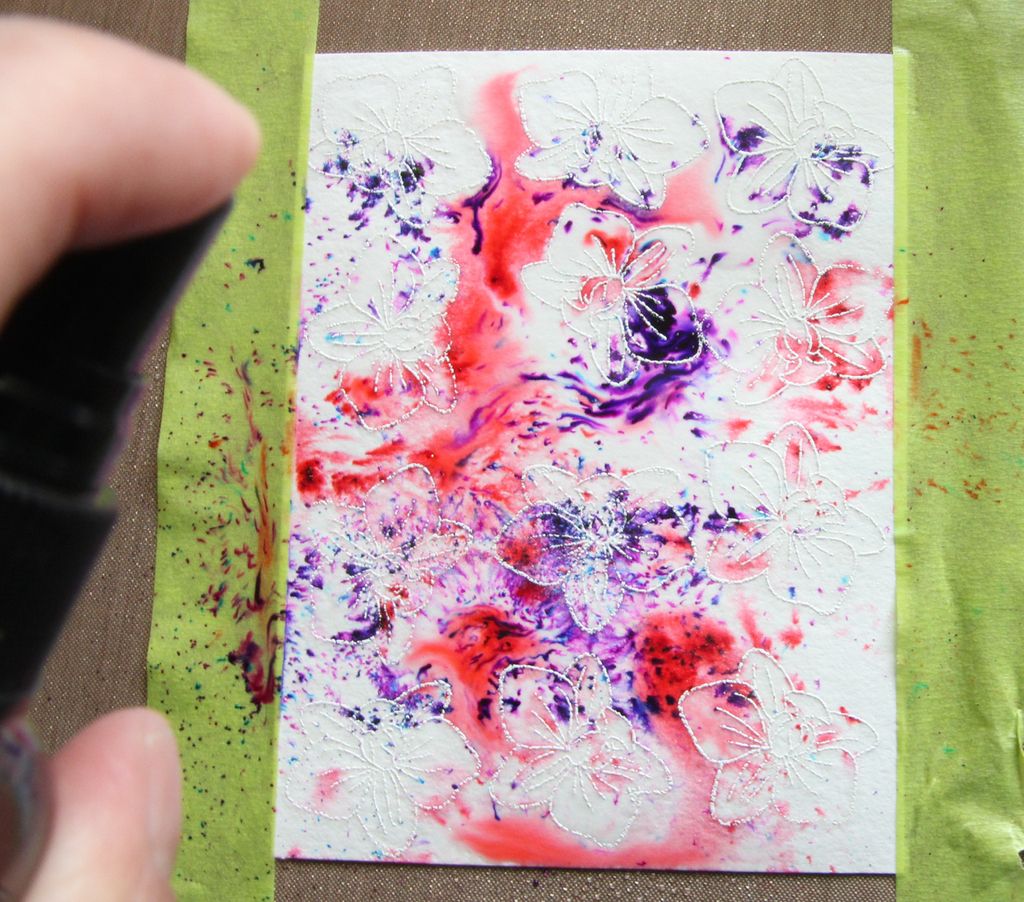
Add additional colors and water, you'll see the embossed images begin to stand out as you add more colors.
Step 7
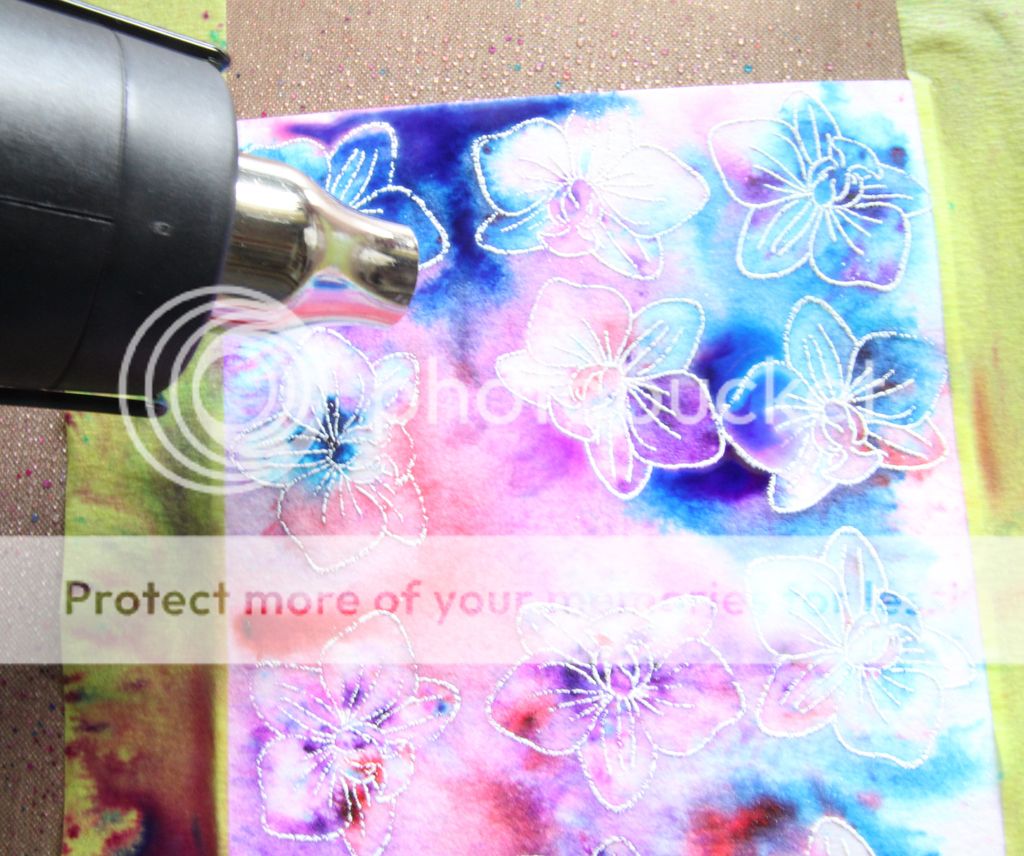
You can also use your heat tool to move around the colors while they are wet.

Step 8
Once you are happy with the results set aside to dry, I let them dry overnight.

I followed the same steps to create the card front for the blue/green/yellow card, here are a couple of photos of the card front in progress:

To finish off the cards I trimmed the fronts a tiny bit to remove the white edges left by the tape and applied adhesive along the edges and liberally on the entire paper to keep it nice and flat.
I die cut a vellum circle with the My Favorite Things Stitched Circle Die-namics*. The sentiment is from the Altenew Layered Lily* stamp set, stamped with black Versafine ink and embossed with Ranger Clear Embossing Powder. I applied liquid adhesive behind the 'thanks' and completed the card with a scattering of clear and black sequins.


I kept this card simple trimming the white edge left by the tape, adhering to the card base and adding a sentiment from the Altenew Thinking of You* stamp set. 

I hope you've enjoyed this tutorial and give this technique a try, it is a lot of fun!

*please note that items listed not found in the store may be available as a special order, contact Sandy directly to inquire.*

Thanks for stopping by :)

Happy Crafting!
Rosie

Friday, May 6, 2016

More Fancy Pants Designs Attwell to Share from the April Kit

Hasn't the reveal of the Scrap Shotz April 2016 monthly kit been fantastic???

Fancy Pants Designs has always been one of my favorite manufacturers; year after year, they continue to release fresh, beautiful and versatile paper lines and coordinating accessories. The Attwell paper line has been just that - beautiful AND versatile.

The conception of first layout came together in minutes but the actual construction was over a period of days. I am in love with the Art Alchemy acrylic paint; its properties are absolute magic! In the layout below, I began by painting a a layer of Art Alchemy paint onto a sheet of parchment paper and then let it air dry for about 2 hours. Normally it takes about 15-20 minutes for the paint to dry but I was inconsistent in its thickness and wanted the paint to be bone dry.

As I applied the paint to the parchment paper, I splashed some of the paint onto the white corrugated background; that is how I ended up with the smeared look in the corners! The main elements of the layout were assembled quickly and I put it aside until I completed my remaining layouts, also shown below.


The flowers were die cut from Tim Holtz Tattered Flowers die, Tim Holtz Alterations Spring Greenery die (which Sandy special ordered for me) and a Sizzix rolled flower die (also special ordered by Sandy). The flower centres were created by circles die cut from Art Alchemy paint and the gorgeous Emerald Creek brads. 


My next layout was my interpretation of the PageMaps sketch. I turned the sketch 90 degrees clockwise. Instead of the diamonds, I used balloons. With the coordinating Attwell washi tape, I made bows to anchor the floating balloons. As well, I am smitten with the matching badges; they are THE perfect accessory to each project!


Believe it or not, this layout was difficult for me to construct. I have had these pictures for quite some time but could never find the right pattern papers...until this month's kit!


This double page layout highlighted the grey, black and yellow colours in the pattern paper. With the vibrant colours of my images, the softer colours were perfect. The Attwell puffy stickers and alphas were a joy to work with; they added dimension, colour and pizzaz to my layout!


This next layout was created from all the cut file overlays seen on instagram. I do not own a silhouette but I do happen to own alot of dies. With the pattern paper, I used my Vagabond and the Taylored Expressions Birthday Toppers to create my version of overlays. The title was created with Mama Elephant dies.


This final layout was created with leftovers of pattern paper, puffy alphas and puffy stickers! What I love is how the bold colours and patterns highlight my random images from our Saskatchewan visit.


Thanks for letting me share my projects - please link me to your projects made with the Scrap Shotz April 2016 monthly kit!