Showing posts with label sct sketch. Show all posts

Monday, July 6, 2020

Kate & Ash Collection - Double Page Layout!

Hello friends! It's Karla back today with a double page layout using the adorable Simple Stories Kate & Ash Collection! As soon as I saw the beautiful images and designs in this line I knew it would be perfect - not only to document fun times with my girls, but also to use it for myself!! I love the retro feel of the colours, and I can't wait to share with you the two page layout I created using the July SCT365- 2020 Sketch. These photos are from a few years ago, but this collection will easily be able to help me document current pics as well - especially since one of my girls is now a teen!


I used some coordinating green cardstock from my stash to create a frame and then layered on the pretty papers from the 12x12 Collection Pack. I love how there are cut apart sheets included as well as an awesome full size sticker sheet! I used fun pieces from the 6x12 Chipboard Sticker Sheet, Ephemera from the Bits & Pieces Pack, coordinating Decorate Brads & the fun matching Washi Tape to decorate my pages! You can find even more coordinating accessories in the Shop!
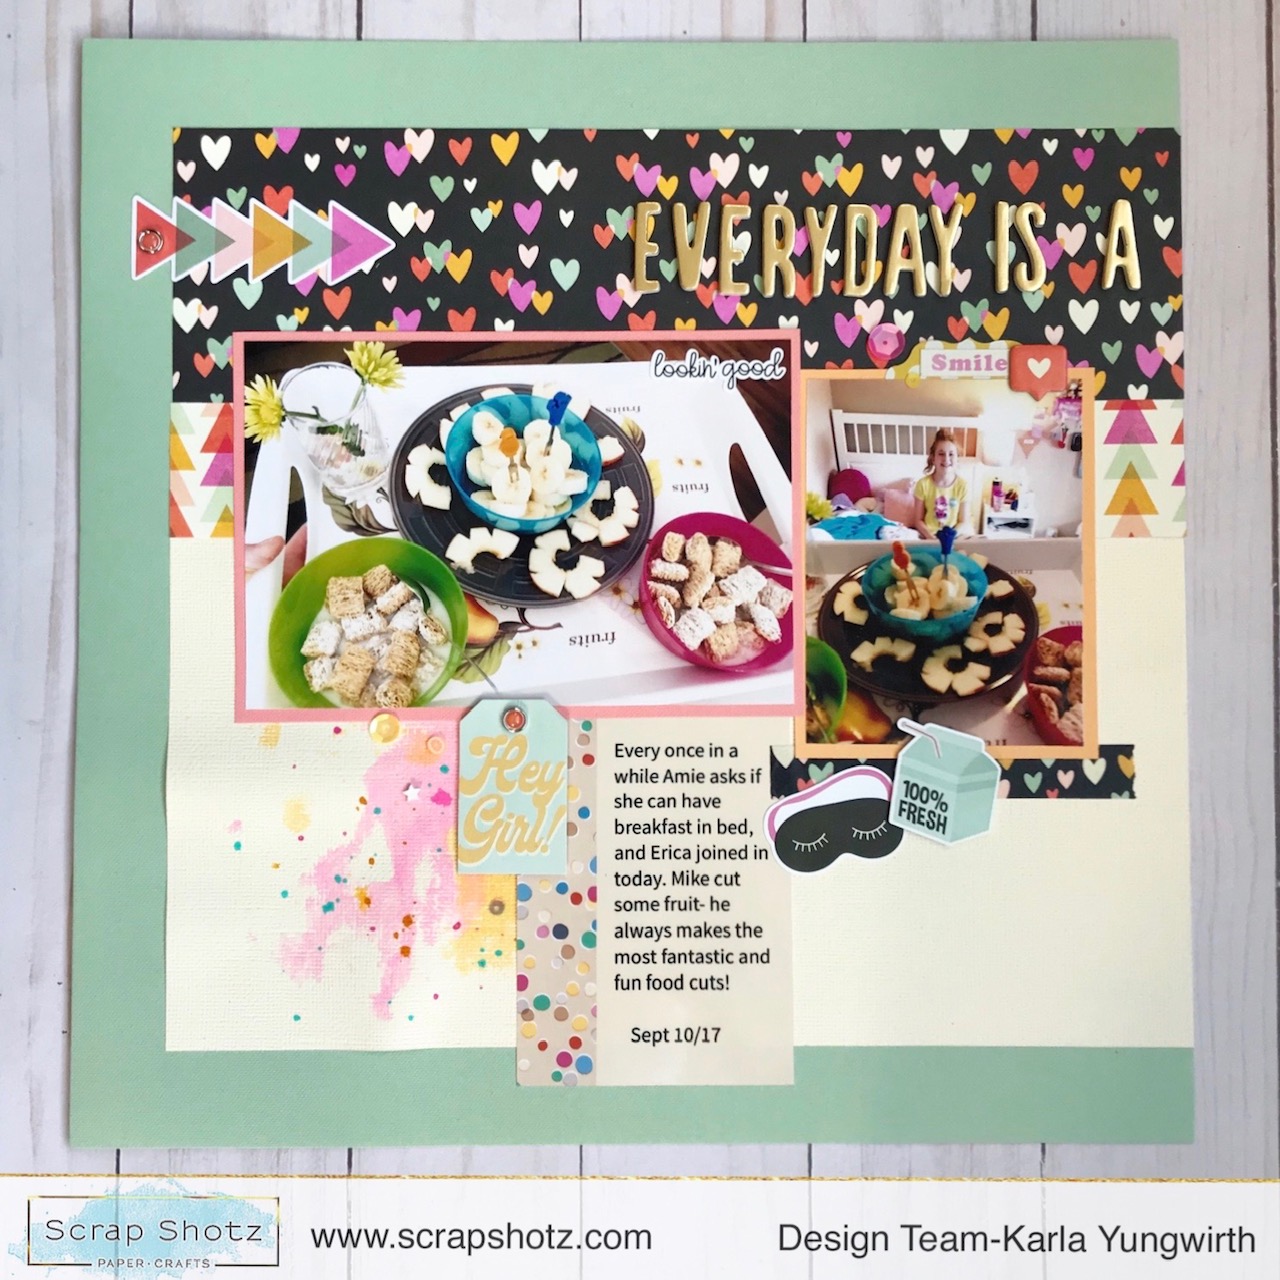

I chose some of the fun stickers and embellishments to coordinate with my Breakfast In Bed theme and layered my matted photos to match the sketch. I even used some of the awesome Paper Rose Shaker Mixes and some sequins from my stash to add more pops of colour! I love how the Decorative Brads include several cardstock ephemera pieces with brads attached!


I added some of the Dina Wakley Gloss Sprays onto both sides of the layout, matching the colours to the papers and using a piece of packaging to smoosh the paint onto the page. I even lifted the nozzle out of the spray bottle to add some fun splatters! I used some gold Thickers from my stash to add a title and cut one of the 3x4 journaling cards from the cut apart sheet in the Collection Pack.


The 12x12 Sticker Sheet from the Pack has lots of fun elements, including various sentiments that work great to layer on. I used the absolutely adorable Mama Elephant Boba Tea Shaker Die Set to create a cute little dimensional cup, adding a fun brad to the top! You can see all kinds of more fun cards using this Shaker Set in last week's Facebook Live!! 


Thanks so much for stopping by today! Be sure to check out the full Simple Stories Kate & Ash Collection in the Scrap Shotz Store, and be sure to join us for Live Videos on our Facebook Page!! We also have a Facebook Group - and we'd love to see what you're working on! Wishing you a crafty and very happy week ahead!


Thursday, April 16, 2020

Hello Farm Girls Double Page Layout Using The March Kit Club

Hello! Karla back today with a double page layout using the March 2020 Kit featuring the absolutely gorgeous Pinkfresh Studio My Favorite Story collection and the April sketch from the SCT 365-2020 Layout Online Class. Each month there is a new double page sketch to create with and I love the way it inspires me to coordinate patterned papers! 


For these pages I'm continuing on with the cute farm pictures I used on one of the layouts from Monday with the adorable chicks HERE. I printed these photos as 3x4's, using the Project Life app to get two pictures per 4x6 photo, and love that I was able to get lots on these pages! I actually took the back of the chick layout and added my layers and photos directly to it! The paper was just too cute to waste ;) I cut one of the rainbows from a piece of 12x12 paper from the Kit and added it to my background for a fun touch!


I used a tag from the Add-On Cardstock Tags package and used the Phrases Puffy Stickers and coordinating Alphas from the Kit to create a title. There are lots of fun ways to add embellishments with the Ephemera Pack and Enamel Dots from the Kit, and I added some pretty florals from the Add-On Floral Ephemera Pack. Don't forget, Kit Club members always get to choose their add-on's first so it's a lovely perk!


The colours in the My Favorite Story collection are so bright and sunny - I just felt happy working with these papers and photos!! I added some of the Ephemera and Phrase Puffy Stickers directly on top of my photos. It was so fun to get these cute pics scrapped!


I added one more cluster of embellishments at the bottom left of the page with some Floral Ephemera Add-Ons, Phrase Puffy Stickers, Ephemera and Enamel Dots! I am so excited to get these photos scrapped and into my album!!


Thanks so much for stopping by! Don't forget to check out the March 2020 Kit and all the beautiful Add-On's in the Shop and find details about becoming a Kit Club Member HERE! You'll always find monthly inspiration here on the blog for using your gorgeous kits. Have an amazing day friends, and stay safe!!


Monday, March 16, 2020

Happy Family Day Layout with Prima Capri & a Video

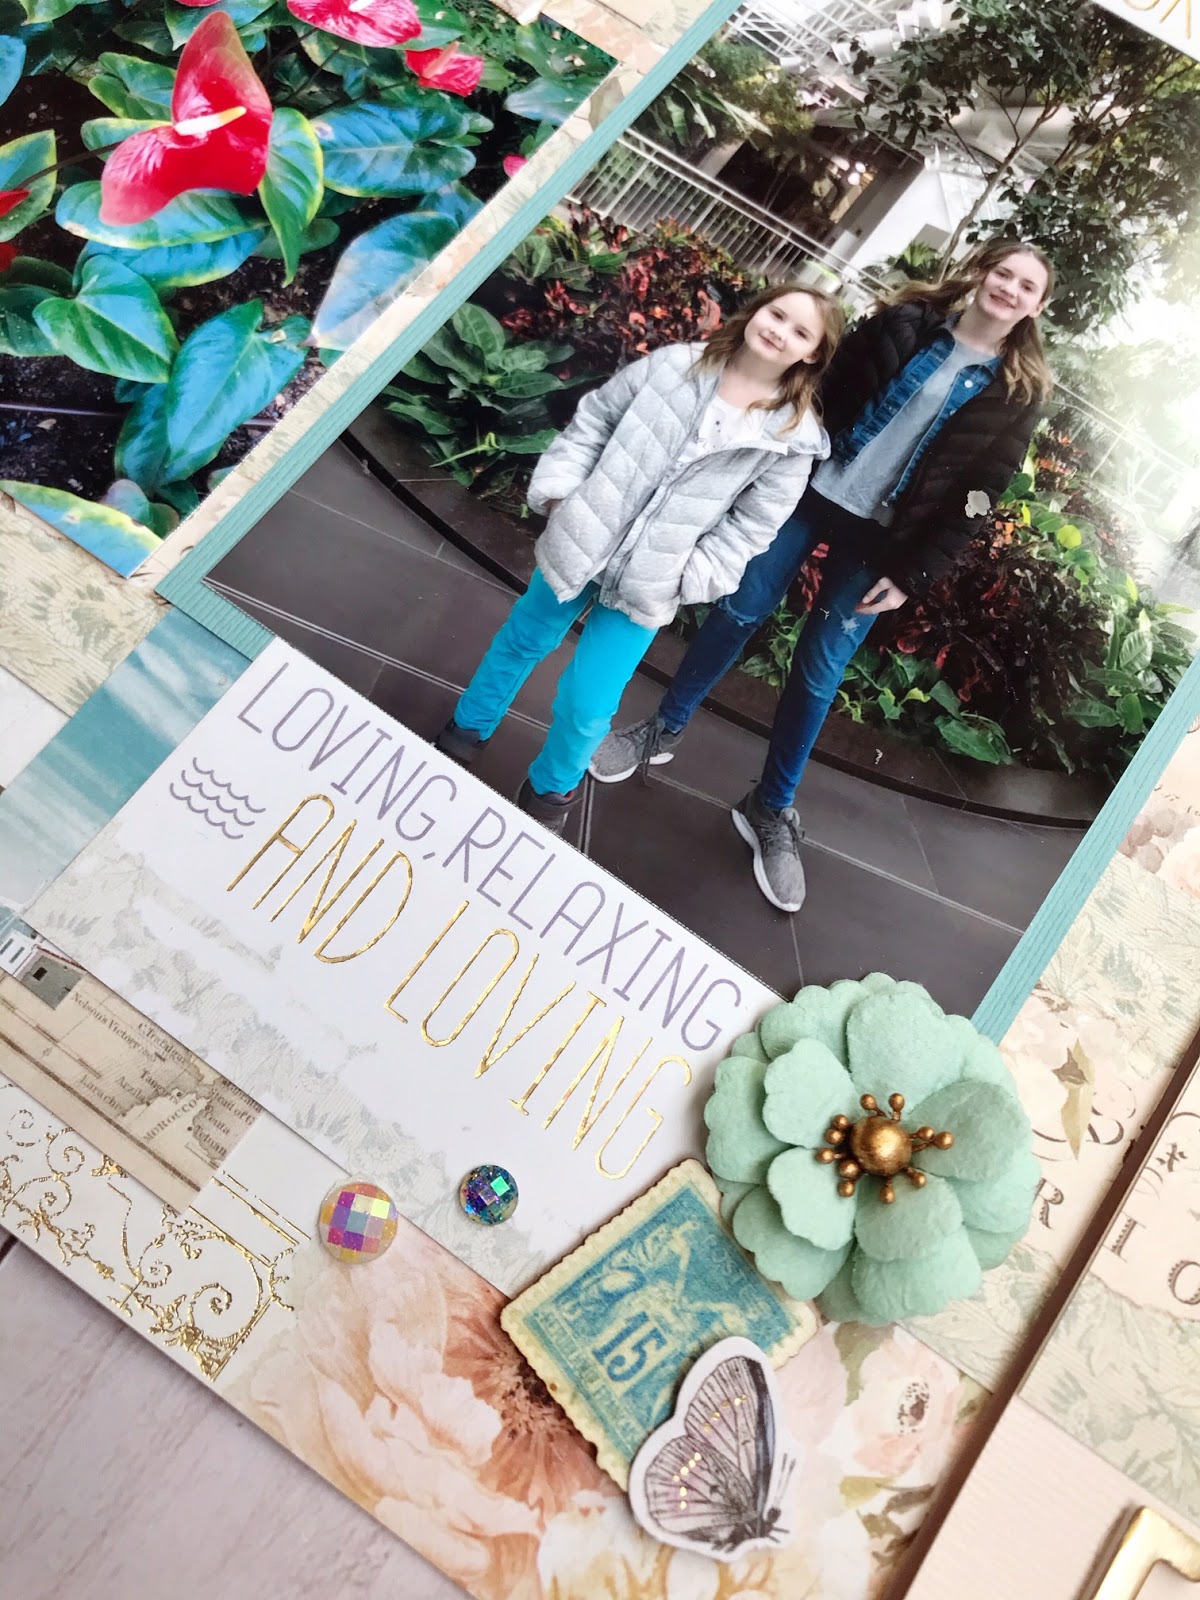
Hello friends! Karla here today with a pretty double page layout using the gorgeous Prima Capri Collection. The colours and images in this collection are so lovely, and I thought some photos from Family Day this year would look beautiful with them! We visited the Devonian Gardens downtown Calgary, which is an indoor garden, and is absolutely beautiful. 


I put together a video to show you how I put together the first page of this layout-


I decided to use a sketch from the March SCT 365 - 2020 Online Class to create this double page layout. I grabbed some teal bazzill cardstock from my stash and added it as accent colour, matting my photos and using some of the same colours from embellishments and papers in the collection. 


The Prima Flowers, Ephemera, Wood and Puffy Stickers and Gems are all so pretty!


I cut apart one of the 12x12 sheets to use a Postcard as an area to journal.


I even diecut butterflies with some of the floral paper with my Cricut to embellish my page further.


By adding layers of the Ephemera, using foam tape, and adding the paper flower and gems I added lots of texture & dimension.


The wood stickers are so cool and have such a great effect on the page! Of course, I love how the papers all work together so well and layer wonderfully.


Thanks so much for stopping by! Be sure to head over to the Scrap Shotz Store to check out the Prima Capri Collection. I hope in light of recent events you're all staying safe and healthy and I wish you all a crafty week 💖


Tuesday, February 11, 2020

New Product- Doodlebug Winter Wonderland Layouts

Hello! Karla back today with two cute, wintry layouts to share with you using the adorable Doodlebug Design Winter Wonderland collection, a very cool Marvy Snow Marker and the Wild Whisper Strength Of The Season Sequins. I think I’ve come to terms with the fact that a majority of our year here in Canada is chilly and snowy, so why not use super cute supplies to scrap those winter pics?!! I love the colours in this collection, and I totally feel happier just seeing the adorable animals on my pages! 💙💜💙

We recently took Erica sledding on a hill near our house and of course she had a blast! I only went down the hill once and that was enough, lol! I decided to use the Creative Scrapbooker Magazine February Sketchy Challenge as inspiration for this layout. 


I matted my photos with purple and blue cardstocks and layered them on a white background. I added some coordinating snowflakes using a Kraftin' Kimmie stencil and inks. I then added Floral Spice Thickers to the top of the Odds & Ends diecut to create a fun title.


The Marvy Snow Marker is really fun! You simple dab it any areas you want to add 'snow' to, let it dry, and then heat with a heat gun. It almost immediately starts to puff up! On areas that I wanted even more dimension, I added a second coat. This was so fun!


These cute little guys are so happy and sweet!! The Wild Whisper Strength Of The Season Sequins matched so well that I had to add them to the page. My fav glue for paper and embellishments is the Art Institute Glitter Adhesive, and the Metal Precision Tip makes attaching sequins so easy.


For my second layout, I'm using the SCT365 2020 Layout Class Sketch for February as my inspiration. I love the small 2.5" squares on one of the cut apart pages in the paper pack! Perfect for embellishing pages and making cards!

I used a sticker from the 12x12 sticker sheet in the paper pack to add a title and added some stickers from the cardstock sticker pack as well as more pretty sequins.


That Snow Marker was perfect again for adding puffy snow and marshmallow embellishments. I layered on some coordinating colours of Distress Oxide Sprays (linked at the bottom of the post) by using the nozzle to tap some ink onto a piece of packaging, adding a little water and then smooshing it onto my cardstock. I love the splattery effect!


How fun are these flower-like snowflakes from the Odds & Ends pack?!! 


We were all tired from our snowy adventure, but we had a great time, and now we get to relive those memories whenever we pull out the scrapbook!


Here are a list of the supplies I used that you can find in the Scrap Shotz Store:
Tim Holtz  Distress Oxide Sprays: Seedless Preserves & Peacock Feathers

Thanks so much for stopping by! You can always find NEW goodies in the Scrap Shotz Store HERE - so be sure to have a look and see what crafty supplies inspire you!!


Friday, April 12, 2019

Farmer's Market Layouts using the April Kit

Hello friends! Karla back today with two layouts completed using the April Scrap Shotz Kit featuring the Happiness Collection from Cocoa Vanilla Studio. I love this kit!! The beautiful watercolour and florals are perfect for so many occasions, and since I am definitely in need of some bright spring colours (especially after snow in Calgary last night!!) this is just the thing to make me happy! I started off by using the Creative Scrapbooker Magazine April Sketchy challenge as inspiration along with photos of our family at the Cochrane Farmers Market in Alberta. I used the small flower paper as a border and layered a piece of white cardstock on top before stitching around with my sewing machine. My daughter had been practicing sewing and had green thread in the machine and I decided to go for it, lol. 


I used some free cutfiles from the Cocoa Vanilla website and cut out the 'lovely' title on white cardstock along with two circle wreaths included. These were the perfect thing to add to the page to coordinate with the sketch. I misted them with Glimmer Mists to add colour and customize them to coordinate with my page. I also used the packaging technique to add some of the mist to the background of the white cardstock. I really love combining fonts to create a title, so I added one of the 3x4 cards with 'weekend' in the center and a 'day' sticker from the Thicker Kaleidoscope Words sticker pack which is an Add-On available.  


I love the CV Happiness Accessory Sticker Sheet with the tiny word phrases! This is also an Add-On available in the shop. Don't forget as a subscriber you'll get first choice to get those fun Add-Ons you want to coordinate with the amazing kit! I layered some of the words to create some fun sentiments beside the photo of my two girls. 


I layered my photos on cardstock and paper included in the kit and then embellished with some of those Add-On Thicker stickers and little flowers that come in the Die Cut Ephemera pack, which is part of the Kit. I also added some enamel dots created with the Add-On Carnation Nuvo Crystal Drops. I love being able to customize the size of the dots I'm creating!! 


For the second layout I'm using a sketch from the SCT 365 Layout Class. I honestly love starting with a sketch! I often find I layer papers in a way that I wouldn't have thought of, and even if I use this sketch again and again it always turns out different each time! 


I used the 'good vibes' sentiment from one of the 3x4 cut apart pages in the Kit to start creating a title, adding the Add-On Thicker Kaleidoscope Stickers 'and' with 'happy times' from the Diecut Ephemera pack. I again used the packaging technique to pick up mist from my splat mat with a plastic package and then press it onto the white cardstock background. 


I absolutely love the tassels in the Diecut Ephemera pack in the kit and I used a bit of twine from my stash to create a hanging effect. I added a 'hello' from the Add-On Accessory Sticker Sheet and layered on the 'weekend' flair badge from the Kit. 


This wonderful flower diecut is from that free cut file (linked above) and I backed it with papers all included in the Kit. I added the pretty wood veneer butterfly and embellished with the tiny pink flowers - also in the Kit. A few more customized Nuvo Crystal Drops (an Add-On) finish off the pretty details.


 Thanks so much for stopping by today! Be sure to check back all month for lots of projects featuring this gorgeous Kit and Add- Onsand don't forget to check out the Reveal Video post HERE where you can see exactly what's included in the kit! Have an awesome weekend friends, and happy crafting!