Showing posts with label design team. Show all posts

Thursday, February 8, 2024

Traveler's Notebook Layout with 49 and Market

 Hello, Jenn here to share a Traveler's Notebook layout. I've been inspired by Scrap Shotz challenge for the month of February to get an unfinished project FINISHED! I know I'm not alone in having a pile of half finished projects that need some attention so I think this challenge is the perfect push to pick one and get it done. The first project I've chosen is my May 2019 Traveler's Notebook, which only has a few pages left to finish, one of which just happened to be a picture of my peach lemonade from Starbucks, the perfect match for the 49 and Market Color Swatch Peach Collection that I got from Scrap Shotz! Here is what I did:


All month long I have been playing with the sketch that I created for February so I thought it would be fun to try shrinking it down to a Traveler's Notebook size for this layout. I threw in a few of my favourite techniques, as well, to ingnite some creative sparks and complete the rest of the notebook. To start I used some watered down Abandoned Coral Distress Ink to create splatters on my background. While that dried, I chose the cover paper from the Peach collection, which has a small sample of each paper pattern on it. I really love using this paper in every collection to stretch my collection. I tore strips of paper from this sheet so there would be multiple patters on each strip, for my horizontal and vertical layers. This gave me a lot of colour for my layers without having to sacrifice a small strip torn off of multiple pieces of paper. The torn edges also give a lot of texture and interest without too much dimension. 


I layed down in strips in layers, similar to the sketch, and then added an envelope and tag from the Peach Envelope Bits pack, and some leaves and butterflies from the Peach Acetate Leaves pack. I also had a piece of a cutfile that I used as a stencil for an earlier layout in the Traveler's notebook and thought might make a nice embellishment so I cut it apart to fit it around my little picture. The finishing touches were a few sequins from the SpiegelMom Scraps Peach Fizz sequins mix and a sketchy border around the layout using a peach marker.


I always enjoy creating fun little layouts that come together quick and easy. I like to stick to my comfort zone to get started with finishing a project that I haven't touched for a little while, and then I can slowly build up my creative confidence with go-to techniques. For me, those include using a sketch to inspire design, using scraps, paper tearing, splatters, sequins, and sketchy borders. I try to keep it simple and use a limited amount of supplies, like a single collection. After creating this layout, I went on to finish three more and completed this project, WOOHOO!!! Please check out my Youtube Channel for a more detailed list of all of the unfinished projects I am working on this year, as well as the process video for this layout and a flip-through of the finished Traveler's Notebook. To find all of the supplies I used, click the links that are highlighted, or head to the Scrap Shotz store to see all of the beautiful 49 and Market products now available.

Thanks so much for popping by, Happy Scrapping :)
Jenn


Saturday, October 23, 2021

Family Fun

Does your family play a lot a games and do a lot of puzzles? Mine sure does! 

Anytime we are together - no matter if we are in the dining room or a table at the pub - there is some sort of game and most definitely a selfie of us playing. We do this so much, I have a whole bunch of photos waiting to be scrapped. 

Simple Stories, Family Fun collection I picked up from the Scrap Shotz shop to the rescue. This collection has everything you need to scrap games and puzzle nights. From board game pieces to video game sticker or arcade and bowling and mini golf die cuts and more. So much fun! 

Sorry, not Sorry


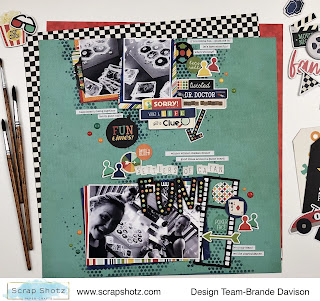
For my first layout I grabbed this awesome teal pattern paper called Your Turn from the collection as my background. I used some Tim Holtz Distress Ink in Chipped Sapphire with a Peartree Cutfiles Stencil to give the layout a touch of mixed media. I liked that the stencil looks a little like the Connect 4 Game. Remember that game? 


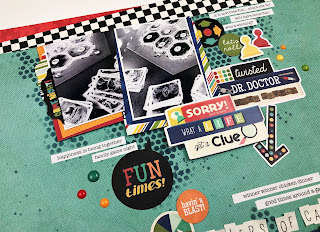
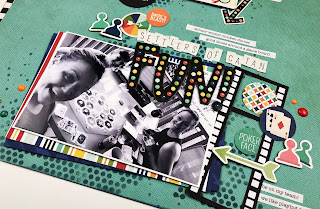
From there I created a top and bottom of the page cluster - focusing on layering all the things behind a 4x6 photo of us playing Settlers of Catan (such a great game!) on the bottom of the page and then a couple of smaller photos of the game on the table at the top of the page. I tied it together with an arrow and the title in the empty space between. 

This collection is full of game board related stickers, die cuts and clipboards - so easy to create fun, themed clusters! 

All the Words 


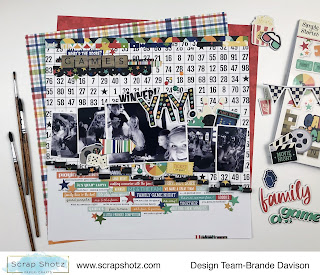
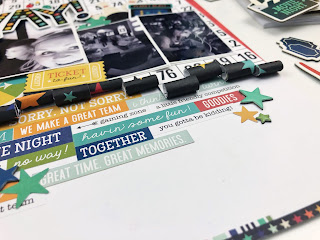
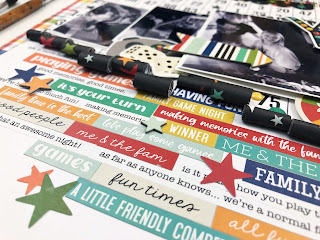
For my second layout I wanted to try two techniques. Using the word and phrase stickers from the Collection Kit sticker sheet and sticker book, and I wanted to try the paper rolling touch I have noticed on Instagram lately. Done! 

I started with the pattern paper called Good Times. I cut along the lines of the number rows from bottom to about halfway up the page. Then using the end of a skinny paintbrush rolled each of the strips up - making sure the rolls were at different heights on the page. I used a little tape to keep them in place. 

Then I secured that on white cardstock and then created a grid of word and phrase stickers on the bottom half. Making sure the design started right below the rolls of paper and not worrying about covering the whole white space. Where the stickers didn’t quite line up, I added a chipboard, sticker or die cut star to hide the oops. 


From there all of my focus was on the paper rolls. I added my photo and just tucked and clustered a bunch of die cuts, stickers, and chipboard to create a nice little mess of fun! I love using a large photo to draw the eye and then a bunch of small photos to add more details. 

Triangles for the Win

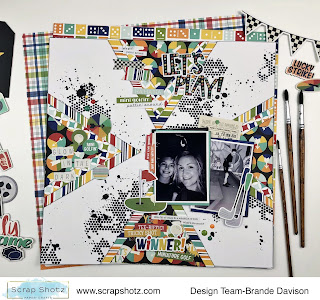
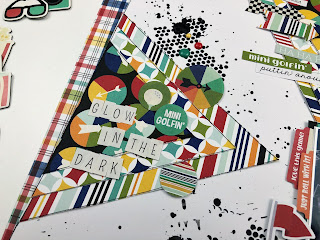
For my final layout I was inspired by a throw back Let’s Get Sketchy sketch - 4 triangles on each edge of the page to draw the eye to the centre where the photo sits. I thought the border of triangles would be a great anchor for loads of goodies! Sure was! 


To start, I grabbed some white cardstock and used that same Peartree Cutfiles stencil and my most favourite mixed media paste, Picket Fence Paper Glaze in Black Pansy, to add a little black texture to the background here and there. 

Then I created 4 triangles using 3 layers of the pattern paper each. I adhered these on the middle edge of each side of the page creating a focus point in the centre - where I placed my photos! From there it was all about adding in all the mini-golf related die cuts, chipboard and stickers. So many to choose from! 


I really cannot believe how much fun it was creating these layouts - the collection is so easy to play with and it was great to relive these awesome family moments. 

If you play Quirkle or Uno, master the 1000+ pieces puzzles or have fun at arcades or go-carts or mini-golf … you just might need the Simple Stories, Family Fun collection. Lots of goodies still in the shop ;) 


Sunday, July 12, 2020

Lawn Fawn Car Critters: Building a Scene

Hello!

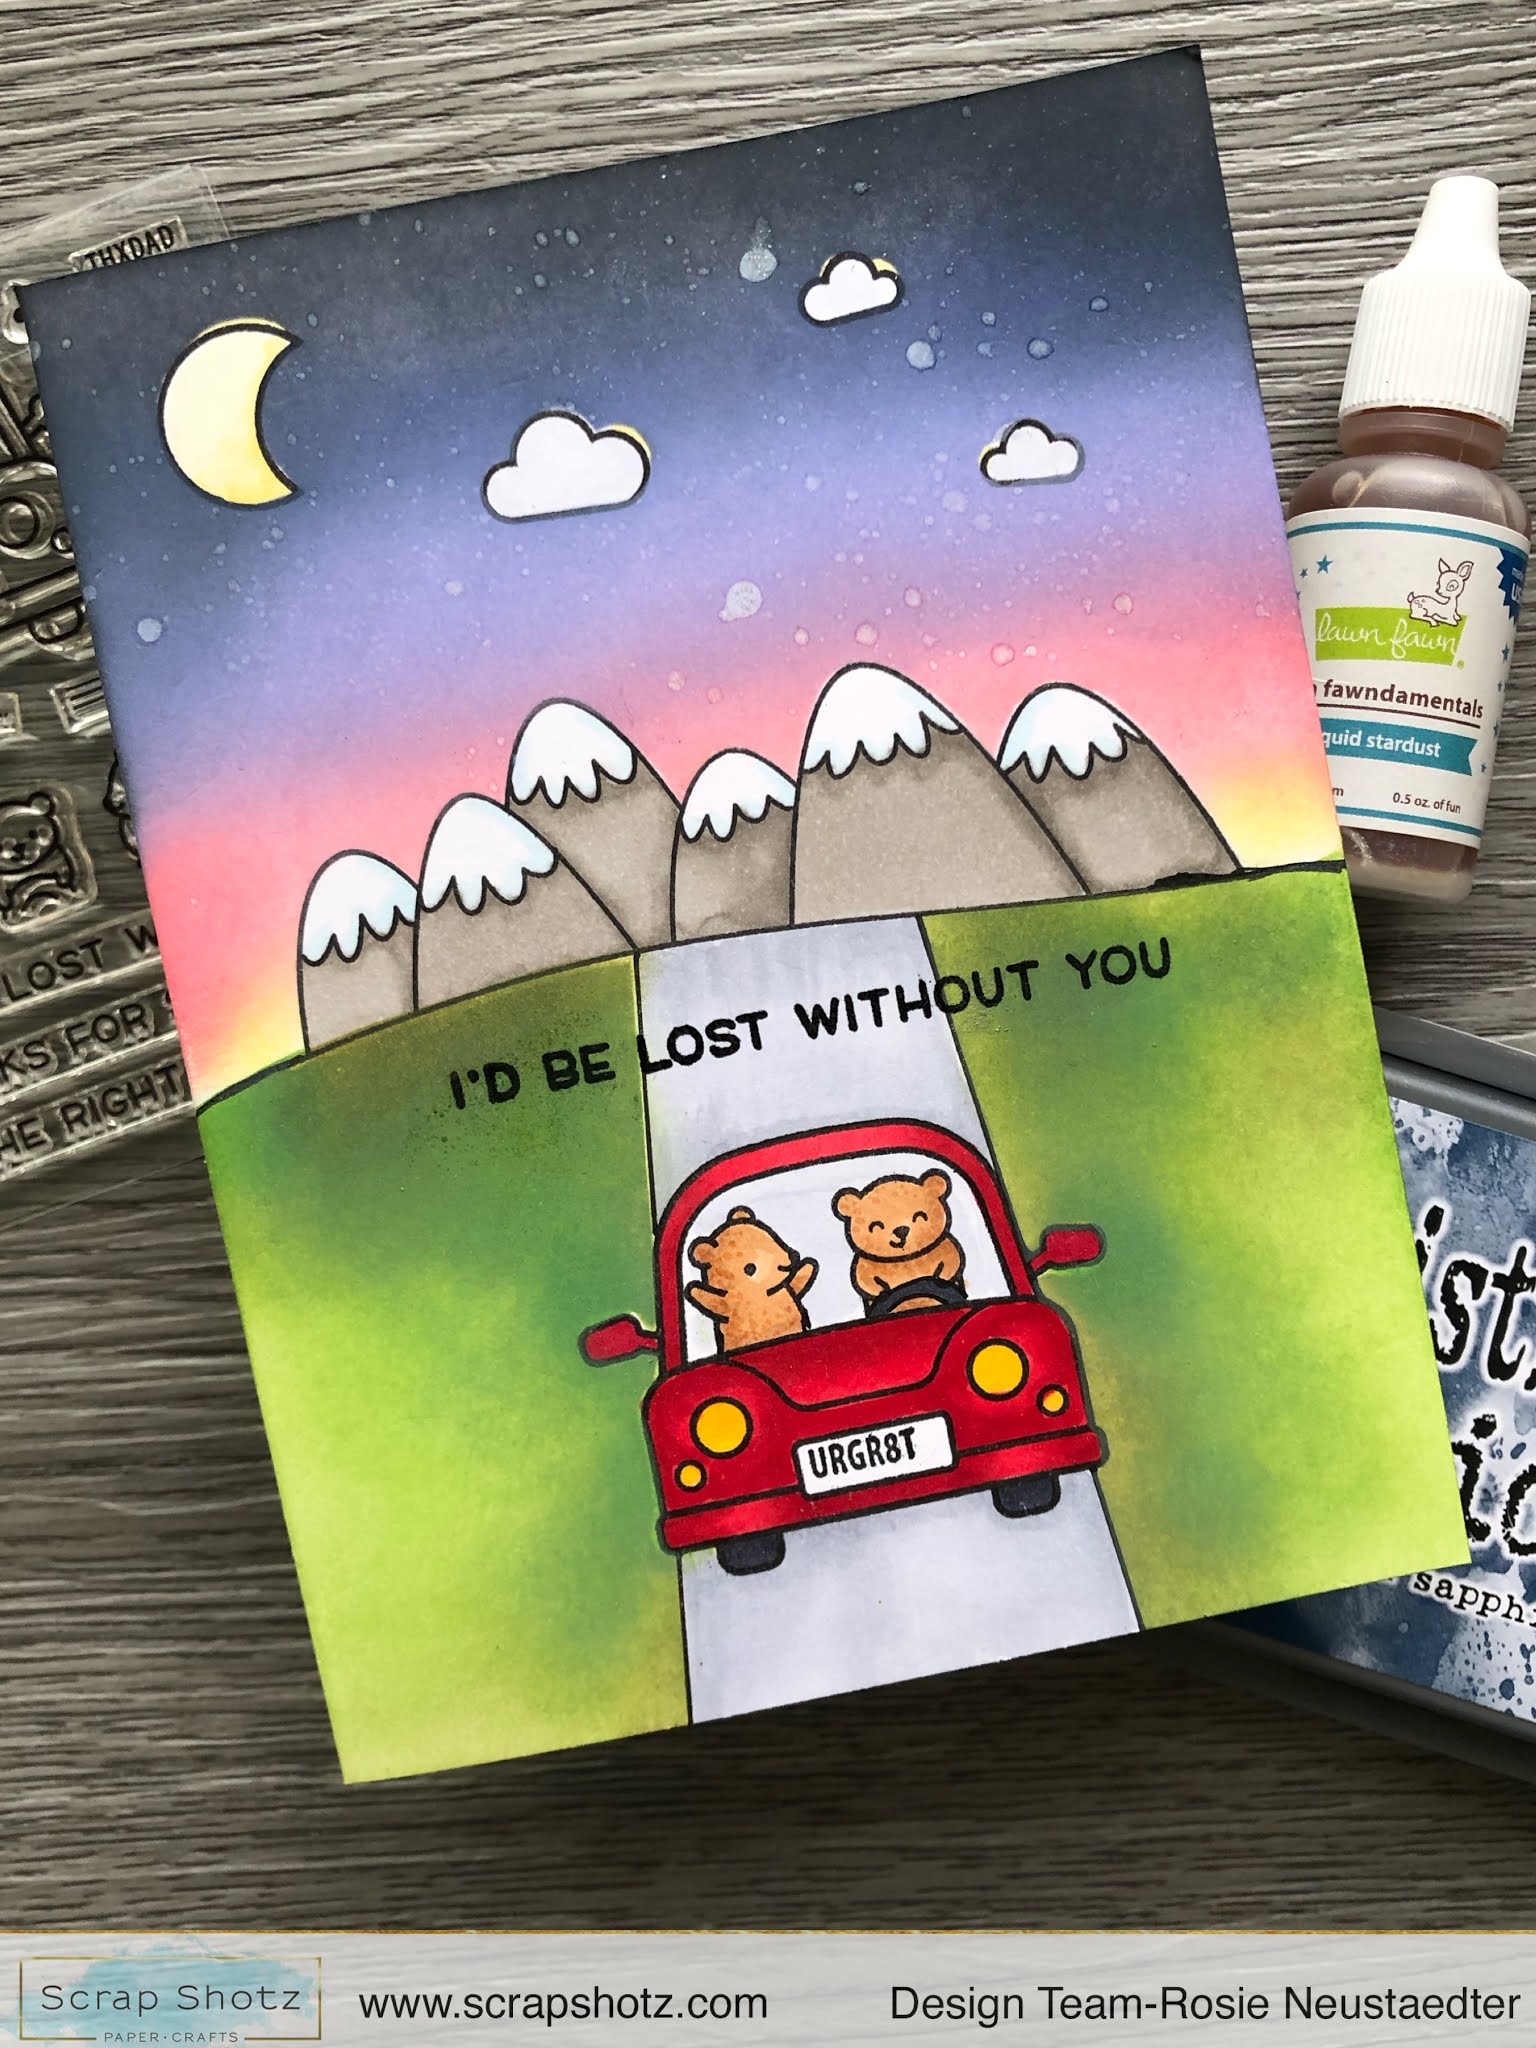
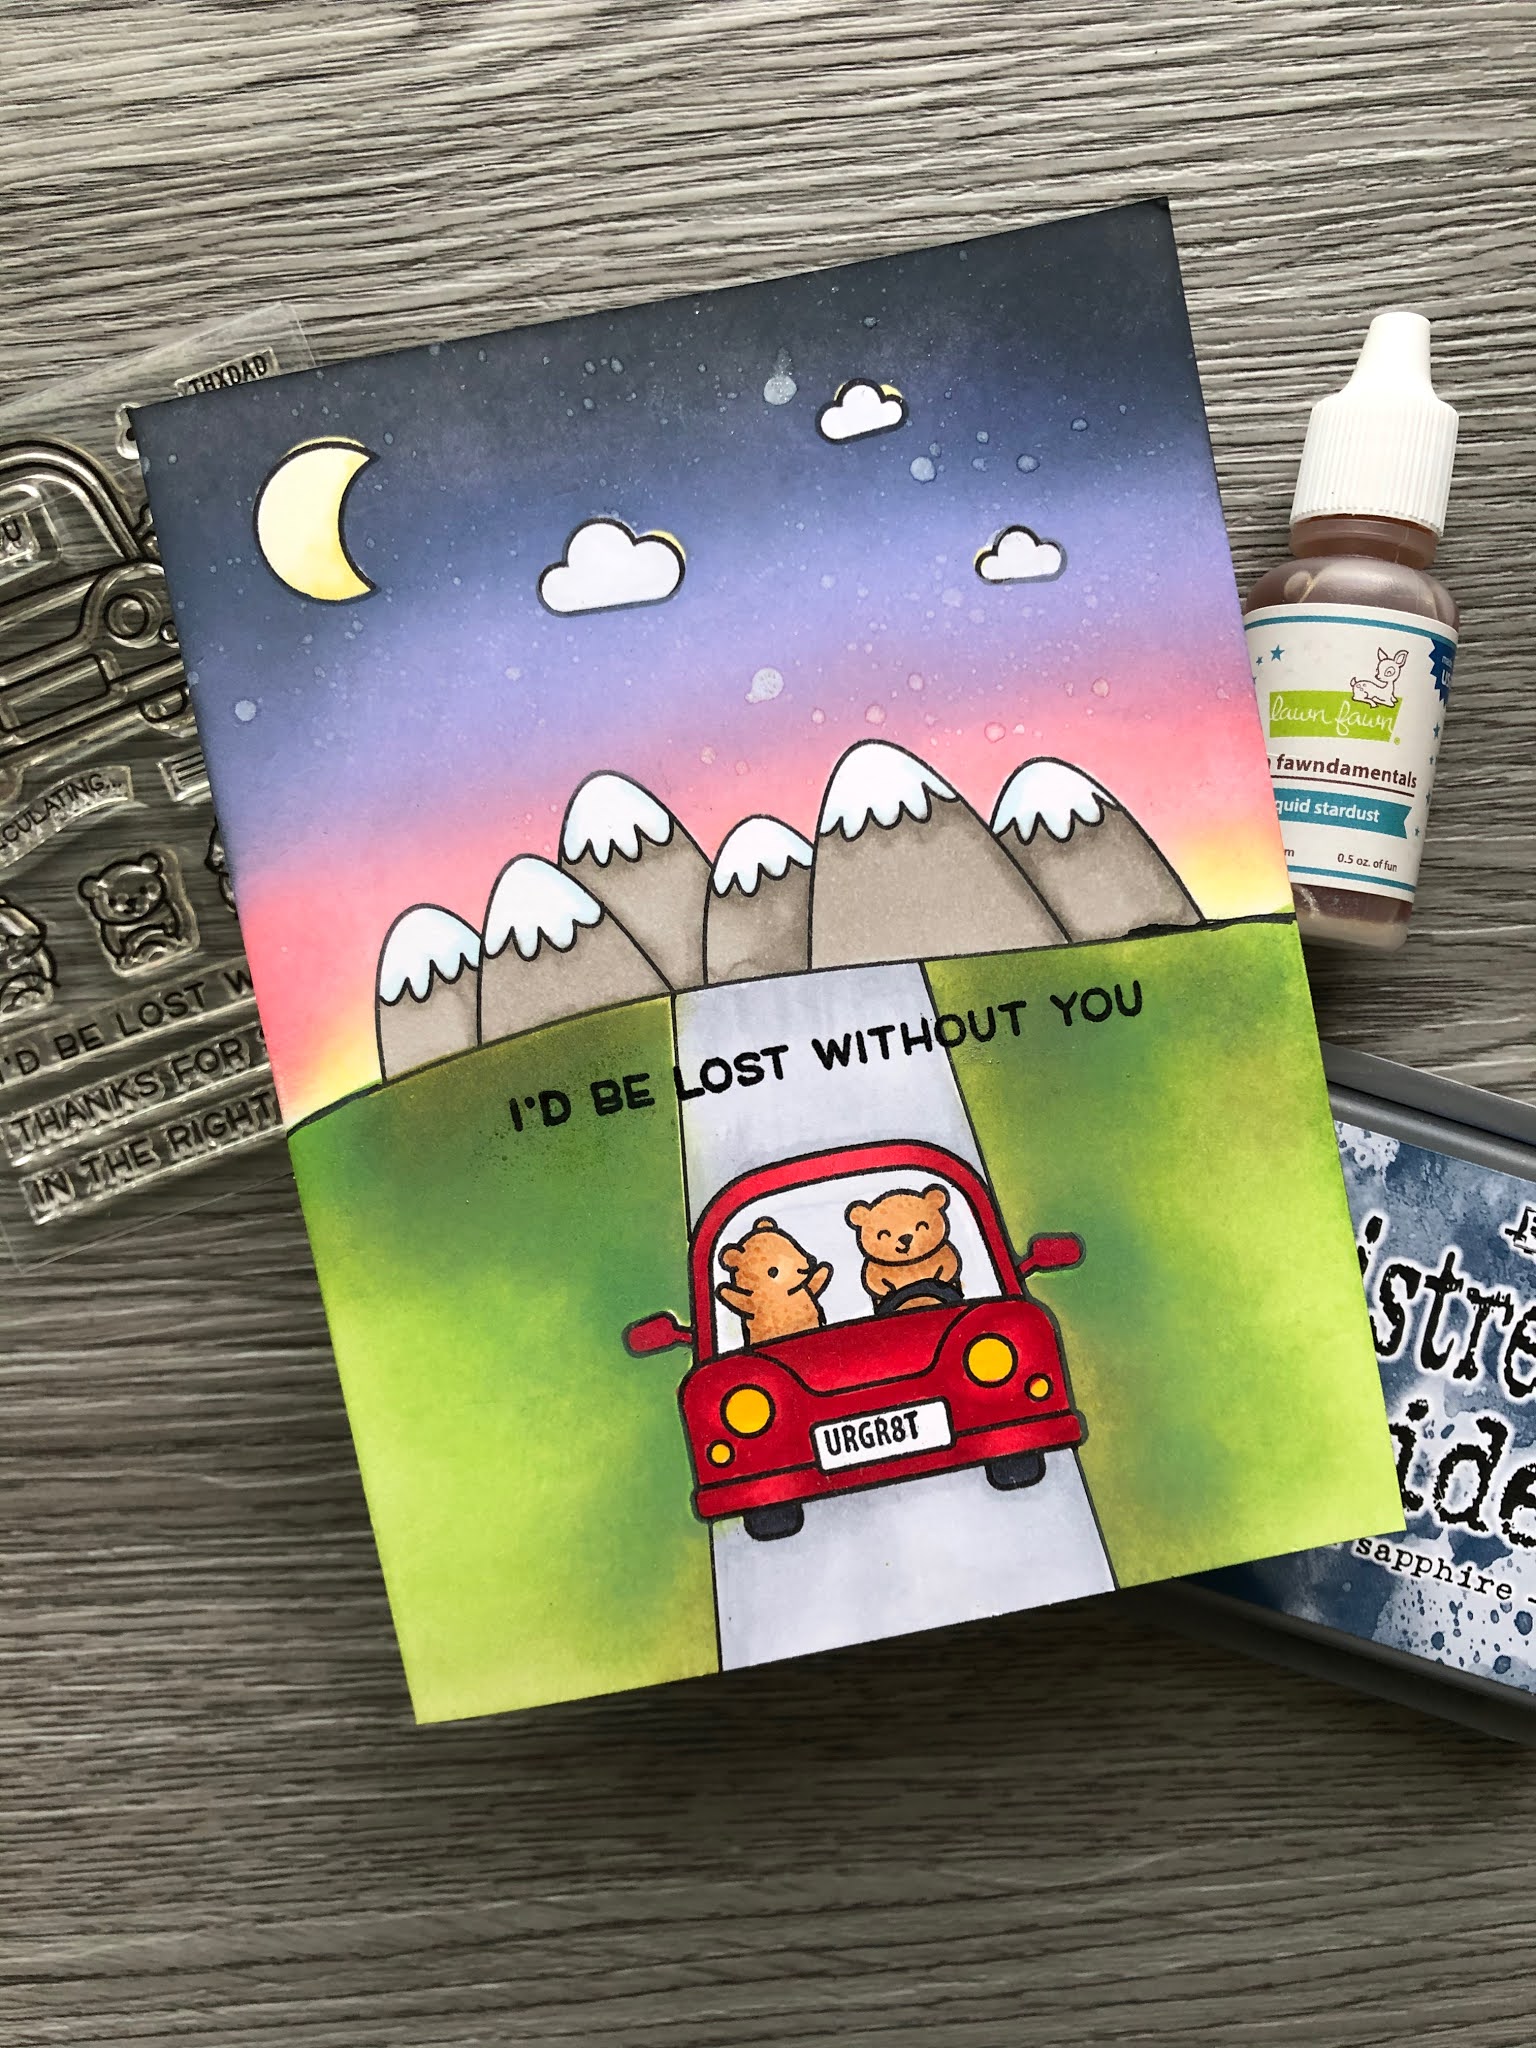
Rosie back to share this card and a few tips for building a scene with your stamps.


I have combined the Lawn Fawn Car Critters stamp set, All the Clouds stamp set and the Mama Elephant Scene Builder stamp set.

Tip # 1: "Test Drive" the layout by practicing it first to figure out exactly how to proceed. The image on the left below is the practice panel.


Tip #2: Use a stamp positioning tool like a Misti. It's invaluable for this type of card as you can lay out the various elements and stamp them all at the same time. 
Based on my practice panel I stamped the car, mountains, moon and clouds. I also stamped these images on masking paper and fussy cut the images. I applied the and then stamped the bears.

With all the stamping done, I masked the moon, clouds and mountains and then inked a sunset scene with Distress Oxide Squeezed Lemonade, Picked Raspberry, Blueprint Sketch, Wilted Violet and Black Soot in.


Tip#3: Hand draw in details if needed. I drew the edges of the road with a Micron .05 black archival marker alongside the car. I also extended the edges of the mountain range to the side of the card stock. I then laid Post It tape over edges of the road and masked over the mountain range, inking the grassy area with Distress Oxide inks in Mowed Lawn and Forest Moss.


Once the inking was done I coloured in all the images with copic markers and stamped the sentiment from the Car Critters stamp set.

Here's another look at the completed card.


Thanks for stopping by and taking a look!

Happy Crafting!


Tuesday, June 9, 2020

Sunday Drive with Spellbinders

Hello Everyone!

Rosie here with a couple of projects featuring the Spellbinders- Sunday Drive Die Set:


There are 16 dies in the set that cute out the pieces of this card, everything you need to paper piece this cute birthday car. I die cut all the pieces first, using up some paper scraps and then pieced the car together following the image on the packaging.

Prior to glueing everything down I inked the clouds with the Lawn Fawn Cloudy Stencil and Distress Oxide Broken China ink. I created the ballon strings out of gold thread.


For this next card, I inked a sunset background with Distress Oxide inks in Blueprint Sketch, Wilted Violet, Picked Raspberry and Squeezed Lemonade. I then misted the panel with Altenew Iridescent Spray Ink.


I inked the sides of my grey card stock "road" with Black Soot Distress Oxide ink.
The bumper, side mirrors and taillights are cut from silver metallic card stock.


I created a shaker with the trunk birthday section and rather than place the gifts in the luggage holder, I placed them inside the trunk itself.


I backed the balloons with the same patterned paper I used for the steering wheel and luggage holder.


Again I used gold thread from my stash for the balloon strings.

There are lots of possibilities with this die set!

Thanks for stopping by :)


Thursday, April 2, 2020

Three Easy Birthday Cards!

Hello Scrap Shotz Friends!

Rosie here to share some very easy birthday cards with you but first, how are you all doing? Our schools and all non-essential businesses are shut down so we are working hard to "flatten the curve".

We trust you are all keeping safe and healthy and a big thank you and hugs to all those who are on the front lines from the first responders, to the nurses and doctors in the clinics and hospitals, to the friendly voices at the other end of the phone of 311, 811, 911 whatever the emergency/covid information number is in your area!

I am using some great Taylored Expression products which make cards simple and easy to create.


I used the following products to create these cards:


The Taylored Expressions Simple Strips Stamp Set Background, Taylored Expressions-Simple Strips Die, Taylored Expressions-Simple Strips Backer Die and Hero Arts Wish Big Peek-a-Boo Parts Stamp Set (there will be future projects on the blog using this set so subscribe to make sure you don't miss them :) )

In the back of my mind I had decided to cut a rainbow selection of card stock using the Simple Strips Backer Die:


Prior to cutting the coloured card stock, I stamped the sentiments with the Simple Strips Background Stamp Set in Gina K Amalgam Jet Black ink:


After stamping, I die cut the sentiments with the matching Simple Strips Die:


And in one die cut pass you have 18 various sentiments to use...you can also find:

You can stamp all the above sentiments and die cut with the same die!
There is now a Simple Strips Backer Die which creates a banner "mat" behind each sentiment so you cut 18 "mats" all at the same time with the die.


I used the die with card stock in rainbow colours. You will need to use extended cutting plates as this die measures approximately 8 1/4". Your cutting machine may come with an extended base but not plates.

I created my first card by just laying out die cut strips in rainbow order:


Then I picked out the sentiment I wanted to use and the corresponding die cut mat, embellished with a few Studio Katia sequins and here is the final result:


For this next card I stamped the Hero Arts-Wish Big Peek-A-Boo Parts stamp on white card stock in Gina K Amalgam Jet Black Ink:


Happy Birthday is stamped from the Hero Arts set and the banners are cut in half to create a "wreath" around the sentiment.

Once the banner pieces are adhered with liquid glue, I add foam adhesive to pop up the sentiment.


 A few Studio Katia gems from my stash finish this card off.

This final card, also uses Simple Strips Backer Die cuts for the card front which shows how versatile this die is as the die cuts can be used on their own to create a background or mat stamped sentiments.


I alternated the die cut strips and easily matted the die cut sentiment with the matching die cut. I added some sparkle and shine with bling from my stash.

Friday, February 14, 2020

Your Potential Is Endless: January Scrapbook Kit

Hello Friends!

Happy Valentines Day!

Rosie back to share a few more January kit projects, this time I have a few cards but will start things with this home decor piece that will hang in my craft room:


I first sprayed this Tim Holtz Etcetera tag with Distress Ink spray but it is not terribly opaque so it did not cover very well so I went to plan B and applied Vicki Boutin white gesso to the thick board and let dry.
Once dry, I mixed together Distress Ink Blueprint Sketch paint and Ranger Black Tie paint and added a couple of coats over the gessoed surface. 
You can see a few flecks of copper foil, I grabbed a scrap of copper foil from my stash and laid it over some areas that had not completely dried and rubbed the foil over them:

I used a Heartfelt Creations die from my stash to die cut the flowers from patterned paper, then shaped with the McGill Flower shaping tool:


The magenta bloom is from the kit itself.

I die cut the bottom left corner with a TH Sizzix alterations die, then trimmed a white butterfly die cut from my stash, backed the openings with kit pattern paper then applied Copper Penny Nuvo Crystal Drops over the die cut.


To put it all together, I began with the bottom layer, the bottom left hand side die cut, then the butterfly cut file, followed by kit chipboard pieces, a quote cut from one of the kit papers and then the flowers. The die cut flower centers are embellished with a kit gem which has been covered with Copper Penny Nuvo Crystal Drops.


One of the best parts of a kit is how everything coordinates so well together.


I cut various papers in squares and one rectangle, layering them over each other and popping up two of the layers with foam adhesive. The sentiment, from the kit stickers is also adhered with foam tape.

Lastly, I embellished with some kit puffy accents (heart, butterfly and dot).


The bottom half of this card is two die cuts cut with a Tim Holtz Alterations die from my stash. I bordered the top with a strip of Tim Holtz metallic card stock.


I finished it off with a few of the kit puffy stickers.

These next two cards feature the super versatile Circular Grid Mama Elephant die. It is perfect for the cute Mama Elephant Little Agenda stamps and works just as well for these thank you cards.

I die cut two pieces of pattern paper, keeping the circles to use randomly on the cards.

I inked a white card stock card front with Distress Oxide Victorian Velvet, Seedless Preserves and a bit of Dusty Concord.

I popped up a couple of the circles leftover from the die cut cover die with foam adhesive, added a kit chipboard sticker and the sentiment from the kit stickers, finishing off with a kit gem.


This card front was inked with Distress Oxide Victorian Velvet and a light hand of Dusty Concord and Blueprint Sketch. I then misted with water, picking up the water with a paper towel to create the "distressed" effect.


Again I popped up the circles with foam adhesive and cut the sentiment out of one of the kit journal cards, cutting notches on both sides to create a banner. A single kit gem adds a bit of extra sparkle to the card.

I hope you've enjoyed my kit projects, thanks for stopping in and don't forget to check out the other posts on the blog, lots of great inspiration from the team :)

Happy Crafting!