Thursday, May 14, 2020

April Kit Pt.3: Home Sweet Home, Crafty Helper and More

Hello Friends!

I hope you've been enjoying all the Creative Team inspiration! 

Rosie back to share my final kit projects using the April kit, this is another Mother's Day layout I made with the kit, this one with myself and almost all my kids, lol...hard to have them all in the same room at the same time once they get jobs.


The centre of this layout was created during this Vicki Boutin FB live, with Distress Oxide Inks and the Altenew Painted Butterfly stamp and die set. The butterflies are also heat embossed with gold embossing powder. I stamped butterflies in with the same Oxide inks used for the "blown butterflies" and  die cut them with the matching die.


I cut the paper down and matted it on black card stock, the photo itself was also matted on black card stock and layered over plaid patterned paper from the kit which was back with Kraft and then black card stock. Kit chipboard, stickers, a brad and sparkly confetti embellish the layout.


I used one of my new purchases, embossing glaze, on this next project:


It was fun to document my son helping me stitch on a layout a couple of years ago.

I applied embossing ink with an embossing dauber to the edges of the library drawer, text patterned paper and the title and sub-title die cuts.


I then applied Walnut Stain Distress Embossing Glaze  and set with a heat tool.


I love the extra interest it gives along the edges.

Now for a few more cards :)
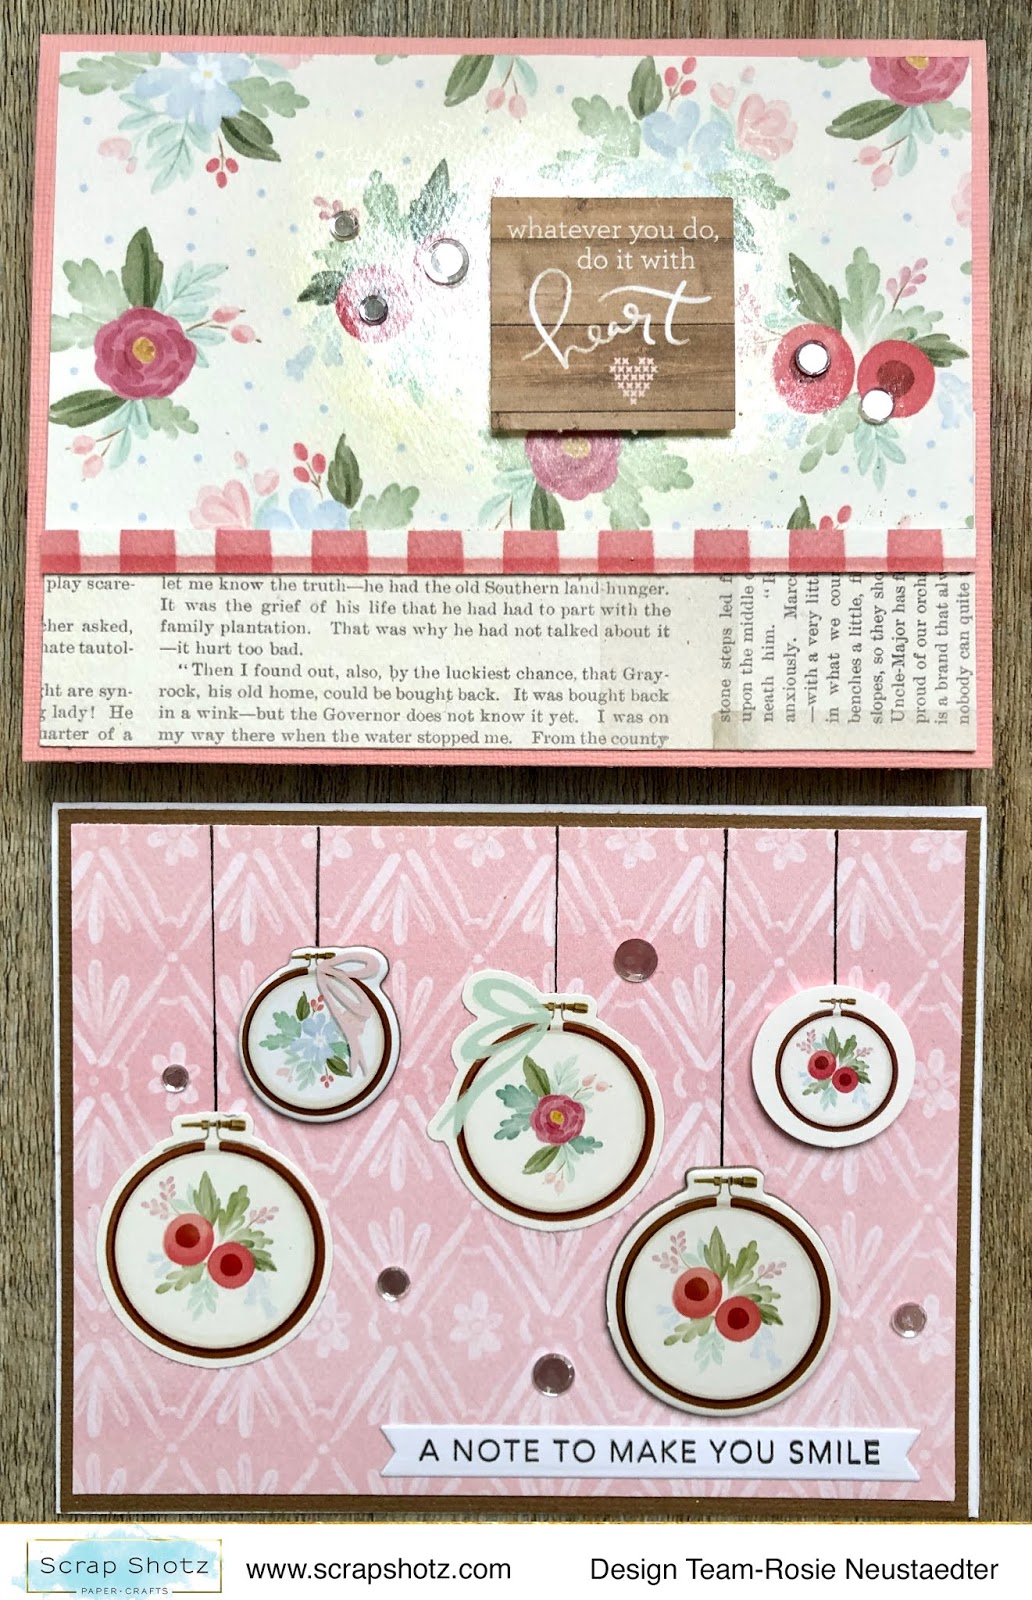

So easy to combine patterns when using a paper line, everything coordinates very easily as you can see from the card on the top. 

The bottom card has a patterned paper base matted on card stock and I used a combination of the chipboard, die cut and sticker hoops, the "hangers" are hand drawn with a black marker and the sentiment is from the Taylored Expressions Simple Strips Background Set. This is a great set, it stamps 18 varied sentiments that you die cut with the matching die. I stamped, die cut and then keep them in a ziplock bag and pull one out when I need one!


A little shine is added with PPP confetti, you can use anything shiny from your stash :).

When I saw this paper I decided I wanted to fussy cut some blooms:
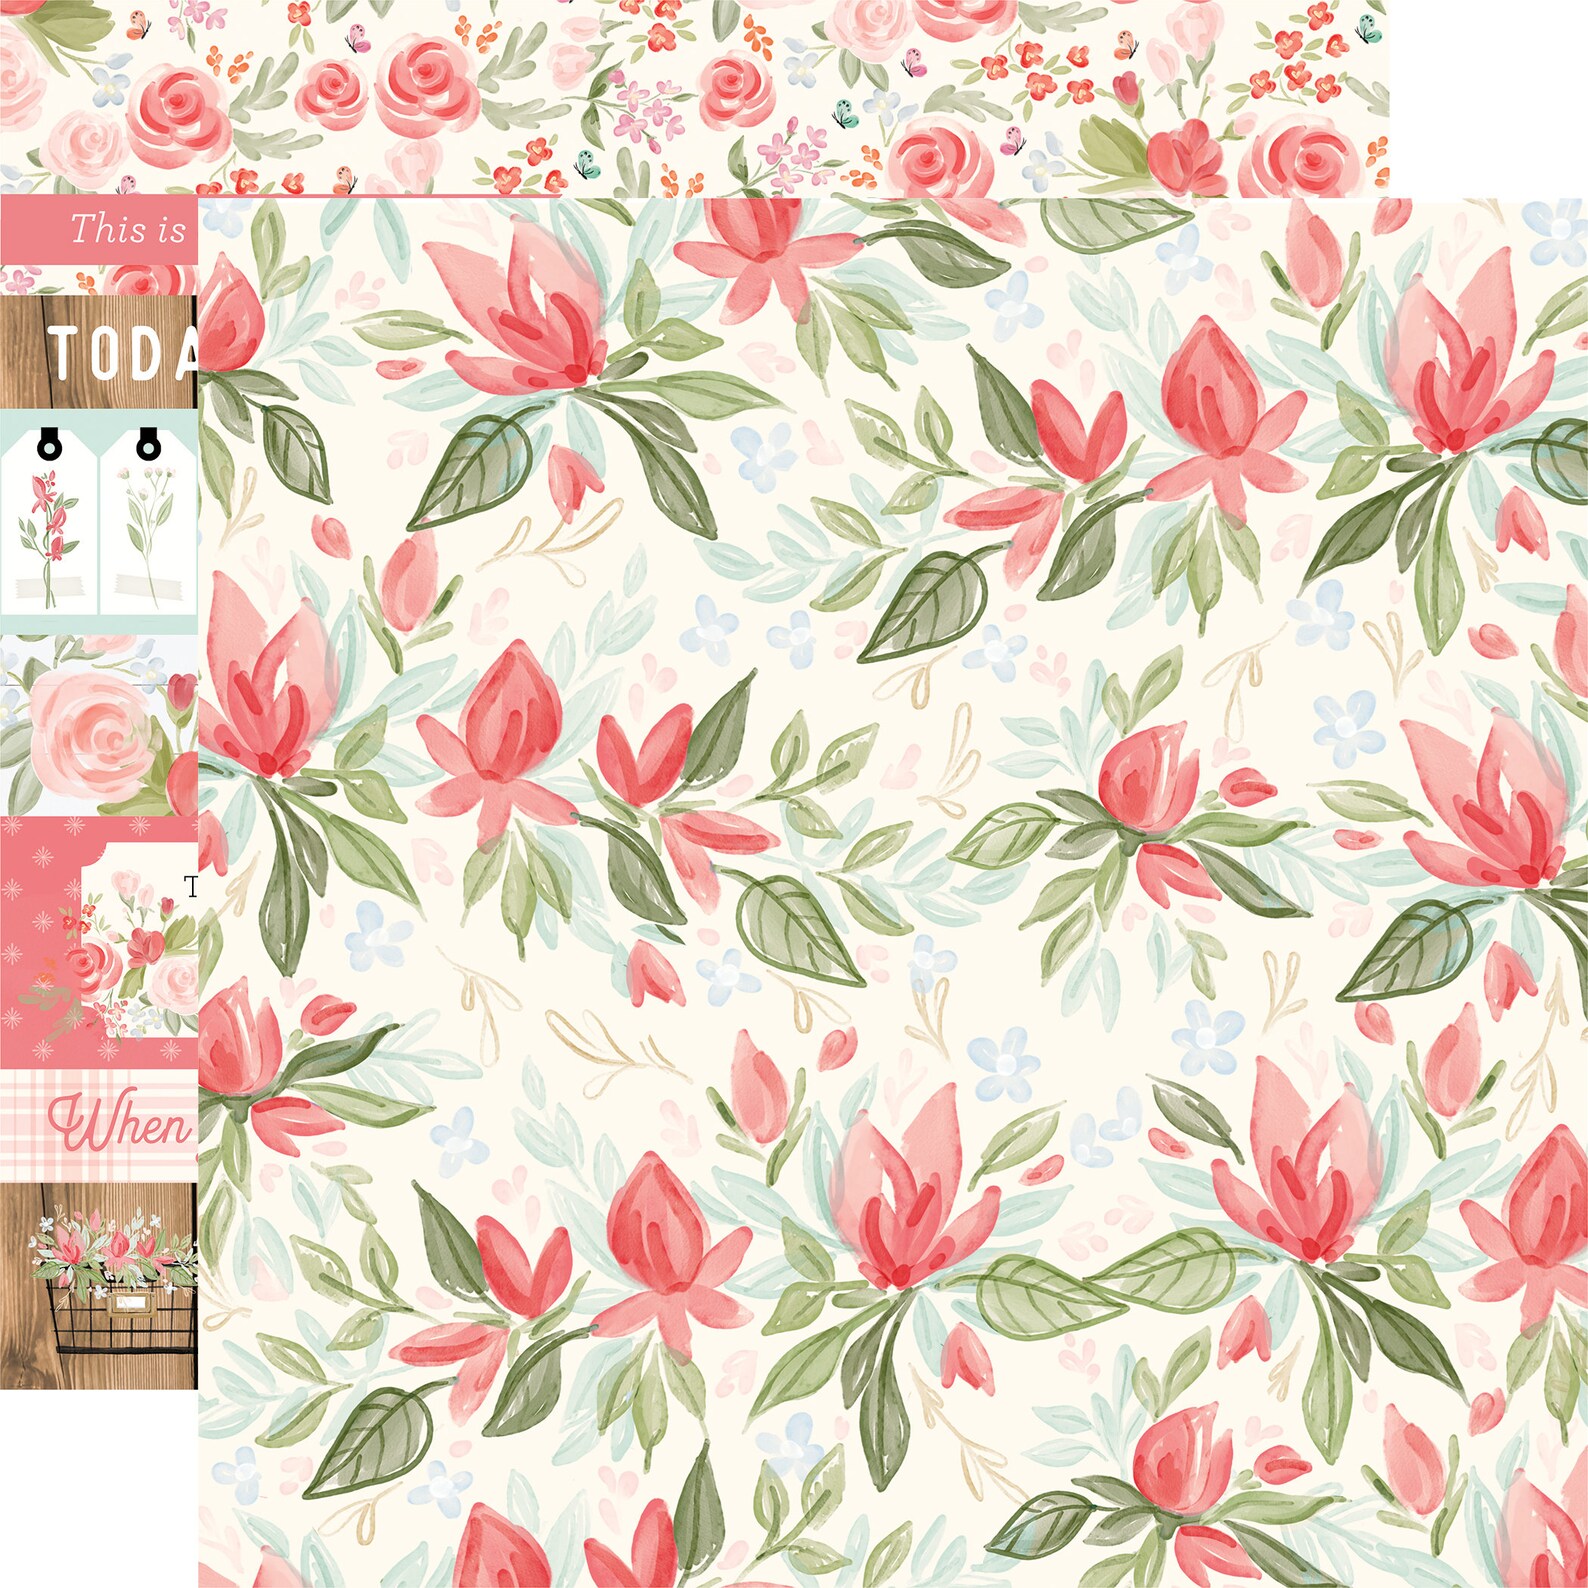

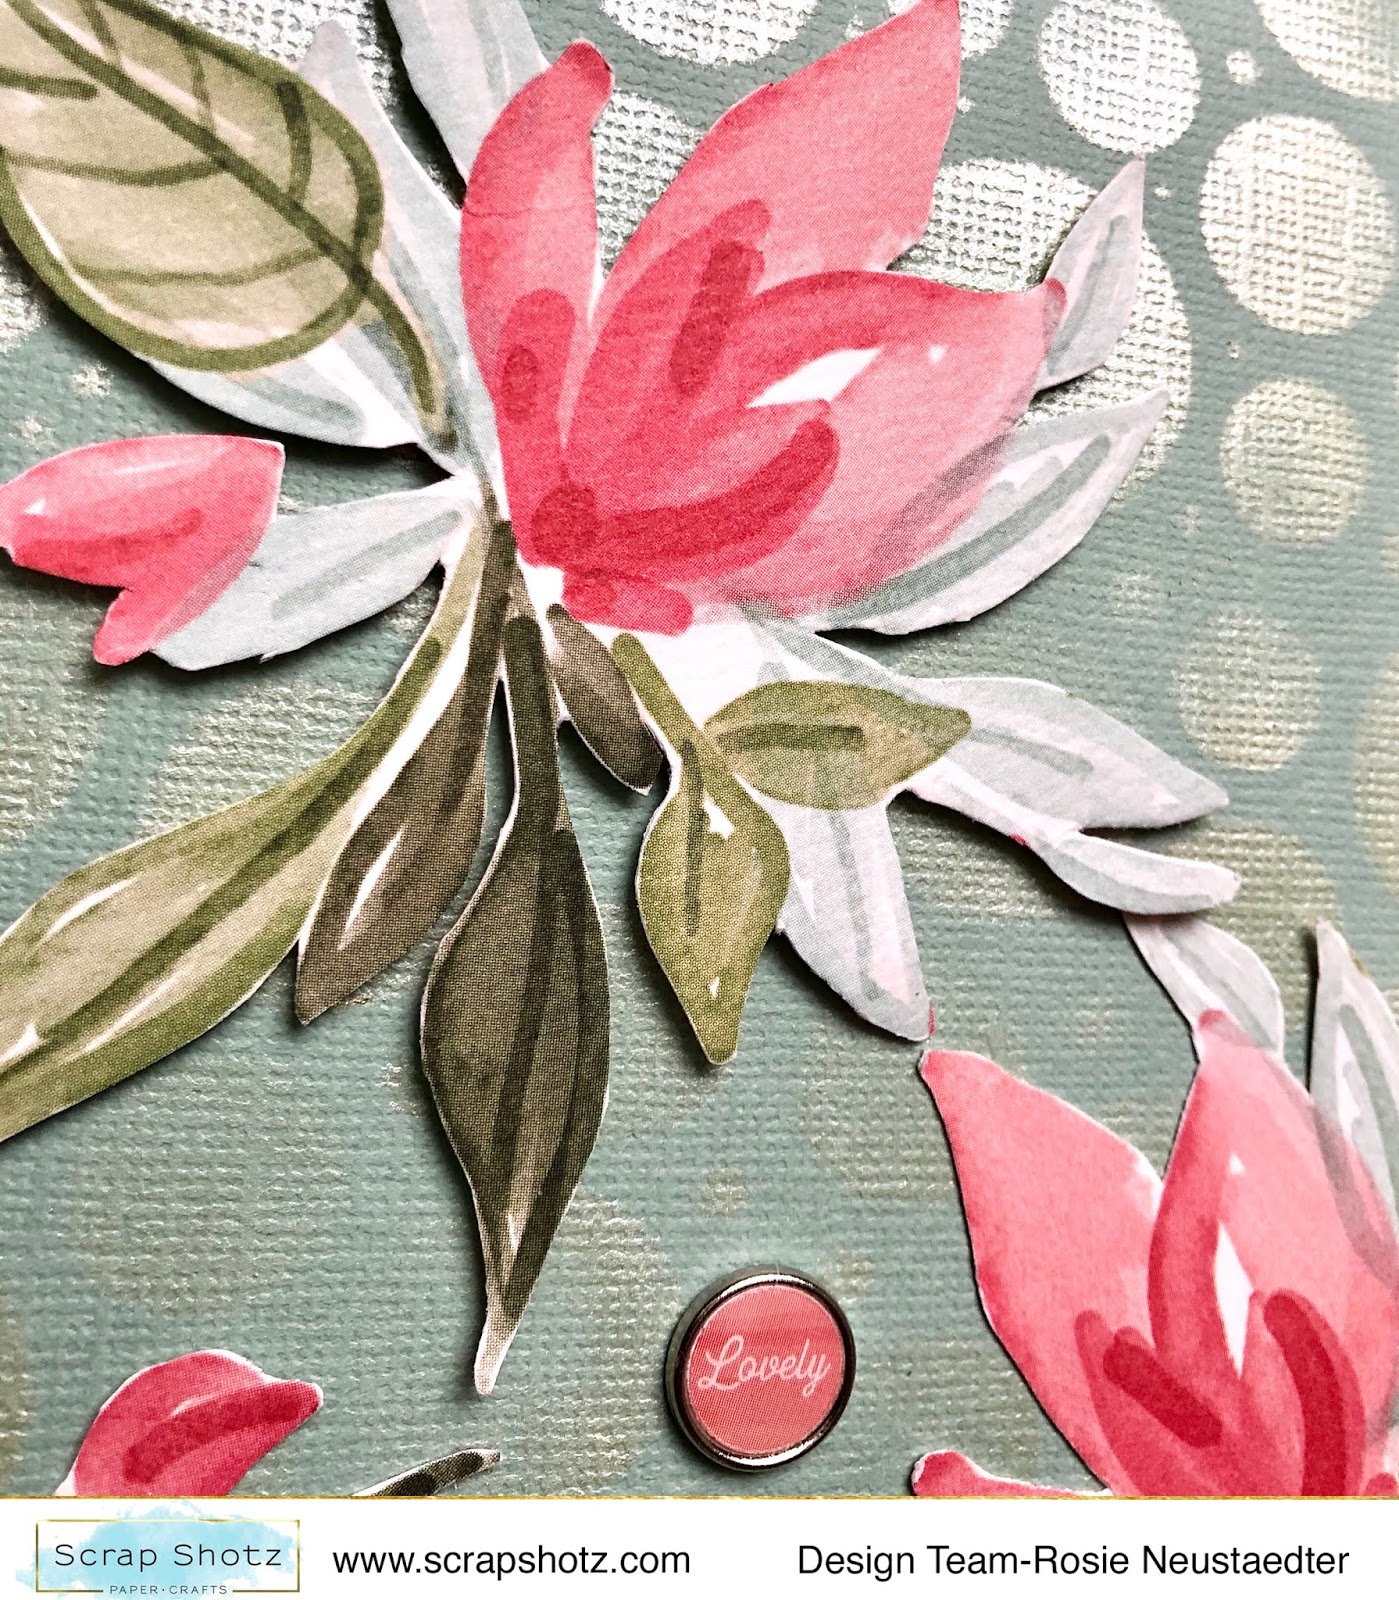
Once the fussy cutting was done I cut a piece of card stock into a 4 1/4" x 5 1/2" notecard. 
Next, I taped it to the Nicole Wright Designs Circlet Stencil and applied Mother of PearlNuvo Embellishment Mousse through the stencil.


I then arranged the fussy cut blooms to my satisfaction, adhered the larger with foam adhesive and the other two with liquid adhesive. A kit brad and enamel dots complete the card accents.


Thanks again for stopping in and please share your Scrap Shotz kit projects on the Scrap Shotz FB page or in the Scrap Shotz Paper Crafting Friends Facebook Group OR @scrapshotz, #scrapshotzkitmembers on Instagram.

Happy Crafting!


Wednesday, May 13, 2020

Another Family Night Scrapbook Layout and Video

Hello friends! Karla back today with another layout using the fabulous Family Night collection from Carta Bella. If you missed the last two layouts featuring this collection, be sure to check them out HERE! Today, I'm using some fun pics from a trip we took to Menchies, which is a local frozen yogurt shop. I just loved the paper with all the food icons from the 12x12 Collection Pack, and when I saw these photos I knew they had to go together!


I combined a fun piece from the Ephemera Icons pack with a chipboard ice cream sticker from my stash and added some pretty pastel Pinkfresh Studio My Favorite Story Enamel Dots from the March Scrap Shotz Kit Club. I used this sketch from Pinterest as inspiration! 


I layered the Frames & Tags ephemera with one of the cut apart journaling cards, edged with Distress Oxide Ink, and wrote my journaling on top - lining it up first with my Grid Ruler. 


Here's a look at the Process Video where you can see just how it all came together! 


Thanks so much for stopping by! Don't forget to check out the Family Night collection in the shop, and you can find what's NEW in the Scrap Shotz Store here!! Have an amazing week friends!


Monday, May 11, 2020

Family Night Scrapbooking Layouts

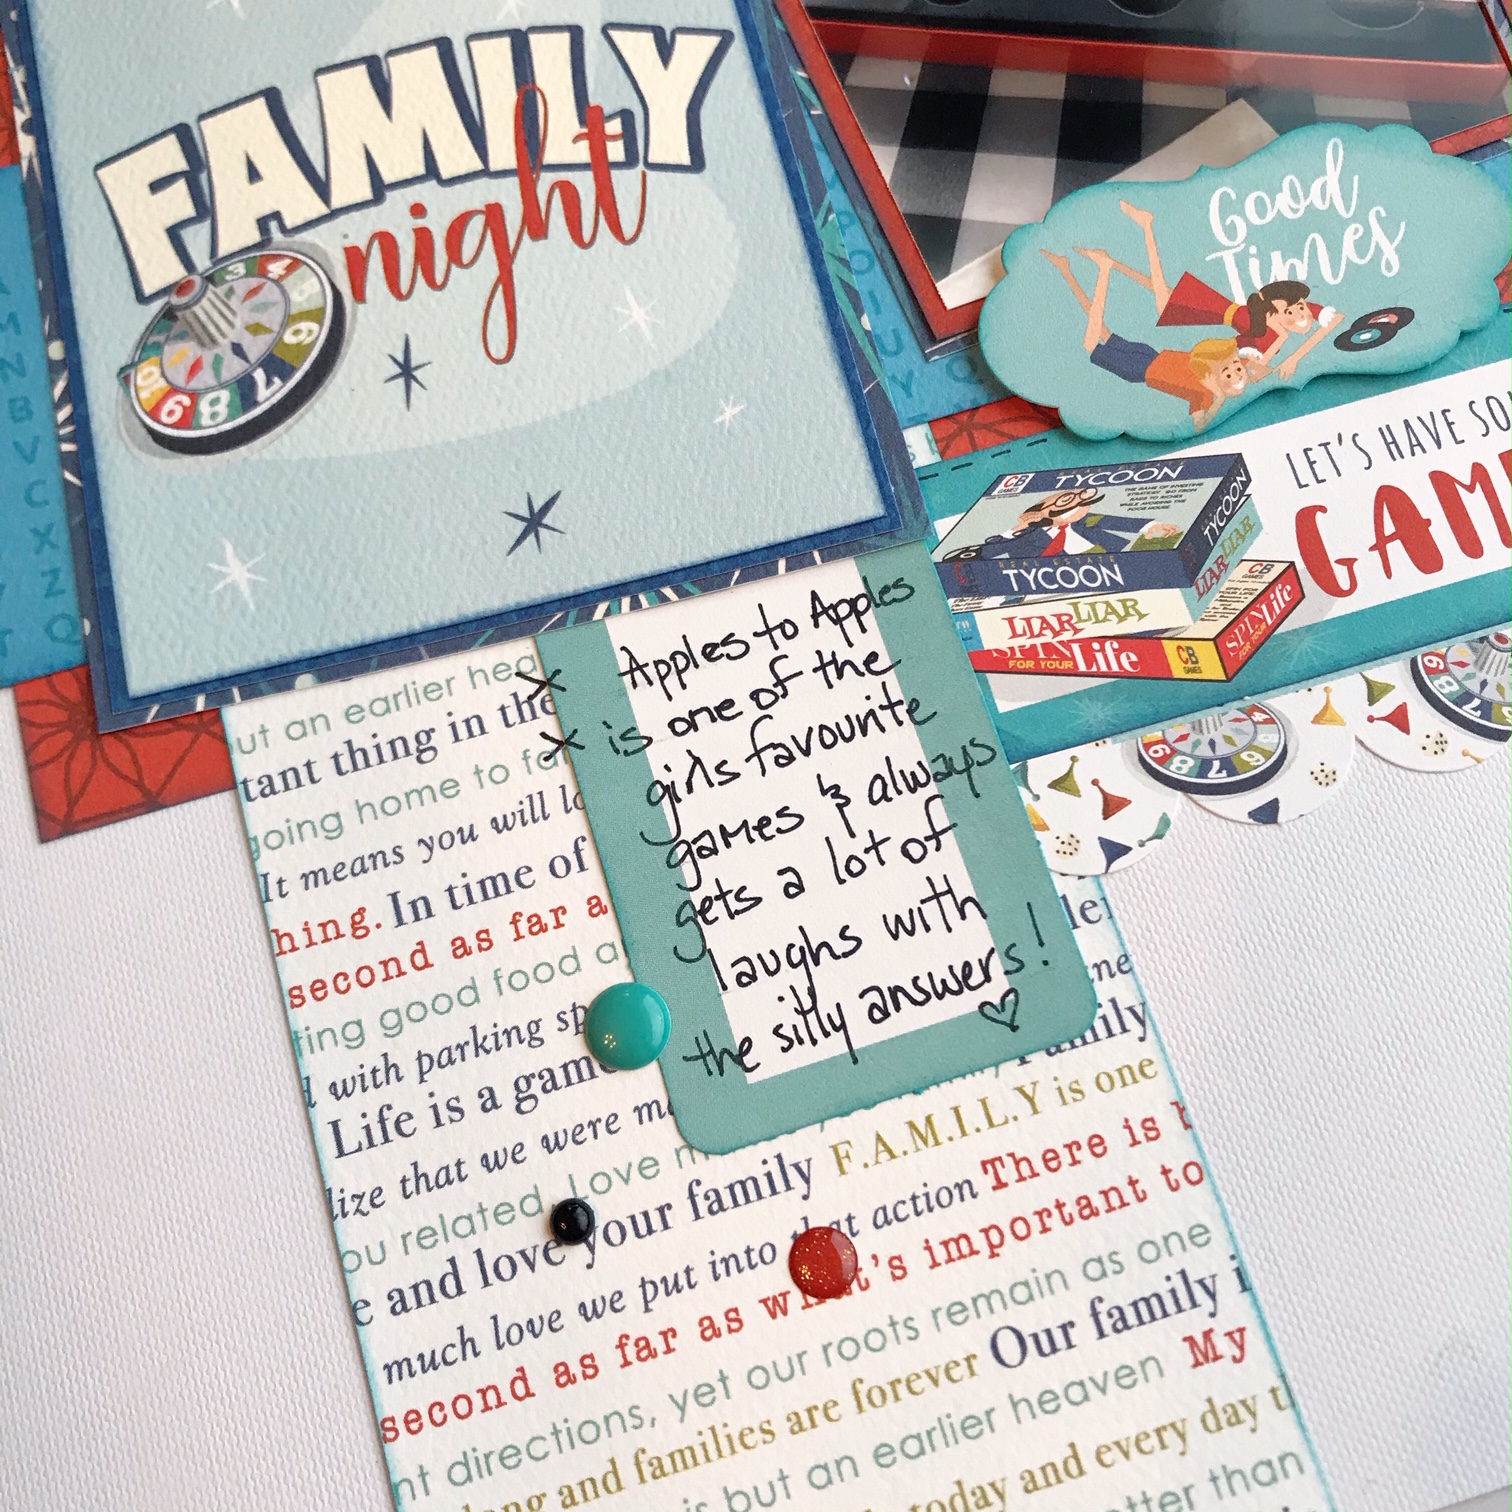
Hello friends! Karla here today with a couple fun layouts using the timely and super cute Family Night collection from Carta Bella. We have definitely been doing more family game nights since the quarantine began, and I'm having fun scrapbooking our family nights!


There are so many fun ephemera pieces in both the Family Night Ephemera Frames and Tags pack as well as the Ephemera Icons! I used some Distress Oxide Inks in coordinating colours to sponge the edges of my patterned paper from the 12x12 Collection Pack and layered them on, using foam tape in various areas.


I cut one of the tags from the ephemera pack and placed the top above the Family Night cut apart 3x4 card from the Collection Pack and the the bottom below before adding my journaling . I used a Grid Ruler to be sure all my paper pieces were straight since this was such a linear layout. I honestly couldn't live without this ruler!!


Lastly, I added stickers from the 12x12 Sticker Sheet that is included with the Collection Pack and popped on some Enamel Dots from my stash. I am totally loving the resurgence of enamel dots with the pop of colour and dimension they add!


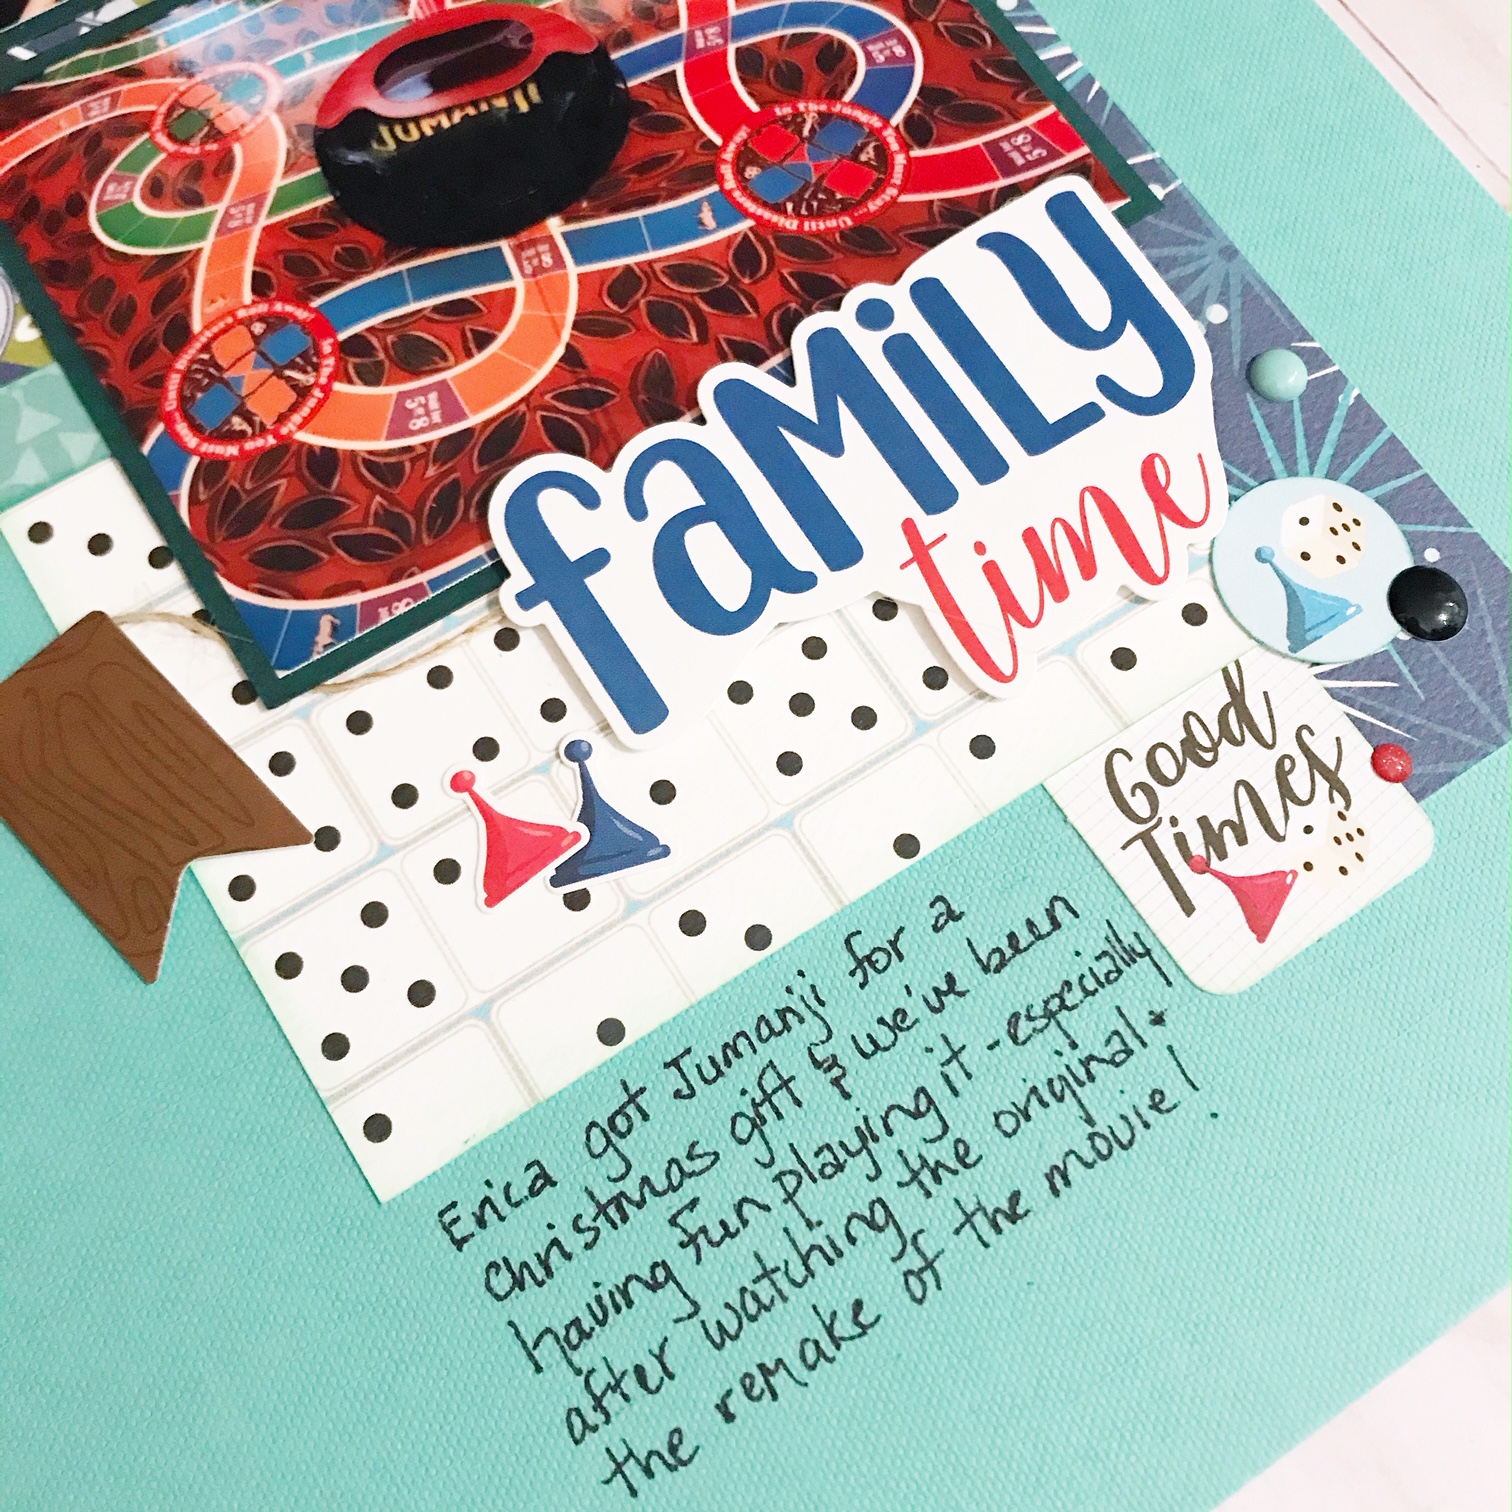
On the second layout I'm again using all the elements from the Family Night collection, but I used a greenish blue cardstock background and chose papers to match that. I love that the Family Night papers have so many primary colours that seem to be in so many board games!


I used the banner stickers from the 12x12 Sticker Sheet, adding some hemp twine behind them and popping them up on foam tape. Just because you're using stickers doesn't mean you can't add dimension!


The Family Time title is from the Sticker Sheet as well and I clustered a few more elements from both Ephemera packs along with some fun enamel dots! 


Thanks so much for stopping by! Don't forget to check out the Family Night collection in the shop, and you can find what's NEW in the Scrap Shotz Store here!! Have an amazing week friends!


Friday, May 8, 2020

All the Layouts, Farmhouse Market

Today instead of sharing a technique or design idea, I thought I would just take a moment to share some of the layouts I created with our April 2020 Scrapbook Kit which features the Carta Bella, Farmhouse Market!

In my last post, I shared a double page layout - today lets show you some single page layouts...

First up, a very very very simple layout - I literally matted 3 photos in white cardstock, tucked some fussy cut florals and a few of the amazing brads from the kit and voila! This collection is so pretty it takes so little to make each page beautiful! Honestly, except for the floral fussy cutting time (which took a couple of Parks & Rec episodes), this layout took less than 30 mins. 


Second in line and still on the 'scrapbook my wedding' kick, I used the amazing black and white plaid background (my second most favourite in the kit) to scrapbook this artistic photo of our wedding rings strung on some of our garland decor. I love how busy the background pattern is but yet it's such a simple layout too.


Next up, I cut up the filing drawer pattern paper into strips and used them to create a layered jumble of the filing cabinets, chipboard and stickers along the right and the left edge. I like how busy it is but also with all the white space in the middle there is still a place for the eye to rest. Add a photo of me and my very good friend and a few more embellishments and this one was ready for the 'done' pile.


Finally, a scrapbook session is never complete until there is a photo of our land shark, fur beast Jerk Russell Terror puppy has been documented. Do not let her cuteness fool you! For this one, I created a watercolour background on white paper with paint from my stash, cut a few thin circles from the matching cardstock in the kit and then used those to anchor my photo and various embellishments! 


|That's me folks! Have you created with your kit? We would love to see. Tag @scrapshotz or #scrapshotz on social media so we can check them out! 


Wednesday, May 6, 2020

Make it a Double, Even with a Single

Are you a double-page Scrapbooker? 

From my perhaps too many numerous strolls on social media these past few weeks, it looks like most of us stick to a single page layout. Once in while we dabble into doubles, but it is definitely easier to create something up to 12x12 vs as big as 24x12. At least for me, for sure. 

When you do dabble, how do you create a cohesive double page layout when our kits generally only come with 1 piece of each pattern paper? No problem, stretch the pattern with the coordinating cardstock in your kit! 


The wood background with watercolour florals was by far my favourite pattern in the April Kit and I wanted to showcase it on both sides of this double page layout. 

Inspired by the wood slates of the pattern, I cut it into thick strips. I used a couple of these with some white cardstock from my stash to cover about 6+inches of both of the far edges of the layout. I simply glued it right onto the pink cardstock (also from the kit) my entire layout is anchored on. The bit of white showing between the strips of wood pattern gave me that much more coverage and I think really made the look pop too! 


I then spent the rest of my evening fussy cutting one of the amazing floral patterns and the tag pattern papers from the kit to tuck and layer and tuck some more in and around these photos. Finished it all off with some gold string from my stash in some of the tags, added some brads and chipboard from the kit and a little splatter or two of white acrylic mixed with just a touch of water.


Photo tip ... 

The photos are of are me and my sisters/bridesmaids getting ready the morning of my wedding. I didn’t care to capture the colour of my crazy fun orange shirt or the brown carpet in the hotel room  - I just wanted to remember the sentiment of the morning. Full disclosure, I was also a bit worried about how busy these photos plus all the kit goodies would feel. 

Drum roll...black and white to the rescue - gives the eye a place to rest with such a busy layout and portrays just the feelings of the photos, not our colourful outfits! 


Are you a double-page scraper? We would love to see! Tag @scrapshotz or #scrapshotz on social media. 


Tuesday, May 5, 2020

Scrap Shotz April Kit: Pt.2

Hi!

Rosie back again, with a few more projects using the April Farmhouse Market kit, the kit itself is sold out now but I've linked to the Single Kit purchase option above!

I'm going to start out with a couple of cards:

{click directly on the photo for the best view}


Slimline cards measure 8 1/2" x 3 1/2", are designed to fit inside a #10 business size envelope and require no additional postage. 

I created a couple here and love how they turned out.


I die cut the pink patterned paper with the Tim Holtz Alterations Courtyard die and then embellished with kit chipboard, "sentiment" cut from the kit paper and then added some shine with Pretty Pink Posh Confetti.


I cut a strip from the tags patterned paper and then layered a tag chipboard piece over the centre tag. The tag holes are embellished with Studio Katia Tiny Iridescent Bubbles.

I think this next project is my most favourite made with the kit.


This came together very quickly and the colours were perfect for that pink plush bunny ;).
I chose 6 different patterns, I'm sure at least 2 are the "b" side but I don't remember which is which, lol.


I tore the papers creating a white "border" and then layered them over each other. The photo is matted  first on white card stock and then patterned paper from the kit.


I then scattered kit brads, chipboard and PPP confetti to embellish the layout.

Thanks for stopping in! 

I'll be back later this month with one more post and I have not yet used up all the kit! 
Stay tuned for all the posts from the team!

Happy Crafting!


Sunday, May 3, 2020

Scrap Shotz April Kit: Farmhouse Market Pt.1

Hello!

Rosie here, to share some of my kit projects created with the April Scrapbook kit featuring Carta Bella's Farmhouse Market.

{Click on each photo to see the details close up}


This layout is based on the April Creative Scrapbooker Magazine Sketch:

I die cut these flowers with the Heartfelt Creations Arianna Blooms die, an oldie but goodie :)


I layered the die cuts and finished them up with a kit brad after adding some dimension with a flower shaping tool.


The title is a combination of a chipboard work and kit Thickers.

I created a second Mother's Day layout also inspired by the sketch above.


Again, I used the die cut florals and added a sticker, a couple of chipboard pieces and a few of the die cuts from the kit ephemera.


I embellished the centre of this flower with one of the kit brads.


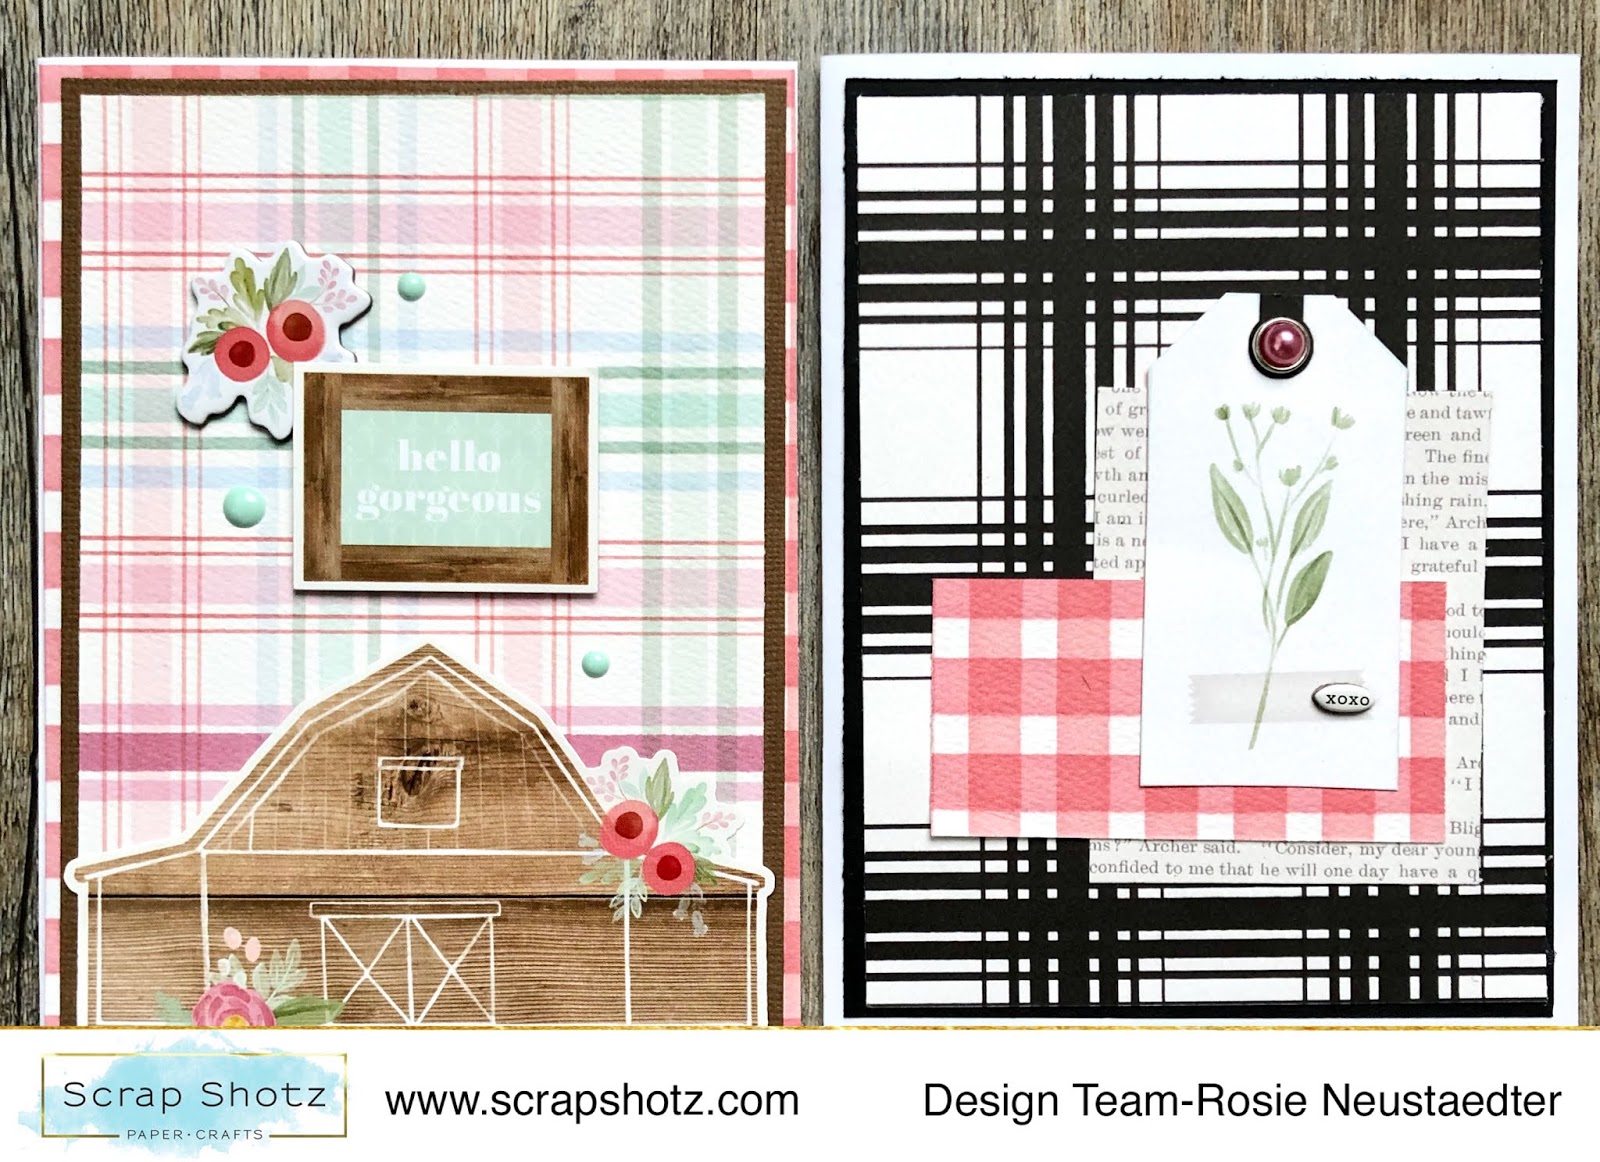
 There are lots of great patterns in this kit and I had a lot fun combining them on some cards:


I really love the plaids and ginghams in this kit and it was fun mixing them together. Honestly I was at a bit of a loss at how to use the farmhouse sticker as I don't live on a farm...lol. I just approached it as an embellishment and I like the end result.


I've got a bunch more projects to share so I'll be back in bit with those :)

Thanks so much for looking and Happy Crafting!