Showing posts with label May Kit. Show all posts

Sunday, May 29, 2022

Splendid Mini Album - Part 1


The May Scrapbooking Kit features the newest Paige Taylor Evans collection called Splendid. In classic Paige style, the collection is colorful and floral and whimsical and full of all kinds of fun patterns! While I love my usual 12x12 format, this bright collection had me thinking mini album!  

For this post I will show you how I made the actual album itself from the pattern and cardstock papers in the Kit - and in a few days, I will pop up another post to show you the finished album. 

Step 1: Decide the size of your mini album. For this process, we are using 12x12 papers so you can go any size really - for a teeny weeny little 2x3 to a 6x12. I went with a 6x6 for a few reasons. I wanted it small but not too tiny, some of the embellishments and stickers are pretty big and I want to make sure I could use them all, this size only requires one cut, and you get 2 album pages (so technically 4 album layouts) from that one cut. 

Step 2: Select your papers. I went through the Kit and chose all the papers that made me most happy and one of each coordinating card stock. The few papers I left behind will mat my photos in the album. Note, the more papers you pick the bigger the album / more pages the album will have. These are the A and B side of the papers I picked.
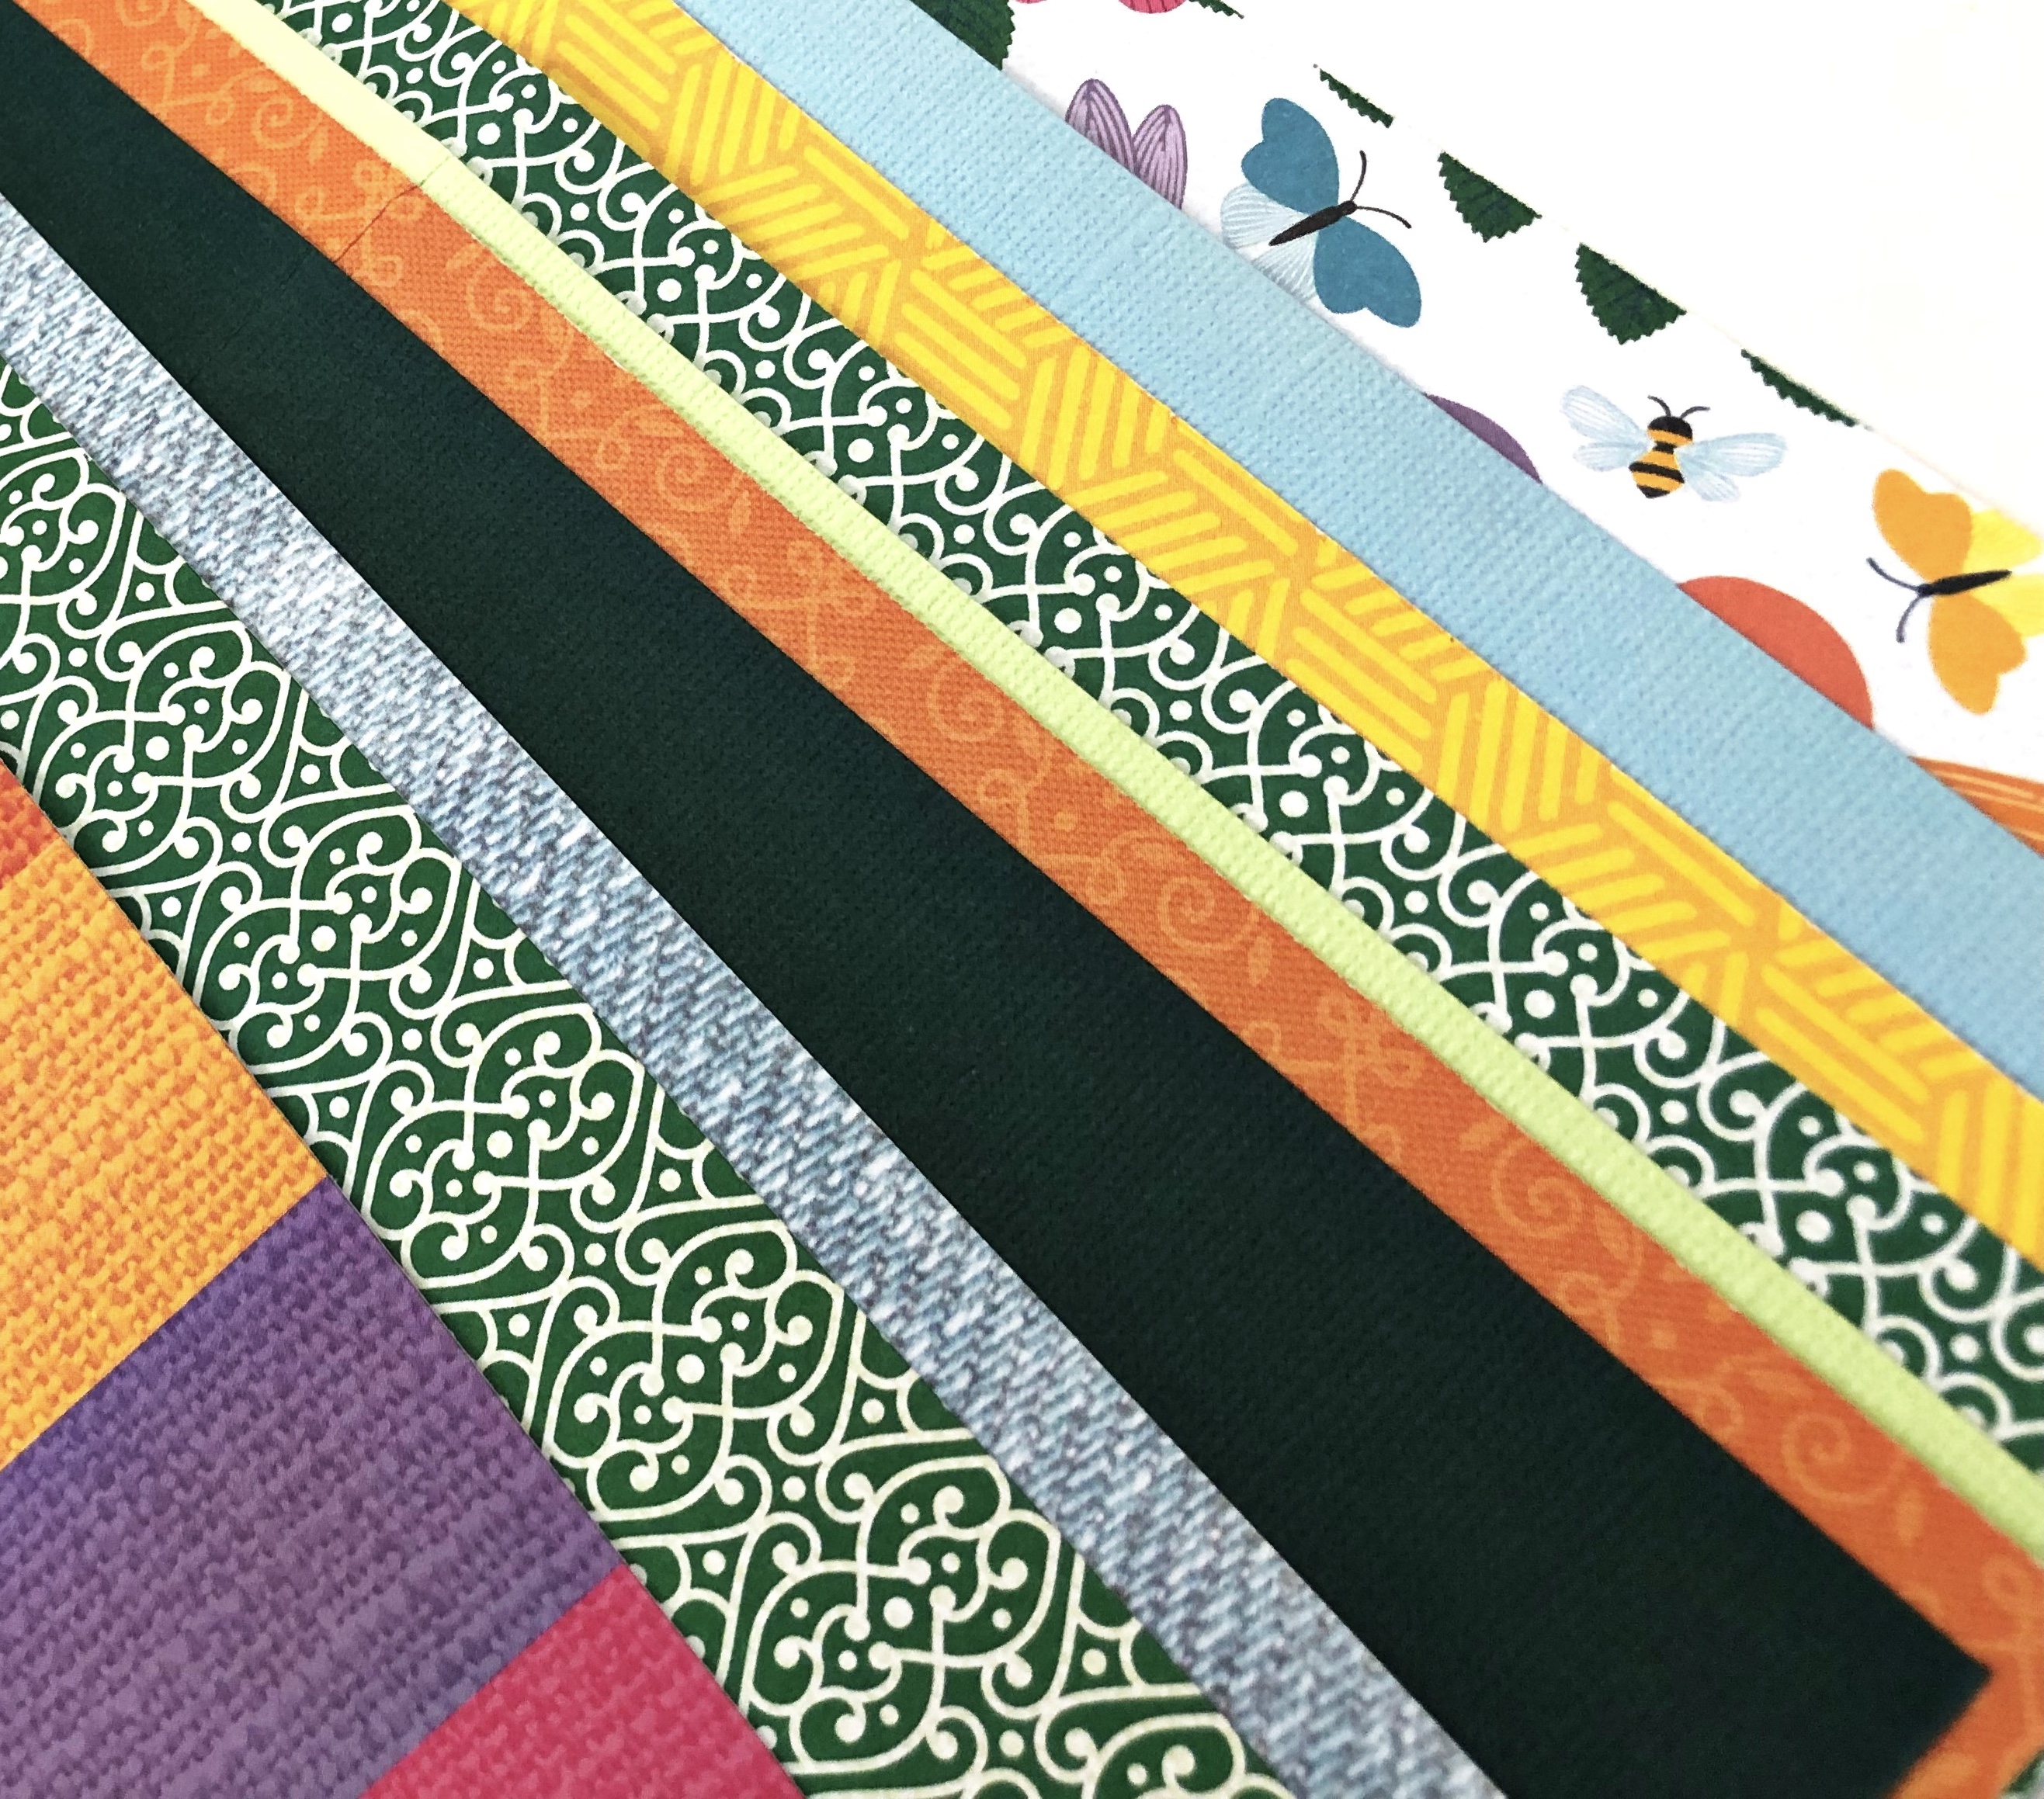

Step 3: Cut and score your papers. With a 6x6 album you want to cut the paper into 12x6 strips aka in half. For the pattern papers, pay attention to the pattern direction when you cut - some patterns only make sense one way (words, birds, flowers) so you need to cut so that when you fold the paper longways the pattern will make sense. 

I used my trimmer to cut and score my papers. Cut: line up each paper to 6inches on your trimmer and slice - so you end up with a 6inches high and 12inches wide strip. Score: then turn the paper strip once and line it up to 6inches again on the board (so the very middle of the 12inches is dead centre on the cutting blade channel). Then use a ruler edge or scoring bone or if you trimmer has a score piece - score the paper. 

Do this for every pattern you picked. Each 6inches x 12inches scored paper will make 4 layouts in your album. 

Step 4: Assemble your album. Take all those papers you cut and scored and stack them and fold them in half like a book. Sometimes first folding each paper in half before you stack them and fold makes it a little easier - especially with card stock. The paper on the very bottom will become your front and back cover so pick that one with care, and the paper on the top will be a very pretty double layout at the centre of your book, so pick that one special too. 

Flip through the book a few times to see if you like the order of patterns and colours - switching papers around as your heart desires. Once the album is in the order you want, bind the album.

If you have a long arm stapler you can staple the spine (unfold and flatten the book making sure your cover is on the top when you staple - so the pokey part of the staples are on the inside of the album). I don’t have a stapler, so I use an elastic around the middle where the score is or a few wraps of twine. The twine on the edge is a neat touch and looks pretty on the shelf. 

Step 5 - OPTIONAL! Prep the pages with the theme you want for your album. Before adding photos or embellishments or anything, I like to bring a touch of a theme to my mini albums. For this mini, it’s a wee gift for my nephew about our pup. So I used a Peartree Cutfiles Stencil of little Doggy Paw Prints and various Tim Holtz, Distress Inks in a coordinating colour to bring a subtle tone on tone dog paw pattern to most of the album pages. 

Next step is to make a whole bunch of mini-layouts to fill your album - the really fun part! I will share my process and the final album next blog post. 


Monday, June 29, 2020

Cut file, shakers and Bloom Street - oh my!

Hello everyone! Carolyn back with a scrapbook layout using the May Kit. This kit is full of the Bloom Street Collection by Pink Paislee (Paige Taylor Evans). So I figured a Paige Evans cut file was in order. They can be purchased in the Silhouette Store or in her Etsy Shop.
Ok, so maybe this cut file was a little ambitious - it took a loooong time to back all those boxes. But no pain, no gain - right? I chose this design because I have so many pictures and need to get more than one on a layout if I'm ever going to scrap them all. I used a couple different papers for the backing. I prefer to trace the boxes, cut them out and then adhere them with a glue pen. Those smaller boxes were also perfect for using the 2x2 squares from the mini paper pad. There are 4 of them on there. I also have the mixed embellishment pack with flower sequins. To add some more interest, I made shaker pockets. Here is a close-up:
I had a plastic wrapper I wasn't using so I cut it to the correct size and glued the two open sides with my glue pen. I used lots of tape on the back of the layout to hold the smaller pieces and shakers in place. The picture also shows how I used pop dots to lift some of the stickers off the layout. The butterfly pack is also lots of fun because you can adjust the wings to make them look three dimensional.
To finish things off, I made a title using the puffy titles stickers. I had to break apart a few words to spell 'silly'. Let's hope I don't need those letters later! And how cute is that picture? I had to do a close-up. 

That's all for now. Have a scrappy week!

Friday, June 26, 2020

Layouts with the May Kit - Bloom Street

Hello! Today I have two layouts to show you with the May Kit. This kit is fabulous!
It is full of Pink Paislee - Bloom Street. Pretty pastel colours fill the pattern papers. I'll be using every piece of this kit.

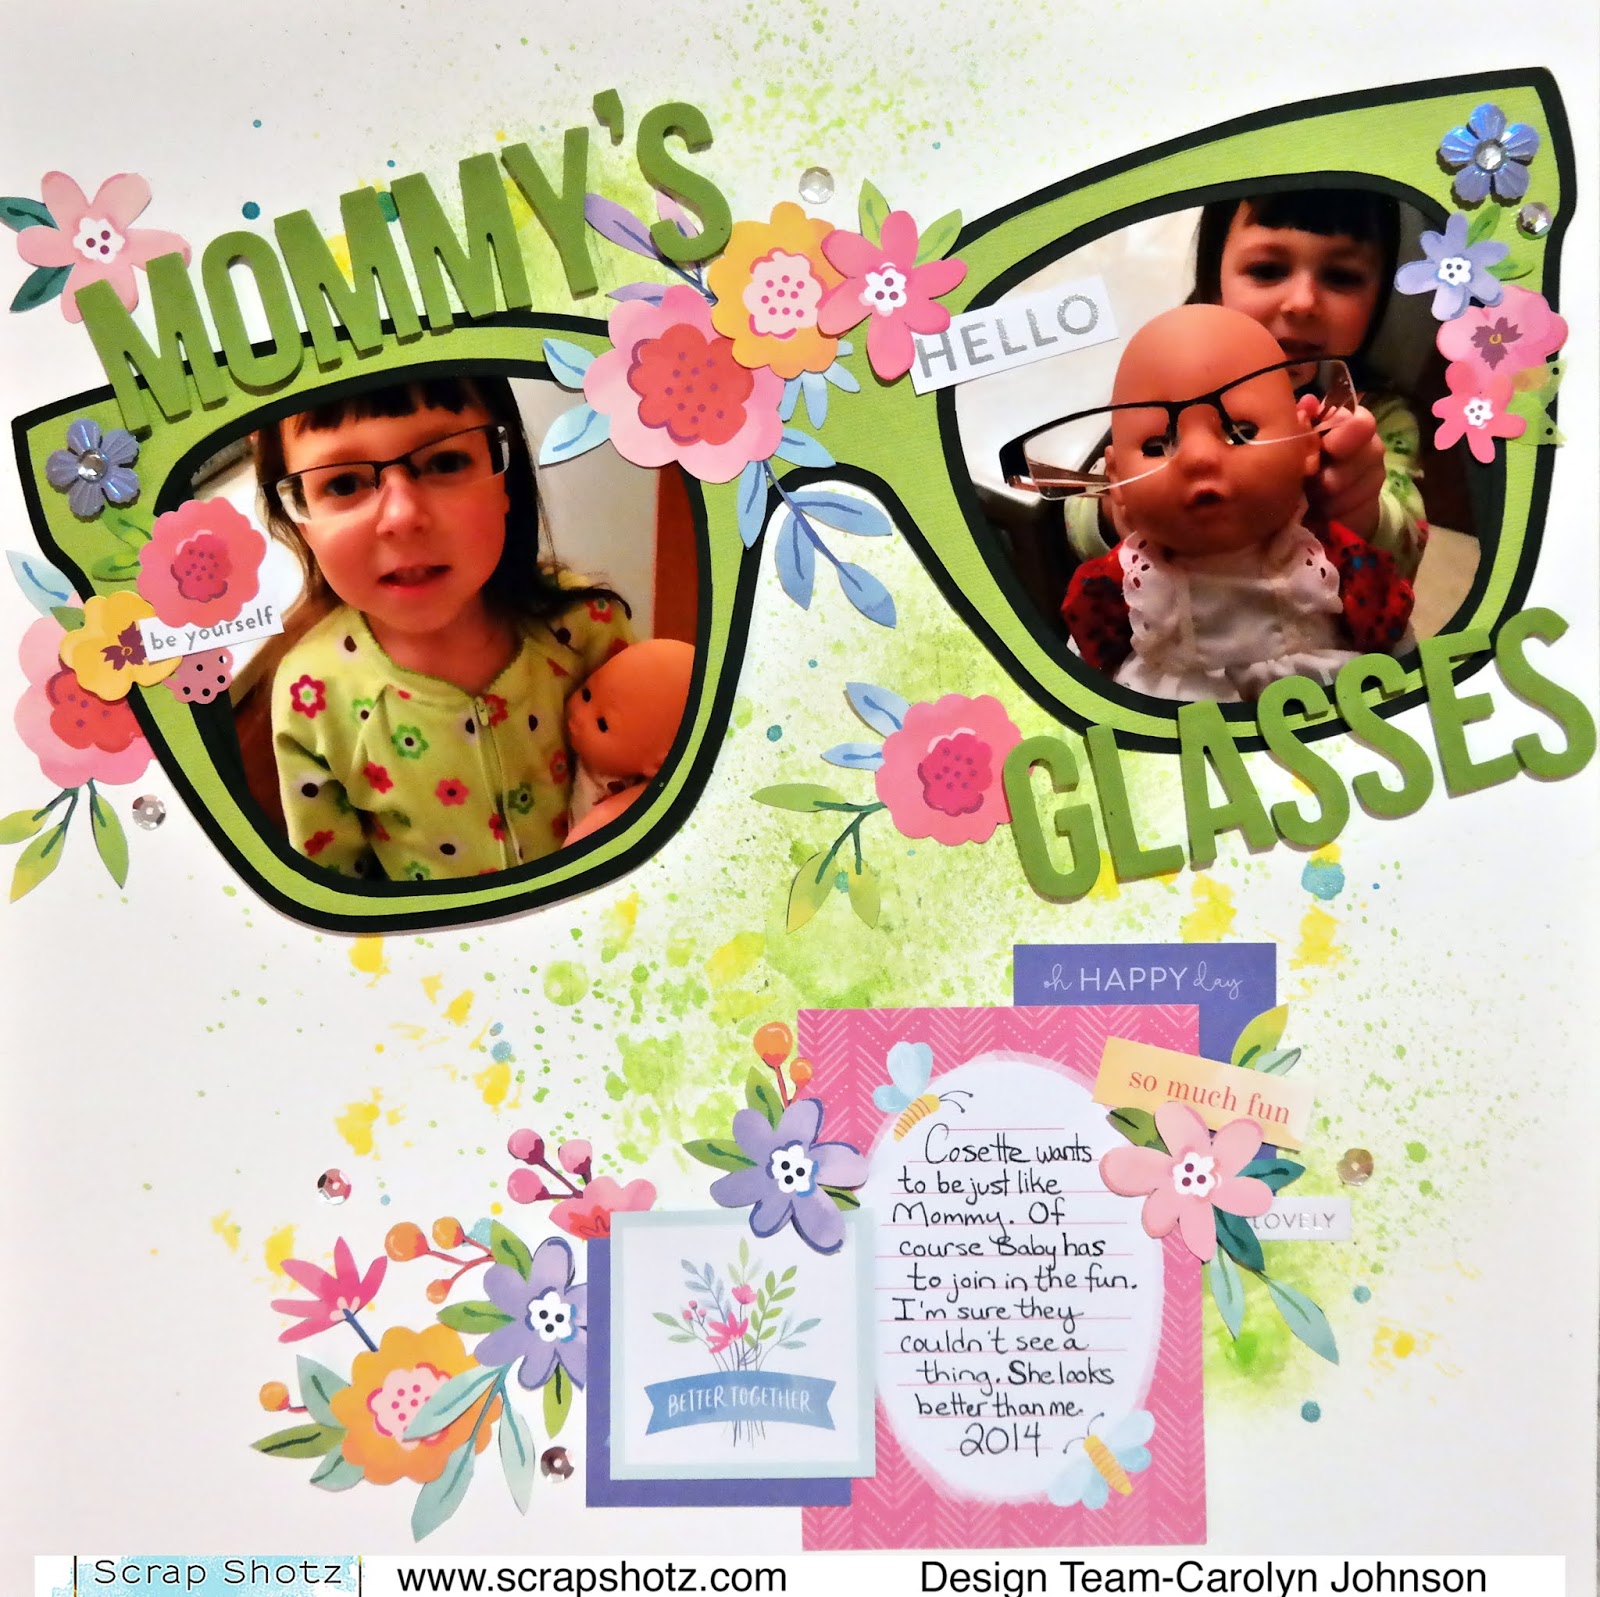
My first layout is of my daughter wearing my glasses. I cut a giant cut file of glasses using the Bazzill cardstock in the kit and some black from my stash. The green part is an inner offset of the outer black part. Then I fussy cut flowers like crazy from this paper.
The background I covered in gesso and then sprayed with green, yellow and blue Colorshine. The square cards come from the 2x2 paper pad. I layered them in some places. 
The title is made from foam Color Vibe Stickers by Simple Stories. The purple flower with a gem in the center is from the mixed embellishments pack. I used a pop dot to adhere it to the page which works really well.
I finished decorating the page with phrase stickers from the cardstock sticker sheet.
The journaling was done on a card from this sheet.
My second layout was inspired by the June sketch in the Creative Scrapbooker Magazine Facebook Group
Here is the sketch:
I followed the sketch really closely. I used a mixture of patterned papers but since I used butterflies on the base it only made sense to decorate with the Dimensional Butterfly Stickers. I tried to bend the wings so they would pop off the page. 
I love mixing fonts for a title. Here is an example:
That's all for me today. I'll be back on Monday with some more inspiration. Have a great weekend!