
**Please Note: Photobucket very recently changed their terms of service and no longer supports direct linking for 3rd party hosting of images. To view the images not displayed, hover and right click over image, then choose either "open image in new window" or "open link in new window" **
It's time for the second set of February kit projects to be unveiled, this time by me, Rosie...
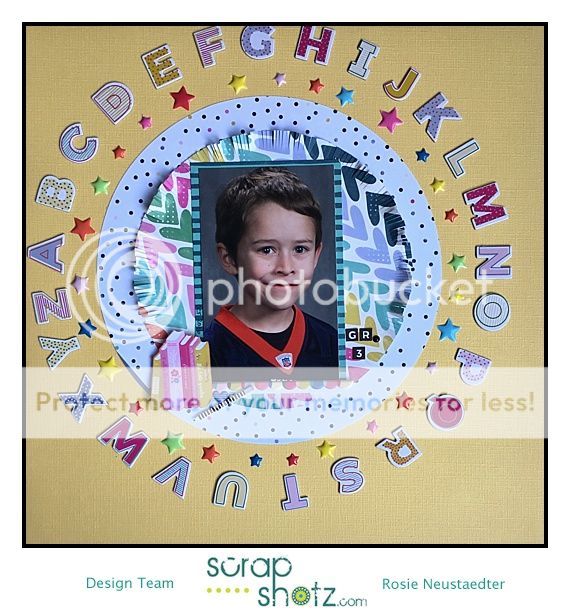
Let's start it off with the sketch project based on this Creative Scrapbooker Magazine sketch:
and here is what I came up with:

A pot lid was used as a template for the circular alpha border.
Here are a couple of close ups of the layout:


Do you remember the American Crafts Knockouts Border punches? Yes I still have some, they survived my last craft purge because of their compact size. I used them to punch all borders after cutting various strips of patterned paper.

Distress Oxide ink in Worn Lipstick, Broken China and Faded Jeans was applied to watercolour paper with a mini distress ink tool. I then flicked water on the paper and dried with a heat tool to activate the oxide effect. I love the soft shades of the oxide ink. After trimming the photo mat and border punching the side edges I added a white punched border to make the photo mat pop.


If you haven't seen the exclusive 12x12 die page created by myself, here is a look at it in the following layout:


I used the die cut openings as photo frames, embellishment pockets and a journaling spot.

For this next layout I had envisioned a sort of wash of watercolour using Distress Oxide ink but it wasn't looking so good on the first layer so I changed the plan and instead flicked the ink on with a paint brush. I smooshed the ink on a craft mat, dipped a paint brush in water, picked up the ink with the wet paint brush and then flicked it on the page. I used a heat tool to dry each colour of ink before moving on to the next one. Paper strips of varying sizes were layered over the ink.


I hope you've enjoyed these projects and thanks for stopping in 😊!

No comments:
Post a Comment