Friday, July 24, 2020

Good Vibes Layout with Kate & Ash

Hello friends! Karla back again with one more layout using the awesome Simple Stories Kate & Ash Collection! So far I've created a breakfast in bed double page layout, a fun selphy layout and now today I'm sharing an outdoor fun layout! This collection seriously has lots of creative options for many different themes. 


I focused on using the florals and feathers on this page and embellished using the coordinating Bits & Pieces ephemera, Chipboard Cardstock Stickers, Decorative Brads and stickers from the 12x12 Sticker Sheet that is included in the 12x12 Collection Pack.


I used a sketch for my page design using one of Jennifer Edwardson's Use Your Own Paper sketches, which always come in handy! I cut one of the journaling cards from the 4x6 cut apart sheet to be smaller and wrote my journaling in. Some of these adorable Garden Party Sprinkletz flowers were also perfect to add to the page!


I fussy cut the rainbow and the words Choose Happy from one of the 4x4 cut apart sheets. There are so many cute images that you can either use on the journaling cards or by cutting them out!


Thanks so much for stopping by today! Be sure to check out the full Simple Stories Kate & Ash Collection in the Scrap Shotz Store, and be sure to join us for Live Videos on our Facebook Page - PS Mark your calendar for today, July 24 at 1 pm MST to see me live on FB with New goodies in the shop!! Wishing you a crafty and very happy week ahead!


Wednesday, July 22, 2020

Hey Girl! Kate & Ash Collection Layout & Video

Hello friends! Karla back today with a fun layout using the awesome Simple Stories Kate & Ash Collection!  This is such a fun, bright collection with a cute girl vibe!! I just love the colours in the 12x12 Collection Pack, which includes fabulous cut apart sheets and a full size sticker sheet! I absolutely loved that my daughter's outfit matched the colours in the paper, lol! I forgot to add my journaling before I took this photo, but the story behind this layout was that my 8 year old kiddo discovered the photo booth app, which distorts your features, on my iPad one day and while I was busy took a bunch of photos! I didn't even realize she had taken them until I was looking through my pictures, lol. 


I used some one of the 3x4 cut apart sheets to add this fun Hey Girl title, edged with Iced Spruce Distress Oxide Ink, and popped up one of the pretty coordinating flowers Ephemera from the Bits & Pieces Pack. The Sticker Sheet  from the Paper Pack has lots of fun little elements like these hearts and word stickers that work wonderfully to embellish your pages! I added some splatters of colour using the gorgeous NEW Dina Wakley Gloss Spray Paints in Carnation and Aloe - oh my goodness these are amazing!


I added the Oh Snap word sticker from an older Vicki Boutin Thicker sheet from my stash and added the camera from the 6x12 Chipboard Sticker Sheet


I added another pop of colour with the Decorative Brads & the fun matching Washi Tape at the bottom of the layout, with a stamped date. I'll go back and add my journaling around the edge of the page before I pop it in my album!


Here's a look at the Process Video showing you how this layout came together! 

Thanks so much for stopping by today! Be sure to check out the full Simple Stories Kate & Ash Collection in the Scrap Shotz Store, and be sure to join us for Live Videos on our Facebook Page!! We also have a Facebook Group - and we'd love to see what you're working on! Wishing you a crafty and very happy week ahead!


Tuesday, July 21, 2020

Circles, Circles, Circles

When your Scrap Shotz kit features the Simple Stories, Simple Vintage Great Escape with loads of amazing circle elements - you most definitely have to create a design to show them off. 


For this layout I went through the kit and pulled out all the circles that made me happy, focusing on the insect and mushroom elements specifically. I am scrapbooking photos of some Scotland Cows (coos) so wanted to focus on the nature circle elements of the kit and make it look all messy and save the hiking pieces for future layouts. 

After picking one of the pattern papers as a background in muted brown tones (to play off the brown of the Coos), I added some white acrylic splatters for a little texture and to anchor the circles. I also painted just the very outside edge of the page as a sort of border or frame. 


I cut the couple of photos in circles and then just stared clustering the photos and kit element circles in a wide strip down the page. I tried to bring in chipboard, stickers, and some brads into each ‘cluster’ so there was a lot of texture down the design. 


Sitting back I felt I needed something black to give some pop to the muted tones of the kit and give me that messy ‘cows in the mud’ look I was hoping for. I pulled some Tim Holt’s rub on backgrounds from stash, cut them in circles and brought those into some of the clusters as the most bottom layer. I think the black draws the eye to the other circle items. I also pulled some black alphas from my stash for this same reason - a little pop! 

I finished it off with some kit washi and border strips down the opposite side for a little balance, added a few tiny staples for some added texture and black splatters.


I like how it turned out - and that with circles you don’t have to worry about the lines being all straight and perfect the most clustered and crazy the better!   

How are you using your kit this month? We would love to see! Tag Scrap Shotz on social media so we can ohhh and ahh! 


Wednesday, July 15, 2020

Let's Stay Home Some More!

Hello again! I'm just loving this new Pinkfresh Studio Collection "Let's Stay Home". I've got three more layouts to share today.
The first layout is about home schooling. Ok, maybe my picture isn't quite what people had in mind when they made this collection. But how cute is it to teach all your stuffies? There is a paper in this collection that has all these triangles. My daughter and I were playing with them and she came up with the idea to turn them into houses. 

I covered the page in gesso and splattered some Color Shine mists around the page. The buildings are all fussy cut from another paper. The puffy alphas in this collection are awesome for building titles. Finally, I had to add a fabric bow to all my layouts.
My second layout I made while I was at the lake. No fancy tools or cutting machine to help me so it forced me to keep it simple. 

A little bit of fussy cutting and some ephemera embellishments made this quick and easy. The title is in the ephemera pack which makes things so much easier!
The last layout features another paper in the collection. The paper pack comes with two of each paper so I used the back of the second one to matte a lot of my photos but I strategically cut around part of the rainbow so I could use it again (the bottom part of the layout). 

The title was in the ephemera pack and I immediately thought of this picture. On this layout, I added some puffy stickers and journaling to match the top of the rainbow.

I hope you've been inspired today! If you don't have this collection there are still many elements in the shop including the paper kit. 

Have a great day!

Monday, July 13, 2020

Let's Stay Home Scrapbook Layouts

Today I'm excited to show you two layouts with the Let's Stay Home by Pinkfresh Studios Collection. If you have quarantine pictures to scrap, this collection will fit the bill. I happened to use some older photos and they worked just as well.
For my first layout, I fussy cut the triangles from one of the papers. It was really easy to do. I love how there are so many patterns you can make with triangles. I used a quilt pattern I found on Pinterest as a guide and laid out the triangles. 
The picture I popped up with a piece of foam backing. The rest is a combination of ephemera and puffy stickers. The title is made with the Puffy Alpha Stickers. The awesome bow is from a whole pack of fabric bows that you just fold and stick. Finally, I outlined everything with a white pen.
The second layout shows off my daughter's new love of baking. I pulled out everything in the collection that related to food. The title is in the ephemera pack along with many of the embellishments. The puffy stickers, puffy alphas and a fabric bow finish it off. The blue stripe is from the cover paper in the paper pack. The paper pack comes with 2 copies of each paper. I love when that happens so I don't have to overthink which papers I want to cut into.
I'll be back Wednesday with some more Pinkfresh inspiration! Have a great week!

Sunday, July 12, 2020

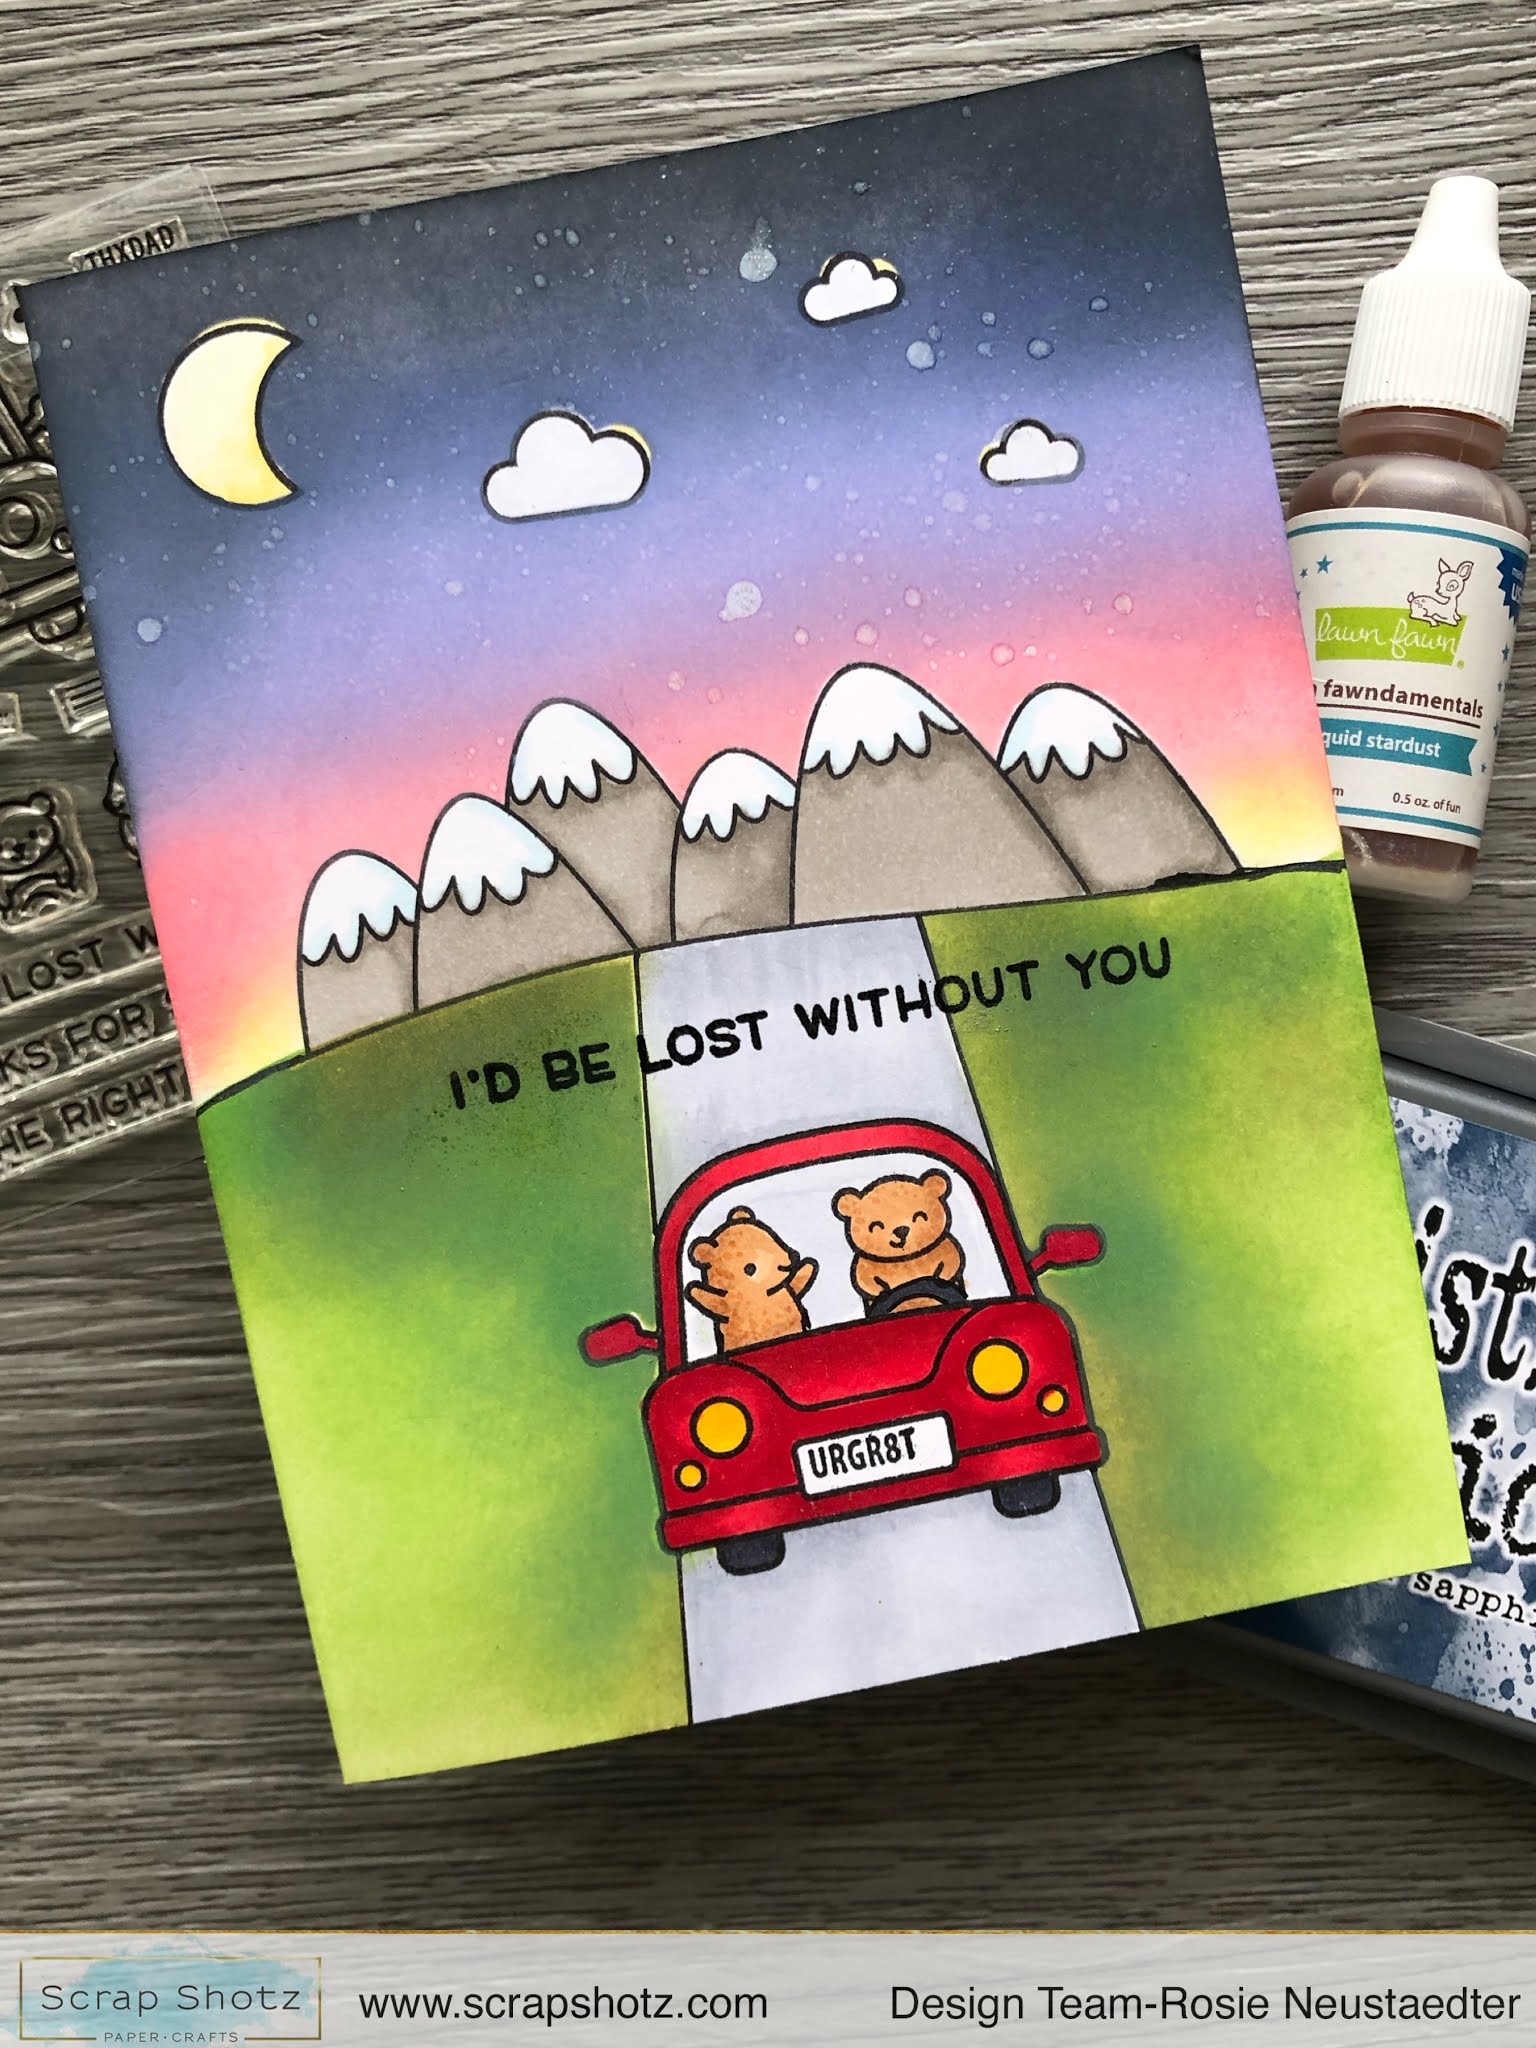
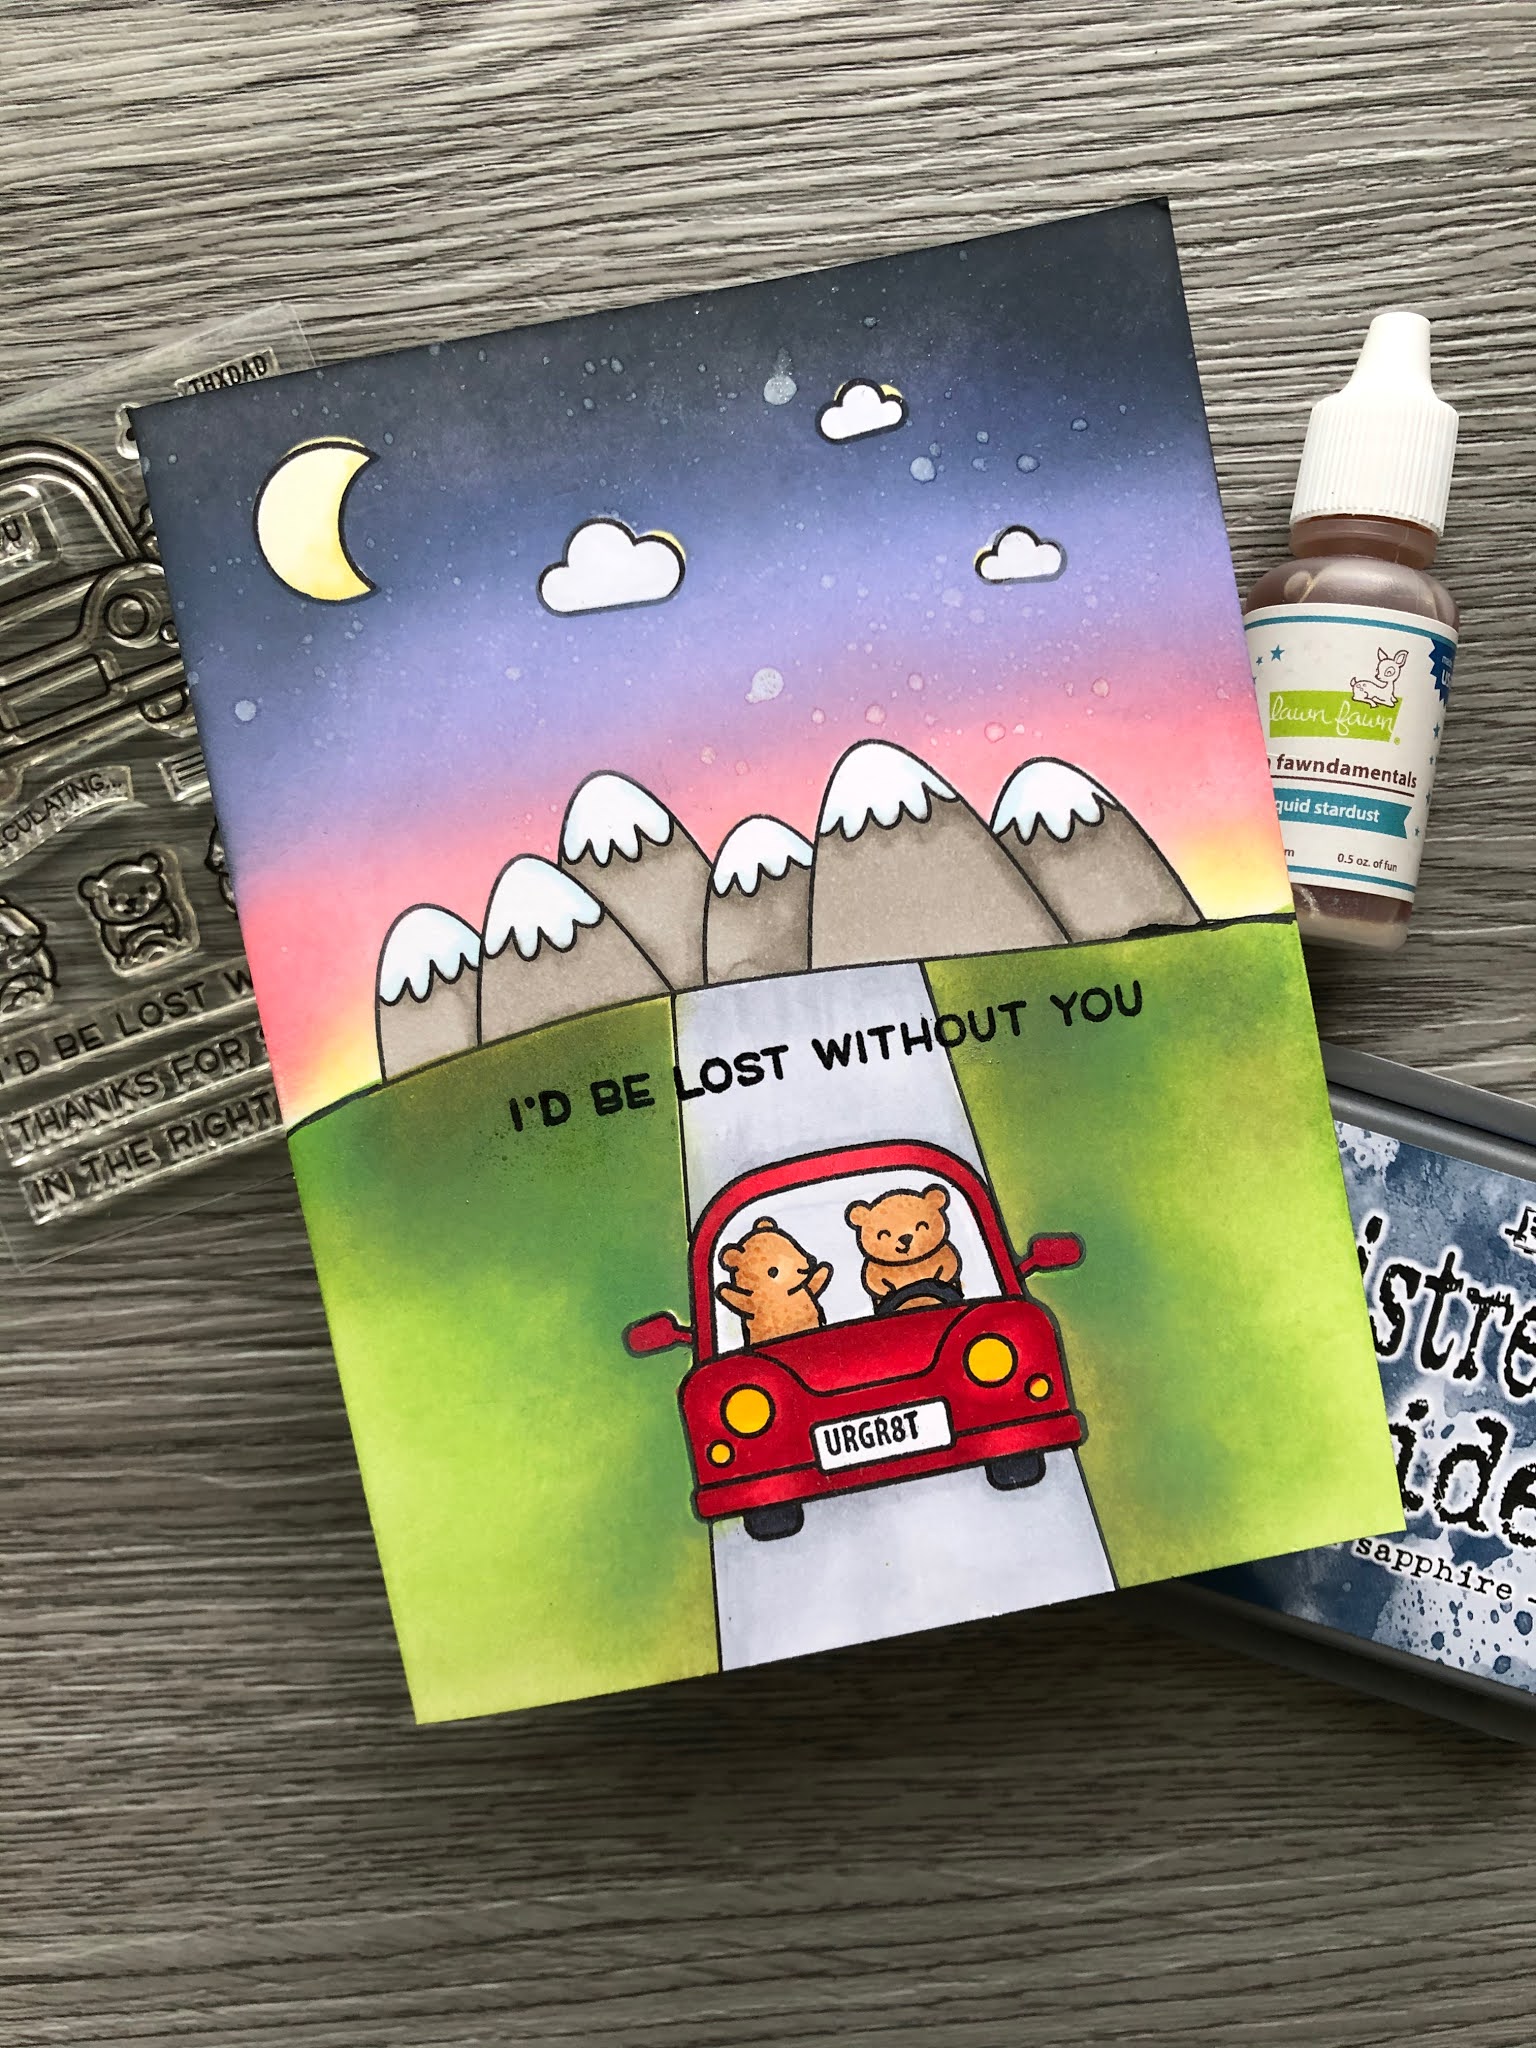
Lawn Fawn Car Critters: Building a Scene

Hello!

Rosie back to share this card and a few tips for building a scene with your stamps.


I have combined the Lawn Fawn Car Critters stamp set, All the Clouds stamp set and the Mama Elephant Scene Builder stamp set.

Tip # 1: "Test Drive" the layout by practicing it first to figure out exactly how to proceed. The image on the left below is the practice panel.


Tip #2: Use a stamp positioning tool like a Misti. It's invaluable for this type of card as you can lay out the various elements and stamp them all at the same time. 
Based on my practice panel I stamped the car, mountains, moon and clouds. I also stamped these images on masking paper and fussy cut the images. I applied the and then stamped the bears.

With all the stamping done, I masked the moon, clouds and mountains and then inked a sunset scene with Distress Oxide Squeezed Lemonade, Picked Raspberry, Blueprint Sketch, Wilted Violet and Black Soot in.


Tip#3: Hand draw in details if needed. I drew the edges of the road with a Micron .05 black archival marker alongside the car. I also extended the edges of the mountain range to the side of the card stock. I then laid Post It tape over edges of the road and masked over the mountain range, inking the grassy area with Distress Oxide inks in Mowed Lawn and Forest Moss.


Once the inking was done I coloured in all the images with copic markers and stamped the sentiment from the Car Critters stamp set.

Here's another look at the completed card.


Thanks for stopping by and taking a look!

Happy Crafting!


Friday, July 10, 2020

Lawn Fawn: All the Clouds...Two Ways

Hello!


Rosie here with a couple of cards featuring the Lawn Fawn All the Clouds stamp and die set.


The Lawn Fawn team has so many AMAZING samples I didn’t want to just copy them.


I created two cards using the clouds from the All the Clouds die set and here is the first card, an inlay cloudy card.


I laid out the dies on a piece of 6x6 Hello Sunshine Remix paper and ran through my Big Shot.


I then ran the same set of dies over  a piece of white card stock, inked the negative white die cut card stock with the Lawn Fawn Cloudy stencil and Stormy Sky Distress Oxide Ink and adhered to an A2 sized white notecard. 


The die cut patterned paper clouds were then inlayed within the die cut spaces. Sentiment is from the Lawn Fawn Simply Sentiments stamp set.


This second card was made from the negative patterned paper die cut left over from die cutting the clouds for the card above.


An acetate sheet was glued to the back of the patterned paper and then foam adhesive placed around the cloud die cuts to create the 'shaker' frame.


I poured Glass Seed Beads into the "wells" and then placed the Kraft card stock back over top.


I embellished the card front with a trio of white clouds, stamped the sun and sentiment(s), coloring the sun and sunshine with copic markers.


Thanks for stopping in!


Happy Crafting!


Rosie