Showing posts with label canadiancrafters. Show all posts

Wednesday, July 13, 2022

Cardmaking Inspiration for Summer Crafting!

 Hello All!

Rosie here to share a few projects to hopefully inspire your summer crafting!


Yes we are past graduation season so now would be a great time to pick up the Spellbinders Hats Off To You die set! You can make this super cute card for future graduates in their school colours!

Stencils have become a crafting staple and range from background, masking to layering stencils! This Altenew Vibrant Florals Simple Colouring stencil has a coordinating hot foil plate but is super easy to use on it's own if you don't have a hot foil system.

You can get loads of lovely looks but switching up your ink colours and this card comes together quickly!

Do you enjoy all types of colouring? If the answer is yes then you might want to pick up the Altenew Midsummer Bouquet stamp set.

This large bouquet fills an A2 card front with just the right amount of white space and I coloured the bouquet using a "Copic Blending-Free Colouring" technique. I've linked to a video by Yana Smakula describing the technique. After colouring I've fussy cut the image then layered over watercolour card front embossed with the Altenew Geo Diamonds 3D folder-this isn't in the shop but can be special ordered. Lastly, I've brushed random embossed areas with Tim Holtz Sterling Foundry Wax.

I've used the same stamp here, stamped on Altenew A2 Watercolour Paper which is a gorgeous watercolour cardstock in Obsidian Pigment Ink and then heat embossed with clear embossing powder.

The image is then watercolored with Simon Hurley Lunar Paste in Prom Queen, Clear Skies and Slippery When Wet. I mixed Cloudy Skies and Prom Queen for the purple-y bloom, Prom Queen and Slippery When Wet for the top bloom, watered down Slippery When wet for the yellow-y bloom and mixed Cloudy Skies and Slippery When Wet make the green for the leaves.

A sentiment from the set a a some Spellbinders Color Essential Gems-Silver complete the card.

Thanks for stopping by! 

Rosie

Sunday, July 12, 2020

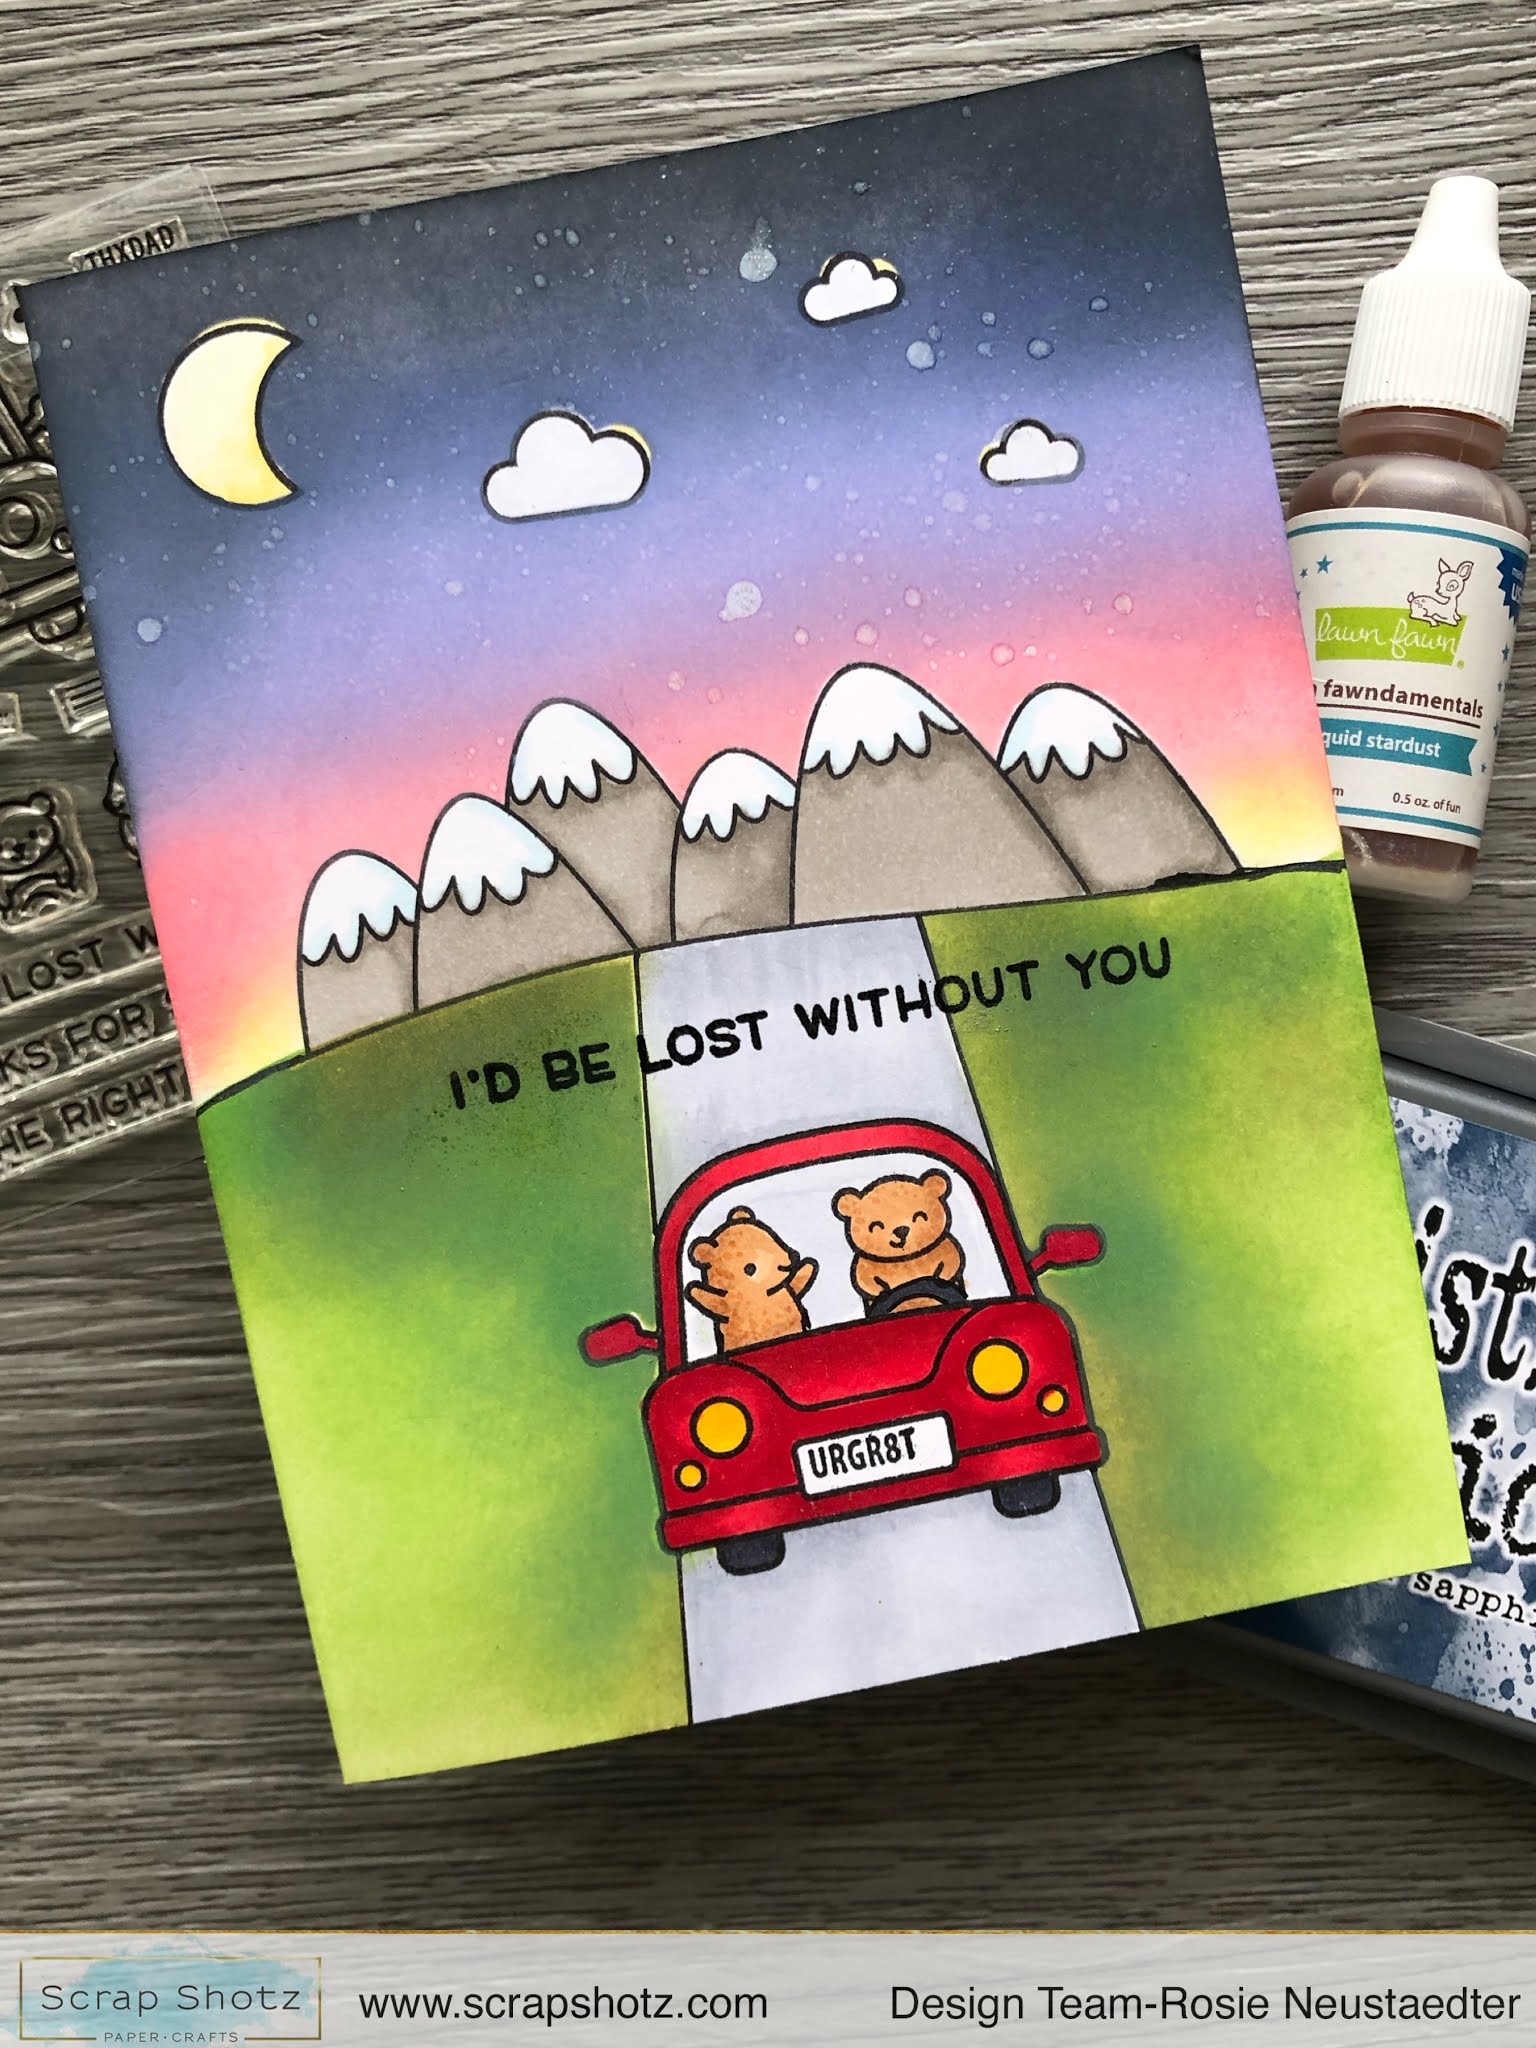
Lawn Fawn Car Critters: Building a Scene

Hello!

Rosie back to share this card and a few tips for building a scene with your stamps.


I have combined the Lawn Fawn Car Critters stamp set, All the Clouds stamp set and the Mama Elephant Scene Builder stamp set.

Tip # 1: "Test Drive" the layout by practicing it first to figure out exactly how to proceed. The image on the left below is the practice panel.


Tip #2: Use a stamp positioning tool like a Misti. It's invaluable for this type of card as you can lay out the various elements and stamp them all at the same time. 
Based on my practice panel I stamped the car, mountains, moon and clouds. I also stamped these images on masking paper and fussy cut the images. I applied the and then stamped the bears.

With all the stamping done, I masked the moon, clouds and mountains and then inked a sunset scene with Distress Oxide Squeezed Lemonade, Picked Raspberry, Blueprint Sketch, Wilted Violet and Black Soot in.


Tip#3: Hand draw in details if needed. I drew the edges of the road with a Micron .05 black archival marker alongside the car. I also extended the edges of the mountain range to the side of the card stock. I then laid Post It tape over edges of the road and masked over the mountain range, inking the grassy area with Distress Oxide inks in Mowed Lawn and Forest Moss.


Once the inking was done I coloured in all the images with copic markers and stamped the sentiment from the Car Critters stamp set.

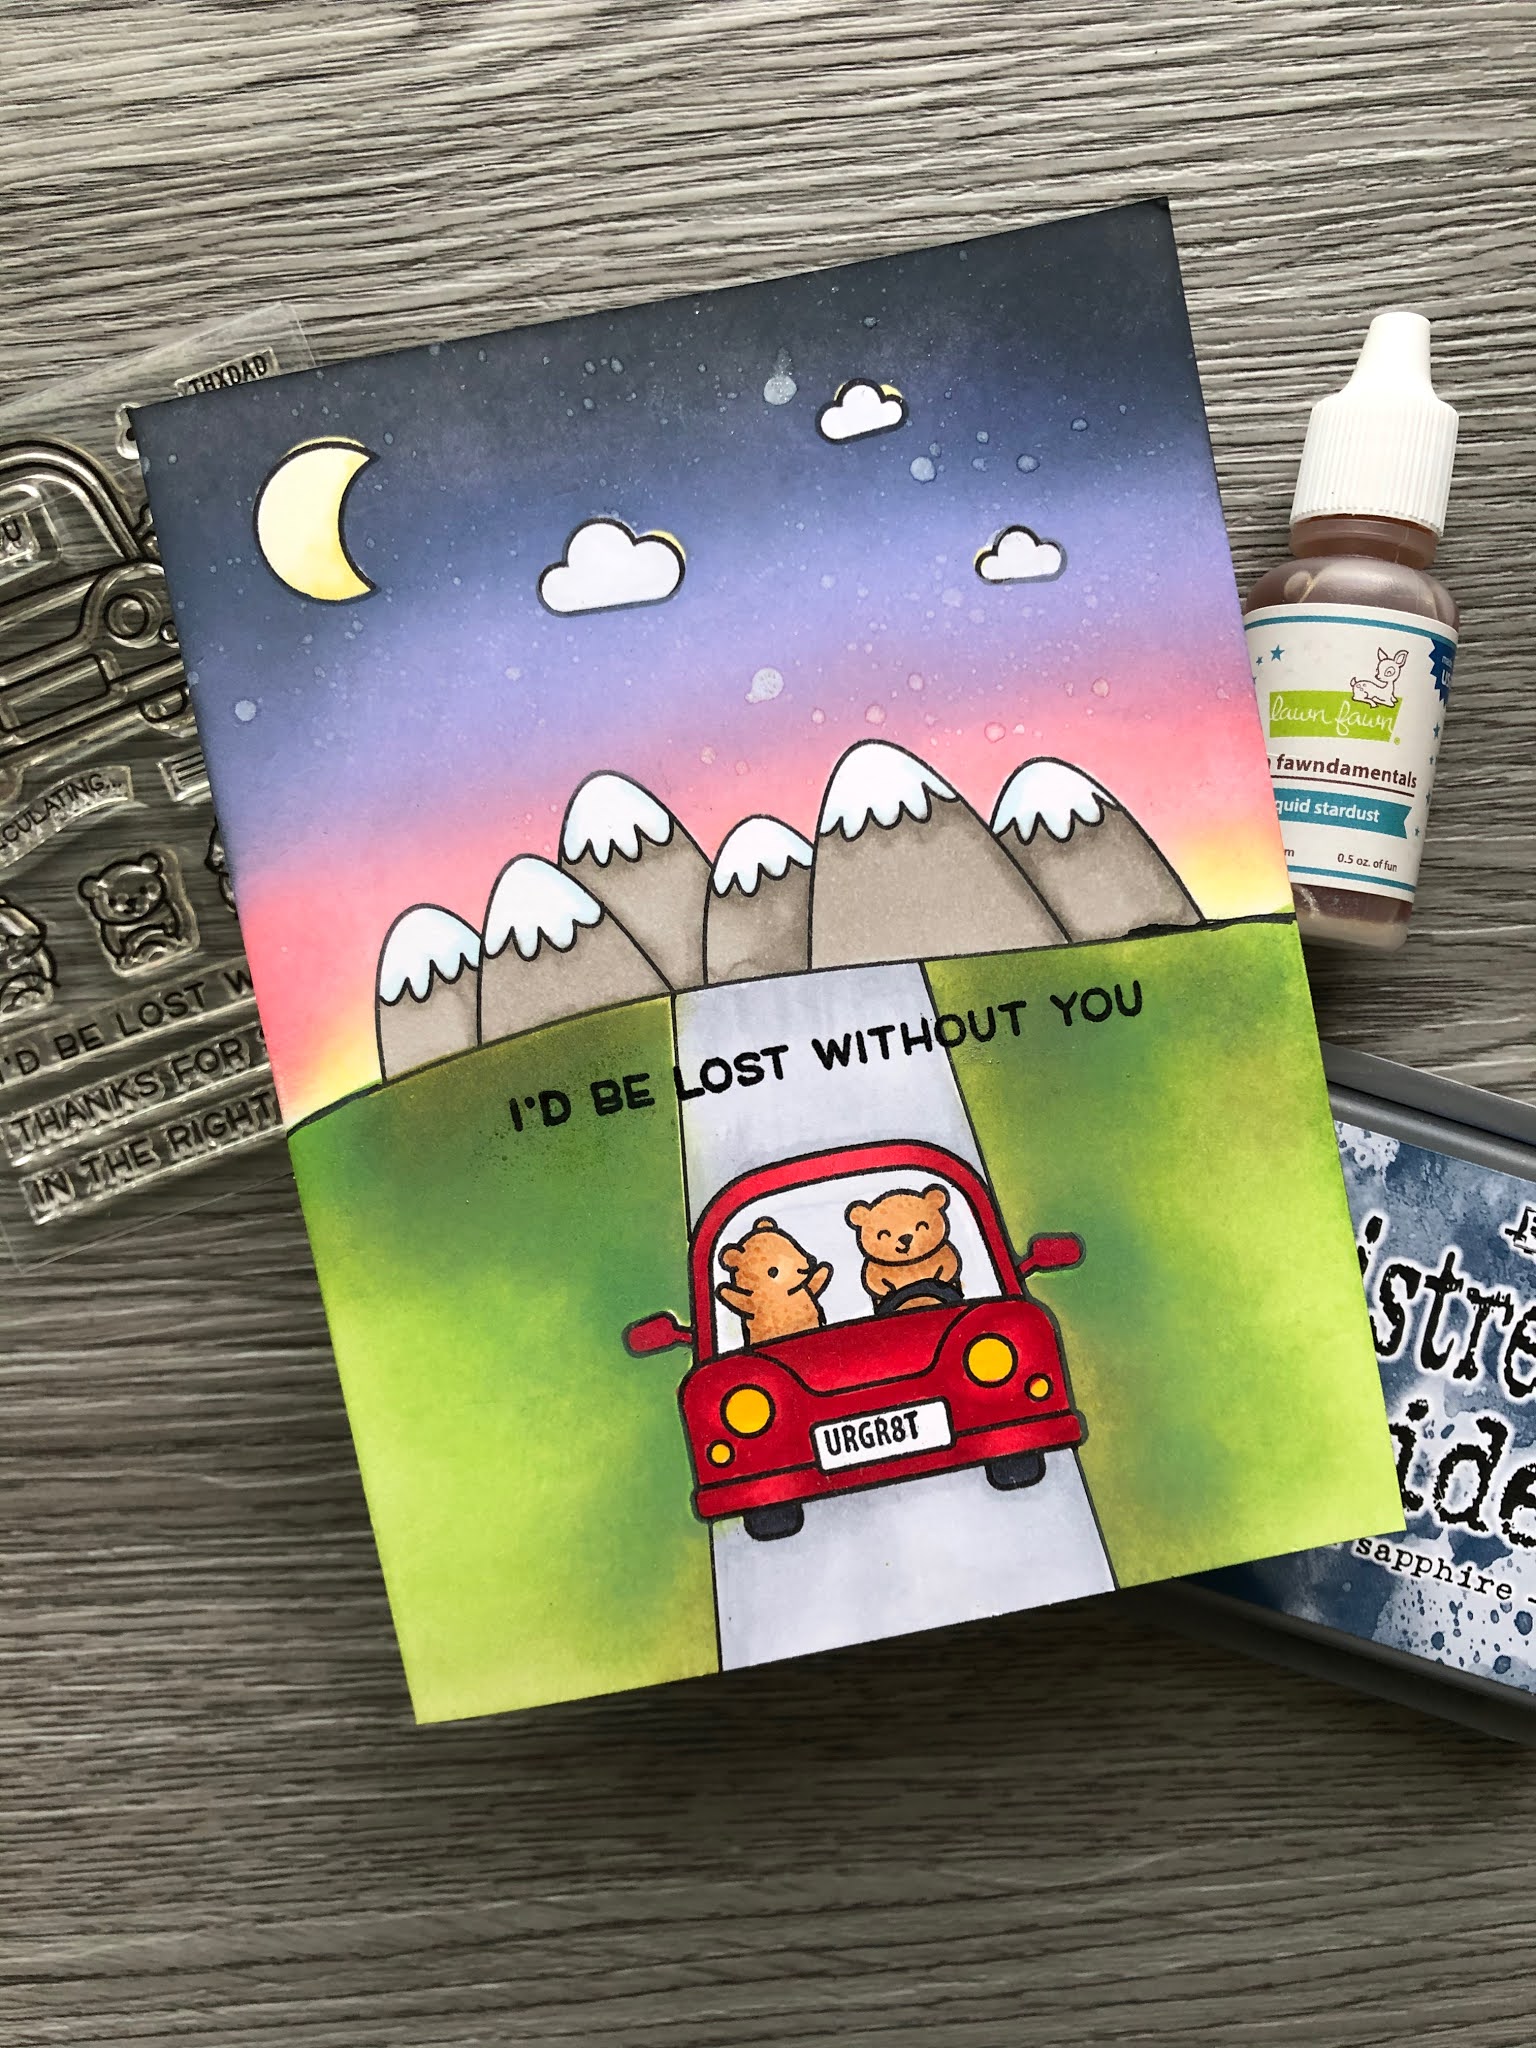
Here's another look at the completed card.


Thanks for stopping by and taking a look!

Happy Crafting!