Thursday, November 29, 2012

Fabulous Find: Elizabeth Craft Designs Shimmer Sheetz

Today I am excited to share another Fabulous Find: Elizabeth Craft Designs Shimmer Sheetz. Have you been curious about this product which can be found here in the store.

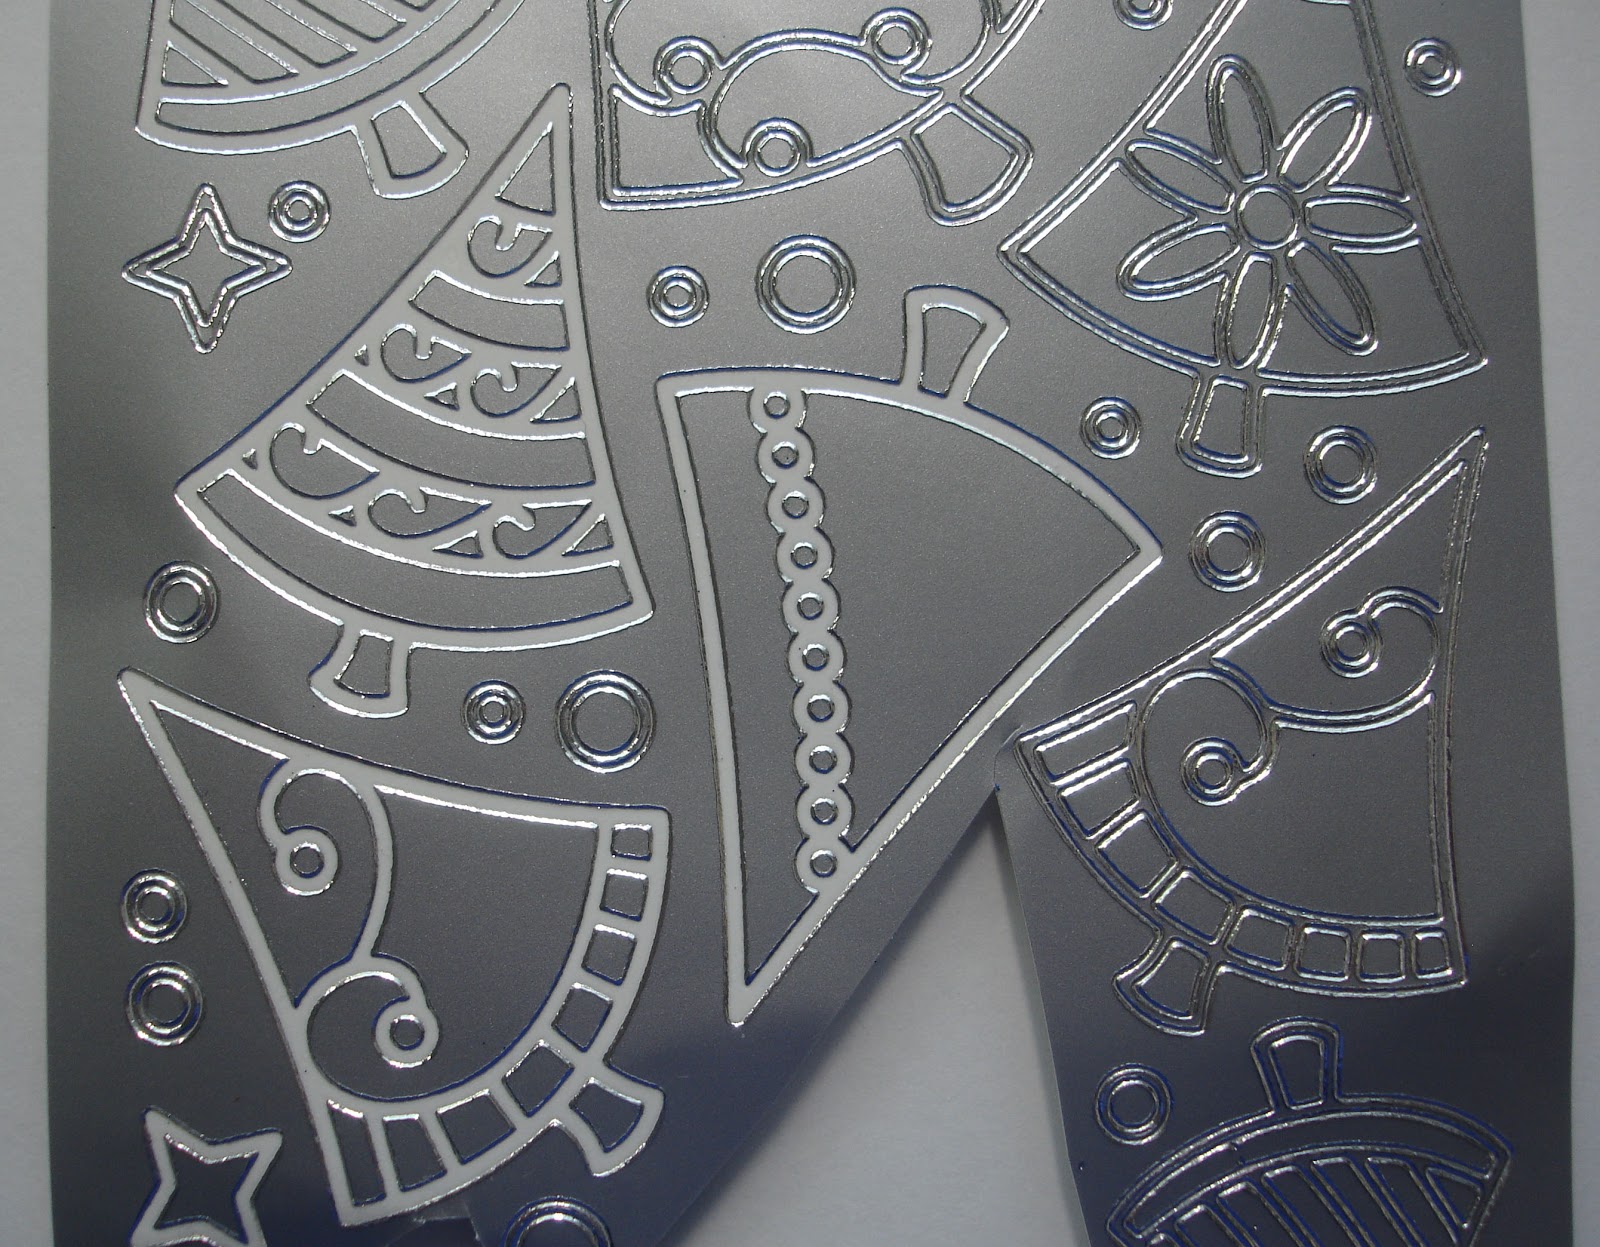
Shimmer Sheetz are mylar sheets of various colours. They are extremely versatile as they can be altered in many different ways. These sheets are compatible with all companies' embossing folders, standard depth dies, embossing folders, punches, paints, markers and even inks that work on non-porous surfaces. Shimmer Sheetz are acid-free and thus are safe on scrapbook pages and appear stunning on cards and altered projects. There are 13 colours available and each package has 3 - 5"x12" sheets.

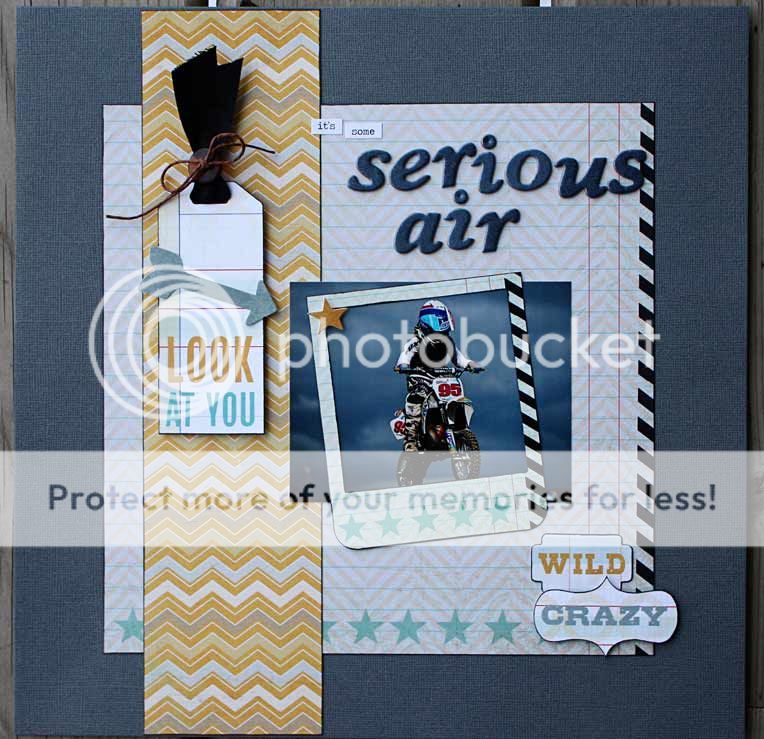
Look at the beautiful cards Rosie made with the Shimmer Sheetz.


*Dee's Distinctively Dies: Snow Covered Stacker Tree*


*Embossing Folder*

Thank you Rosie for these terrific samples!

Friday, November 23, 2012

Fabulous Find: Label Maker

It really is true...what is old, does become new again! Imagine my surprise when I saw this in the store!


This particular model is adorable! It's the perfect size for attending crops; it has a sassy colour and adds just that special touch for any project! Refills are also available in the store.

Have you used this wonderful tool? (It would fit perfectly in your special scrapper's stocking too!)

Tuesday, November 20, 2012

Fabulous Find: Pink Paislee Artisan Elements

In the November Scrap Shotz monthly kit, there is a delicious package of Pink Paislee's Artisan Elements. If truth be told, there are 2 other packages of Pink Paislee Artisan Elements *blush*

Let me share what I love so much about these amazing and versatile gems. Firstly, take a moment to ooh and aah over the cool shapes which can be used on any project, be it a card, layout or an altered item. Each element is intricately crafted with interesting swirls and embossing.

Secondly, I SO love that each element can be altered in several different ways. The package suggests paint, alcohol inks, mists and so much more. The close-up photo below shows the mists and pearls I used to colour the element.


I hope you can see how easy it is to write your journalling on the element too. Here I used the American Crafts Slick Writer - the Copics Multi-liner works wonderfully too!

In the example below, there are touches of Clearsnap Smooch in the grooves. I accented the intricate designs with Prima gems.


Below is my layout using the altered Artisan Elements.


Thanks for letting me share!

Wednesday, November 14, 2012

Fabulous Fundamental: Transferring Negative Images using Elizabeth Craft Designs Transfer Sheets


Good day Everyone! Today we have a special treat...a blog post from Carolyn Waldschmidt. She is going to demonstrate how we transfer the negative sticker image  using Elizabeth Craft Designs products. So without further adieu...

Today we are going to show you how you can use the sticker negatives that are left when using the Elizabeth Crafts Peel Off Sticker sheets. You will need to use a Transfer Sheet to move the images. If you have been using your peel off outline stickers you are left with the negative images on the sheet.


Choose the sticker image you want to transfer and cut it out of the sheet. Peel away any parts of the sticker sheet you don’t want transferred. As you can see there is very little waste in a peel off sheet.


Cut a piece of your transfer sheet to size for your chosen image. Peel off the liner of the transfer sheet and place the clear sheet over the sticker negative. Rub the image to adhere the sticker parts to the transfer sheet. Carefully lift the transfer sheet off with the sticker negative.


Place the transfer sheet with image on your chosen project, for example a piece of cardstock. Rub over the image once again to stick it on your cardstock. Peel off the transfer sheet and you have transferred the negative sticker.


 Keep your transfer sheet and place the liner back on as the transfer sheet can be used multiple times for this purpose. Complete and decorate your project. Here is a card I made:


Another use for the transfer sheet is to make a sticker repositionable. Choose the sticker image you want to make repositionable, in this case a sticker I had already glittered and colored. Cut a piece of transfer sheet to size for your image.


Peel off the back liner of the sticker you’ve prepared and place the sticker on top of the transfer sheet. Then cut out the image so you will have 3 layers, sticker, transfer sheet and transfer sheet liner.


When you peel off the transfer sheet liner you will get a sticker that can be used on multiple surfaces and repositioned as desired.  They can be placed on metal, glass, plastic or wax, giving you lots of options. Have fun!


 Thank you so much Carolyn!


Friday, November 9, 2012

Fabulous Find: Whimsy Stamps and Dies

Have you seen these amazing stamps and matching dies by Whimsy Stamps? Some of my favorites include


Why?

Not only do they stamp beautifully with the rubber image - let me tell you that the stamped image is very crisp, clean and sharp. This makes heat embossing so easy.

What was captured my heart is the matching die. I love love love that I can die cut the stamped image perfectly each and every time and place the stamped imaged on my project.

Allow me to show you the innovative and precise die cutting system. First you need to trim the stamp from the sheet of stamps. Remember to cut as close as possible to the image without cutting the image! Then stamp your image on some cardstock or pattern paper.


Now with a sturdy scrap of cardstock, use your die and cut the scrap piece of cardstock. Keep the now die cut cardstock scrap. This scrap is your key to success!


Carefully line up the cardstock scrap over the stamped image, making sure the image peers through your die cut template (aka cardstock scrap).


Then put your die in the cardstock scrap, lining up the 2 dots.

Sandwich your die and the stamped image...and voila, a perfect die cut stamped image!

Then attach the die cut stamped image on your project.

Enjoy!


Wednesday, November 7, 2012

Scrap Shotz November 2012 Kit Reveal

It's the beginning of November (can you believe it?) and that means the reveal of another stunning Scrap Shotz monthly kit! Let's check out the gorgeous work of our Creative Team...and welcome 2 new designers, Rebecca Hilligas and Jess Duerkson.

Look at this fresh layout by Jamie! I love those diamond shapes and what a great way to incorporate the various pattern papers into your layout.


Here is Rebecca's layout...I adore the giant "pinwheel" and the white dotted border design.


Check out this gorgeous card by Jennifer - the colours and design are superb!


Ellen made this gorgeous card - don't you just love the embossed background and dimensional pieces of pattern paper?

Here is Jess's beautiful layout using the kit - I love the "polaroid" photo being showcased!


I think you will agree this is another amazing reveal by our Creative Team - welcome aboard Rebecca and Jess!

Thursday, November 1, 2012

Fabulous Fundamental: Using Copics with Elizabeth Craft Designs Stickers


Today we have a fabulous blog post from Carolyn Waldschmidt. Thank you Carolyn!

At the Carnival, this is the very popular snowman tag we created to demonstrate the products:  Elizabeth Craft Peel-Off stickers, Glitter Ritz Micro-fine Transparent Glitter and Copic markers.  Thanks to everyone who stopped by our demo table and waited patiently for their turn to give it a try.


Once you see how easy this technique is you will want to try it yourself and there are so many different applications to use the stickers. Plus, it’s wonderful to have another use for your Copic markers.

These instructions will show the snowman sticker tag but the technique is the same for any sticker you choose.

  • Cut a piece of double-sided adhesive tape (Sookwang) to the correct size needed for your sticker. Then you may adhere one side of the double-sided adhesive to a piece of cardstock also cut to size. I used white as I wanted the snowman to be white. 
  • Peel off the tape liner to expose the sticky surface. Don’t throw your liner away! Place it slick side up on your work surface. 
  • Take your sheet of Elizabeth Craft stickers and gently peel the outline of the sticker. You may find tweezers helpful for this. You need to place the outline sticker sticky side up on the liner you saved. This is so you can realign any areas of the sticker that get twisted or misshapen when you peel it. This step is recommended by Elizabeth Crafts as the bigger or more intricate the sticker the more likely you will need to realign it before placing on adhesive. The stickers are vinyl and pretty forgiving of some tugging and pulling. The hardest part of this whole process will be getting your fingers unstuck from the sticker!


  • Now carefully pick up your exposed adhesive cardstock piece and place sticky side down on top of your outline sticker. This is how you keep the outline sticker nicely aligned. Rub over the outline sticker firmly to make sure it is adhered. Now you can peel off the liner once again and your sticker is ready for glitter.


  • Using the Glitter Ritz micro-fine transparent glitter you can pour a small amount onto your sticker. Rub the glitter all over the image with your finger. This is to “burnish” it in, fixing it firmly and bringing out the shine of the glitter. Brush away excess.  You use a tiny amount of glitter in this process, so one jar will do lots of projects.


  • Now color your image with copics as desired. You will want to keep a “light” hand and do not color too heavily in one place as you may rub the glitter off. If any glitter stays on the tip of your copic it can be wiped off easily.


  • Next step is to cut out your image along the black outline and place your image on your project. Voila! You are done!

Here are some different ways to use the glittered stickers. Instead of adhering to cardstock as we did for the tag, either leave the bottom liner in place (if you have the Sookwang sheets) or if you have the Sookwang tape you can place it on some wax or parchment paper temporarily. Then you complete the sticker as directed and peel off the bottom liner or wax paper and adhere your sticker to glass, china, candles, wood, or plastic. As you can see there are lots of options to create some fabulous projects!


Absolutely stunning Carolyn! Thank you for this blog post!