I love embracing the holiday season so have all the Christmas inspired goodies on my scrappy desk including the new Deck the Halls from Cocoa Vanilla Studio. I am loving this collection - all the seasonal touches but in the soft colours and classy touches that Cocoa Vanilla is so good at!
Present Inspired
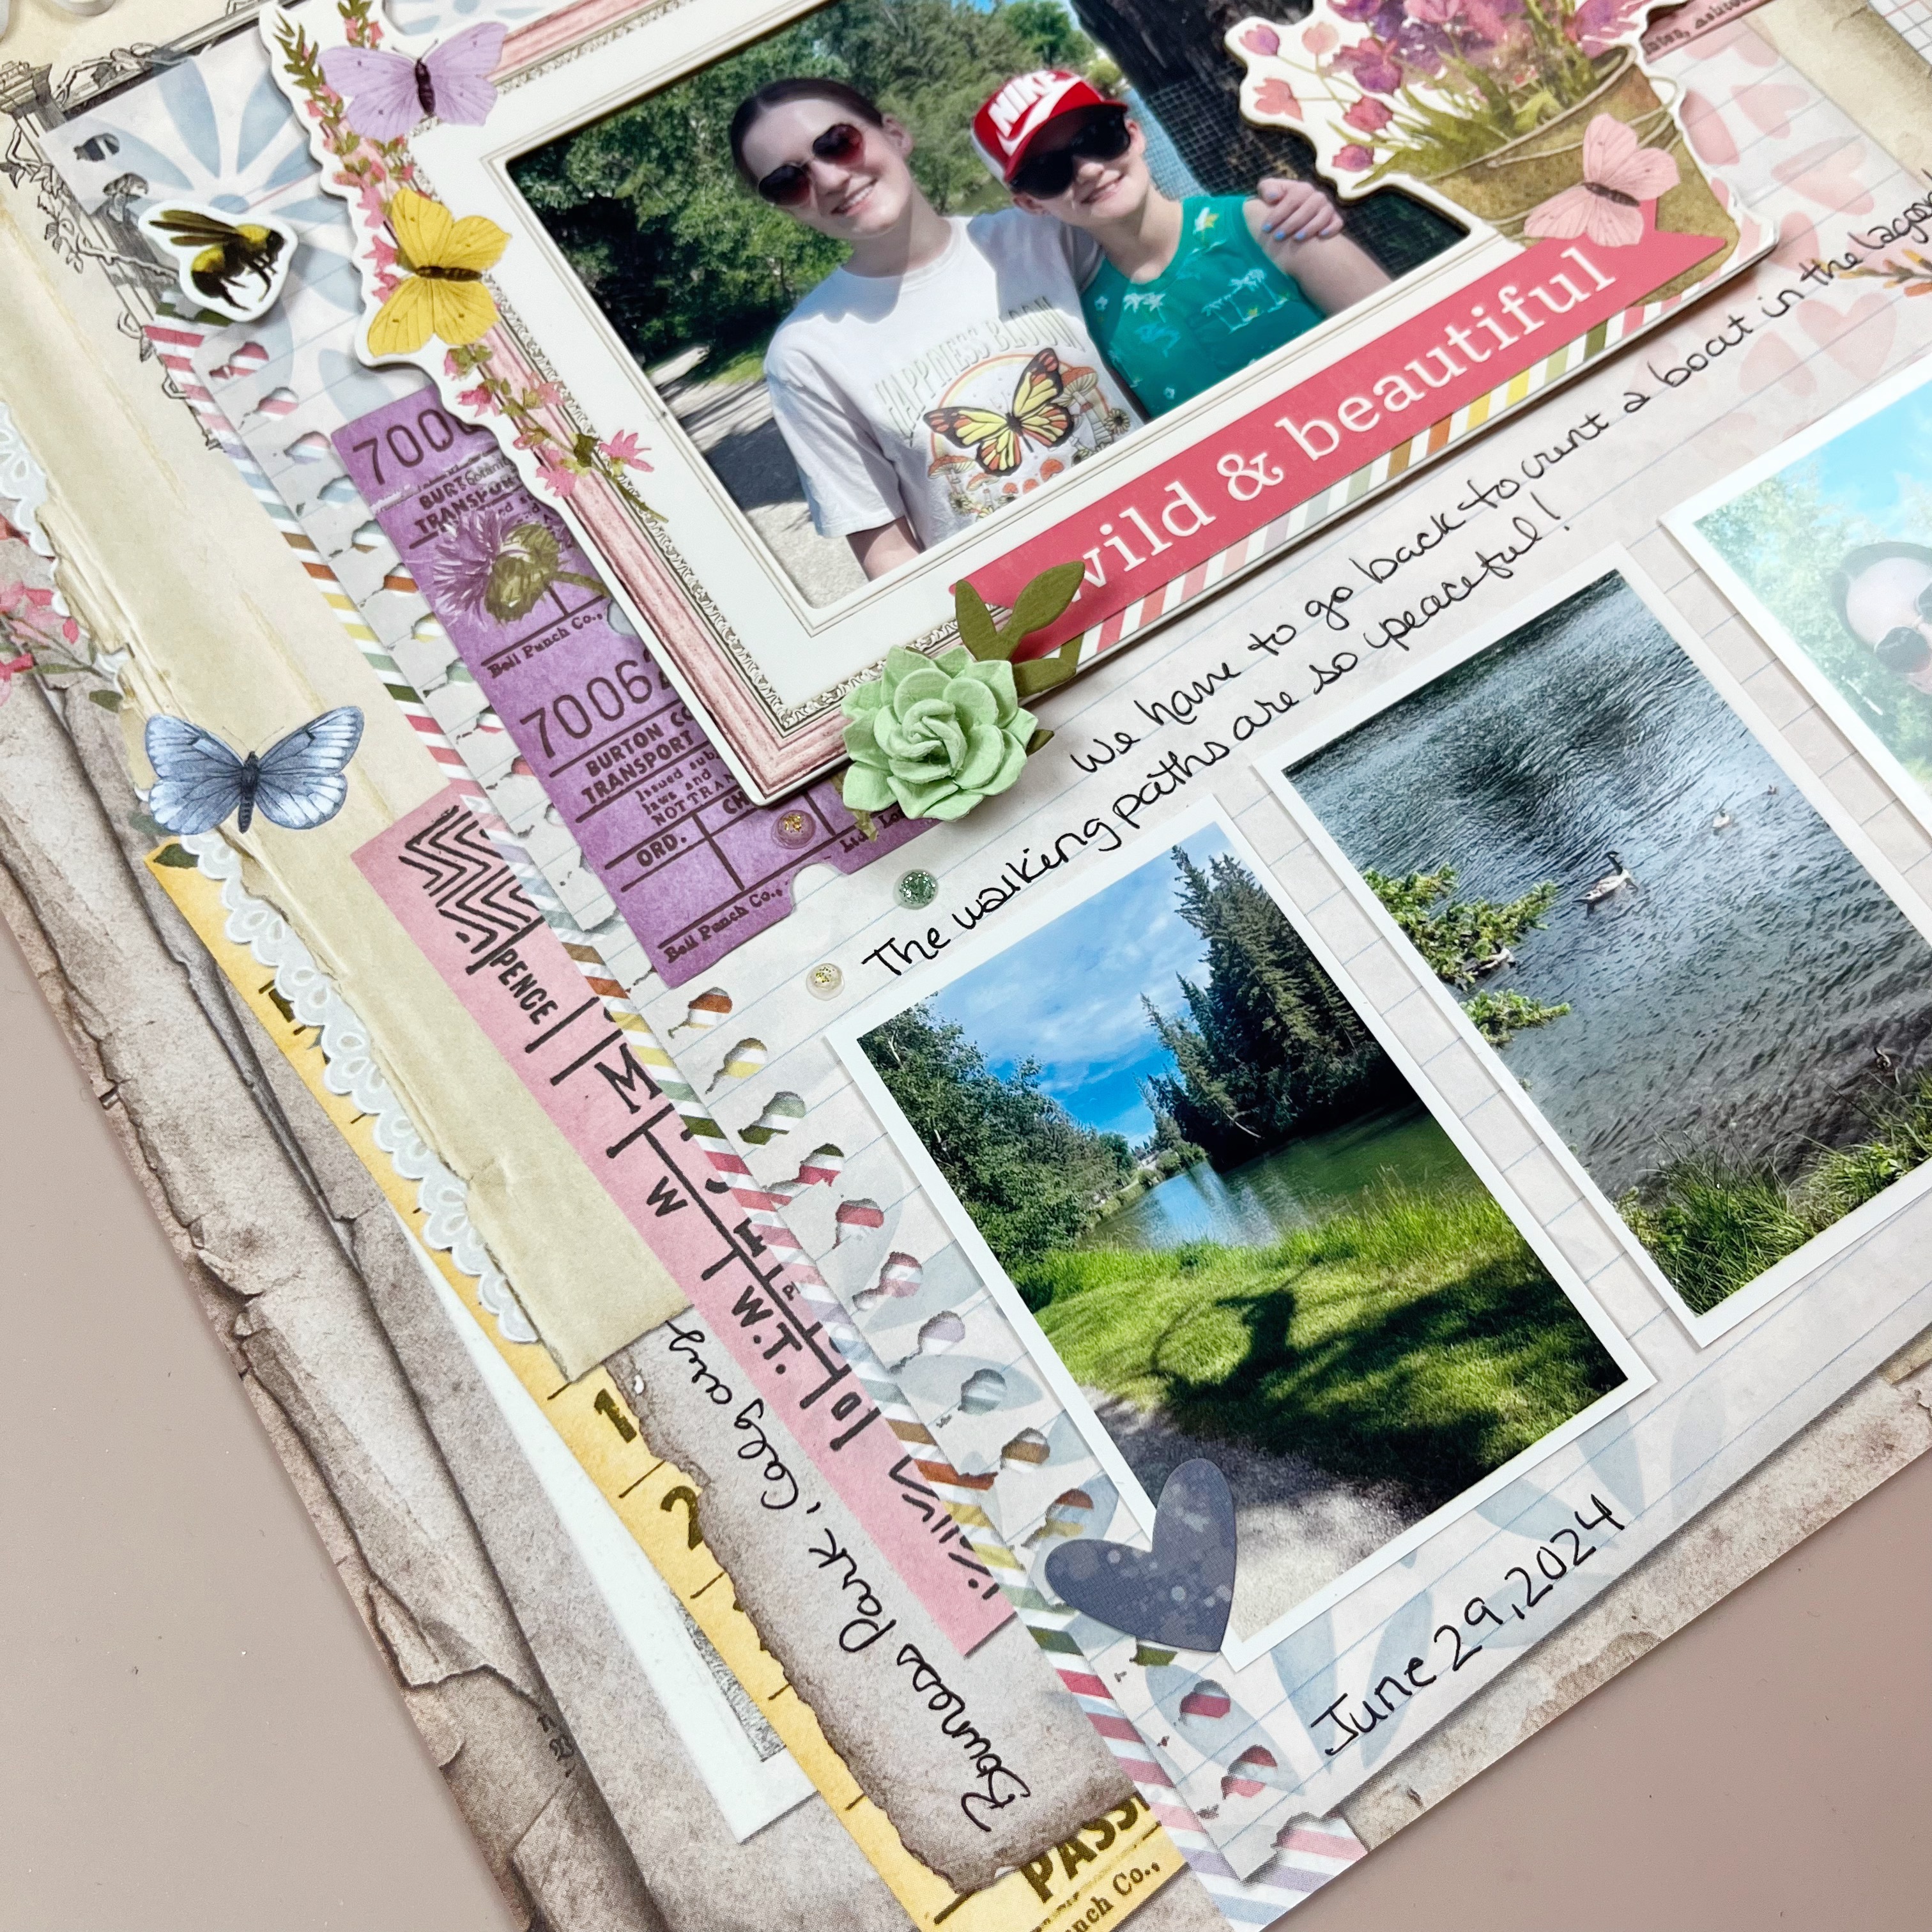
For my first layout I was inspired by the idea of a present - that first rip your make to pull back the paper and get a glimpse of that amazing surprise inside.

To create this look you simply pick a pattern paper you like both the A and B sides of (like this one I picked from Cocoa Vanilla - beauty!). Then you fold it to show half of each but don’t fully press the crease down so you get on a little dimension to the page at the fold. Be sure to add a little adhesive to hold the crease down and cut off the small amount from the fold that goes over the edge at the bottom of the page. I like to adhere my folded page down on another coordinating pattern as my background - like I did here - but it also looks great on white cardstock too. Really pops.

From there you add your photos and your embellishments on top of that fold. I love when they look like they are sort of spilling out. For my layout I went for the cute little town scene using the Chipboard Sheet and Ephemera so layered a row of homes likes a little Christmas Village along the bottom of my photos.

A few white splatters to reinforce that Christmas Village look and some stars in ‘the sky’ finished off the look. I added a few little pennants at the top right to balance the busy middle a little and finally a gold title from the Puffy Gold Title Stickers.
Classic Photo Cascade
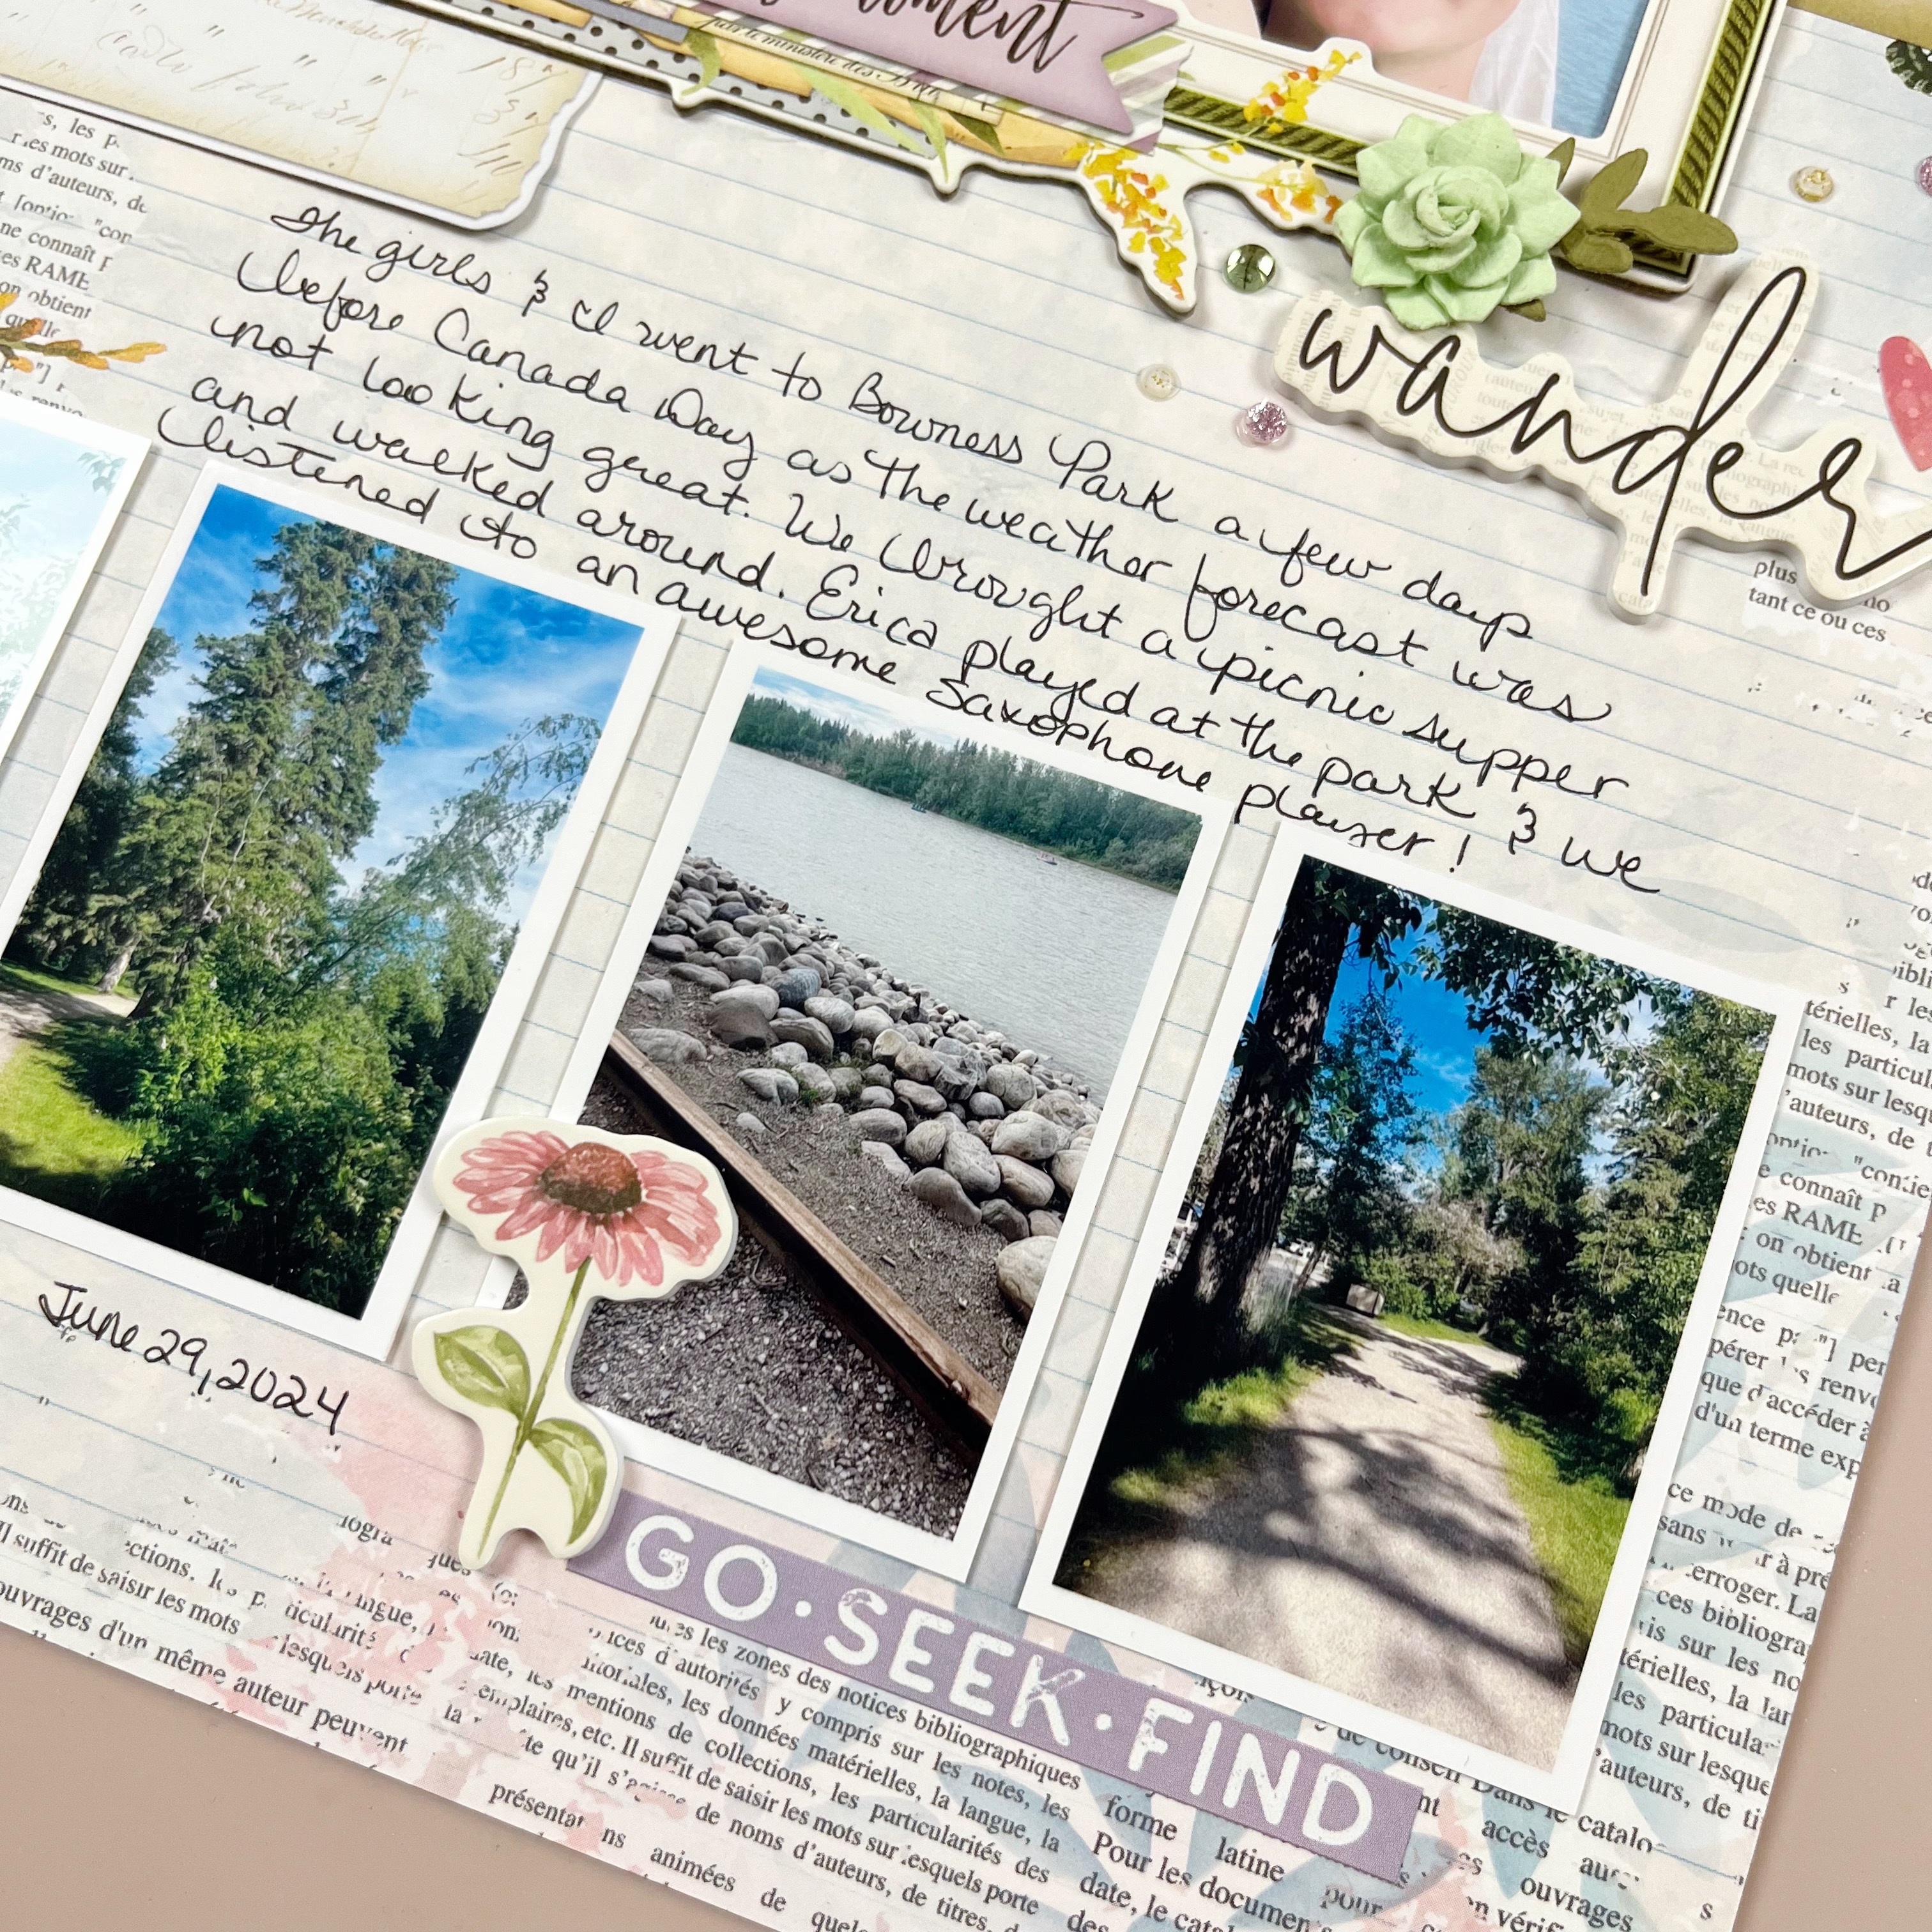
They say that designers aim to create ‘threes’ on a page - three embellishment clusters, three photos, etc - it draws the eye. I am not a designer but admit three photos feels very natural to me. Like I did here for this layout.

I love to cascade three photos overlapping just slightly either down the right or left of the page OR across the ‘just above’ the middle space on the page horizontally. I back each photo with a couple of coordinating papers and then focus most of the embellishments around the photos too.

For this one, I anchored my title on the fantastic Christmas tree from the collection, and focused on the present inspired embellishments from the Chipboard Sheet and Ephemera to tie into the Christmas tree feature.

A few white splatters on the page and some of the cute little stars from the Puffy Stickers and a few phrases from the Accessory Stickers finished it off nicely.
White Space
For my third layout I took a step back from all the pattern papers and instead used white space to focus my design.

I printed my photos that were taken in quick succession to tell the story of this moment in black and white to balance the colour of the collection. I backed each with a couple patterns each and a couple patterns behind the horizontal clusters too. Before adhering my favourite photo of the bunch I popped it up on foam dots as my focal point.

From there, I selected all of the Christmas decoration embellishments as my theme and cascaded those down the page - making sure to tuck a few in and around the photos. The Christmas tree from the Chipboard Sheet tucked beside my feature photo helped add further focus on my fav photo.
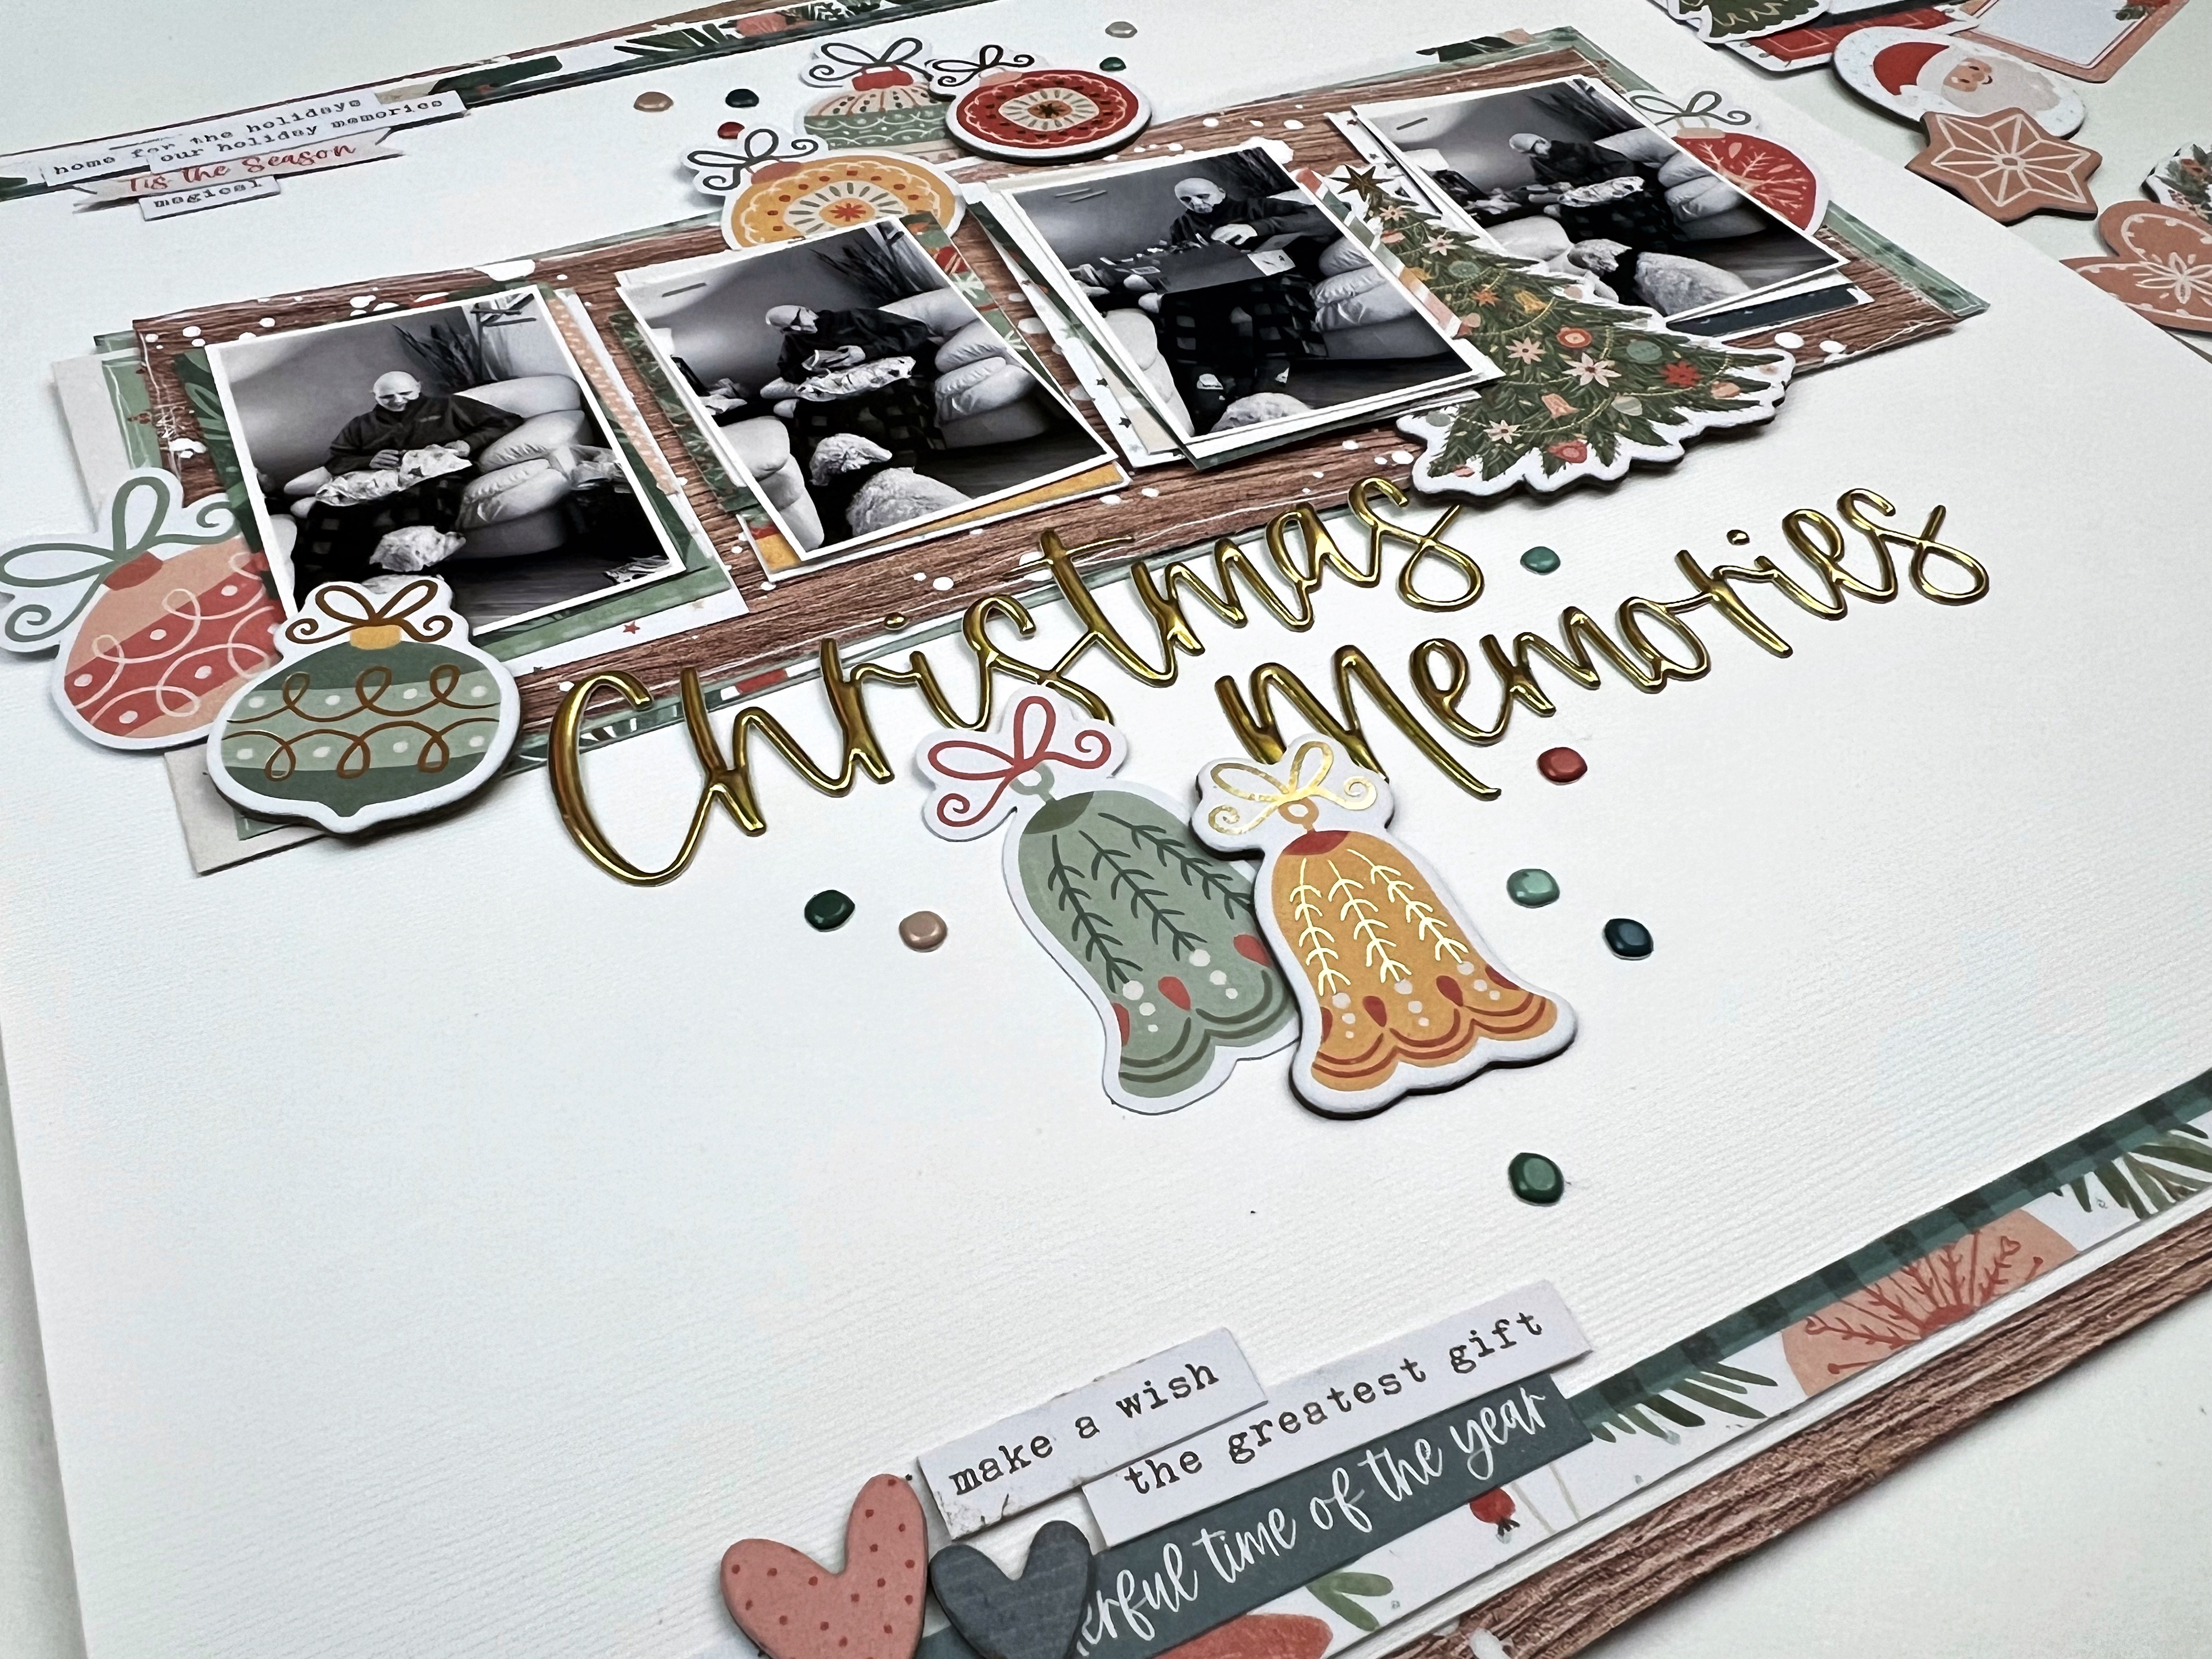
To finish off the layout, I used some of the Puffy Gold Title Stickers for my title and a few of the Puffy Stickers in and around the decor. I also added a couple of phrases and hearts to the bottom left for balance using goodies from the Chipboard Sheet and the Accessory Stickers.
Are you playing with the Cocoa Vanilla Studio, Deck the Halls collection? We would love to see! Pop over to the Scrap Shotz Paper Crafting Group on Facebook and show off your amazing projects!