Hello friends! Karla back today to share the layouts I created in one of the Scrap Shotz' Thursday Live Demos using the beautiful Simple Stories Simple Vintage Meadow Flowers collection. This collection is so lovely for spring or summer with its soft colours and vintage feel, and could work for so many different occasions! You can follow along to see the process to create these layouts, which came together quickly and easily HERE!

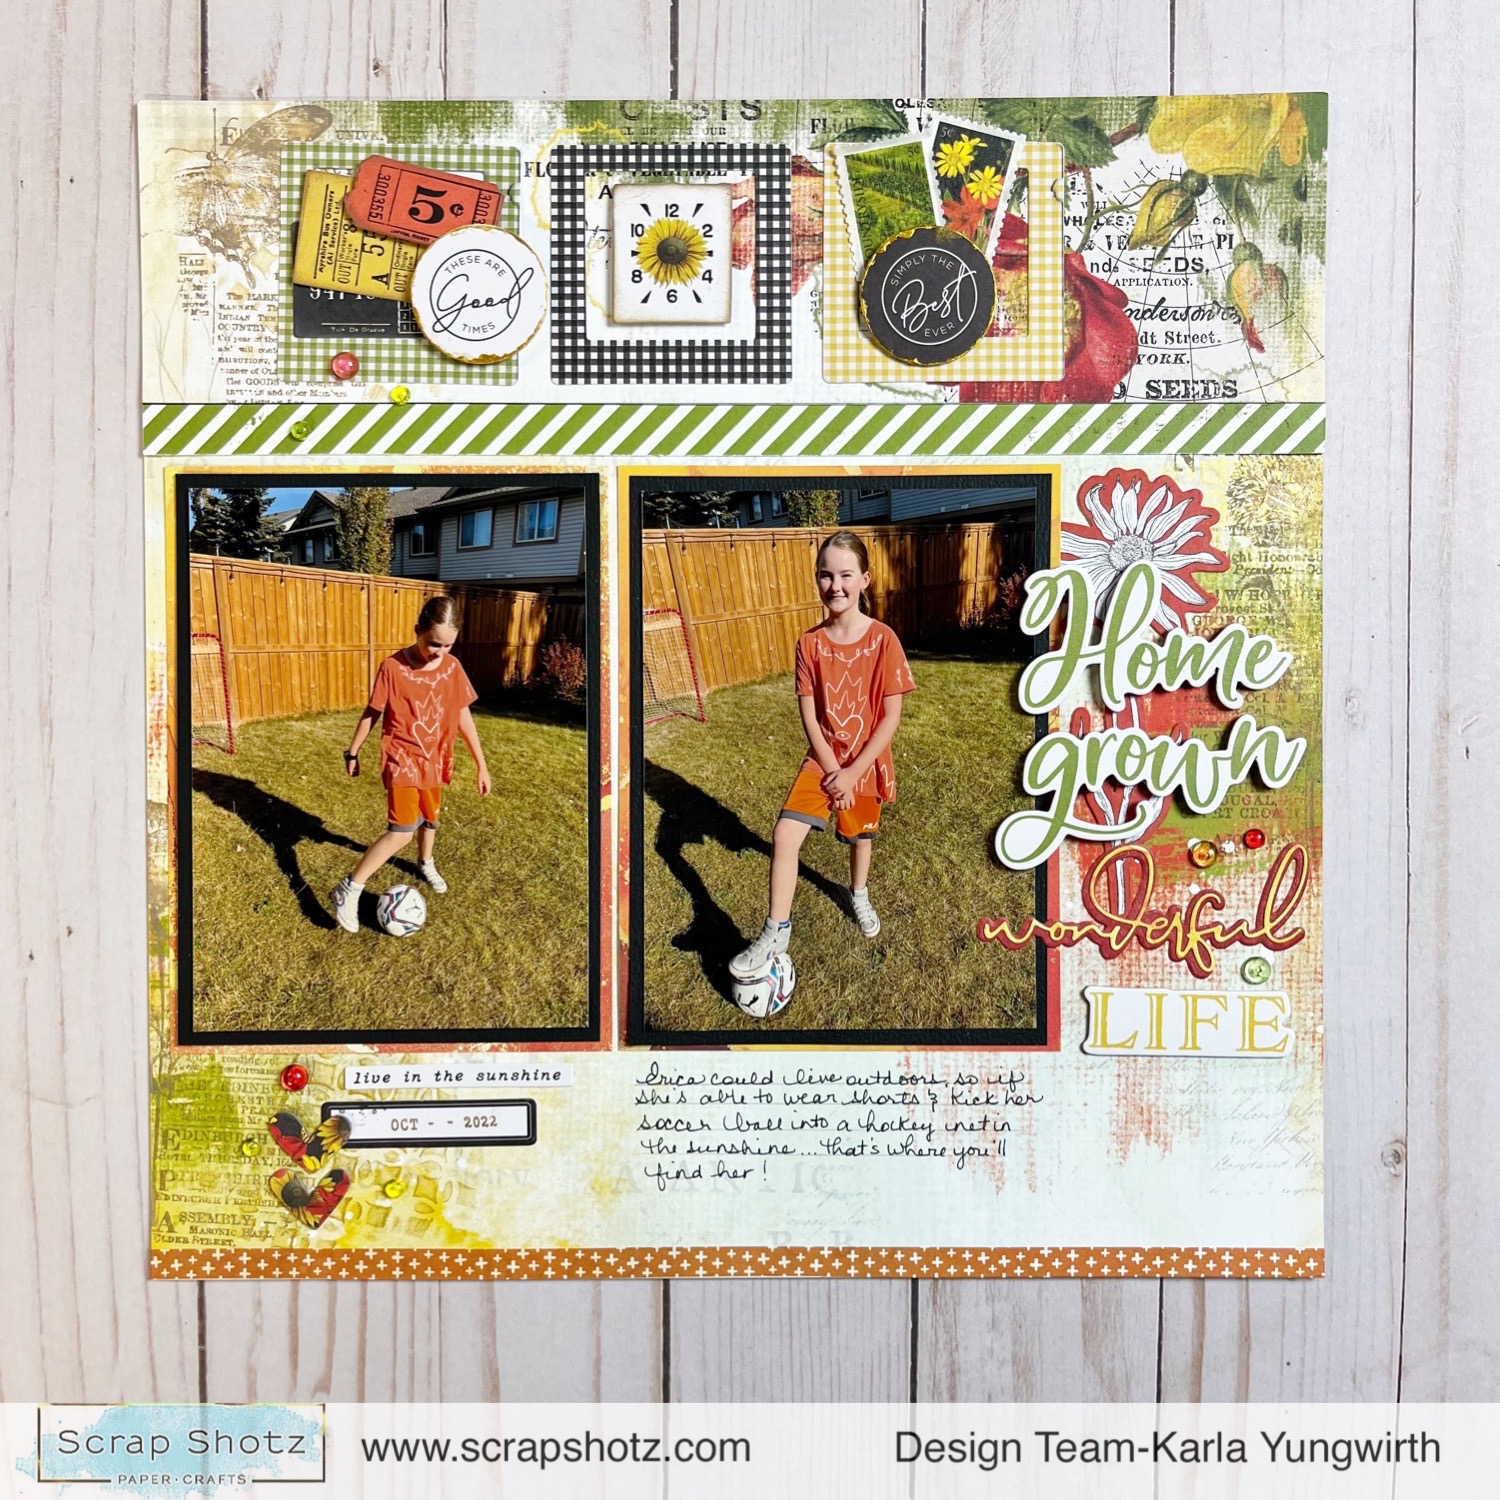
I used two 12x12 backgrounds from the collection pack that had preprinted layers already, creating a quick and easy layout base.

I used the chipboard frames for my focal photos, sizing my pictures using my Canon Selphy.
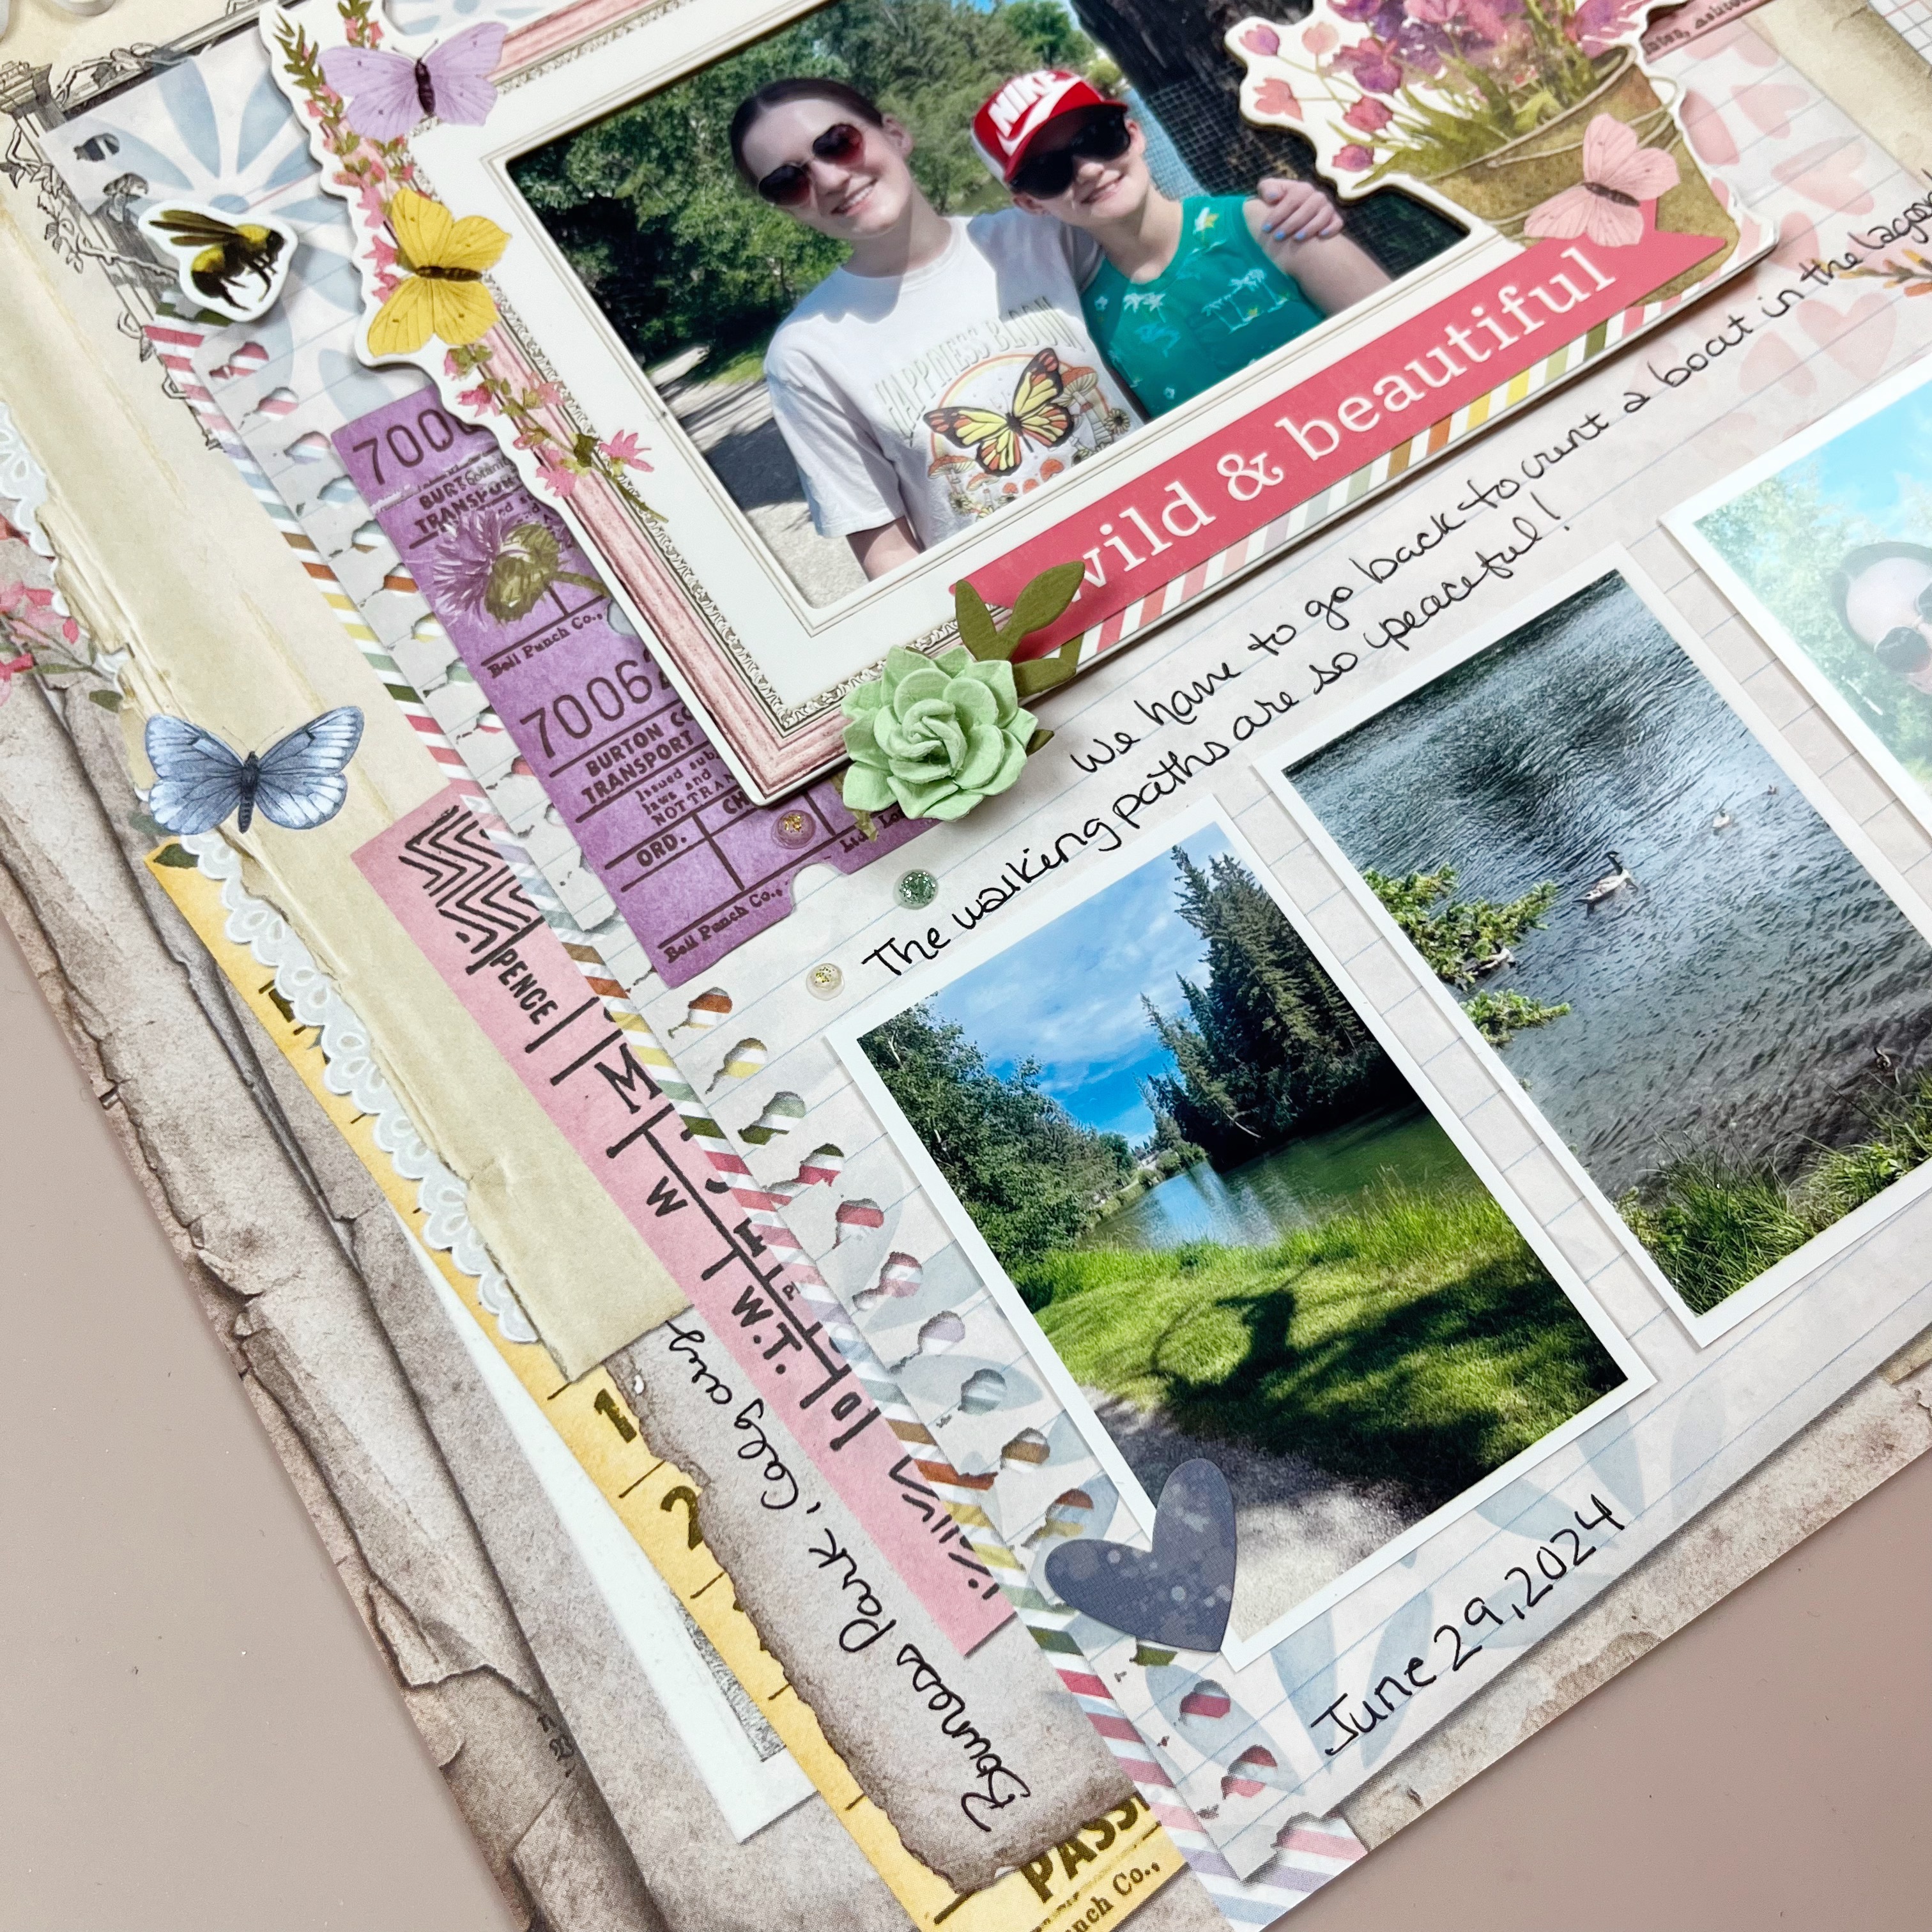
There are so many beautiful stickers on the 12x12 sticker sheet included in the collection pack,plus lots of pretty ephemera and chipboard elements to add dimension.

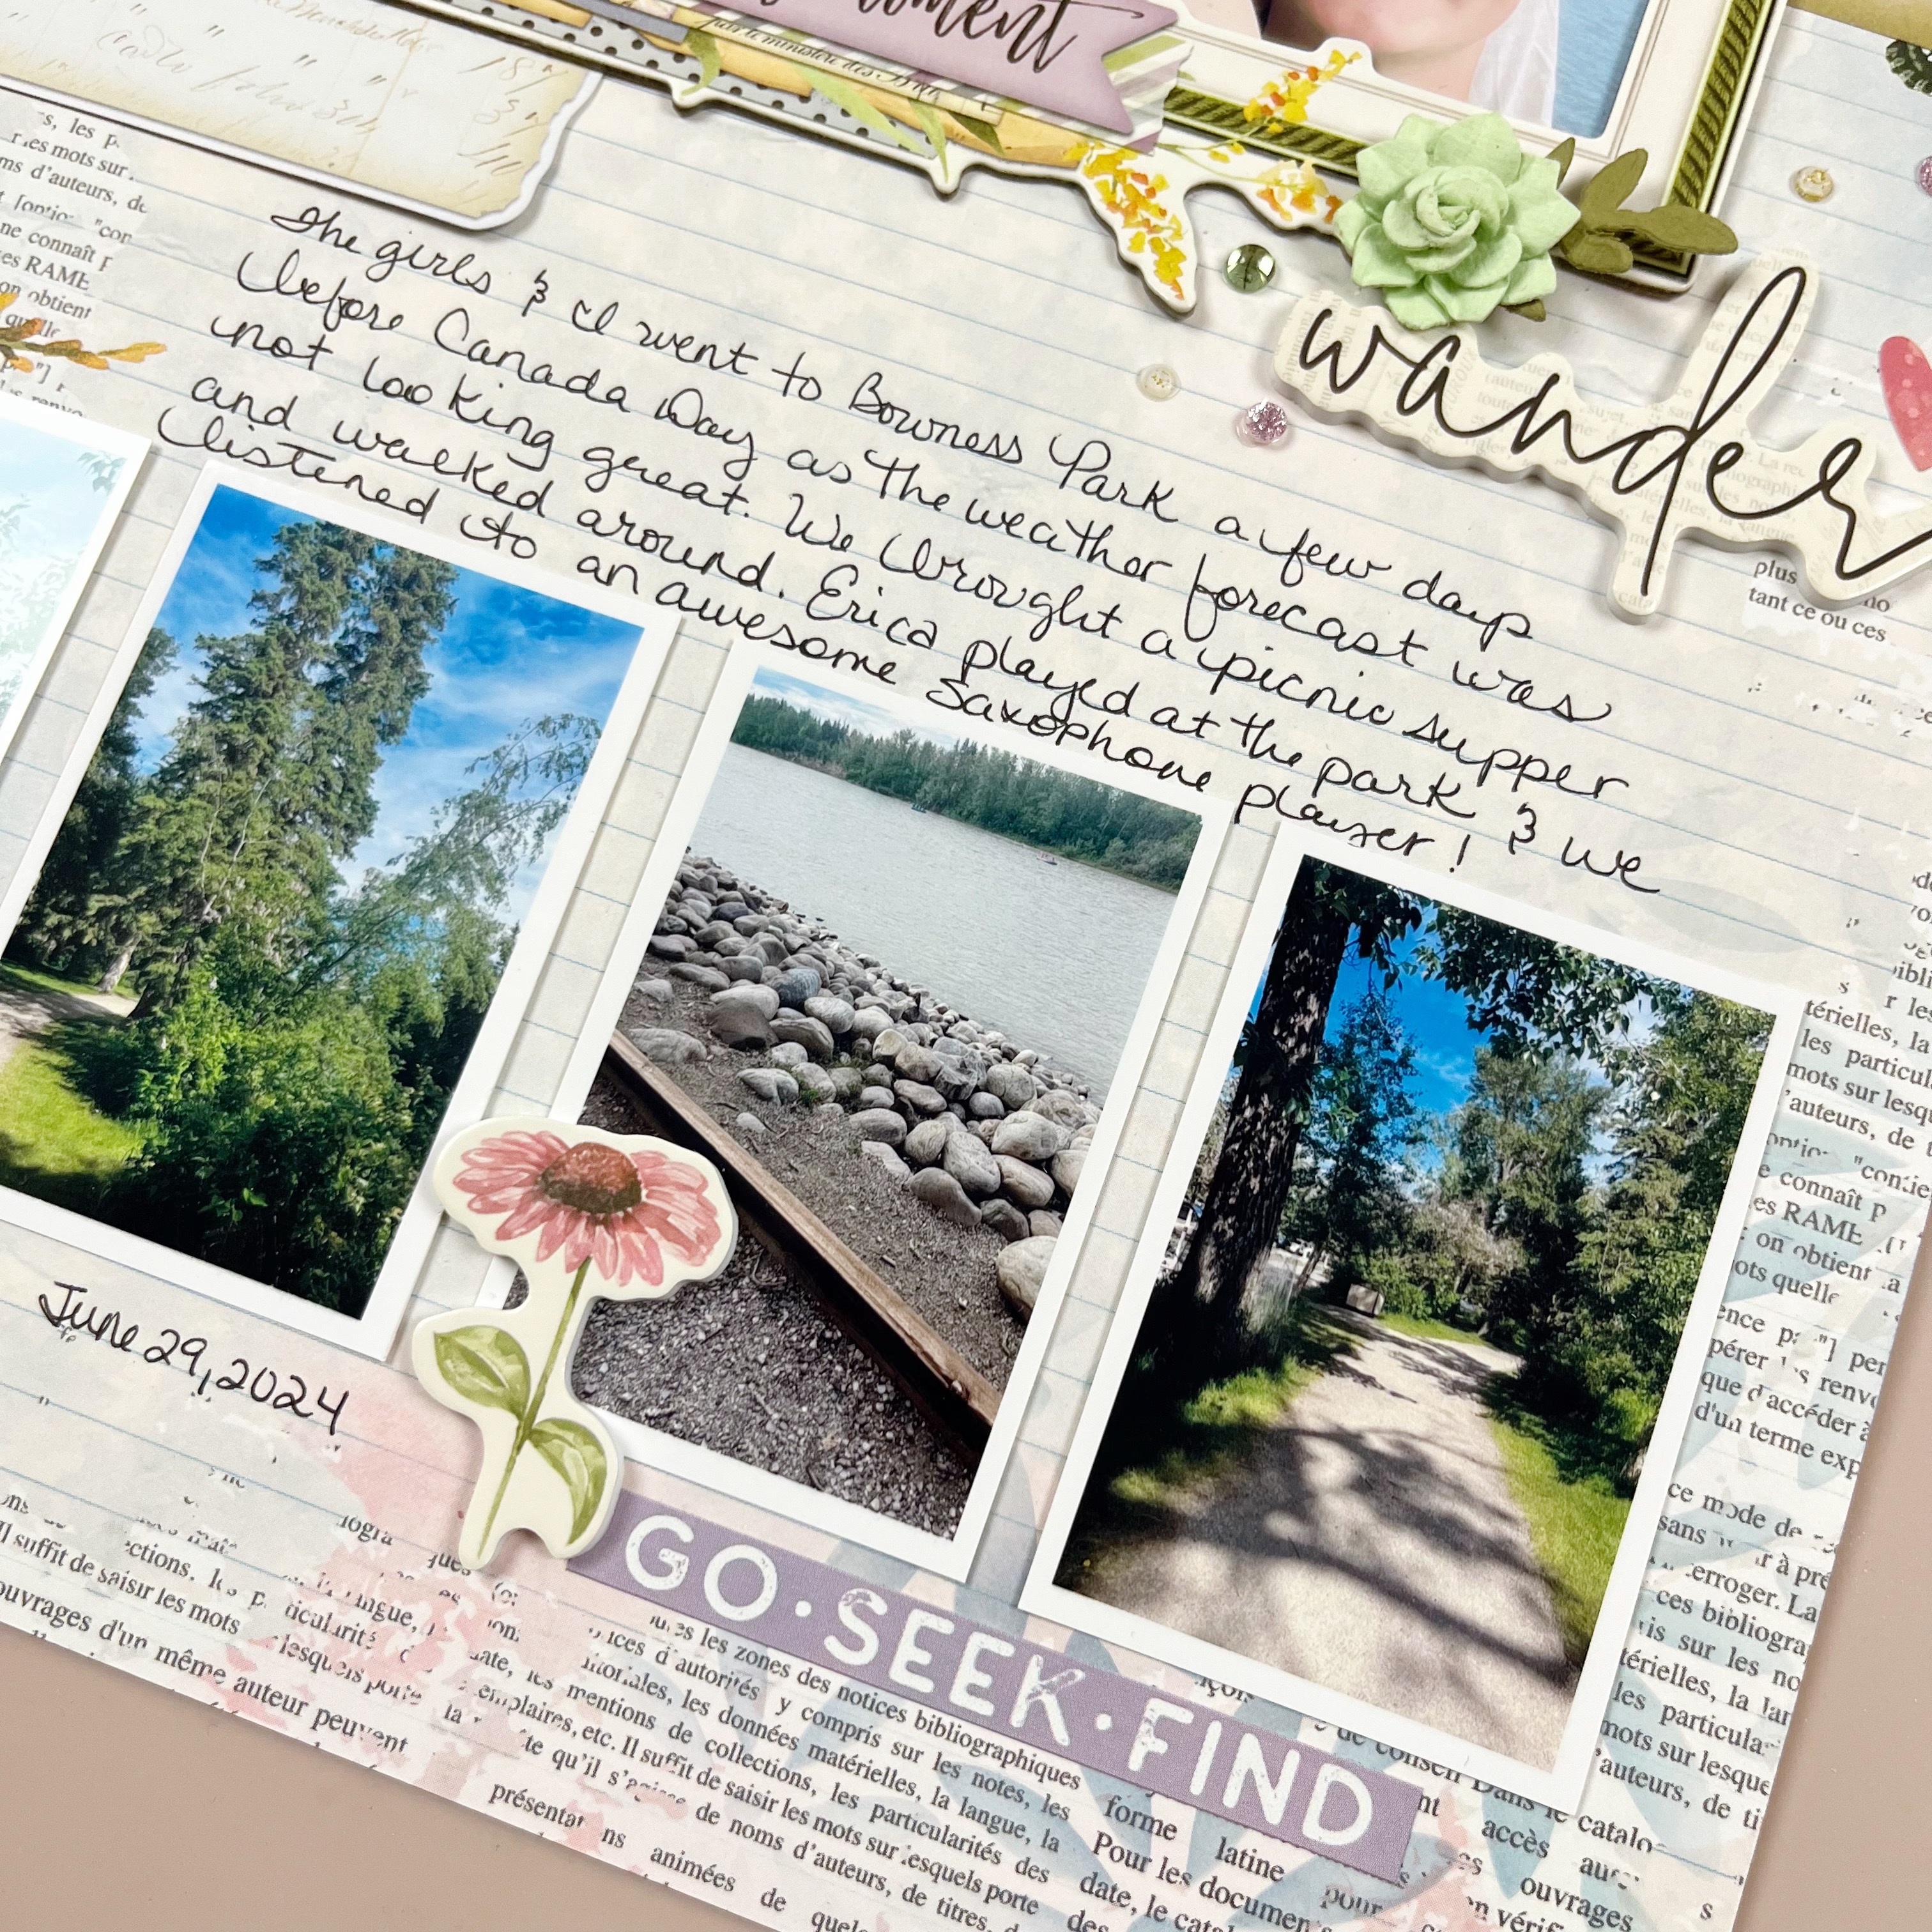
I used Vicki Boutin stencils and Distress Oxide ink to add some subtle areas of stenciling, using coordinating colours.
 \
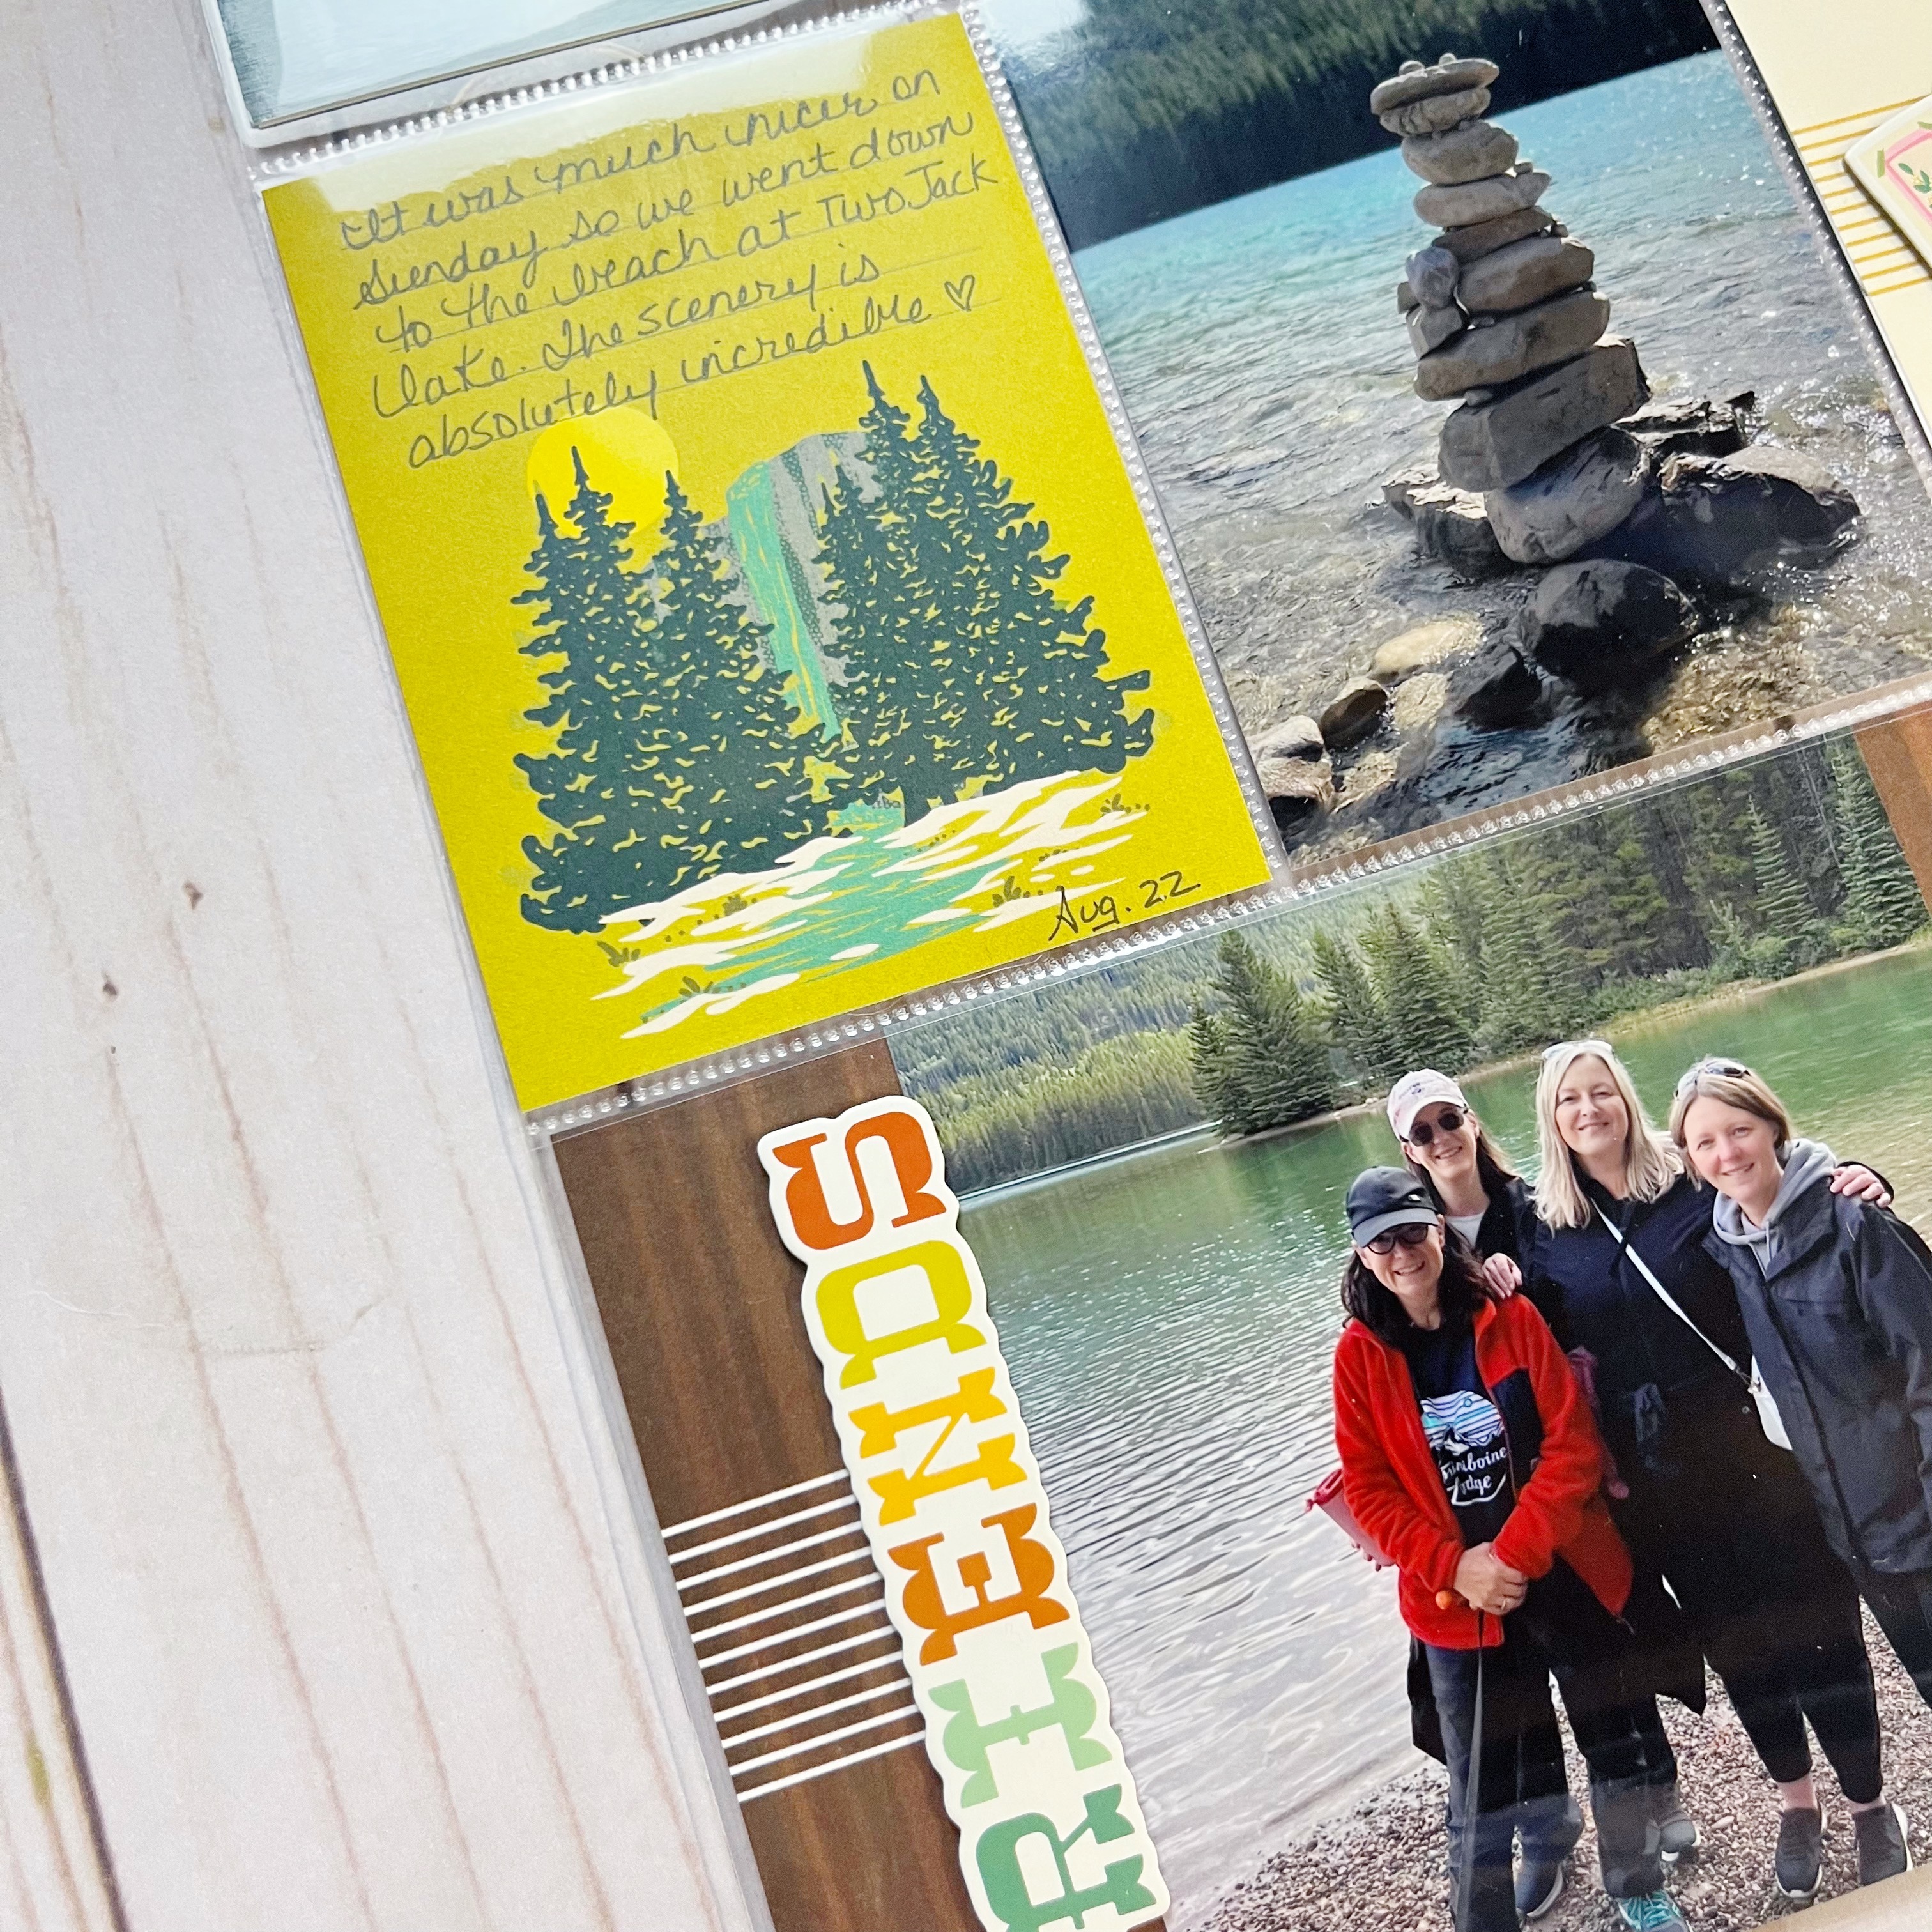
\I used the preprinted lines on the background paper to write my journaling directly on the background.

This paper was perfect for our trip to a local park for a nature hike and picnic on Canada Day!

I added some of the foam stickers, pretty 49 & Market flowers and various gems to finish it off!
Be sure to head over to the shop to check out Simple Vintage Meadow Flowers! Happy crafting friends!