Hello friends! Karla back today with four fun layouts using the awesome Simple Stories Trail Mix collection!! This is a wonderful summertime, adventure collection, which could be used into the Fall! This first layout we made Live on Facebook, but I've added an edited video below which you can view on YouTube! Be sure to scroll down to see three more projects!! Seriously I just couldn't stop!
There are so many fun elements in this collection - I used the Decorative Brads, Patches Bits and Pieces, Chipboard Stickers, Foam Stickers and the 12 x 12 Collection Pack, which also includes stickers. I also pulled in some of the Fall Color Vibe papers from the 6x8 paper pad. There are lots of fun papers available in the Color Vibe Line!
I added on The Robin's Nest Dew Drops and some hemp twine for my cut apart tag and then journaled on the tag and around my photos.
Next, I created a layout using the August sketch from the Creative Scrapbooker VIP Group. I added in some stenciling again with the Distress Oxide Inks. The colours just happen to go perfectly with our Summer Colour Palette Challenge in the Scrap Shotz Papercrafting Facebook Group! You have until the end of the month to add a project for a chance to win! Check out the Album with details HERE!
I added the Decorative Brads and used various pieces from the collection to add a few clusters of embellishments.
I created my title using the Foam Stickers, Patches Bits and Pieces and a sticker from the collection pack!
I added a few Oxide Ink splatters with the Tim Holtz Splatter Brush, which always gives a cool effect!
Thirdly, I created a layout documenting our travels out to the mountains.
I used one of the 4x4 cut apart cards and those pretty Color Vibe papers and created a grid design with strips of patterned paper.
This cute camper is so fun!! I added in a cluster of embellishments and those lovely The Robin's Nest Dew Drops!
Here is a look at the Facebook Live Replay where we put together the Waterfall Pages and some of the Album!
I used Rub-ons to create dimensional elements by adding them to white cardstock and fussy cutting, as well as cutting out the cut-apart sheet included in the 6x8 paper pack.
The Rub-ons look beautiful added directly to the spine, with a chipboard label.
I added the Mica Stain Sprays by both spraying through the stencils and then turning them over for a negative effect. They are so shiny!
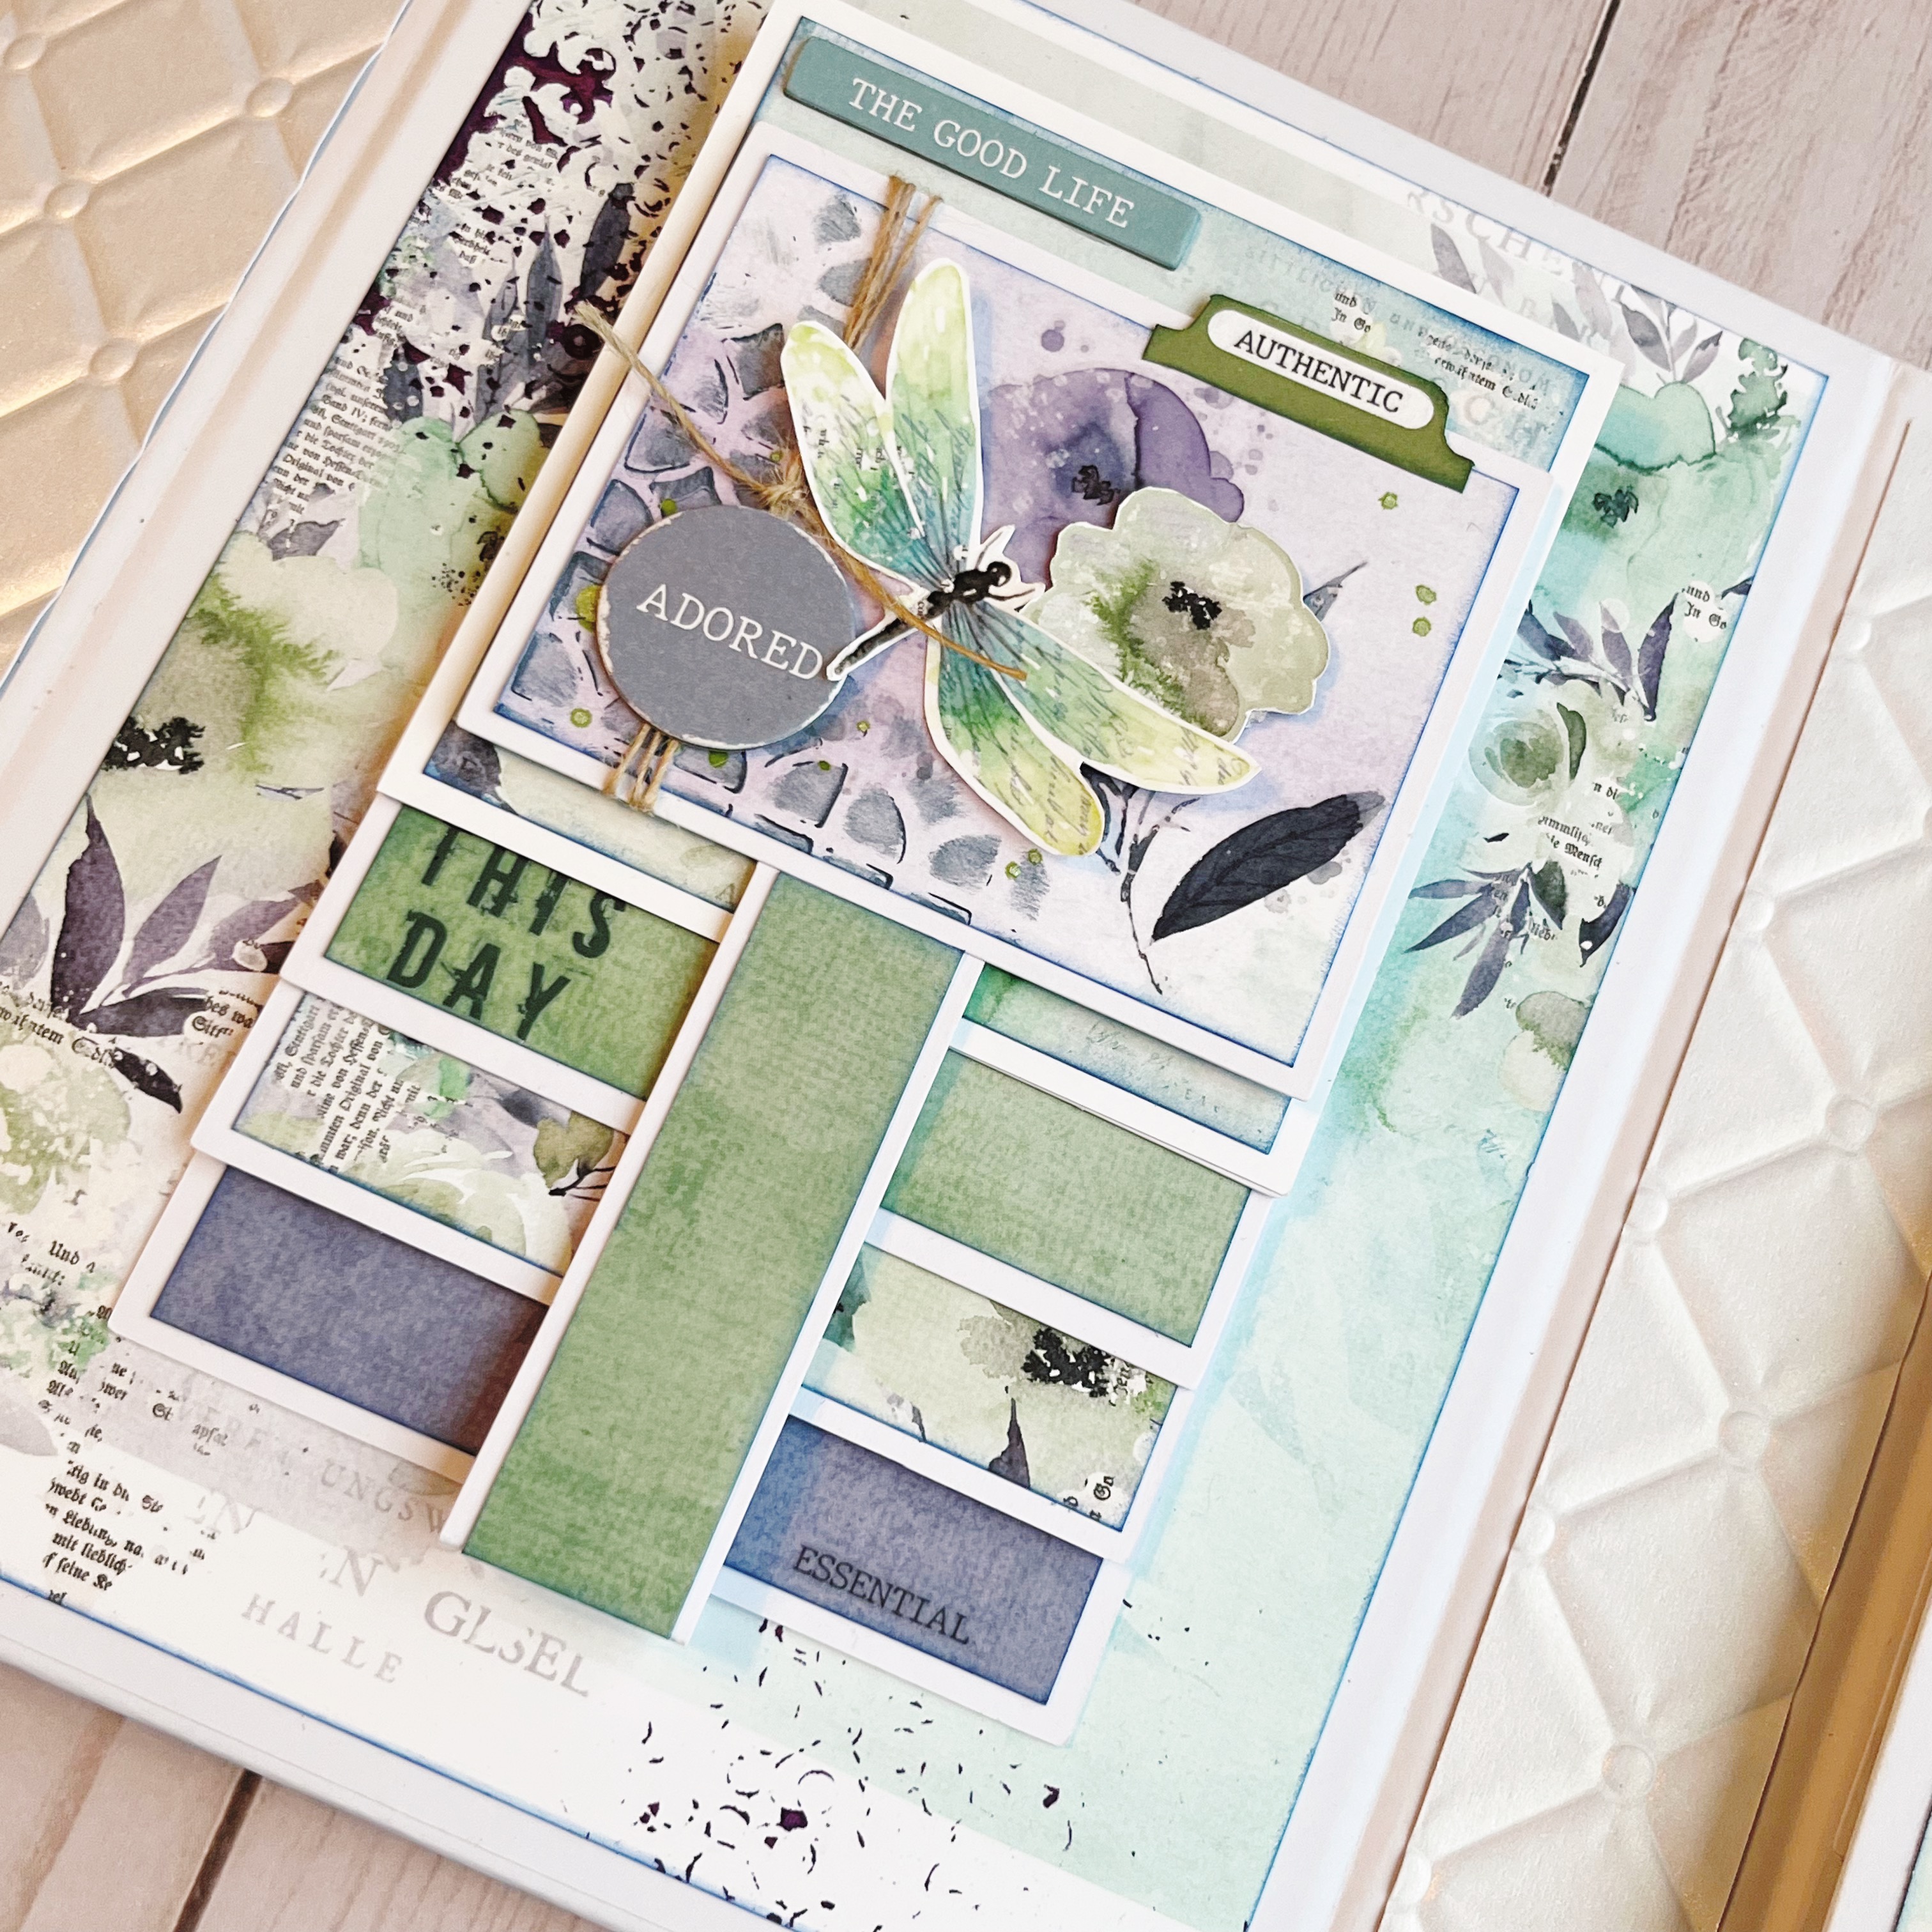
As you open the Quad Folio you'll find areas to embellish, perfect to add the Waterfall pages.
We put the waterfall set together in the Facebook Live, so be sure to check that out! The Spellbinders Tufted 3D folder and Tonic Pearlescent Cardstock looks like a quilted effect on the edges of the album!
There are magnets included in the Waterfall set so the top flap stays closed.
I added layers of Rub-ons, paper and chipboard and then added chipboard and Rub-on sentiments throughout the waterfall pages. I used Midnight Snack Lunar Paste with a sponge through a stencil on the flaps.
I sponged the edges of the 6x8 paper with Prize Ribbon Distress Oxide Ink.
There are 3 waterfall sets included in the pack - two small and one large.
The large waterfall fits the whole page and fits larger photos perfectly!
I used some elements from the cut apart page included in the 6x8 paper pack and added a Rub-on sentiment directly onto the page.
On the back I added some stenciling with the Tim Holtz focus stencil and the Mica Stain Spray. There is a magnetic closure that keeps the album flap closed.
And here's a look at the full flip through on YouTube!
Happy Crafting Friends! Be sure to stop by and hang out again this Thursday on the Scrap Shotz Facebook Page for another Live Demo at 1 pm MST!
Hello friends! Karla here today with a look at the awesome Simple Stories Howdy 4x6 Flipbook! It is so super cute and would be perfect to document lots of pics - those cute rough and tumble photos of your kiddos, rodeo or Stampede pics, summertime farm photos... and more! Click on the video below for a full flip through of each page of this wonderful album!
Here's a look at this fun Howdy flipbook video with lots of great layers and interactive elements!
If you love the style of this line, check out the rest of the collection HERE!
You can also find more Flipbook album styles and Class Kits in the Shop HERE!
Thanks so much for stopping by! PS Don't forget to pop over today (Thursday) at 1 pm to the Scrap Shotz Facebook Page for our weekly FB Live! I hope you have an amazing and crafty week ahead!
Hello friends! Karla back today with two more layouts using the awesome May Kit Club! So far I've created four layouts and two cards... and I still have lots of supplies left to keep crafting! If you missed last week's post with a full review of the kit plus two layouts and two cards, be sure to check that out HERE! First up, I have a layout to share using our camping photos and a visit to the beach. I decided to add in some blues to match the water in the photos and decided to pull out the new Tim Holtz Salvaged Patina Distress Ink and Oxide, and I love how it turned out!
I used Distress Ink to cover some of the white areas of the paper, and since it's translucent it doesn't show when you go over the black. The Distress Oxide in the Salvaged Patina was great to add a chalky look to the edge though! You can see how that works in the video below!
The black and gold letters from the Thickers in the kit are some of my favourite! I used some puffy stickers and enamel dots to embellish my title area.
I used a tag from the cut apart page in the paper pack and then created a second tag from patterned paper, again using the Salvaged Patina Ink and Oxide.
I finished off the layout with some chipboard, the adhesive brads and chipboard stickers and ephemera and added my journaling with a white gel pen.
Here's a look at the process video showing you how the first layout came together from start to finish!
For the second layout, I used a piece of the black cardstock from the kit and layered on papers from the collection pack.
I used those fabulous gold and black Thickers and added on some chipboard and ephemera pieces to complete my title and added pops of colour with the enamel dots, adhesive brads and puffy stickers!
I coordinated various pieces from the 12x12 sticker sheet, the chipboard elements and ephemera with some of the cut apart elements from the paper pack to embellish the page.
Thanks so much for stopping by! You can check out the current Scrap Shotz Kit Club kit HERE and get all the details on these awesome kits HERE! Even though this month's kit may be sold out, you can find a few more elements from the Let's Go Anywhere Collection in the shop!! Have an amazing week my friends, and happy scrapping!
Hello friends! Karla back today with a look at the May Kit Club goodies featuring the Echo Park Let's Go Anywhere collection!! One of the awesome things I love about the Scrap Shotz kit club is that you get so much inspiration on using your own kit! Each month, the Design Team puts together blog posts with fabulous projects created using the kits, so you'll never be without ideas!! Here's a look at what I've created with it so far... Plus you can check out what's in this month's kit in the video below and decide if you want to subscribe and be part of the kit club so you don't miss out on any fantastic deals! First up, I've created a 12x12 camping layout using the black and white print/woodgrain paper in the kit.
I didn't want to waste any of this amazing paper, so I cut a 1" frame from the black and white print and then flipped the woodgrain side to the front and placed it back inside the opening! I added some Walnut Stain Distress Oxide ink around the edges and glued each of the pieces to a 12x12 piece of cardstock from my stash.
Next, I layered a piece of red sky printed paper on top, cut to 8 5/8 x 9 5/8". I added three 3x4 photos and three 3x4 journaling cards. Two of them came from the cut apart sheet from the paper pack in the kit, and one I had previously printed from the Project Life App. I added the Thickers from the kit across the top of the page - these are beautiful black and gold stickers that stick on really well!!
I finished off my title by using some of the fun stickers from the 12x12 sticker sheet included and used some enamel dots and adhesive brads.
I added another sticker and one of the fabulous (my fav 😉) puffy stickers as embellishments on the top right.
I used a white gelly roll pen to add some more journaling and another puffy sticker and adhesive brad on the bottom of my layout.
I used a camera from the ephemera pack and then added a few more stickers and enamel dots to the bottom right to finish off this layout!
Here's a look at a Video showing you all the amazing products you get in the May Kit Club as well as the Add-Ons we had available this month! Remember to sign up now to be part of the next kit!! You can find all the details on being a Kit Club member HERE!
I cut out a circle from the middle of the black/tan cardstock from the kit and flipped it as I did with the layout above, so as not to waste any paper! I used those awesome Thickers from the kit again and created a title to follow the top of the circle cut. I stamped a coffee cut from a Lawn Fawn stamp set and coloured it to fit with the theme of the layout!
I used lots of fun ephemera and stickers and journaled on the 4x4 journaling card from the cut apart paper in the kit. I added an ephemera banner and adhesive brad along with an enamel dot and sticker from the 12x12 sticker sheet to the bottom of the layout.
Instead of journaling on the edges of the layout, as you can see on the sketch HERE, I added stickers and ephemera details.
Here's a look at the Live Video from the Scrap Shotz Facebook Page to see just how this layout came together!
The Kit papers and Chipboard worked well to create a couple of fun masculine cards! I finished them off with the enamel dots and Avery Elle White Ink Spray to create cool splats!
You can check out how to make these cards in this Live Video here on the Scrap Shotz Facebook Page!
Thanks so much for stopping by! Be sure to check out how to become a Kit Club member HERE and find fun New Products HERE! Don't forget to mark your calendars for Thursdays at 3 pm MST when you'll find me LIVE each week on the Scrap Shotz Facebook Page sharing what's new, fun techniques and project ideas!! I'd love to see you for a crafty chat!