Showing posts with label mini album. Show all posts

Monday, August 22, 2022

49 and Market ARToptions Viken Album!

Hello friends! Karla here today with a look at the completed album we started to put together in the weekly Facebook Live  last week. You can check out the Facebook Live Replay below as well as a completed flip through on YouTube at the bottom! You'll find the 49 and Market Quad Folio, Waterfall Set and ARToptions Viken Collection in the Scrap Shotz Store, along with the Spellbinders Tufted 3D embossing folder and Tonic Pearlescent Cardstock. I also used Lavinia, A Colorful Life and Tim Holtz Stencils, Prize Ribbon Distress Oxide Ink, Midnight Snack Lunar Paste and the Limited Edition Tim Holtz Mica Stains!
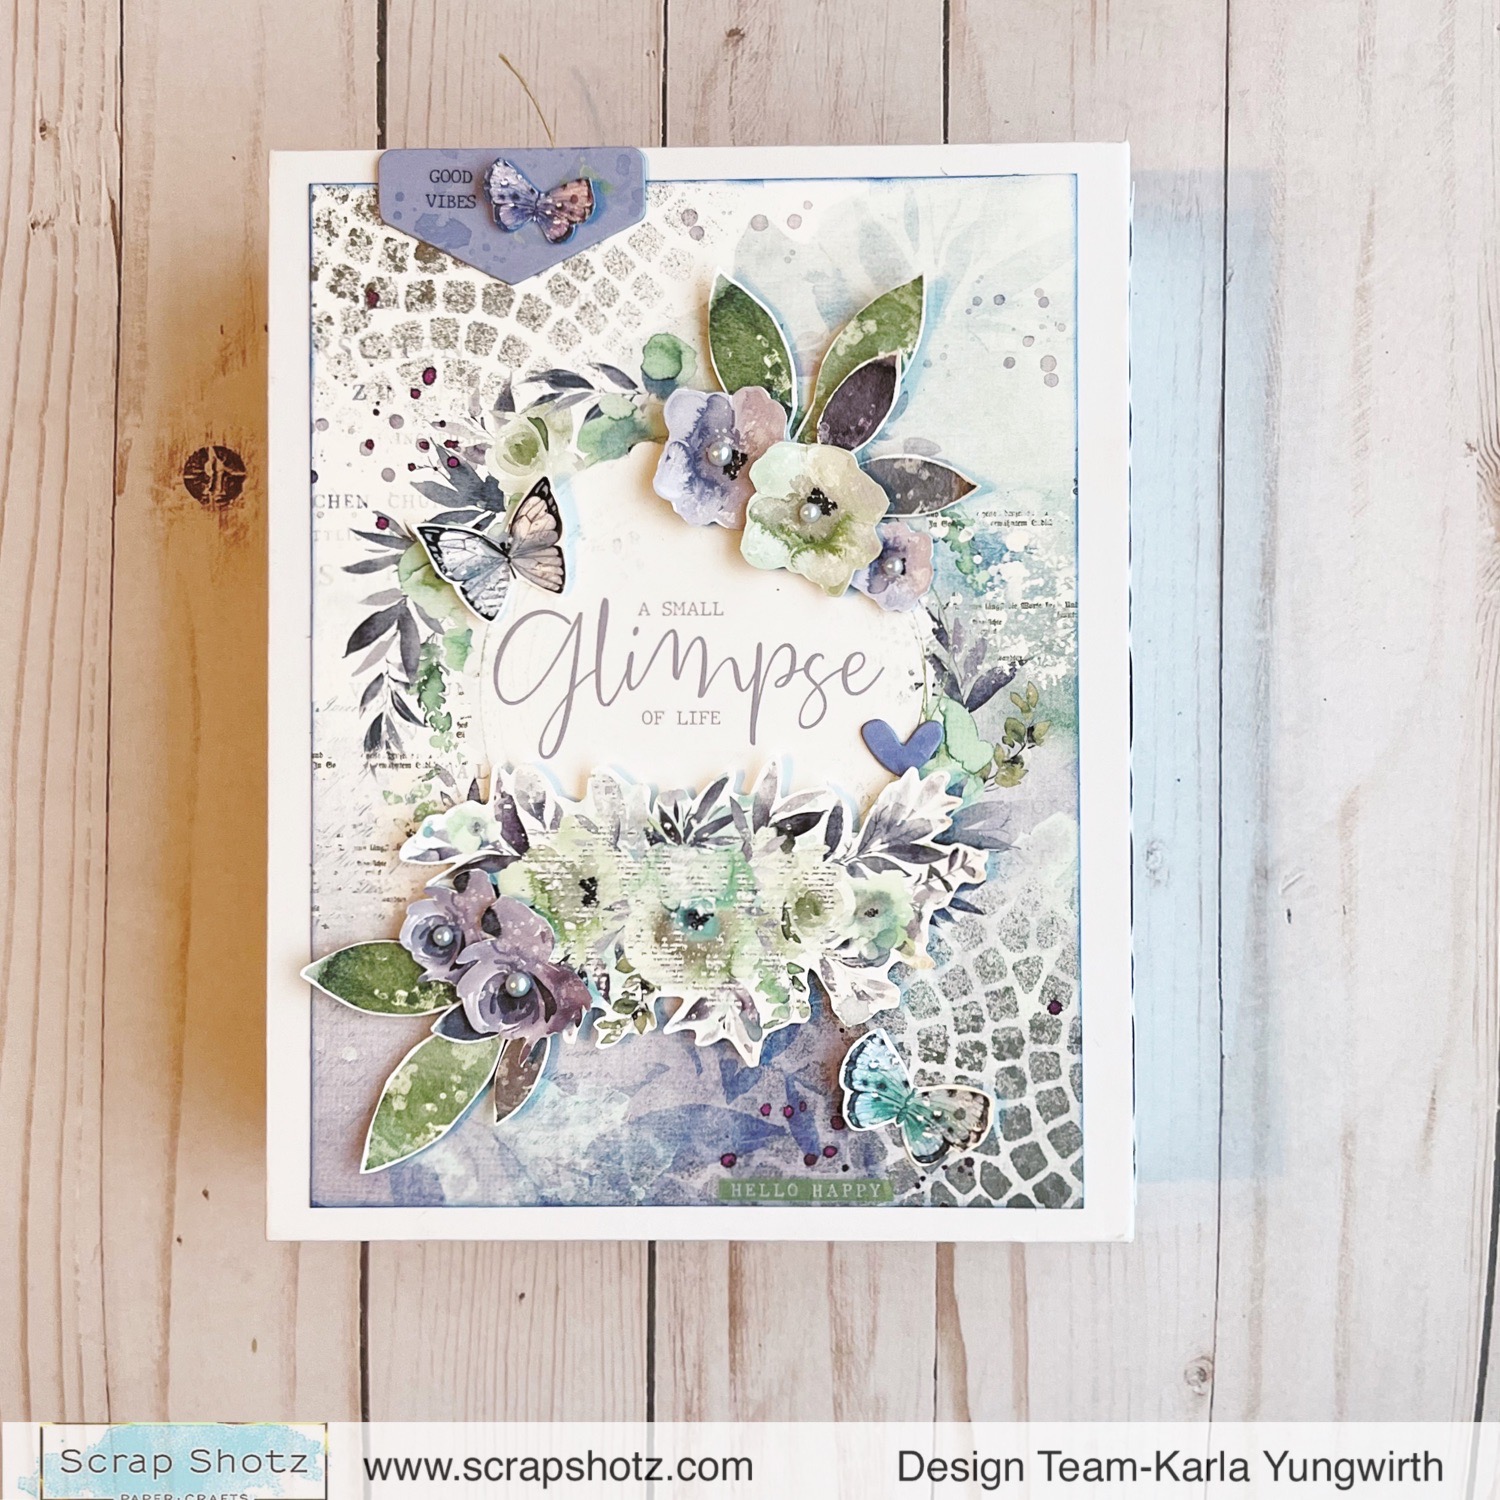


Here is a look at the Facebook Live Replay where we put together the Waterfall Pages and some of the Album! 


I used Rub-ons to create dimensional elements by adding them to white cardstock and fussy cutting, as well as cutting out the cut-apart sheet included in the 6x8 paper pack.


The Rub-ons look beautiful added directly to the spine, with a chipboard label.


I added the Mica Stain Sprays by both spraying through the stencils and then turning them over for a negative effect. They are so shiny!


As you open the Quad Folio you'll find areas to embellish, perfect to add the Waterfall pages.


We put the waterfall set together in the Facebook Live, so be sure to check that out! The Spellbinders Tufted 3D folder and Tonic Pearlescent Cardstock looks like a quilted effect on the edges of the album!


There are magnets included in the Waterfall set so the top flap stays closed. 


I added layers of Rub-ons, paper and chipboard and then added chipboard and Rub-on sentiments throughout the waterfall pages. I used Midnight Snack Lunar Paste with a sponge through a stencil on the flaps.
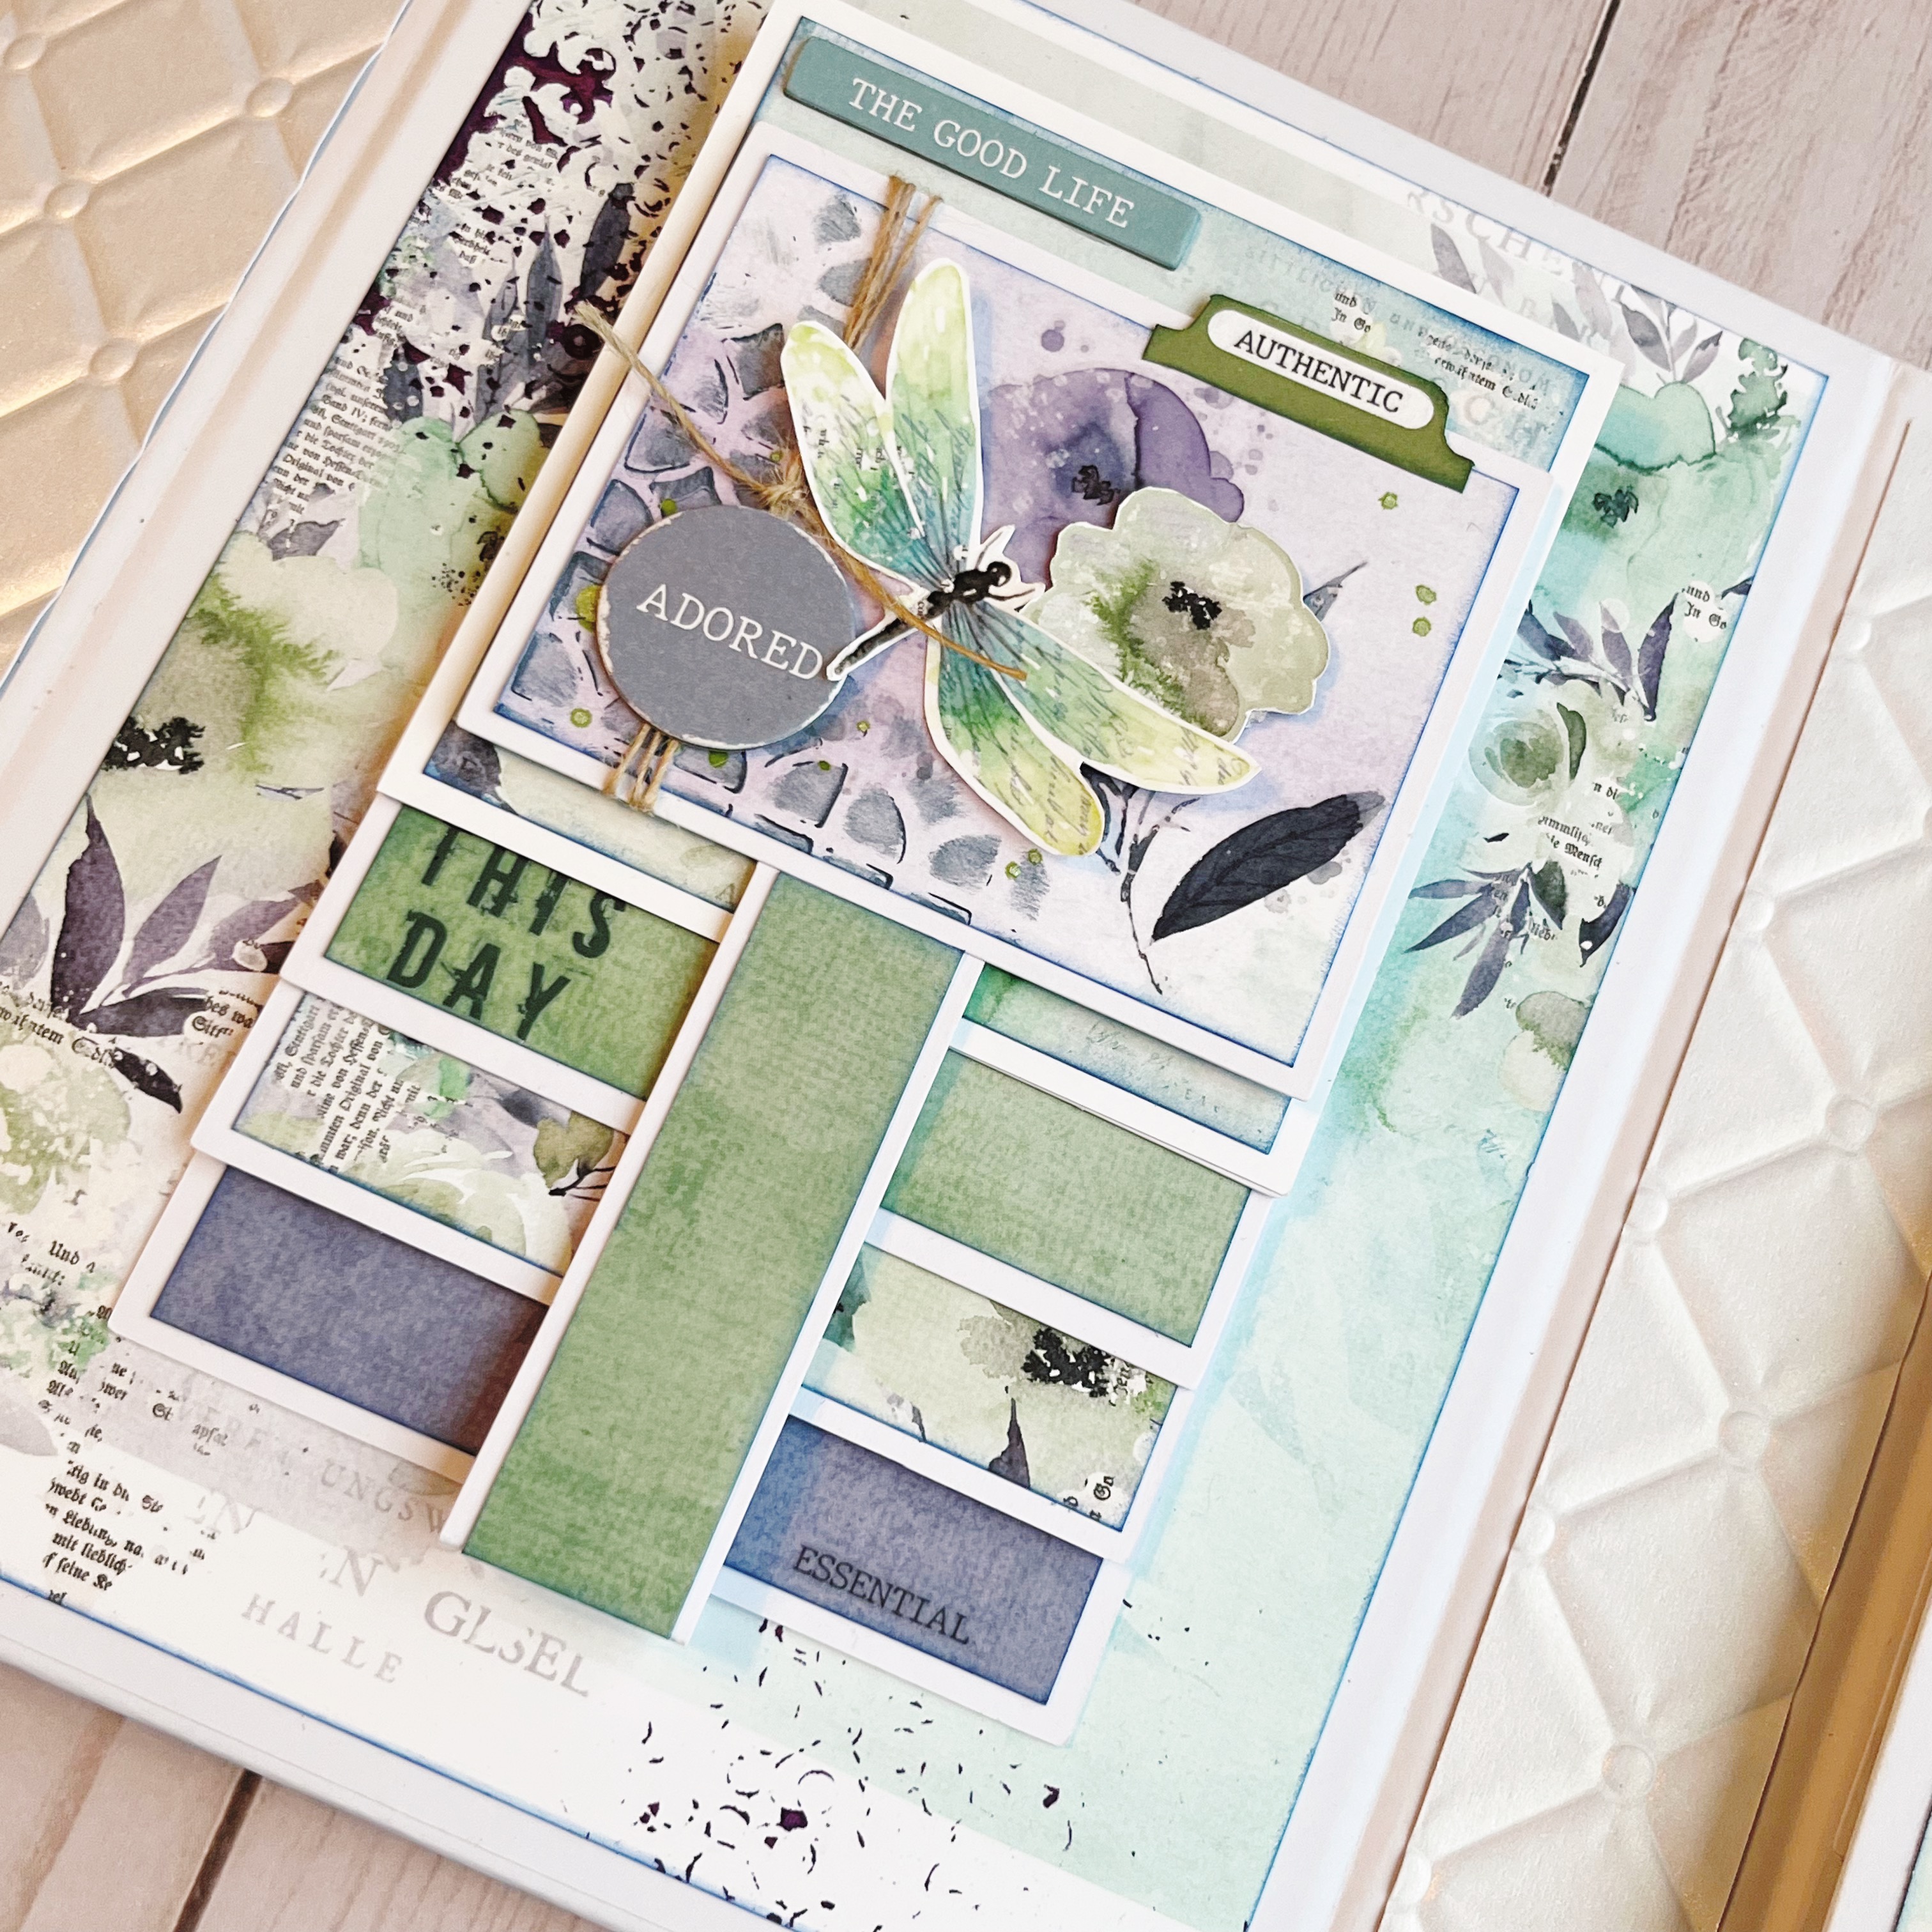

I sponged the edges of the 6x8 paper with Prize Ribbon Distress Oxide Ink.


There are 3 waterfall sets included in the pack - two small and one large. 


The large waterfall fits the whole page and fits larger photos perfectly!


I used some elements from the cut apart page included in the 6x8 paper pack and added a Rub-on sentiment directly onto the page.


On the back I added some stenciling with the Tim Holtz focus stencil and the Mica Stain Spray. There is a magnetic closure that keeps the album flap closed.


And here's a look at the full flip through on YouTube


Happy Crafting Friends! Be sure to stop by and hang out again this Thursday on the Scrap Shotz Facebook Page for another Live Demo at 1 pm MST!


Wednesday, June 1, 2022

Splendid Mini Album - Part 2


The May Scrapbooking Kit features the newest Paige Taylor Evans collection called Splendid. In classic Paige style, the collection is colorful and floral and whimsical and full of all kinds of fun patterns! While I love my usual 12x12 format, this bright collection had me thinking mini album!  

In Splendid Mini Album - Part 1 I walked through my process for creating a cute little 6x6 mini album with just the Kit goodies. No actual album needed - you make it from the Kit papers. 

After making the album itself, I spent a couple of very enjoyable nights adding the photos and embellishments - essentially creating little 6x6 or 6x12 little layouts inside the album. The best part is, I was working from just the Kit so everything was all matchy-matchy. No overthinking required! 

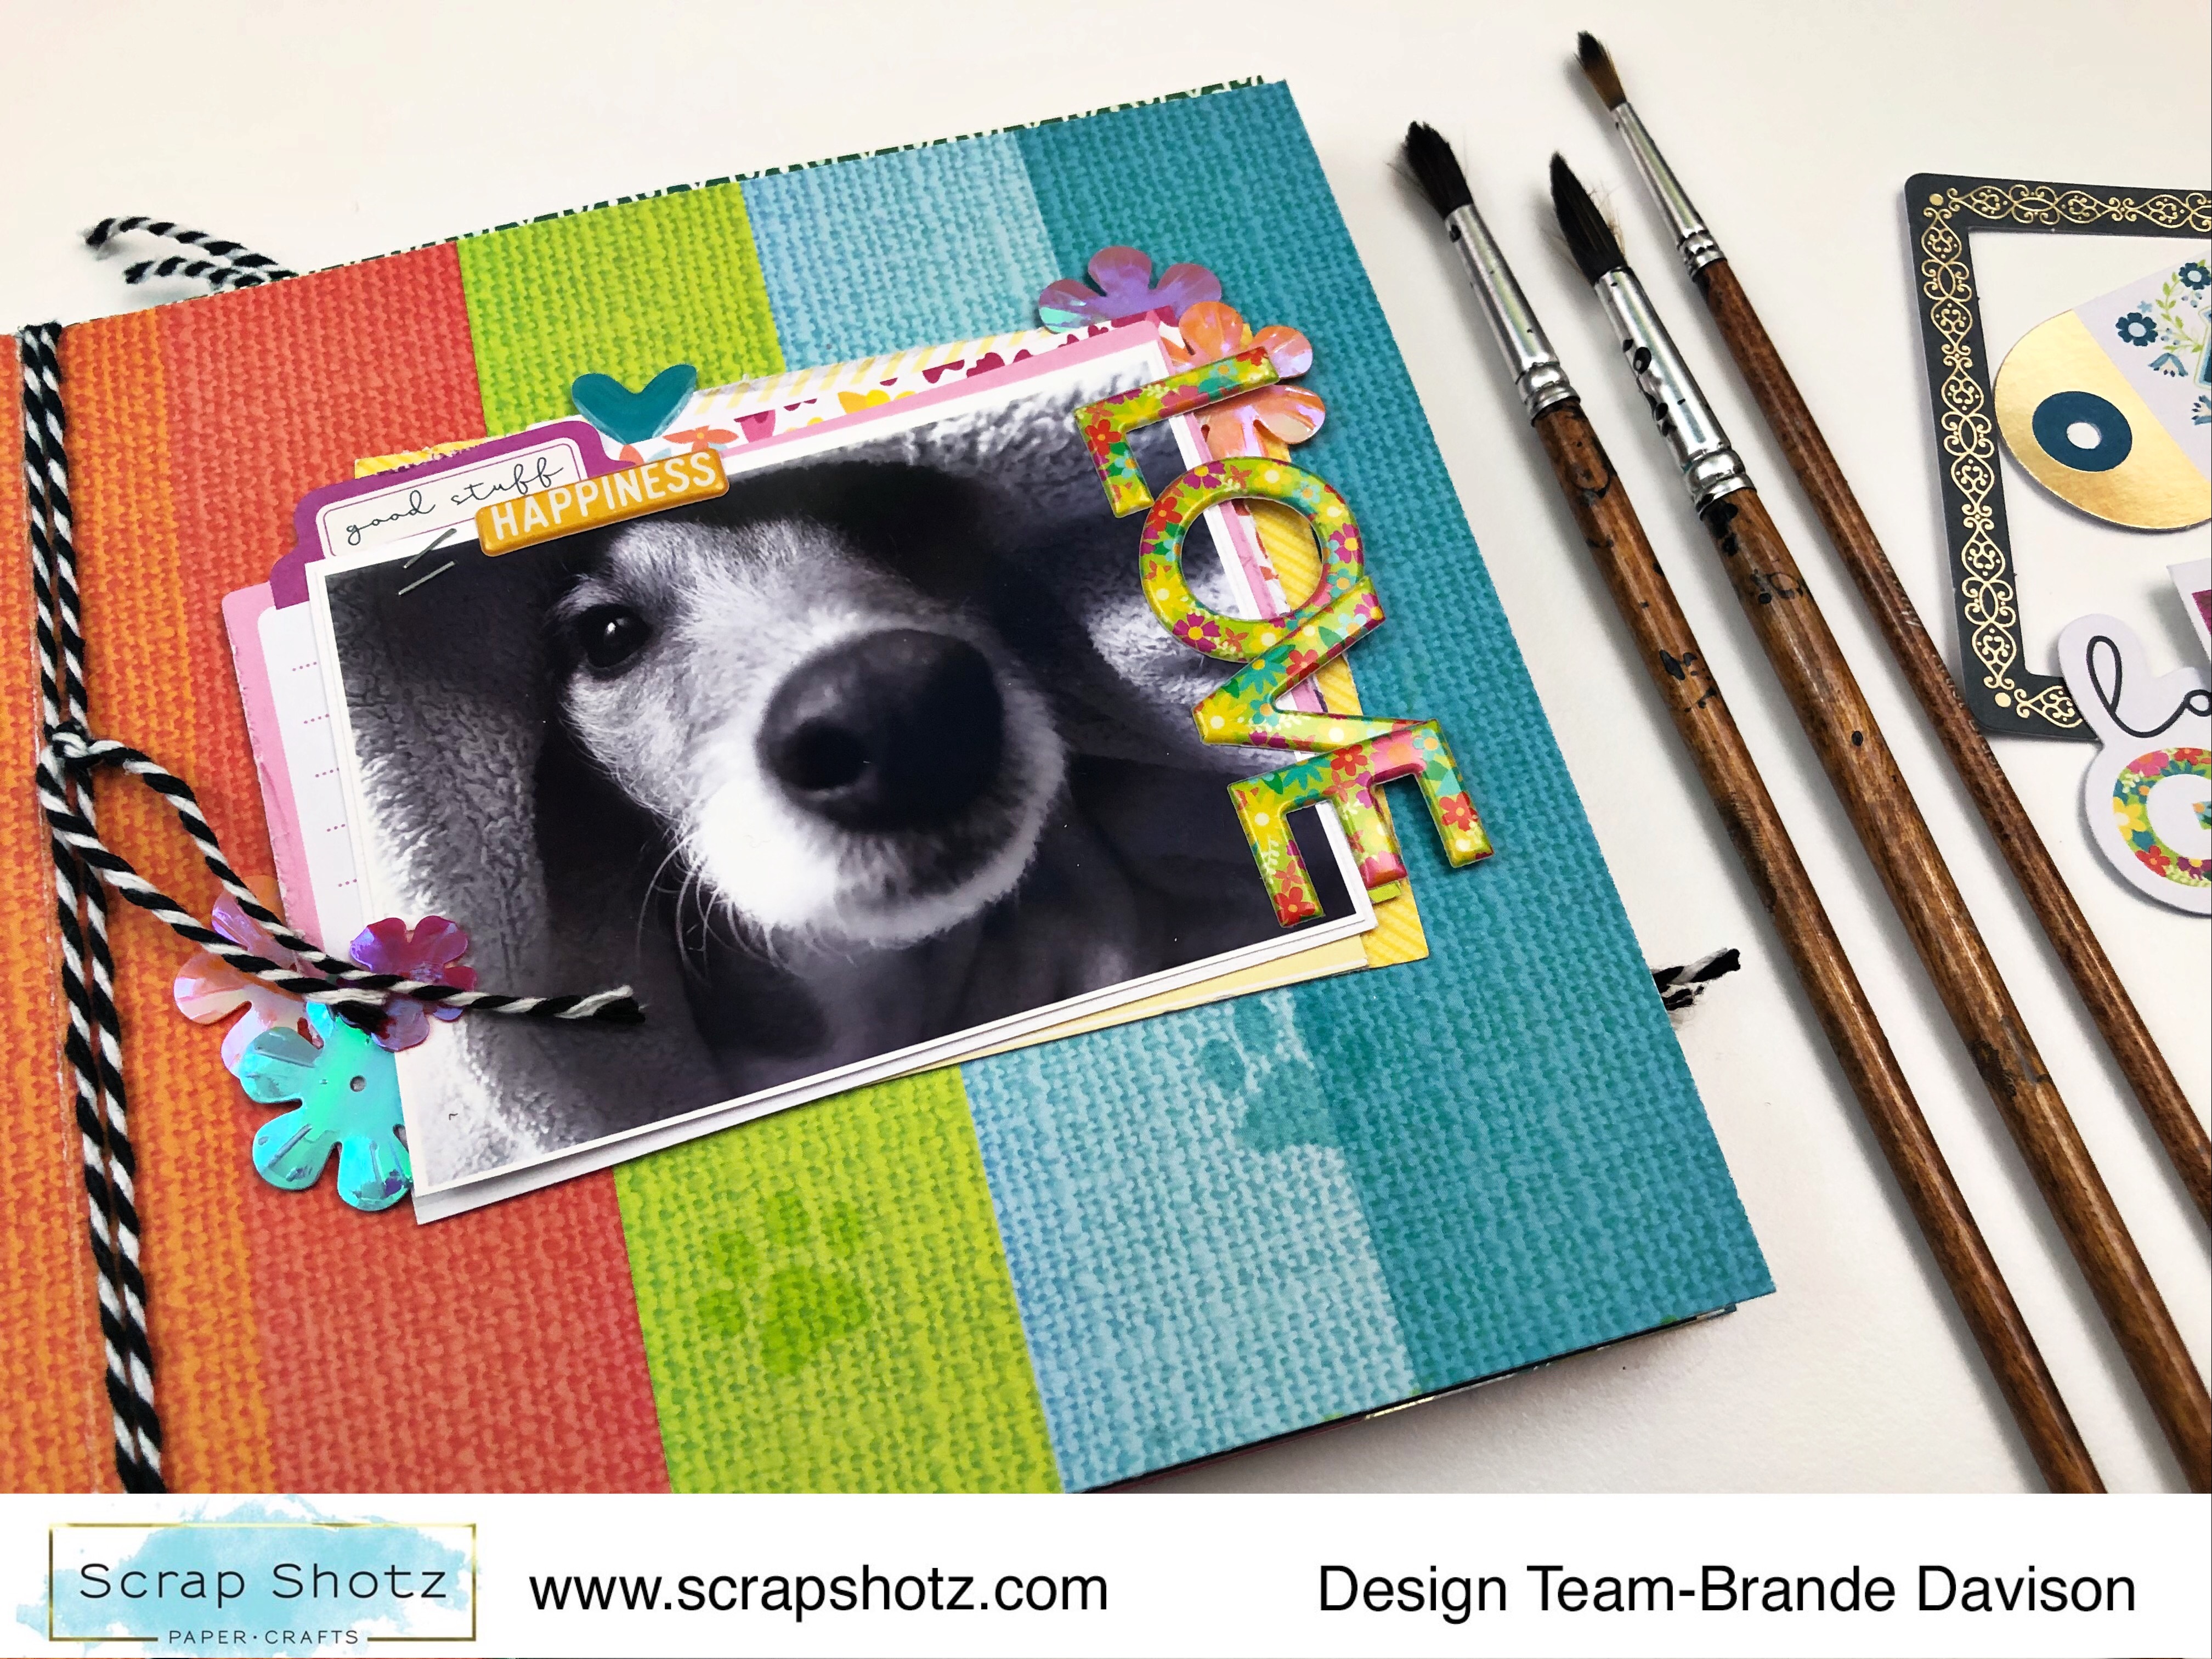
Here are some photos of the cover and some of my most favourite pages. Love all the colour! 


You could use any Scrap Shotz Kit to make this mini album! All the right things are in that one little exciting package - the paper (which you make the actual album with) and all the embellishments you need … and everything matches! 

Have fun! 


Sunday, May 29, 2022

Splendid Mini Album - Part 1


The May Scrapbooking Kit features the newest Paige Taylor Evans collection called Splendid. In classic Paige style, the collection is colorful and floral and whimsical and full of all kinds of fun patterns! While I love my usual 12x12 format, this bright collection had me thinking mini album!  

For this post I will show you how I made the actual album itself from the pattern and cardstock papers in the Kit - and in a few days, I will pop up another post to show you the finished album. 

Step 1: Decide the size of your mini album. For this process, we are using 12x12 papers so you can go any size really - for a teeny weeny little 2x3 to a 6x12. I went with a 6x6 for a few reasons. I wanted it small but not too tiny, some of the embellishments and stickers are pretty big and I want to make sure I could use them all, this size only requires one cut, and you get 2 album pages (so technically 4 album layouts) from that one cut. 

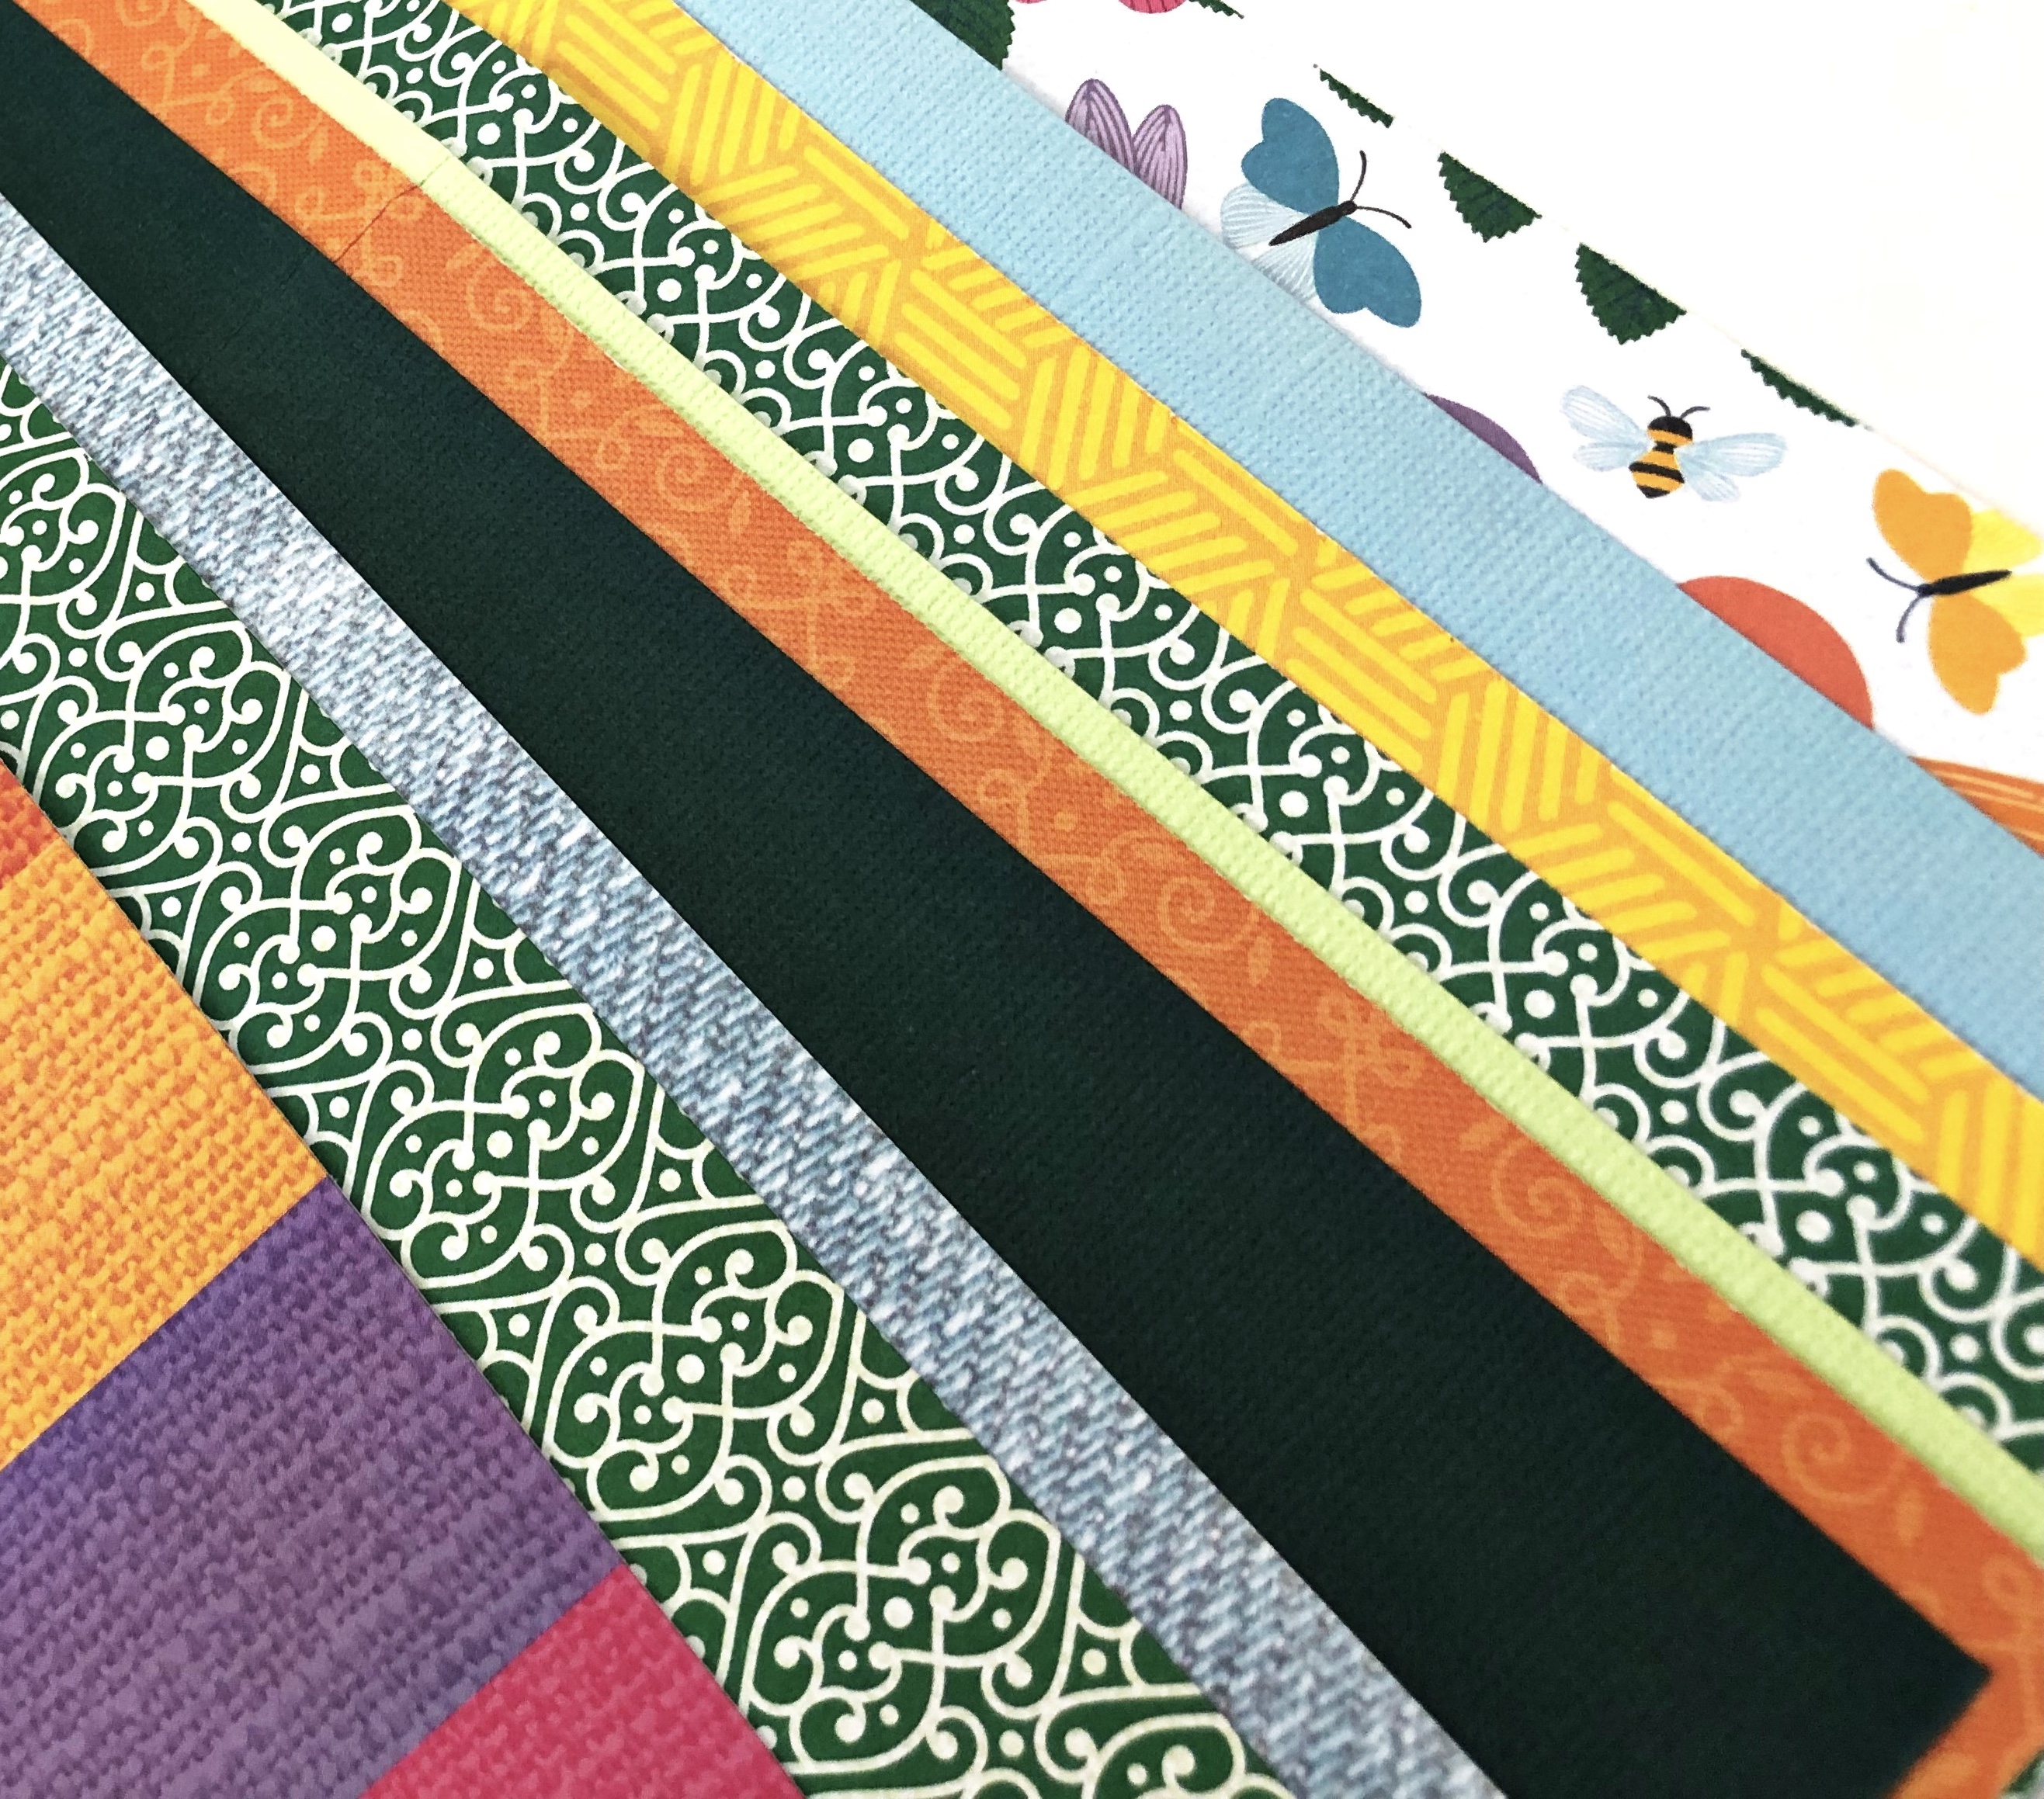
Step 2: Select your papers. I went through the Kit and chose all the papers that made me most happy and one of each coordinating card stock. The few papers I left behind will mat my photos in the album. Note, the more papers you pick the bigger the album / more pages the album will have. These are the A and B side of the papers I picked.


Step 3: Cut and score your papers. With a 6x6 album you want to cut the paper into 12x6 strips aka in half. For the pattern papers, pay attention to the pattern direction when you cut - some patterns only make sense one way (words, birds, flowers) so you need to cut so that when you fold the paper longways the pattern will make sense. 

I used my trimmer to cut and score my papers. Cut: line up each paper to 6inches on your trimmer and slice - so you end up with a 6inches high and 12inches wide strip. Score: then turn the paper strip once and line it up to 6inches again on the board (so the very middle of the 12inches is dead centre on the cutting blade channel). Then use a ruler edge or scoring bone or if you trimmer has a score piece - score the paper. 

Do this for every pattern you picked. Each 6inches x 12inches scored paper will make 4 layouts in your album. 

Step 4: Assemble your album. Take all those papers you cut and scored and stack them and fold them in half like a book. Sometimes first folding each paper in half before you stack them and fold makes it a little easier - especially with card stock. The paper on the very bottom will become your front and back cover so pick that one with care, and the paper on the top will be a very pretty double layout at the centre of your book, so pick that one special too. 

Flip through the book a few times to see if you like the order of patterns and colours - switching papers around as your heart desires. Once the album is in the order you want, bind the album.

If you have a long arm stapler you can staple the spine (unfold and flatten the book making sure your cover is on the top when you staple - so the pokey part of the staples are on the inside of the album). I don’t have a stapler, so I use an elastic around the middle where the score is or a few wraps of twine. The twine on the edge is a neat touch and looks pretty on the shelf. 

Step 5 - OPTIONAL! Prep the pages with the theme you want for your album. Before adding photos or embellishments or anything, I like to bring a touch of a theme to my mini albums. For this mini, it’s a wee gift for my nephew about our pup. So I used a Peartree Cutfiles Stencil of little Doggy Paw Prints and various Tim Holtz, Distress Inks in a coordinating colour to bring a subtle tone on tone dog paw pattern to most of the album pages. 

Next step is to make a whole bunch of mini-layouts to fill your album - the really fun part! I will share my process and the final album next blog post. 


Wednesday, December 8, 2021

Exclusive Christmas Cheer Mini Album Flipbook Kit by Karla!

 Hello friends! It's Karla back today to share a look through the Scrap Shotz Exclusive Christmas Cheer Mini Album Flipbook Kit!! I was so excited to design this kit for Scrap Shotz using the Simple Stories Simple Vintage Rustic collection, which is absolutely gorgeous! 


It includes interactive elements and so many beautiful details. And, you'll be able to use the instructions again and again! 


Here's a look through the album that you'll be able to put together using your kit and basic supplies!


Your kit includes: 8 pieces of double-sided patterned cardstock, coordinating 6X12 chipboard sticker sheet, 12X12 cardstock sticker combo sheet, 56pc die-cut ephemera pack, 1/2 pack of enamel dots, twine, Sprinkletz, flipbook with pocket page inserts, and full PDF instructions!

This mini album will be perfect for documenting your Christmas memories and photos! Be sure to check it out in the Shop HERE! Thanks so much for stopping by! I hope you have a very crafty day!!


Tuesday, August 24, 2021

Simple Stories Simple Vintage Coastal Flipbook Kit!

 Hello friends! Karla back today with a look at the beautiful Simple Stories Simple Vintage Coastal Flipbook Kit. This new collection is gorgeous and the flipbook kit does not disappoint! 


Here's a look at the video flip through of the completed book and any extra items I used to complete this album.


You can find the Simple Vintage Coastal Flipbook Kit in the Scrap Shotz Store and if you love mini albums you may want to check out the Howdy Flipbook Kit as well!


The kit includes the flipbook, 12x12 papers, a 6x8 paper pad, layered stickers, cardstock stickers, page piece elements and instructions to create this awesome book - perfect to document your summer or vacation photos!


The flipbook comes with an assortment of page protector sizes and you'll be a pro at layering and creating interactive elements when you've completed this book!


I felt refreshed and relaxed just completing it!


Check out the full Simple Stories Simple Vintage Coastal collection in the Scrap Shotz store! Thanks so much for stopping by and have an amazing week!


Monday, February 15, 2021

2021 Flipbook using Simple Stories Hello Today Collection!

 Hello friends! Karla back today with a look at the flipbook I'm creating for 2021 using the Hello Today collection from Simple Stories! I really am loving working with this collection and my plan is to use each monthly cut apart page included in the 12x12 Collection Pack for a spread in the flipbook and then the rest as a couple of 12x12 scrapbook layouts. So far this has been an easy process and, since there are tons of embellishments to choose from, I am loving mixing and matching it all! If you missed my post from last week where I created two layouts from the January cut apart page you can find that HERE. Here's a look at the front of the album. I love these Flipbooks because you can add as many pages as you like! I pulled a 6x8 piece of paper from the  Paper Pad to decorate the cover and added some stickers and ephemera along with a ribbon from my stash.


The Flipbook comes with a selection of page protectors and I used the full size 6x8 one to add another piece of paper from the Paper Pad. I used some more chipboard and stickers to decorate the page. There are so many sticker options including the Puffy StickersSticker Book, Chipboard Stickers and Combo Sticker Sheet (which also comes in the 12x12 Collection Pack).


Here is the January layout and you can see you can easily design these as you would a mini page (as in the 6x8 page on the left) or pocket pages. I cut apart the journaling cards and then embellished with more stickers, Bits & Pieces Ephemera and Foam Stickers. 


Here is a look at the February spread. I decided to make these page more about Valentines and focus on the hearts, but it definitely is not Valentine themed and you could add any elements and stickers from all the fun embellishments. 


The left page is a 3x4/4x6 pocket page layout and I first cut apart the journaling cards from the 12x12 sheet in the Collection Pack. I layered my photo on some of the paper from the Paper Pad and added a sticker from the Sticker Book along with a puffy Love sticker. I grabbed a little valentine paper and fussy cut it to add with the Bits & Pieces Ephemera flowers on the heart journaling card.


I added a Happy Valentines Day strip from my stash and journaled on this fun card. I printed some of my photos at a 2x3" size so I could use more of them on these pages. The Rise & Shine sticker was just right to add to the delicious breakfast pic! You can also find the Chipboard Frames and Simple Pages Elements in the shop now too!


Here's a look at the Live Video I shared on Facebook where you can see all these goodies and how to make the January Page closeup! 


If you didn't already know, we are having a fabulous FREE Online Crop in our Scrap Shotz Paper Crafting Facebook Group on February 19th & 20th!! Be sure to join the group so you don't miss out! 

Thanks so much for stopping by!! Be sure to check out the Hello Today collection in the Scrap Shotz Store! Remember - if anything is out of stock you can sign up to be notified by email as soon as it is back in! Have a wonderful week and weekend ahead friends, and happy scrapping!


Friday, December 18, 2020

Vicki Boutin Storyteller Kit

 Hello scrappy friends. I'm so excited to show you the Vicki Boutin Storyteller mini album and a fun layout. This collection is like mixed media for those of us who struggle with mixed media. Half the work is done for you! These items were all in the November Kit. First up is the scrapbook layout.


I cut out all the layers of the rainbow paper and distressed their edges. Some of them I flipped over so you see the darker paper on the back. I ran it under my sewing machine to make it look more messy. 


The title is cut out from one of the papers. 

The background is made from random patches of distress inks. The remainder of the layout comes from the thicker stickers and phrases puffy stickers

The mini-album comes as a kit. I used all the pieces and added a few more of my own. I couldn't believe how well my pictures fit onto the different components - I just wish I had a few more from this event! I decided to document my daughter's drive-by grade 4 farewell. Here are two views of what the album looks like altogether. 


These are the smaller components that are all pre-made except for the tag on the right.


Here are the components where I added pictures.


Here are the backs of the previous components that I made. I didn't want to look at cardboard when the elements were flipped over. 


This is my favourite piece where I layered paper, thickers and puffy stickers.


This is the back of the previous component.


These are the elements where I did my journaling. The typewriter opens to blank page. 


That's all for now! Have a wonderful holiday season and I'll be back with more after the holidays.