Hello! I've been playing with the January kit featuring the Echo Park "Day in the Life" Collection. This collection has all the usual fun papers and embellishments but it is also perfect for a planner or traveler notebook. I have so few pictures from 2021 due to the pandemic that I can probably do a traveler notebook for most of the year!
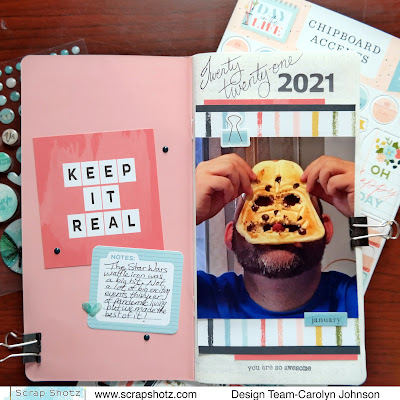
Is it bad that this was the only picture that I had from January?! We gave my husband a Star Wars waffle iron for his birthday so we enjoyed playing with our waffles. All the papers in the collection have cut apart cards on the back that correspond to each month. The tag that says "Keep it Real" is a cut apart card. The journaling is on a card from the ephemera pack. I also added some cardstock stickers and enamel dots. The date and stamping are from an older kit. The heart is from a 49th and Market sticker pack that comes with the kit.
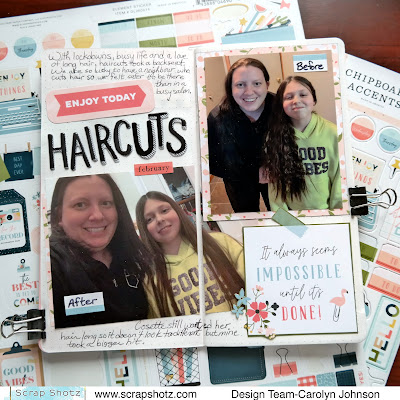
I'm in love with the "Sunny Days" Thickers! They are so playful. This page uses a fussy cut card, some cardstock stickers and ephemera.
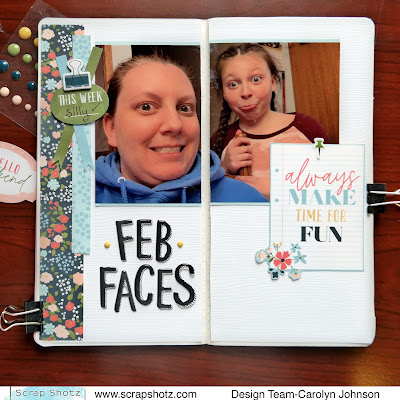
I find that cutting pictures and leaving them spaced a little bit across the gutter helps to close the book. Which is also necessary when adding chipboard to the page. I used some of the Bazzill white textured cardstock as the background.
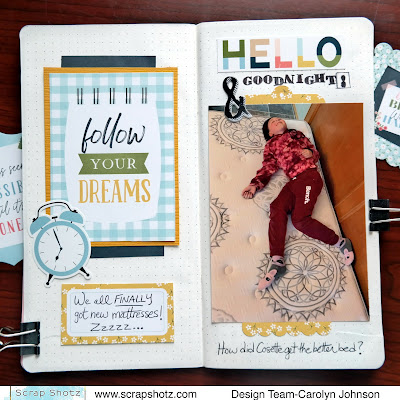
My daughter thought it was pretty fun to try out the new mattress in the living room. I used some amber colour Bazzill textured cardstock, cut apart card, cardstock stickers and ephemera. The stamps I dug out of my collection.
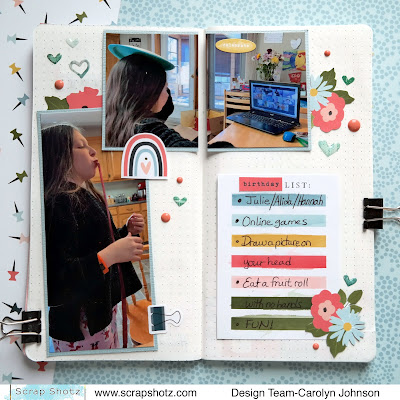
This page is showing how birthdays were celebrated all year - on Zoom! I fussy cut the flowers rainbow and used more of those pretty 49th and Market stickers. The photos are matted with Bazzill textured cardstock Coastal colour.
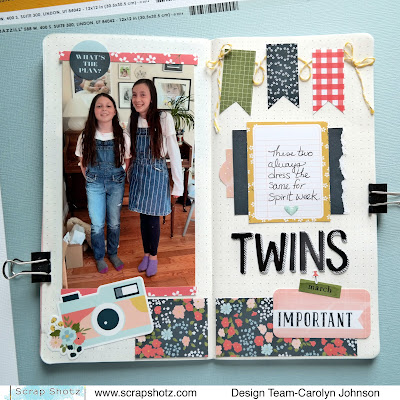
My last spread uses lots of ephemera and stickers and some twine from my stash.
It was fun playing on a different sized surface than my usual 12x12. I hope you've been inspired! Thanks so much for stopping by!
Seriously - so many embellishments in this collection. It was so hard to pick what to use so why not use it all!? I'm a sucker for wood grain backgrounds so I had to use that paper. Then I laid the frames around the page until they fit. Next, I added tags and finished by squishing brads and stickers in the extra spaces. It is kind of busy with no dominant element so I used the Thickers in the kit to number the photos and direct the eye around the page. I love that little journaling card and had to use it. Bonus, it was printed on wood grain so I didn't have to fussy cut around the spirals of the notepad. I crossed my fingers that I had enough tiny pictures to fit those frames and I just made it. I propped up the frames with some foam backing. I'm so happy with this one!
For my next layout, I started with the three background papers and liked how they looked together. From there I chose these lobster pictures because of the red in the papers. I needed an interesting element so I looked through my cut files and had no lobster file! The horror! So I found a picture of a lobster and freehand drew it on a piece of scrap paper. When I was happy with it, I traced it onto the red paper and cut it out. I think he is pretty cute. I also propped the lobster up with foam pieces. I really wanted my title to be "You Are My Lobster" but it would've been too long so I used the "our" sticker instead and the Thickers in the kit. The layout is finished with some chipboard stickers, cardstock journaling card, enamel dots and ephemera.
Hello everyone! Carolyn here with some May kit inspiration. Remember traveling? We took an amazing vacation to the Maritimes two years ago so the Echo Park "Let's Go Anywhere" collection was perfect to finally get some of these pictures scrapped.
I think this is one of my all time favourite layouts. There are soooo many stickers and embellishments in this kit and I remembered that Melinda Spinks, who designs with Doodlebug, would always fill shapes with them. I decided to give it a try and I might have to do it again! It was so much fun even my daughter got into picking out the stickers and where to place them. I cut around the stickers so they were still on their backing so I could move them around until they fit. Otherwise, it was pretty simple to make. Backed a cutfile and wrote with a white pen on the cut apart card.
Another black background but this time I used this rectangular style. Mainly because my pictures were able to crop down to fit together so well. The Thickers are called Avenue and look really cool with the light shining off the gold highlights. This layout also used a variety of embellishments. The sticky brads are my favourite. There is also chipboard and cardstock stickers and some ephemera flags. I even put a whole row of enamal dots on there!
Thanks for taking a look at the layouts today. I'll be back on the 11th with some more!
Hello friends! Karla back today with two more layouts using the awesome May Kit Club! So far I've created four layouts and two cards... and I still have lots of supplies left to keep crafting! If you missed last week's post with a full review of the kit plus two layouts and two cards, be sure to check that out HERE! First up, I have a layout to share using our camping photos and a visit to the beach. I decided to add in some blues to match the water in the photos and decided to pull out the new Tim Holtz Salvaged Patina Distress Ink and Oxide, and I love how it turned out!
I used Distress Ink to cover some of the white areas of the paper, and since it's translucent it doesn't show when you go over the black. The Distress Oxide in the Salvaged Patina was great to add a chalky look to the edge though! You can see how that works in the video below!
The black and gold letters from the Thickers in the kit are some of my favourite! I used some puffy stickers and enamel dots to embellish my title area.
I used a tag from the cut apart page in the paper pack and then created a second tag from patterned paper, again using the Salvaged Patina Ink and Oxide.
I finished off the layout with some chipboard, the adhesive brads and chipboard stickers and ephemera and added my journaling with a white gel pen.
Here's a look at the process video showing you how the first layout came together from start to finish!
For the second layout, I used a piece of the black cardstock from the kit and layered on papers from the collection pack.
I used those fabulous gold and black Thickers and added on some chipboard and ephemera pieces to complete my title and added pops of colour with the enamel dots, adhesive brads and puffy stickers!
I coordinated various pieces from the 12x12 sticker sheet, the chipboard elements and ephemera with some of the cut apart elements from the paper pack to embellish the page.
Thanks so much for stopping by! You can check out the current Scrap Shotz Kit Club kit HERE and get all the details on these awesome kits HERE! Even though this month's kit may be sold out, you can find a few more elements from the Let's Go Anywhere Collection in the shop!! Have an amazing week my friends, and happy scrapping!
Hello friends! Karla back today with a look at the May Kit Club goodies featuring the Echo Park Let's Go Anywhere collection!! One of the awesome things I love about the Scrap Shotz kit club is that you get so much inspiration on using your own kit! Each month, the Design Team puts together blog posts with fabulous projects created using the kits, so you'll never be without ideas!! Here's a look at what I've created with it so far... Plus you can check out what's in this month's kit in the video below and decide if you want to subscribe and be part of the kit club so you don't miss out on any fantastic deals! First up, I've created a 12x12 camping layout using the black and white print/woodgrain paper in the kit.
I didn't want to waste any of this amazing paper, so I cut a 1" frame from the black and white print and then flipped the woodgrain side to the front and placed it back inside the opening! I added some Walnut Stain Distress Oxide ink around the edges and glued each of the pieces to a 12x12 piece of cardstock from my stash.
Next, I layered a piece of red sky printed paper on top, cut to 8 5/8 x 9 5/8". I added three 3x4 photos and three 3x4 journaling cards. Two of them came from the cut apart sheet from the paper pack in the kit, and one I had previously printed from the Project Life App. I added the Thickers from the kit across the top of the page - these are beautiful black and gold stickers that stick on really well!!
I finished off my title by using some of the fun stickers from the 12x12 sticker sheet included and used some enamel dots and adhesive brads.
I added another sticker and one of the fabulous (my fav 😉) puffy stickers as embellishments on the top right.
I used a white gelly roll pen to add some more journaling and another puffy sticker and adhesive brad on the bottom of my layout.
I used a camera from the ephemera pack and then added a few more stickers and enamel dots to the bottom right to finish off this layout!
Here's a look at a Video showing you all the amazing products you get in the May Kit Club as well as the Add-Ons we had available this month! Remember to sign up now to be part of the next kit!! You can find all the details on being a Kit Club member HERE!
I cut out a circle from the middle of the black/tan cardstock from the kit and flipped it as I did with the layout above, so as not to waste any paper! I used those awesome Thickers from the kit again and created a title to follow the top of the circle cut. I stamped a coffee cut from a Lawn Fawn stamp set and coloured it to fit with the theme of the layout!
I used lots of fun ephemera and stickers and journaled on the 4x4 journaling card from the cut apart paper in the kit. I added an ephemera banner and adhesive brad along with an enamel dot and sticker from the 12x12 sticker sheet to the bottom of the layout.
Instead of journaling on the edges of the layout, as you can see on the sketch HERE, I added stickers and ephemera details.
Here's a look at the Live Video from the Scrap Shotz Facebook Page to see just how this layout came together!
The Kit papers and Chipboard worked well to create a couple of fun masculine cards! I finished them off with the enamel dots and Avery Elle White Ink Spray to create cool splats!
You can check out how to make these cards in this Live Video here on the Scrap Shotz Facebook Page!
Thanks so much for stopping by! Be sure to check out how to become a Kit Club member HERE and find fun New Products HERE! Don't forget to mark your calendars for Thursdays at 3 pm MST when you'll find me LIVE each week on the Scrap Shotz Facebook Page sharing what's new, fun techniques and project ideas!! I'd love to see you for a crafty chat!
Here we are in December already! Today I want to share some cards created with a mix of the Echo Park "Let's Lumberjack" and "A Lumberjack Christmas" lines. These two use the same colors and all those beautiful buffalo plaids in red and black. These patterns give such a warm cozy feeling, they make really great cards!
Here I used a some of the cardstock stickers and the chipboard accents from the Lumberjack Christmas with the great backgrounds from the non-Christmas line. I love how versatile it is! Add a sentiment from the puffy sticker sheet and it's done.
More chipboard and a few accents in the form of enamel dots and a sentiment using the Mama Elephant Holiday Word Banners stamps and creative cuts.
I like to give my cards dimension, but keep them easy to mail, so a foam dotted sentiment and some flat sparkle spots are perfect. This card used a strip from the sticker sheet in the "Let's Lumberjack" collection and a patterned paper from the 6x6 "A Lumberjack Christmas" pad.
Here are some more cardstock stickers put to good use and an ephemera tag that's matted and popped up with foam.
Finally, this moose card that makes me smile. I went around the sentiment panel with red stickles for a bit of sparkle and popped it up with foam.
These are some easy to create cards using on trend patterns that suit the occasion well.
Just click on the photo to find them easily. Have a great week!
I used the Creative Scrapbooker Magazine May sketch from the Facebook group. Here it is:
Ok, let's talk about that background, shall we? All you incredible card makers are always blending inks so I thought I would pull out my stash and have at 'er. I blended a yellow and orange for the sun and a blue above the waves. Why don't I do this more often? It was so easy and made the background exactly how I envisioned. I originally had a piece of cardstock in the back but it just didn't look right. Moral of the story - try something new or that you haven't tried in awhile!
I began the layout drawing waves and cutting them out. I realize now I should've probably added a third curly wave for balance but who's counting, right? I used two different papers so the different waves would stand out. I also distressed the edges so they pop a little off the page. I used a frame behind this little cluster in the picture.
For the title, I cut a half circle from white paper and blended the inks to make a sun. Distressed the edges again. Some of the flags, tags and die cuts are from the ephemera pack and frames and tags pack. I used some foam dots to bring out the summer sticker. Thebrads are stick-ons and are my favourite part of this collection. (And there are still some in stock in the store - seriously, you won't regret picking these up). The final touch was some Heidi Swapp Colour Shine splattered on the page.
That's all for me today. I hope you have a lovely, scrappy weekend!
Hello! Carolyn here with two Echo Park - Dive Into Summer layouts. This is a really fun collection. I love how Echo Park has a variety of plain and pattern papers as well as cut apart cards. The theme here is water. Think beach and pool. So for my first layout I pulled out the pictures of my daughter entering the annual sand castle building competition at the lake last summer. She worked so hard on this and even made her volcano explode and played dramatic music for the presentation. It was such a great day!
I layered a whole bunch of papers for this layout. I often find it hard to use the really busy pattern papers but I couldn't pass up a whole paper of sand castles! The yellow paper is Bazzill cardstock - Desert Marigold. The center title is from a cut apart card in the paper kit. The rest of the layout is all sorts of different embellishments - chipboard beach arrow sticker, puffy sticker shells and sand castle, ephemera and tags, cardstock stickers from the paper kit and brads. I love those brads. The best part is they are adhesive and don't have the metal clips on the back. Here is a close-up of those brads.
My second layout you may have seen at our online crop. I hosted a summer/school challenge and this was my sample layout. It is using the same kit so I thought I would share it in case you missed it. Plus it was so fun to make. It's not everyday I get to design a bikini.
I got the idea because there is a paper with a bunch of bathing suits on it plus I'm in love with this flower paper and wanted to use as much of it as possible. I drew the bikini on a piece of scrap paper and then cut it out and traced it onto the flower paper. Those brads really worked well on the bathing suit. Then it was a matter of decorating with puffy stickers, cardstock stickers and ephemera.
Thanks for stopping by! Hope everyone is able to get in the water soon - it is really warming up where I live.