Rosie back with a few more projects featuring Sunny Studio Stamps products. First up is another card made with the Love Monkey set.
I stamped the trees multiple times to create a forest of trees and coloured with Copic Markers. I die cut masks for the trees and then inked the sky and grass with Distress Oxide inks. I coloured and popped up one tree as well. The monkey's are adhered to the panel with foam adhesive.
I began this card by stamping and die cutting images from the Altenew Ruffled Flowers stamp set which is available at Scrap Shotz by special order.
I then die cut the gold glitter paper using the staggered circles die and then inked a white card stock panel in Broken China Distress Oxide ink.
I then trimmed the corners off the gold glitter paper and adhered the florals behind the circle windows, popping up some with foam tape and trimming to fit within the windows. I've then stamped the sentiments on the corners and added Studio Katia black crystals as the final embellishments.
I hope you've enjoyed these projects, I certainly had a great time creating them!
Hello friends! It's Karla back today with more fun projects using Kaisercraft First Noel Collection and the Sizzix Tim Holtz Thinlets Die Swirling Stars - both new products in the Scrap Shotz Store! These fun supplies are going to be awesome for your Christmas crafting! If you missed the post where I share a video closeup of all these products, along with a layout and three cards, click HERE.
Today, I'm sharing this sweet Christmas layout of my daughter's Kindergarten nativity pageant where she played Mary. I thought this paper was just perfect with the three wisemen printed directly on the background! I'm using the October Sketchy Challenge from Creative Scrapbooker Magazine, and you can see the process I used in the video below.
There are so many fun elements to layer in this collection- papers, stickers and diecuts!! I added a border sticker from the 12x12 Sticker Sheet across the top of my photos and then layered a 3x4 card from the cut apart sheet with leafy stickers from the Sticker Booklet and sweet bird diecuts from the Ephemera Pack.
The Swirling Star dies are so fun to use, just as you would sequins or enamel dots - simply glue them on wherever you like! The sticker booklet has lovely sentiment stickers - I layered one directly on the photo on the left and one under the photo on the right. I wrote my journaling directly on the page, using the grid pattern as a guide.
Here's a look at the process video where you can see exactly how I created this layout-
I coloured these cute guys and the tree branches with Copic markers after stamping the images on copic friendly paper with Gina K Amalgam black ink. This ink is great because it stamps dark and crisp and is safe for both alcohol markers and watercoloring.
Images are die cut with the matching dies which come already cut apart on a magnetic sheet so quick and easy to get started die cutting. I added googly eyes to one of the owls and layered it over foiled card stock. I created this card stock piece with Decofoil Transfer Gel, Concord & 9th Retro Petals Turnabout Stencil and Gina K Fancy Foils.
I stamped various images from the set randomly in Versamark embossing ink and then heat embossed with white embossing powder. I chose a rainbow colour palette of Distress Oxide inks and inked it in rainbow colour order. I then spritzed the panel with water to get the oxidized effect.
The sentiment is stamped on vellum paper with Versafine Black Onyx ink and then heat embossed with clear embossing powder.
Here's a good look at the star of the show :) !
These stamps are super cute and fun and popular! A number sold out at the Carnival last weekend so if the one you want is currently sold out, just contact Sandy directly to order it in for you.
I used the busiest paper (which I still really liked) as a background to give dimension and visual insterest. I will often use the busiest or loudest paper in the a collection pack as my background paper
I used some gold paint through the wonderful mini stencil for a blast of colour
I then began to layer papers to make the photo the focal point and the coordinating die cuts.
My second layout is of our oldest a while ago also
'You are my sun....'
The collection pack makes it very easy to layer all the coordinating papers!
I kept the photo the focal point by adding and layering all my papers, die cuts, doilies (from my stash) and a piece of burlap (also from my stash) so your eye is drawn to the photo.
Thanks for stopping by and check back tomorrow for my third layout!
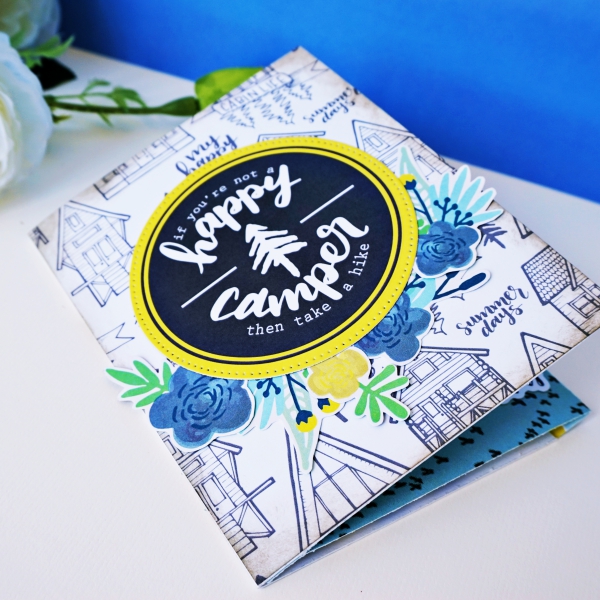
Hi Friends Gloria here today to share June card kit project. This kit is really awsome and perfect for camping project. You can find this set at the Scrap Shotz Store!
Today I want to share three projects with June card kit.
The first project I used a whirlpool card stock on base and used Mysterious teal card stock, Lake life papers, some ephemera, flair button and Peacock Feathers Sequin Mix from Neat and Tangled.
For my first layout, I used a sketch from this month Scrap Shotz sketch challenge and I choose a photo to fit with the messages.
I overlapped Lake life papers and decorated the edge of the photo with flowers.
I added 'my happy place' button, sequins and more embelishements.
This project based on the Laura's beautiful sketch for this month challenge.
I used elements from the Carta Bella Gone Camping Paper Pack, Ephemera and Designer Stamps to create a fun page documenting our camping trip last year.
The 12x12 Sticker Sheet has such great images in it that coordinate with everything else, and I love how awesome the stamps are!
Here's a look at the video where you can see the process I used to create this page -
Thanks so much for stopping by! If you haven't seen the previous blog post showing you all the goodies I'm using here today, be sure to check that out HERE. I hope you have an awesome, crafty week!
Hi friends! Karla here today to share some fun new products at the Scrap Shotz store! If you haven't see the amazing Carta Bella Gone Camping collection, you are definitely going to want to check it out. I've been having so much fun using it to scrapbook my camping layouts from last year, and I'm already looking forward to documenting our summertime fun with it this year too! You can check out the Reveal Video below to see all these goodies closeup. Here's a look at the layouts I created with the Gone Camping collection, the Tim Holtz 3-D Texture Fades Lumber Embossing Folder from Sizzix and the Pink Fresh Puffy Alpha Stickers.
For my first layout I started off by using the Creative Scrapbooker June Sketchy Challenge. I layered the amazing Carta Bella papers, cut aparts, ephemera and stamps to create a scrapbook page to document the fun we had around the campfire roasting marshmallows. Relaxing around the campfire at the end of the day is definitely my favourite thing about camping 😉
I love how the papers all coordinate with an outdoorsy feel! These would be perfect for a masculine card or scrapbook page as well. I coordinated the alphabet stickers with the stickers from the 12x12 sticker set that comes in the paper pack to create a mini title.
There are such great sentiments on the sticker sheet as well as in the stamp set. You could create some really fun cards with these too!
I created some DIY embellishments using the stamps and some diecuts from my stash. I love using Distress Oxides to stamp with! The stamps are a great quality and stamp beautifully.
I used the Campfire Marshmallow card from the cut apart sheet as a title and layered it with coordinating papers and a couple pieces of cardstock embossed with the cool 3D Texture Fade folder. I used my coloured pencils to colour up the stamps and layer them on to further embellish.
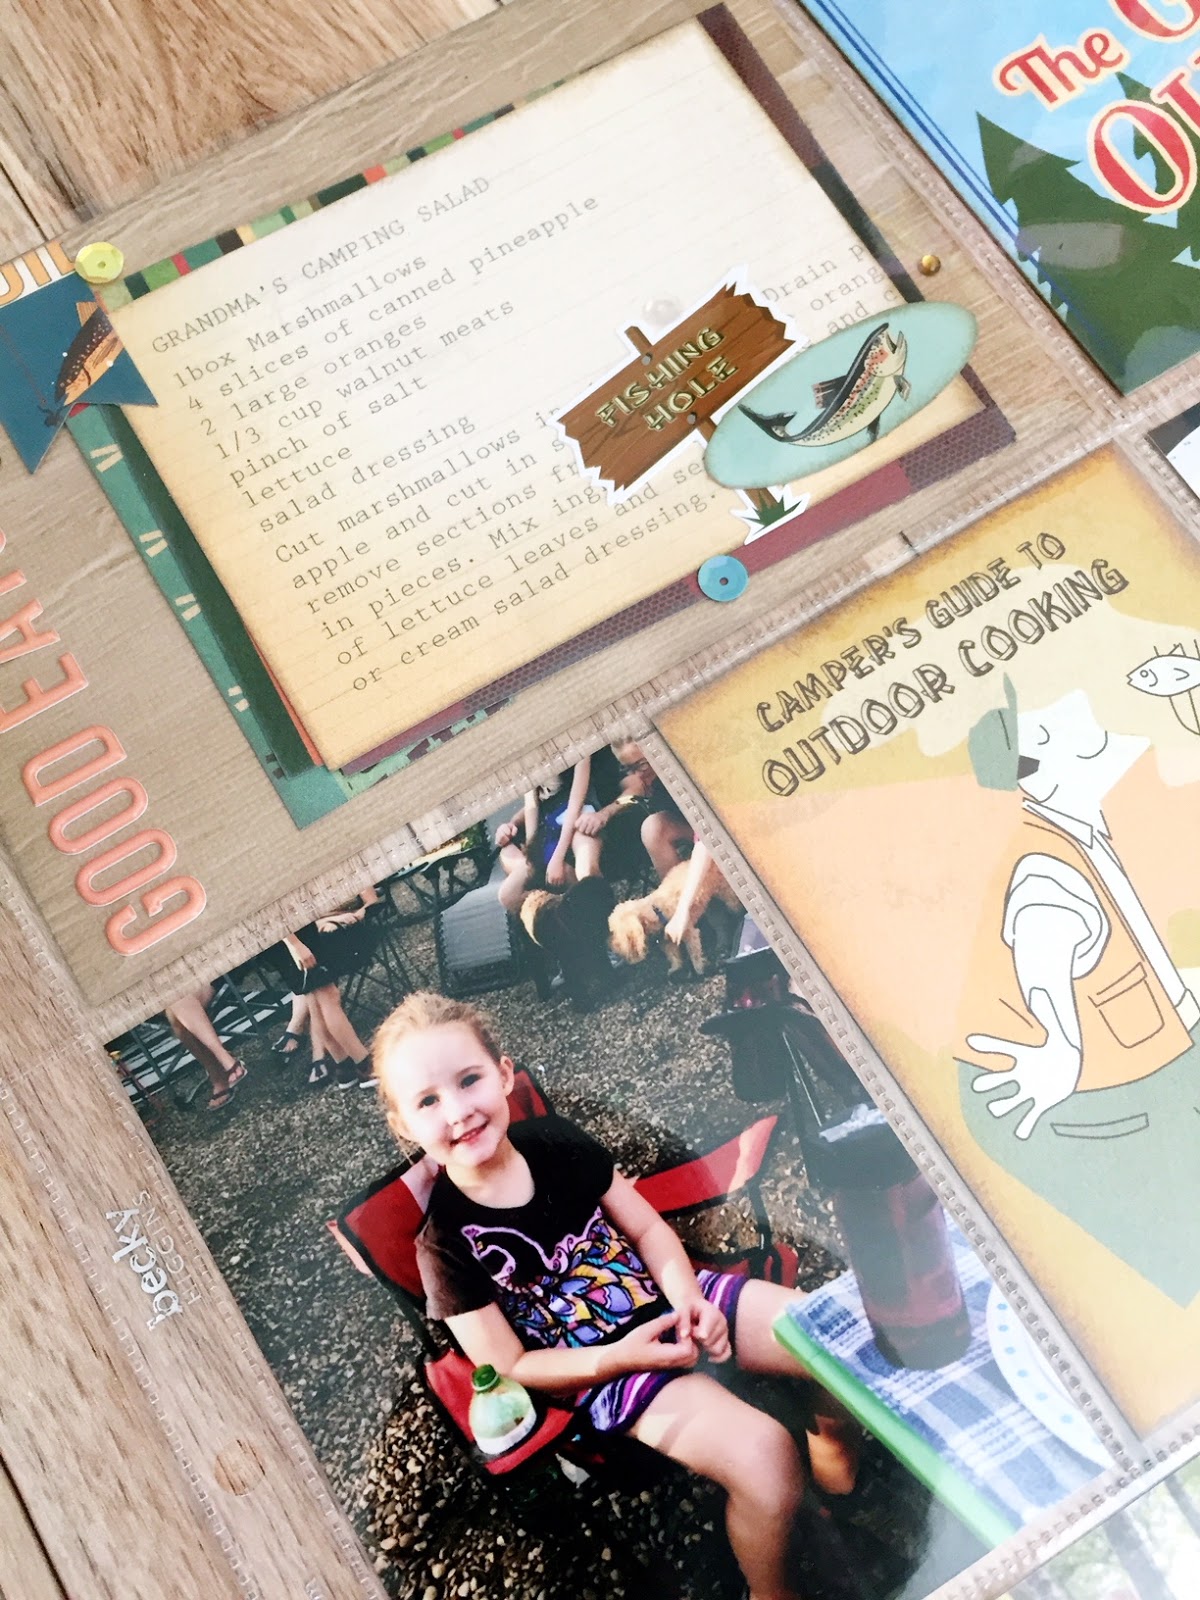
For the second page I tucked some cards from the cut apart sheets and my photos into a pocket page protector. The 3D folder again created a fun and woodsy journaling card, perfect for any outdoorsy theme!
The postcard journaling card was perfect for writing on. I really love the vintage look of this collection!
How cool is the 'Grandma's Camping Salad' recipe card from the cut apart sheet?!! I layered stickers and ephemera along with paper and those pretty alphas to create a title card.
I added a stamp to the Great Outdoors card for a little extra detail and I taped the Camping tab to the outside of my pocket.
Here's a look at the Reveal Video where you can check out everything I'm using close up!!