Showing posts with label altenew. Show all posts

Friday, February 10, 2023

Altenew Craft-A-Flower: Water Lily Layering Dies & Artists' Gouache!

 Hello Crafty Friends!

Rosie here to share a few projects using the awesome Altenew Craft-A-Flower: Water Lily Layering Dies!


Altenew produces amazing die sets and they've added a new element that makes it foolproof to put together. If you look close at the image above you can see each layer of the die set individually and you'll notice a small keyhole shape and arrow. 

You just line up each layer with the keyhole and arrow and you have perfect placement for every layer!


The main die cut has 9 layers but it's super quick to put together! I die cut all the pieces in white card stock and added colour with the Altenew-Artists' Gouache Strolling Through New York set

The dark background behind the flowers is watercolour paper painted with Prussian Blue from the Altenew gouache set. It's then layered over a white card front embossed with the Altenew Ribbon Waves 3D Embossing Folder . The sentiment is a die from the die set and has also been cut from paper painted with the Prussian Blue paint.


This next card was hard to photograph as I used mirror card stock for the background.


Again I painted pieces of watercolour card stock with Prussian Blue, Ultraviolet, Lavender, Primary Yellow, Lagoon Green and Baby Pink Artists' Gouache. I mixed Primary Yellow and Ruby Red to create the orange colour for the flower centre. After letting the pieces I die cut the layers and then adhered them together liquid adhesive.

I die cut a piece of dark blue/purple paper from the Memory Box-6x6 Ocean Blue Paper Pad with the Altenew Diamond Frame Cover Die and glued that over the Gold Mirror cardstock.

The sentiment, from the Altenew Doodle Bouquet Stamp Set, is stamped with clear embossing ink over Artists' Gouache and heat embossed with gold embossing powder.

This final card was lots of fun to make! I've never used gouache paint before so this card is inspired by this video by Jenny Colacicco one of Altenew's designers.


I plan to do a lot more experimenting with this new to me medium but I love the vibrancy of colour on this panel. I painted Altenew A2 Watercolour with the gouache in rainbow colours, thinning the paint down a little with water and then set aside to dry.

Craft-A-Flower: Water Lily sentiments and Altenew Leafy Garland Die are cut 2x each from white card stock and then once from gold foil cardstock and adhered with liquid glue.

I finished off by embellishing with a few Altenew Satin Gold Sequins.

Thanks for stopping by and Happy Crafting!

Saturday, February 20, 2021

Enjoy the Ride Layouts and a Card - Part 2

 Hello! Carolyn back again with a few more layouts and a card using the January Kit. This kit features the Altenew 'Enjoy the Ride' Collection. It is so pretty I can't wait to show you!

Ride Baby Ride


Have you been playing along this weekend with our online crop? If not, head over to the Facebook group and join in on the fun. This is the layout I featured last night for the Cut File Challenge. Make any project using a cut file of your choice. If you would like to use the Pie Chart one I used, you can download it free here. Make sure you upload your project to the challenge album to be entered to win a prize!

This layout was inspired by the bicycles in the collection and the fact that the picture matches the colours in the kit. I chose a cut file that looks like a wheel. The cut file is made by Juliana Michaels and has given me permission to share the file with you. If you're a card maker, you will want to check out her work! I resized the circles to three different sizes and backed each section with a different patterned paper. 

To create the background, I covered the white cardstock with gesso. I smooshed watered down pink paint with a piece of plastic around the page. I then splattered a darker pink and a green around the circles. I propped up the picture and one bicycle with foam. The purple letters in the title come with the kit and the green letters are by Simple Stories and are from a previous kit. The remainder of the pieces come from the two ephemera packs and chipboard stickers.

Cotton Candy


This was actually the first layout I made with the kit. I just love the blue pattern paper. I didn't want to cover too much of it up so I put my pictures more in the middle. The middle paper is just the reverse side of the pattern paper. I tore the paper, layered some chipboard and flower ephemera, added a title and done! So easy yet one of my favourites.


Wonderful Happy Day


This layout began by trying to build a wreath around a circle. I started painting the circle and it went a little wonky so I changed it into a butterfly. I used some embroidery floss to stitch the outline and layered lots of flowers from the ephemera pack. I even made eyes using two O's from the chipboard letters.


Miss You Card


I used some of the leftover pieces to make this cute little card. The Parakeet cardstock worked really well to pop out the title and ephemera. 

Thanks for checking out the projects! I hope you'll join us for the crop today!

Thursday, February 18, 2021

"Enjoy the Ride" Altenew Scrapshotz Kit

 Here is another layout using the awesome Enjoy the Ride line from Altenew. I  did a bit of modification with the chipboard title, cutting off the bottom words (Happy Day) to use it here. The leafy die cuts were in the ephemera pack and I like the way they break up the hard line of the photo mat. A border drawn with a black pen to frame the layout and it's complete.

I made some cards with the Altenew Mini Thanks Stamp set. I was able to use the new Tim Holtz color, Kitsch Flamingo to ink the edges of this one. I stamped the laurel leaves multiple time and popped them up below the white embossed sentiment. Topped it off with flowers from my stash and used Nuvo Crystal Drops in Carnation Pink for the flower center and accents.

This next card also used the Mini Thanks Stamp, along with a pink ribbon to highlight the pink flower centers in the patterned paper. I used green enamel dots to accent the sentiment.

I love the versatility of the sentiments in the Altenew Fancy Greetings Stamp Set. I stamped the "sending hugs" with Rustic Wilderness Distress Oxide, then used the Distress Embossing Powder in the same color to give it shine. This time the Nuvo Crystal Drops were Apple Green.

For this simple card, I gold embossed another sentiment from the Altenew Fancy Greetings set and die cut a flower from a Tim Holtz Foliage die from the photo mat before mounting my panel. I do this a lot, as no one sees under the panel anyway, and you can't let great gold foil cardstock go to waste!

That's it for me today! I hope you're all ready to get crafty with us tomorrow, February 19 at "The Great Scrapshotz Staycation Crop!" See you there!


Wednesday, February 17, 2021

Enjoy the Ride Layouts and a Card

 Hi scrappy peeps! Carolyn here today with some scrapbooking layouts using the January kit. This kit features the beautiful Altenew 'Enjoy the Ride' Collection. There are so many big flowers on these papers just asking to be fussy cut! 

Theo's Baby Shower


I made this layout using the February sketch from Creative Scrapbooker Magazine
I used a Vicki Boutin stencil from a previous kit to make white gesso circles in the background. The pictures are backed with the Sunbeam cardstock in the kit. I roughed up their edges. The flowers and leaves are all fussy cut and some chipboard letters and stickers finish off the layout. Here is a link to the papers in this kit.


Blossom and Grow

Zoom in on those socks! How cool is it that they match one of the papers in the kit? I didn't want to let the page get too busy so I built it on white cardstock and put just two thin strips of paper behind the pictures. This layout is so easy to make. Rip some paper for the corners, fussy cut the leaves and flowers, splatter some paint and voila!

 I also used the add-on stamp to add some black ink branches. I tucked a piece of ephemera behind the flowers on the bottom right and used a chipboard title. 


Inspiration is Everywhere

This layout began with the picture. My daughter actually took this selfie crawling into her fort. I wanted to make it look like she was peeking out from under the paper. I tore the paper so it fit around her head and added some more to the lower half of the page to balance it out. I layered some of the add-on flower ephemera and chipboard pieces. 

The final touch was to drip some paint down the layout to go with the paintbrush sticker and journal about her creativity. 

Thank-you Card

I stamped the sentiment using the add-on stamp. The flowers are made from washi tape. I used a Stampin' Up punch to make the petals. It is actually a punch with a dove and the petal is the dove's wing. I added many petals together to make the flower. I used a separate punch to create the centers of the flowers. I drew the stems with a marker and placed a piece of chipboard on top. 

That's all for now - but there will be more this weekend! I hope you'll be able to join us at the 'Staycation' crop in the Scrap Shotz Facebook Group. Friday 6pm - 10pm and Saturday 10am - 6pm. Lot of inspiration, games and prizes! Have a great day.


Friday, February 12, 2021

Enjoy the Ride - Altenew - Scrapshotz Kit

 Hi there! I was so excited to get the Altenew Enjoy the Ride Scrapshotz kit to play with!The vibrant colors of this kit reminded me of tropical vistas and I looked to a photo of a sunset in Puerto Vallarta. I used blooms and leaves from the ephemera pack and word strips from the chipboard elements. The edges were inked with Distress ink and the chipboard thickers were included in the the kit, too!


Then I got into using the ephemera for cards. I used some scraps of patterned paper, but also some pages from the Altenew Enjoy the Ride 6x6 paper pad that was a great add-on this month. You can still pick it up here.


 I popped up the die cuts and used Nuvo Crystal Drops on most of these. I love the drops and they find their way on to most of my cards. They were also treated to a bit of shine with the Zig Wink of Stella Clear Glitter Marker.

This card also got a little love splatter from the Dina Wakely Gloss Spray in Eggplant. The sentiment here was cut out with the Taylored Expressions Well Rounded Die.

These next cards used the Altenew Fancy Hello Die. What a bit of elegance! Their dies cut so cleanly and are a joy to put down.


What a fun line to work with! I will keep dreaming of tropical views and temperatures as we make our way through this crazy polar vortex that the prairies are stuck in. That is the best reason to stay in and get crafty! Hope you can do the same. Thanks for stopping by.


Wednesday, February 10, 2021

Enjoy the Ride: January Scrap Shotz Kit

Hello! 

Rosie back with a few more projects featuring the January Scrap Shotz kit. 


Wonderful Happy Day


The papers in this kit are so beautiful I didn't want to cut in to them so I decided to stretch them out by cutting leaves with the Altenew Leaf Mix Die set. I die cut all the overlay leaves from white card stock which I then inked with Altenew Minty Mint ink.


I splattered the background with white ink spray prior to adhering the leaves with a combination of liquid glue and foam tape.


The title is from the kit chipboard and I also added a few mint enamel dots from the kit.

Happy Birthday


There's a great selection of ephemera and chipboard in this kit so I combined them to create this birthday card. It's hard to see from this photo but I inked clouds in the sky and also a grassy hill along the bottom.


I layered the happy chipboard over the windmill which is adhered with foam tape. The kit alphas complete the sentiment.

Cherish Friendship


I had a lot of fun creating this layout! I misted mixed media card stock with Dylusions Black Marble Shimmer Spray and then die cut with the Altenew Ornate Cover Die. I also die cut one of the patterned papers with the same die and used them as photo mats behind the photos.


After placing the blue paper at the top of the card stock I filled in the rest of the page with Enjoy the Ride washi tape. Your kit includes 1/3 pack of washi tape, I picked up the Washi Tape Add On and used all of the tapes here.


The layout has been embellished with the kit chipboard and ephemera and I created the hanging line for the birdcages from enamel dots and pen details.


So far I've done 3 layouts and 2 cards and barely made a dent in the kit so that means more crafting with this great kit!


Monday, February 8, 2021

Scrap Shotz January Scrapbook Kit Featuring Altenew: Enjoy the Ride

Hi Everyone! 

Rosie here with a couple of projects created with the first kit of 2021 and it features Altenew's Enjoy the Ride!

Here's a quick video with a closer look at the kit contents:


As always there are a number of great add-ons available, you can check them out HERE.

I have also used a number of Altenew products that are not in the store which are marked by an *asterisk, these can be special ordered just for you! 
Contact sandy@scrapshotz.com with the subject line Altenew Special Order.

Reading, Berkshire, England


This layout is based on the Creative Scrapbooker Magazine February sketch:

I fussy cut leaves from the Balmy paper and arranged under the photo mat which has been adhered with foam adhesive. 

I then inked white card stock with Altenew Fresh Lemon ink*, die cut the title with the Altenew Fine Alphabet Die* and embossed all the alphas with the Altenew Organic Linen 3D Embossing Folder*.


I added a chipboard camera and the journaling along the bottom.


Miss You Card


Altenew has begun releasing 3D embossing folders and they are wonderful! 

I inked the Ribbon Weaves 3D Embossing folder with Altenew Fresh Leaf ink*, added white card stock and then ran through my die cut machine. I then inked over the top with Altenew Limeade ink*.


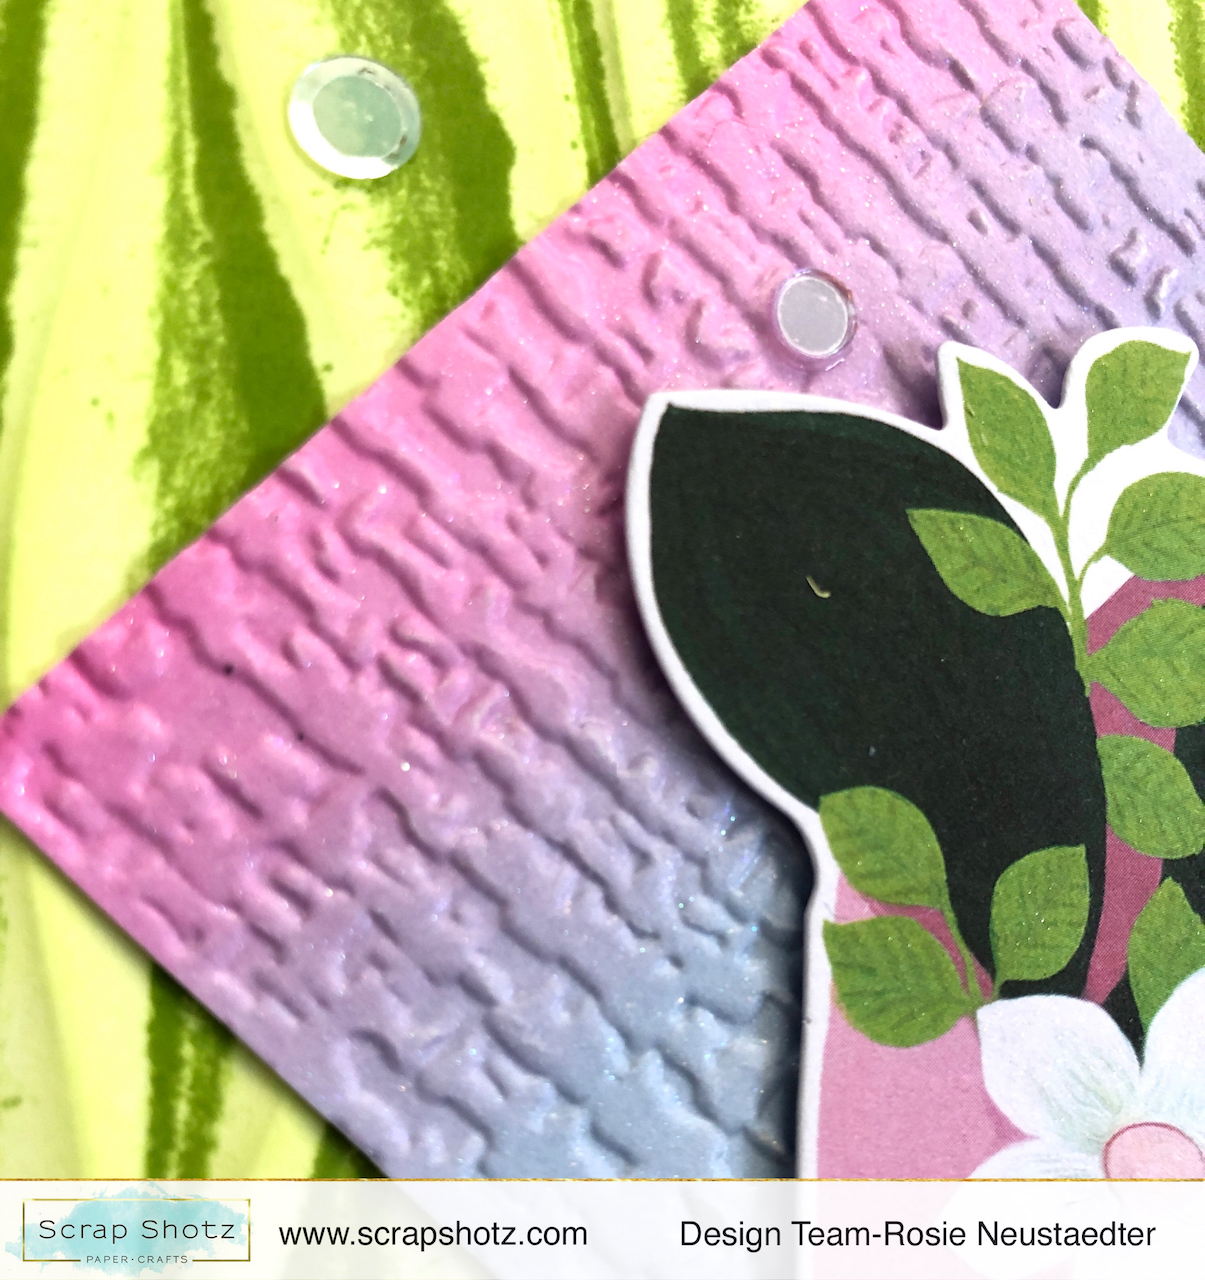
I created a background with Nuvo Shimmer Powders on watercolour paper, then trimmed a 3.5"x3.5"square which I embossed with the Altenew Organic Linen 3D embossing folder* then sprayed with Iridescent Glitter Dust.


This die cut from the kit ephemera serves as the sentiment as well as a lovely accent. A little confetti finishes off this card with a bit more sparkle.


I'll be back with more projects a little later this week.

Thanks for stopping by and Happy Crafting!