Showing posts with label Carta Bella. Show all posts

Tuesday, November 8, 2022

Carta Bella Welcome Fall Layouts Part 2

Hello crafty friends! Today I have two more layouts with the Carta Bella "Welcome Fall" collection. This collection is all about leaves, pumpkins, oranges and yellows and don't forget the plaid!


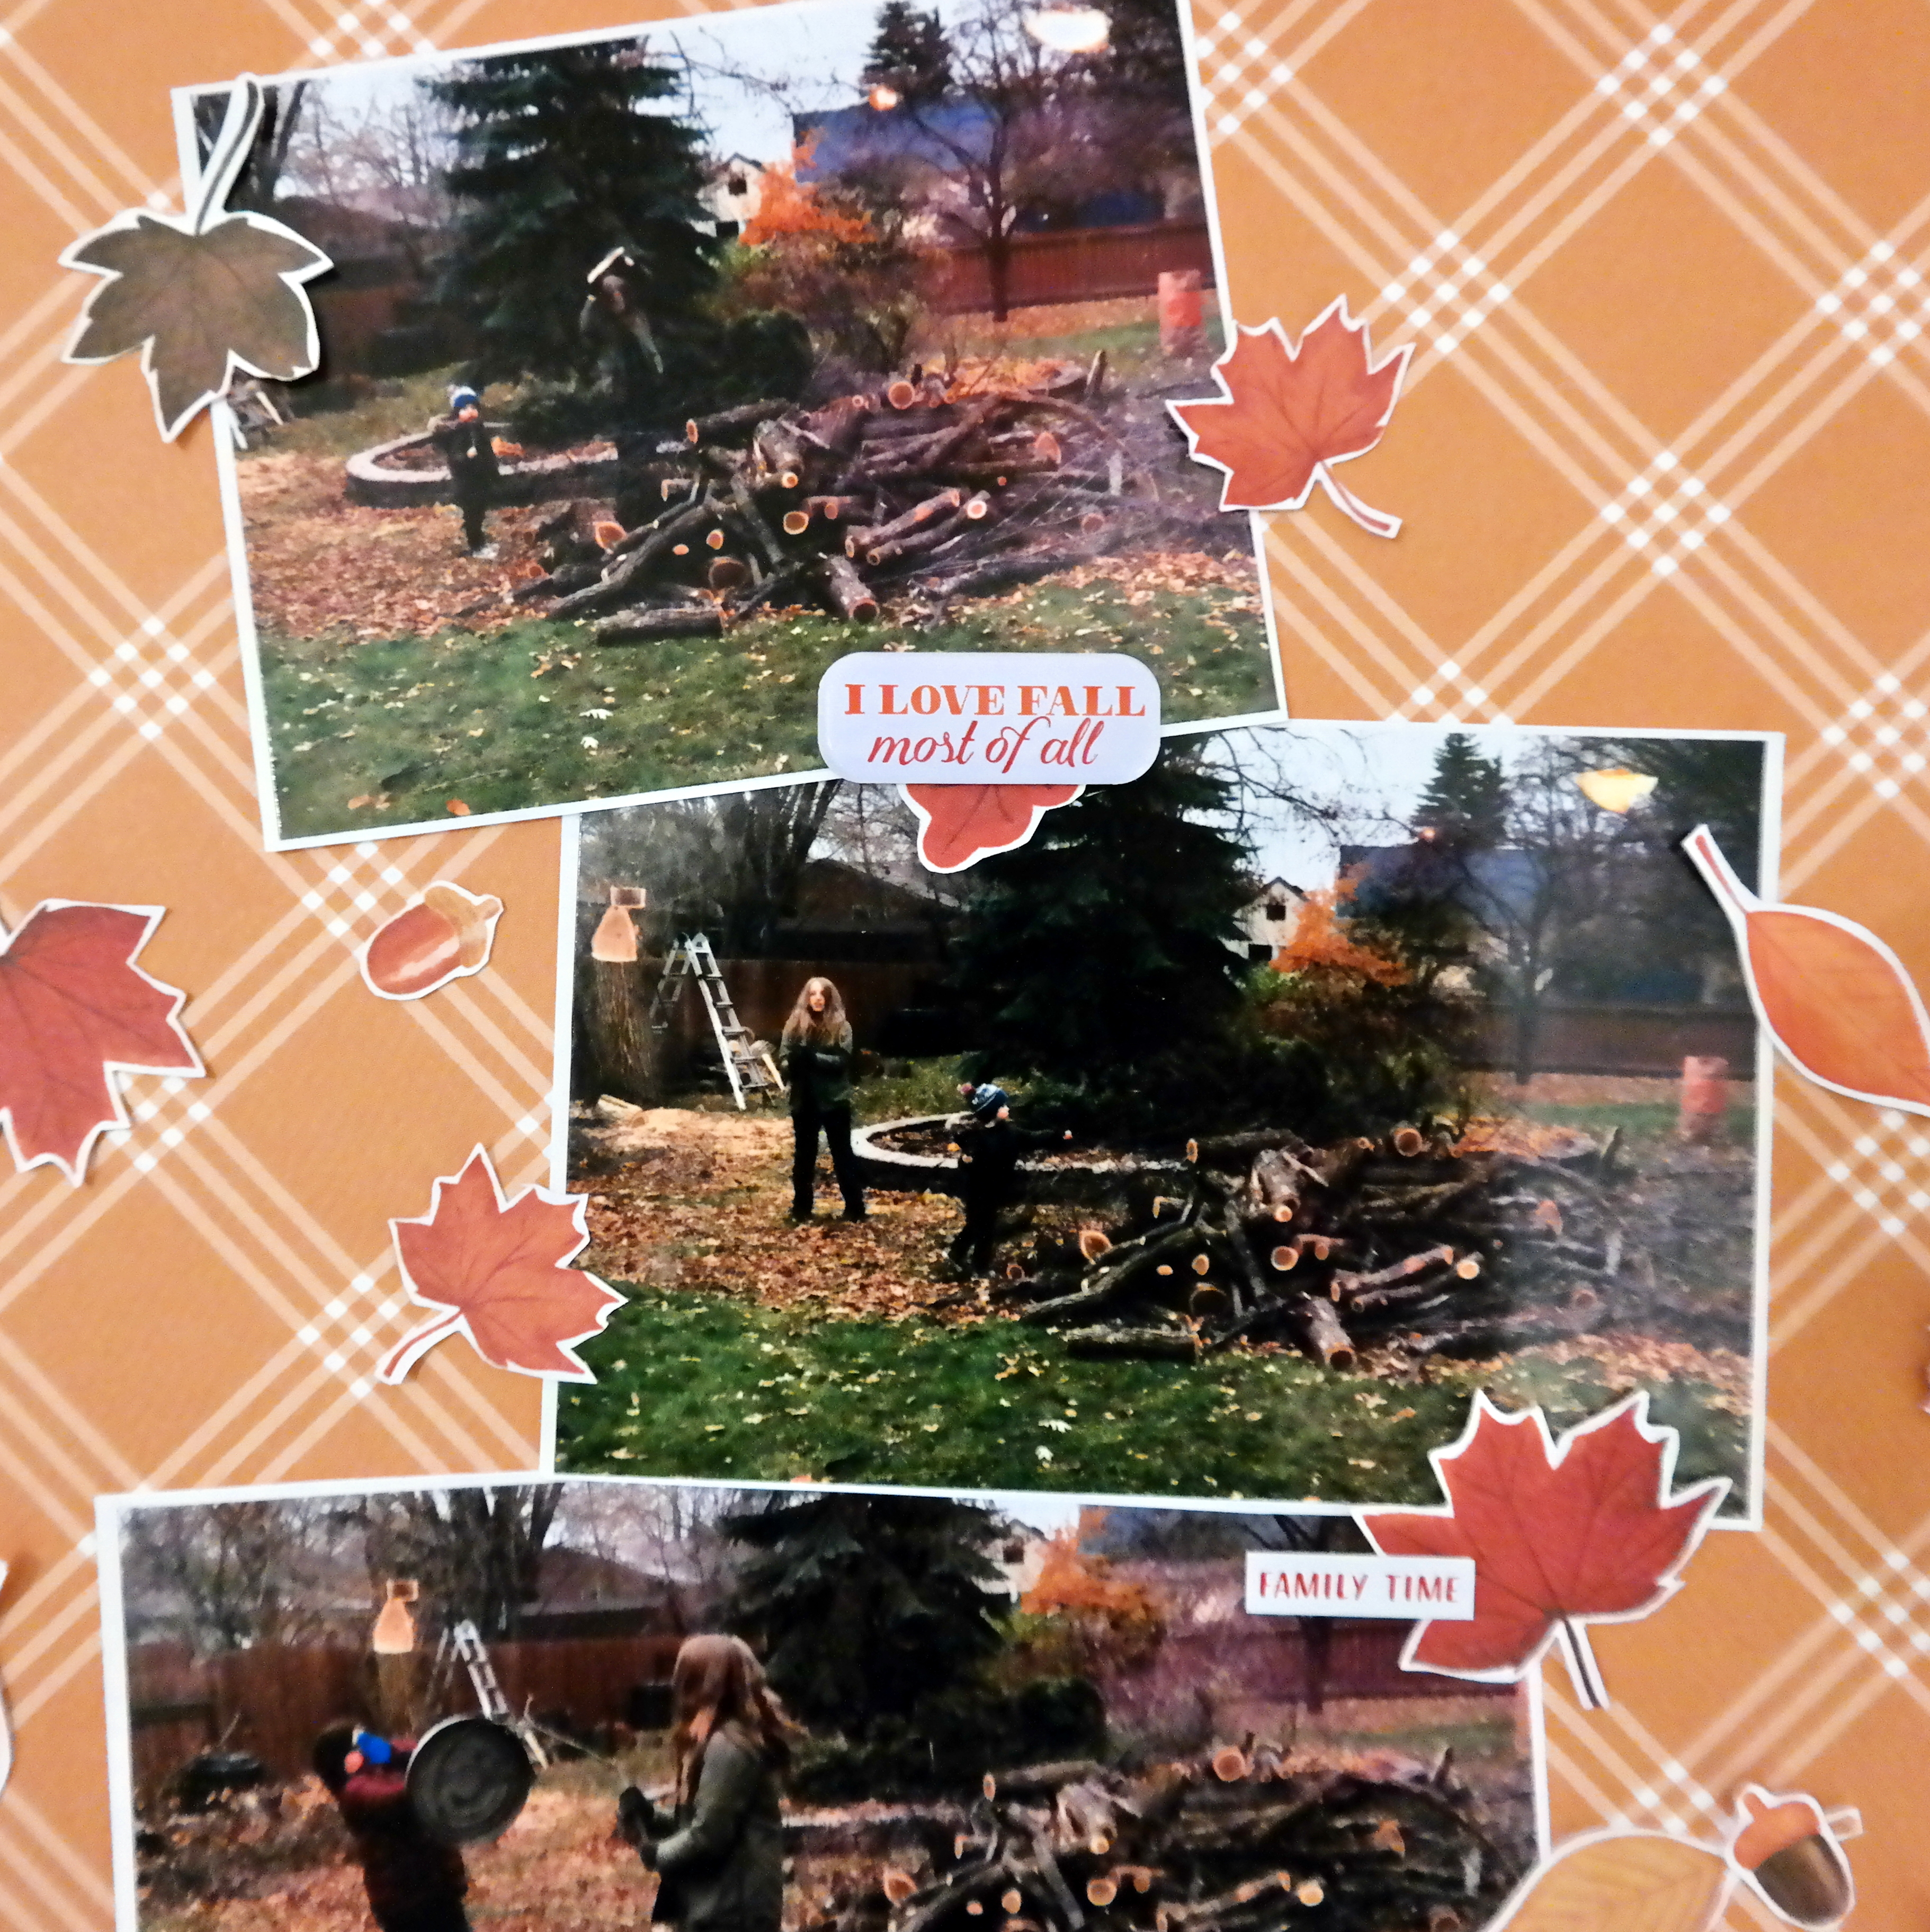
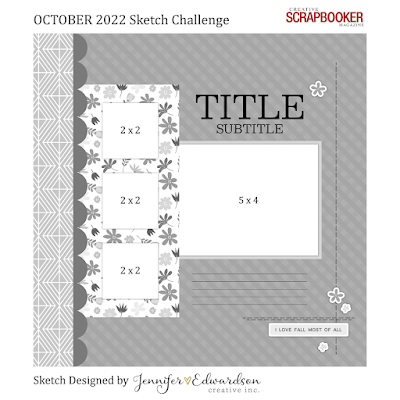
My first layout was inspired by the November sketch in the Creative Scrapbooker Sketchy Facebook Group

I couldn't figure out a long title so I used some stickers and chipboard to make titles horizontally. Otherwise, I stuck to the sketch pretty well. After cutting out all the papers and pictures, I added a border to my pictures to make them the same size as the middle card. I used a white pen to draw the stitching border and to journal. 


Lots of chipboard and cardstock stickers were used to embellish the page. I used some foam dots on the back of some of the stickers to pop them off the page.


My second layout was fun to make! 


I fussy cut all those leaves from one piece of paper. Good thing there was something good to watch on Netflix at the same time. I used some glue dots to stick them all down. It worked really well because the entire leaf isn't stuck to the paper so it looks more layered. I could also move the leaves later if I didn't like their placement. 


This time I used some puffy stickers and ephemera for the embellishments. 


PS - no children were hurt during the sword fight:)


Thanks for stopping by today. Have a scrappy day!

Monday, October 31, 2022

Carta Bella Welcome Fall Layouts

 Hello everyone! I'm so excited to show you the Carta Bella "Welcome Fall" collection! I love how there are so many basic pattern papers to choose from. It's so easy to build a layout without it looking too crazy.


My first layout was inspired by the October sketch in the Creative Scrapbooker Magazine Sketchy Group on Facebook. I stuck pretty darn close to the sketch. My pictures were a bit larger than the dimensions on the sketch so I couldn't fit the embellishing on the right. 

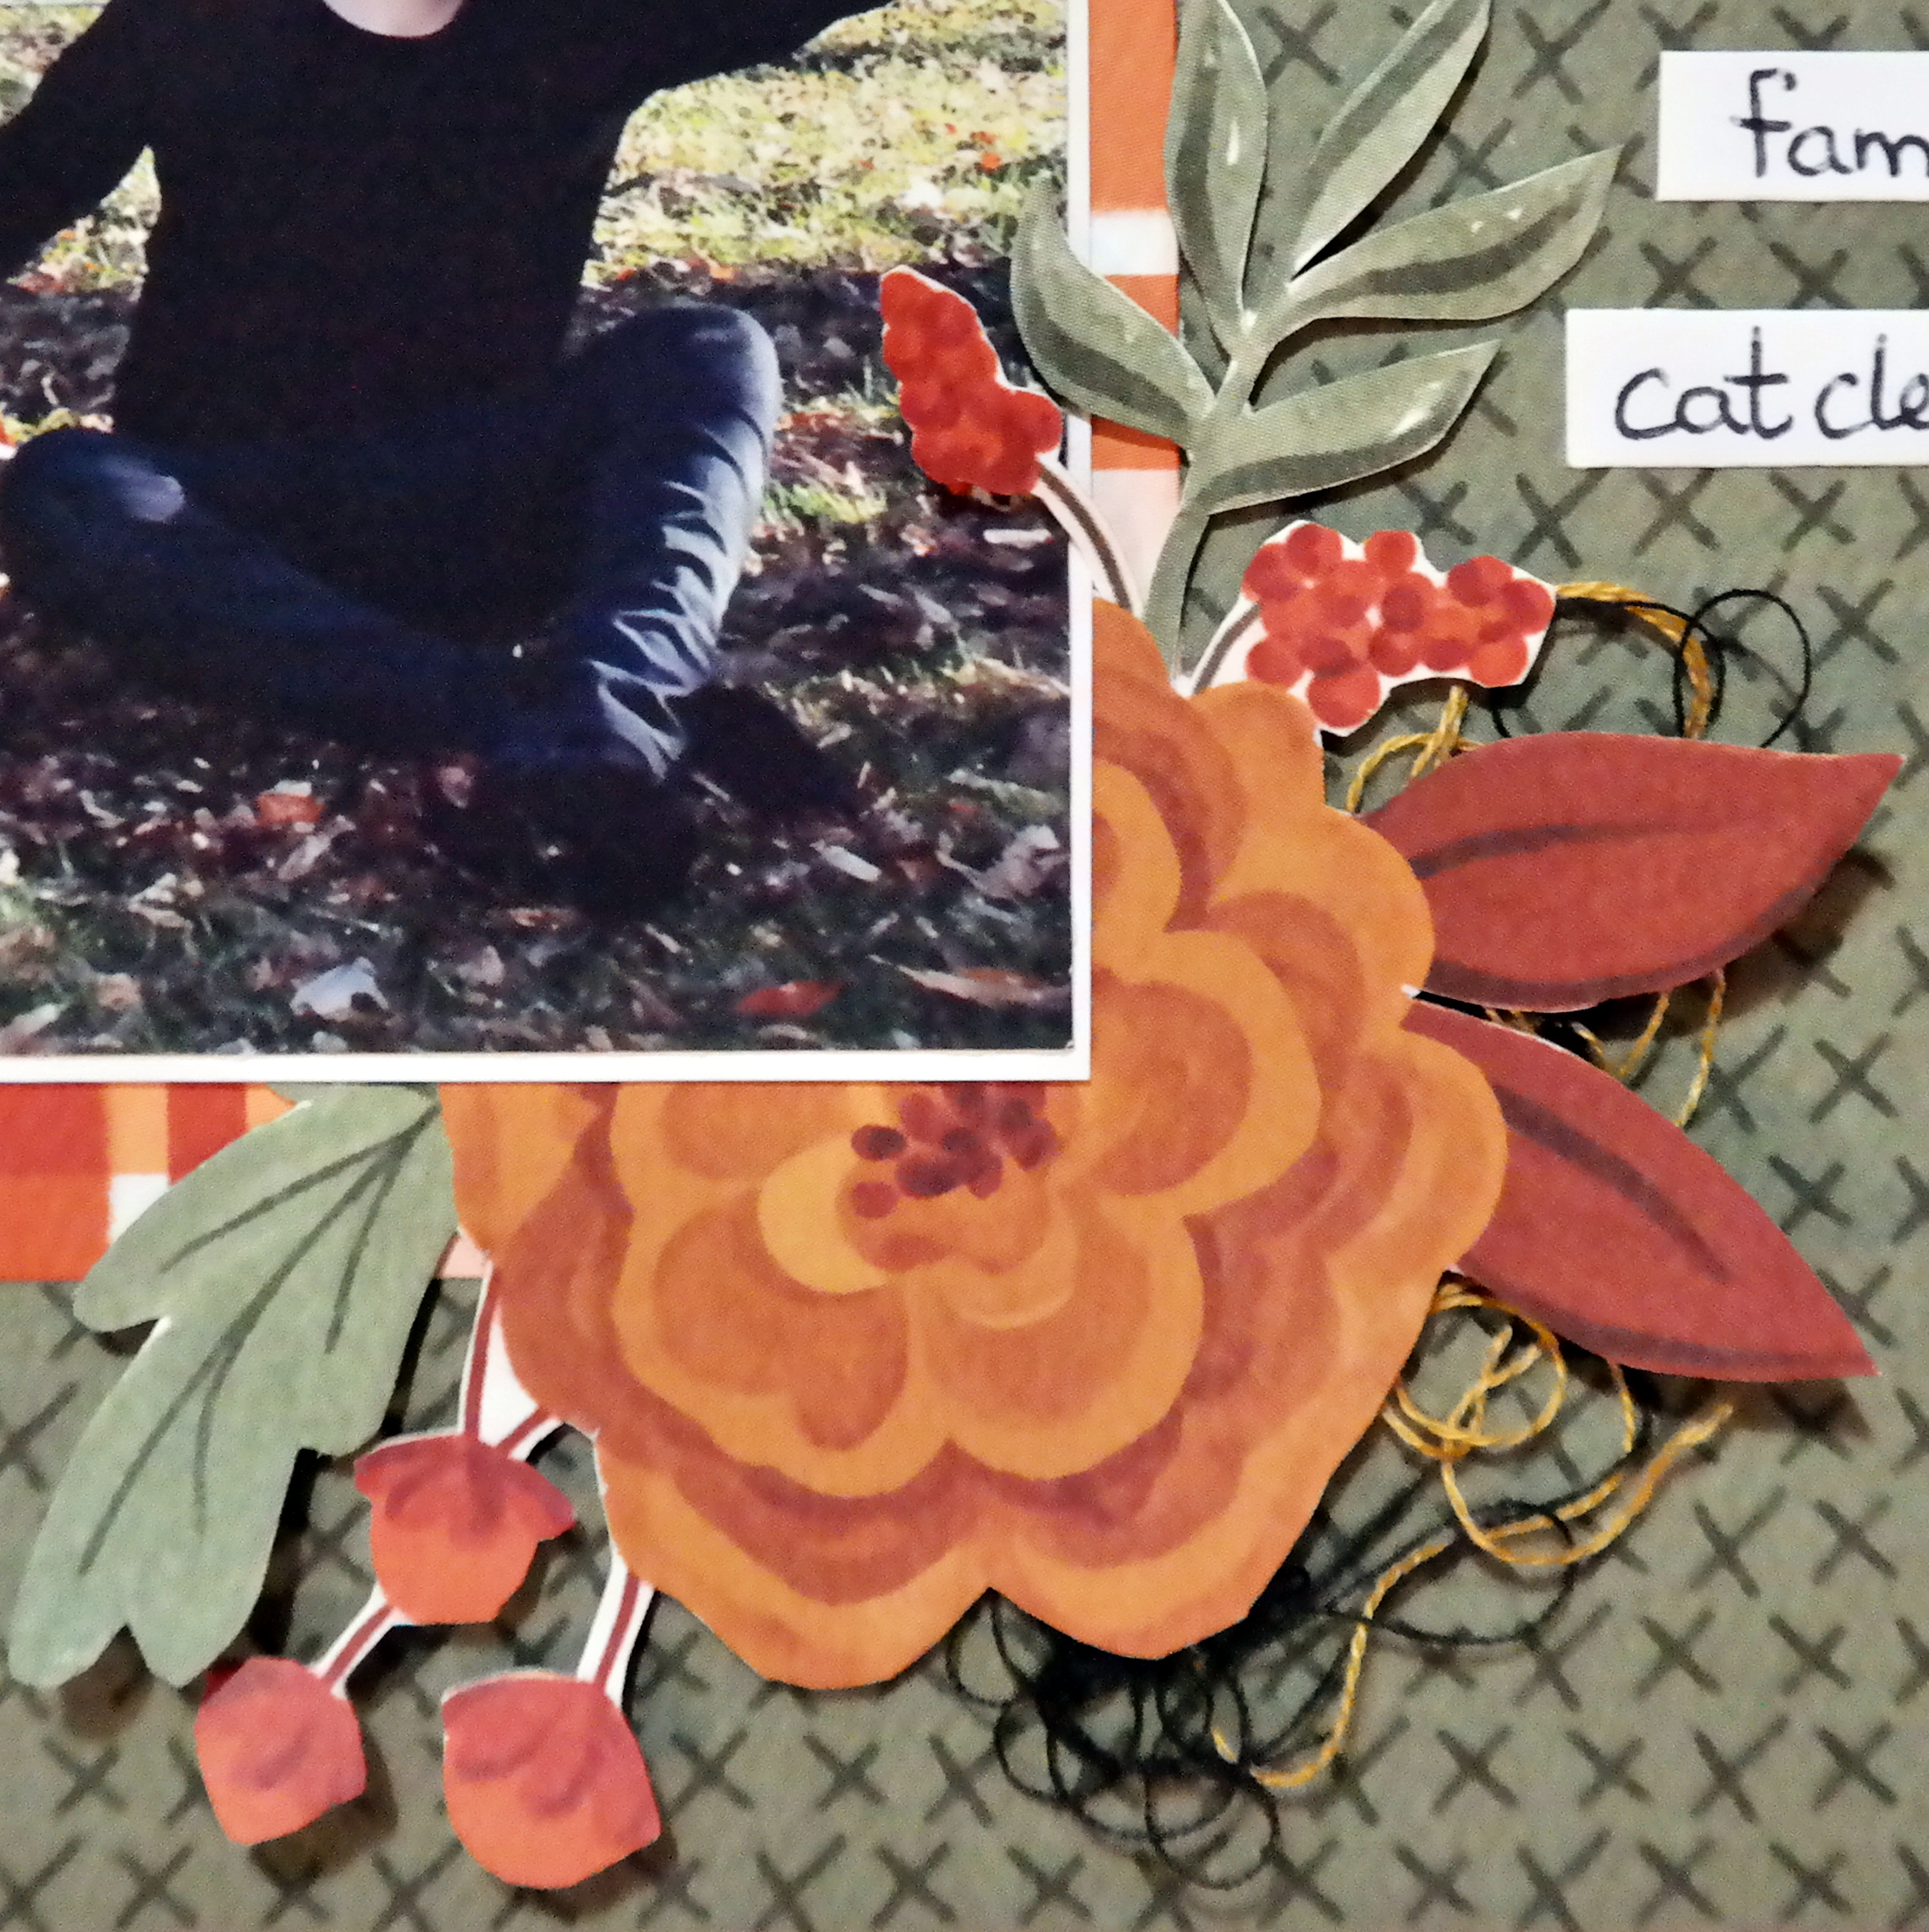
I used a stencil to cut out the scallop border and matted my pictures with white paper before taping them down. I love all the flowers on this page but they all had to be fussy cut from one of the papers in the kit so it took some time.


The rest of the layout is made with a chipboard title and a couple tags from the ephemera pack. I shoved a little bit of embroidery thread under the flowers to add some texture. Also, I couldn't forget the picture of the random cat that followed us through the park. He kept everyone entertained while we froze!


Layout number 2 was inspired by one of the pumpkin stickers (see the largest pumpkin sticker on the bottom right corner). I noticed how it has darker outer sections and lighter middle sections. So I drew by hand the three lobes of the pumpkin on a darker orange paper. On the lighter orange paper I traced the three larger lobes and then drew another circle about an inch smaller inside of them. I also drew the stems by hand using that same pumpkin as a guide. I wanted the sections to pop a little bit because they are very similar in colour so I inked the edges of the papers to make them a bit darker.


The ephemera tag kit comes with a few frames so I used them behind my picture. 


I used a chipboard piece for the title and a bunch of cardstock stickers in the bottom right corner. The final touch were a few puffy stickers and embroidery thread to add interest.


Thank-you for checking out the layouts. I'll be back later in the week with more!

Monday, June 27, 2022

Carta Bella Farmhouse Summer Layouts Part 2

Have you been playing with your June Kit? I have! I've made a layout using some family photos we took in the fall. The Carta Bella "Farmhouse Summer" Collection is perfect for family photos.


I began with all the frames that came in the kit. Some are made of chipboard and others are in the ephemera pack. I matched my photos to the frames and decided to cut apart the picture of the cat and my daughter so they could each have a frame. I knew I wanted to make a row of flags when I saw all the different sizes and shapes of flags in the kit. Some are puffy stickers, some are cardstock stickers and some are ephemera. I ran out of the green paper however, so I had to add a third row of paper. But it worked out ok because the frames kind of point into a triangle and I could add a second row of flags. The final touches included adding some enamel dots and ephemera tags. My favourite part of the layout is the journaling. It says, "The Johnson Family (plus a random cat)". This cat followed us through the whole park and really did want to be a part of our family.

Here is a close-up of all those flags. I cut them out without peeling the stickers off their backing so I could move them around until I found a layout I liked. 


Thanks for taking a peek at my layout! Have a scrappy summer everyone!

Friday, June 17, 2022

Farmhouse Summer Layout with the June Kit

 Hello everyone! I'm working with the June kit today which features the Carta Bella - Farmhouse Summer Collection. It has yellow, red, green and blue in darker and lighter shades and features lots of bits and pieces to make those cards and layouts. I decided to scrap a picture of one of our home renovation projects since there are lots of references to 'home' in this kit. I tried to tackle some home renos through COVID and convinced my child to help me for all of five minutes! 

I used a sketch from Creative Scrapbooker Magazine's Sketchy Facebook Group. Lots of inspiration there if you need to kick start your creativity. The sketch is from June. 


I started by choosing the three background papers. I love the look of 4 pictures but I couldn't find 4 that had the same size and theme so I used one and 2 cut-apart cards. I framed the photo with white paper and then used a punch to make a frame from patterned paper. The journaling framed by a frame in the ephemera pack. The title is from the chipboard phrases pack. The remaining embellishments are a combination of cardstock stickers, puffy stickers and enamel dots

I'll be back with more of the June kit next week!

Thanks for stopping by!

Monday, January 10, 2022

Carta Bella Welcome Winter Layout Part 2

Welcome to part 2 of the Carta Bella "Welcome Winter" Collection from Scrap Shotz. My first layout was so fun to make with a scarf cut file.

I backed the file with pictures and a couple different papers. The actual scarf is Bazzill "Smoky" cardstock. The skis are chipboard and the center square is a title cut from a piece of paper. The wreath and a couple stickers at the bottom are puffy stickers. The sleigh is a cardstock sticker. I wanted to use the brown letters from Doodlebug "Sunshine" (BonBon colour) but the background paper was too dark. So I covered a piece of chipboard with white paper since the saying underneath had nothing to do with my project. 

I had some twine left over so I taped pieces to the back of the scarf. It has so much more interest now. The final step was to splatter some white paint in line with the scarf tail to add some movement. 

This second layout is pretty simple but has lots of layers.

I used the Bazzill Smoky cardstock that came in the kit to border the lined paper at the bottom. The flags I made by tracing flags that came in the ephemera pack. The title was in the ephemera pack and the stickers are a variety of cardstockchipboard and puffy stickers. I also love adding twine to a layout so I'm so glad some came with the kit. 


Thanks for stopping by!

Thursday, January 6, 2022

Carta Bella Welcome Winter Layouts Part 1

Hello scrappy friends! I got to work with the Carta Bella "Welcome Winter" Collection this month. It is full of lots of basic background papers which I love as I always find those pages are the ones I use the most. There are also many pages with patterns and cut apart cards so this kit can easily be used for scrapbooks or cards. This kit is mainly dark and light blues, grey, brown and a forest green colour. Luckily, the weather was milder last year so I got a variety of snowy pictures to scrapbook. It's -43'C as I write this so I hope we get some warmer weather soon to get out of the house!

The first layout is like a picture-frame style. I bordered everything and used the manufacturing strips at the bottom of the pages to make a design at the bottom. 

The title is made with chipboard and twine. The ice skates are the same but one is a piece of chipboard and the other is a cardstock sticker. I used some foam behind the sticker so that it sits at the same height as the chipboard. The year was added using Doodlebug "Sunshine" stickers. I tagged the gold coloured ones but on the layout the colour is called Bon Bon. 

For my next layout, I used the December sketch from the Creative Scrapbooker Sketchy Facebook Group as inspiration. 


I layered a variety of papers and stickers and then used a cut apart card in the center. The kit came with a beautiful shiny silver paper which was a nice addition to the page. The kit also had the center snowflake embellishments from Creative Impressions which I layered together. I'm so happy I got these pictures scrapped because it was such a fun afternoon watching these two push their snowball 'baby' in the swing and on the sled. 

Thanks so much for stopping by! 

Tuesday, November 23, 2021

Welcome Winter


Time to document your winter memories! Have you had a chance to play with the October Scrapbook Kit? The kit features the Carta Bella, Welcome Winter collection and it’s a beauty! So many blue tones, snowflakes and plaid touches - perfect for winter. 

Snowflakes and Circles


For my first layout I played with circles! I started with this great striped pattern from the collection and using an empty paper towel roll and some blue/grey crackle texture paste from my stash created some messy circles down the centre of the page. 

Then I used a circle punch and the 2x2 cut apart pattern paper in the kit to make a bunch of circles featuring different snowflakes from the collection. I grabbed any of the circle embellish (die cuts, chipboard and stickers) and created a cascade of circles with my photo in the middle. 

A few black splatters, a few more splatters in the same crackle texture paste with some water added, a few punched hearts from pattern paper and a small rip and some staples on the left and right of the page finished it all off. 

Embrace the ‘Country’ Look 


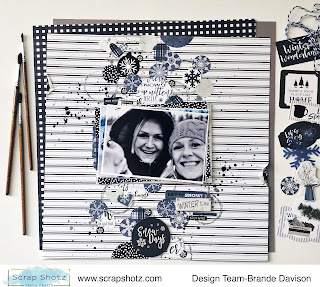
For my next layout I wanted to showcase this awesome selfie of my parents! I love that it was taken at Christmas and you can see the heaps of white snow in the front yard behind them as we are all inside, cozy and warm. Perfect winter memory. 

I started with this simple plaid pattern from the kit. Then pulled a 12x12 chicken wire stencil from my stash (love the ‘country’ look for this farm house photo) and added it to the page using a crackle texture paste in blue/grey from my stash. I used that same texture paste with some water to create splatters, and added a few in white acrylic paint too. Using some Tim Holtz, Distress Oxide in Weather Wood I also added some snowflakes using the collection stamps.

Then I used a bunch of patterns to anchor my photo and just had fun layering a whole bunch of chipboard, sticker and die cut titles to the right of the photo. I was excited to tuck one of the plastic snowflakes from the kit in there too. A couple of punched hearts in the amazing silver glitter paper in the kit stapled to the top left of the photo finished it off! 

Think Left and Right 


For this layout I featured 4 photos. Instead of a horizontal layout (my go to) I decided to try the photos down the left of the page. 

I started with a Bazzill Basics Cardstock, Raven (black) from the shop as my base and added some bricks using a Peartree Cutfiles Stencil from my stash and Tim Holtz, Distress Oxide in Weather Wood for some pattern. A few splatters in the Distress Oxide and white acrylic paint finished off the mixed media design.  

Then I created a cascade of photos on the left, backing each photo with a couple of the pattern papers from the kit. To balance the page and create a title, I added a bunch of embellishments to the right. 

In a couple of spots I also added the flag die cuts in the collection - a great way to feature some of the twine included in the kit with a few simple staples.

All the Plaids 


Inspired by the little tree embellishments in the collection and in love with all the plaid pattern paper, I reached for this Christmas Tree cutfile from Peartree Cutfiles. I used a different plaid pattern paper from the collection for each tree and the glitter paper in the kit for the stars. 

I popped up the cutfile on the wood grain pattern, after adding some background splatters in white and black, then had some fun adding my photos, a title from the chipboard set and stars from the kit and my stash. The little feature at the top and bottom of the page are the edges cut off one of the die cuts in the collection. I thought it was a neat touch! 

If you are not a kit member or just looking to add more of this collection to your scrappy stash, lots of goodies left in the shop. Check out Carta Bella, Welcome Winter.


Saturday, November 20, 2021

Documenting Autumn Memories


If you working on scrapping your fall memories before the winter and Christmas memories start rolling in, reach for your September Scrapbooking Kit. This kit is all about the ‘Welcome Autumn’ collection by Carta Bella. All the oranges and pumpkins and fantastic fall sentiments make this collection really fun to play with. 

Torn Edges

For my first layout with the kit I reached my my three most favourite patterns from the collection. I ripped the edge of each a little more than the last to create a design where all three patterns could do the work. The white of the ripped eyes breaks up the patterns nicely. I generally would not pair so many busy patterns together but this kit is so well designed it’s easy to mix all the things. 

I printed a 4x6 photo in black and white, popped it up on some foam adhesive and more pattern paper (yup!) then just tucked and layered all the embellishments that made me happy. 

Circles

For my second layout, I was all about circles! First, I used a circle punch to cut out circles of all the fall things from the 2x2 cut apart pattern paper. Then I grabbed up all the circles embellishments from the chipboard and stickers and just stated creating a cascade of fall circle fun. Some black and white splatters in acrylic paint behind the circles brought a bit of the grunge I love. 

I picked a 4x6 photo of me and a couple of my sisters and backed it in a number of the kit pattern paper and some foam tape. A couple of phrase stickers from the kit and a few embellishments finished off this layout. 

Make it Three 


I had a lot of fun with this third layout! I found 3 patterns that were fun together from the kit. Then cut each at an angle to make up the full 12x12 layout like a puzzle. The pieces a little smaller than needed so I could leave a small slice of white space to break up the patterns a bit. 

My next move was to create the ‘Fall’ title on the bottom right. I really wanted to use those sticker alphas and the red truck. Together they made a cute little cluster. I found these sweet little photos of our pup and picked some matching embellishments for the centre of the page and voila! 

White Space 


For my final layout I went minimalist. I used a piece of Bazzill Basics Cardstock in Avalanche (white) from the shop and a bit of stencil to create an anchor for my photos. Then it was all about tucking embellishments and some fussy cut leaves from one of the patterns. Some splatters and the enamel dots from the kit finished it off. 

I have had a lot of fun with this kit and still have so much to play with. If you have a September kit - dig in! If you are not a kit member but looking for some fall goodies, there are still some Carta Bella, Welcome Autumn in the shop.