Showing posts with label scrap shotz. Show all posts

Thursday, May 14, 2020

April Kit Pt.3: Home Sweet Home, Crafty Helper and More

Hello Friends!

I hope you've been enjoying all the Creative Team inspiration! 

Rosie back to share my final kit projects using the April kit, this is another Mother's Day layout I made with the kit, this one with myself and almost all my kids, lol...hard to have them all in the same room at the same time once they get jobs.


The centre of this layout was created during this Vicki Boutin FB live, with Distress Oxide Inks and the Altenew Painted Butterfly stamp and die set. The butterflies are also heat embossed with gold embossing powder. I stamped butterflies in with the same Oxide inks used for the "blown butterflies" and  die cut them with the matching die.


I cut the paper down and matted it on black card stock, the photo itself was also matted on black card stock and layered over plaid patterned paper from the kit which was back with Kraft and then black card stock. Kit chipboard, stickers, a brad and sparkly confetti embellish the layout.


I used one of my new purchases, embossing glaze, on this next project:


It was fun to document my son helping me stitch on a layout a couple of years ago.

I applied embossing ink with an embossing dauber to the edges of the library drawer, text patterned paper and the title and sub-title die cuts.


I then applied Walnut Stain Distress Embossing Glaze  and set with a heat tool.


I love the extra interest it gives along the edges.

Now for a few more cards :)
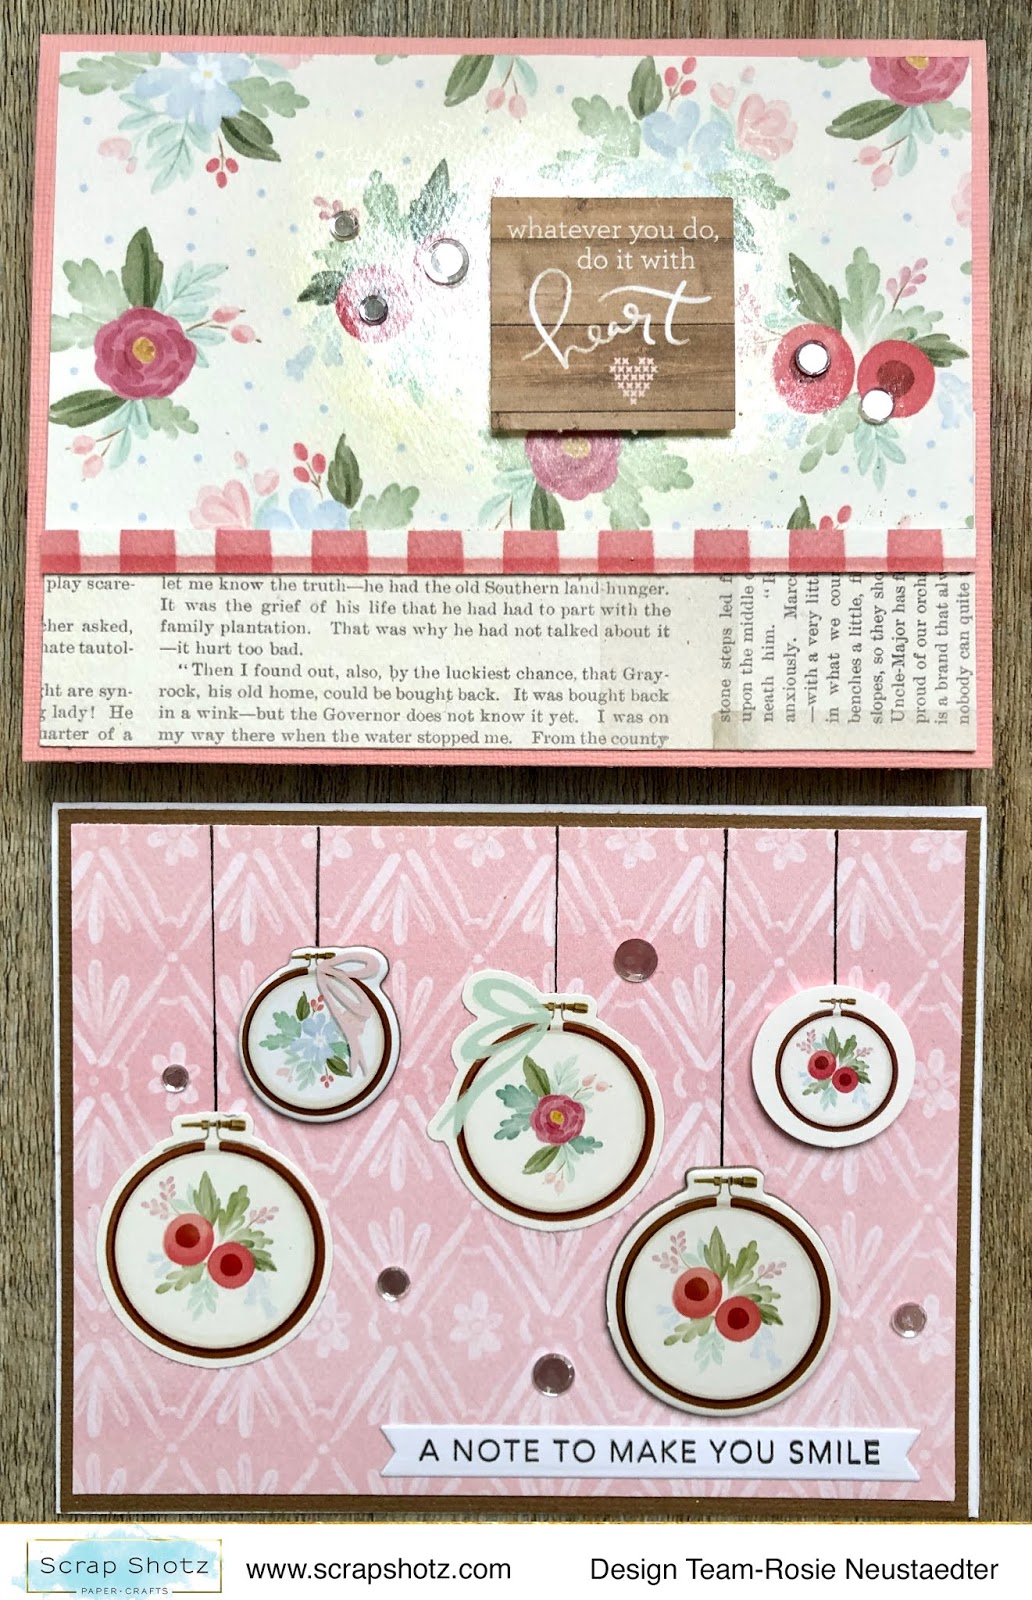

So easy to combine patterns when using a paper line, everything coordinates very easily as you can see from the card on the top. 

The bottom card has a patterned paper base matted on card stock and I used a combination of the chipboard, die cut and sticker hoops, the "hangers" are hand drawn with a black marker and the sentiment is from the Taylored Expressions Simple Strips Background Set. This is a great set, it stamps 18 varied sentiments that you die cut with the matching die. I stamped, die cut and then keep them in a ziplock bag and pull one out when I need one!


A little shine is added with PPP confetti, you can use anything shiny from your stash :).

When I saw this paper I decided I wanted to fussy cut some blooms:
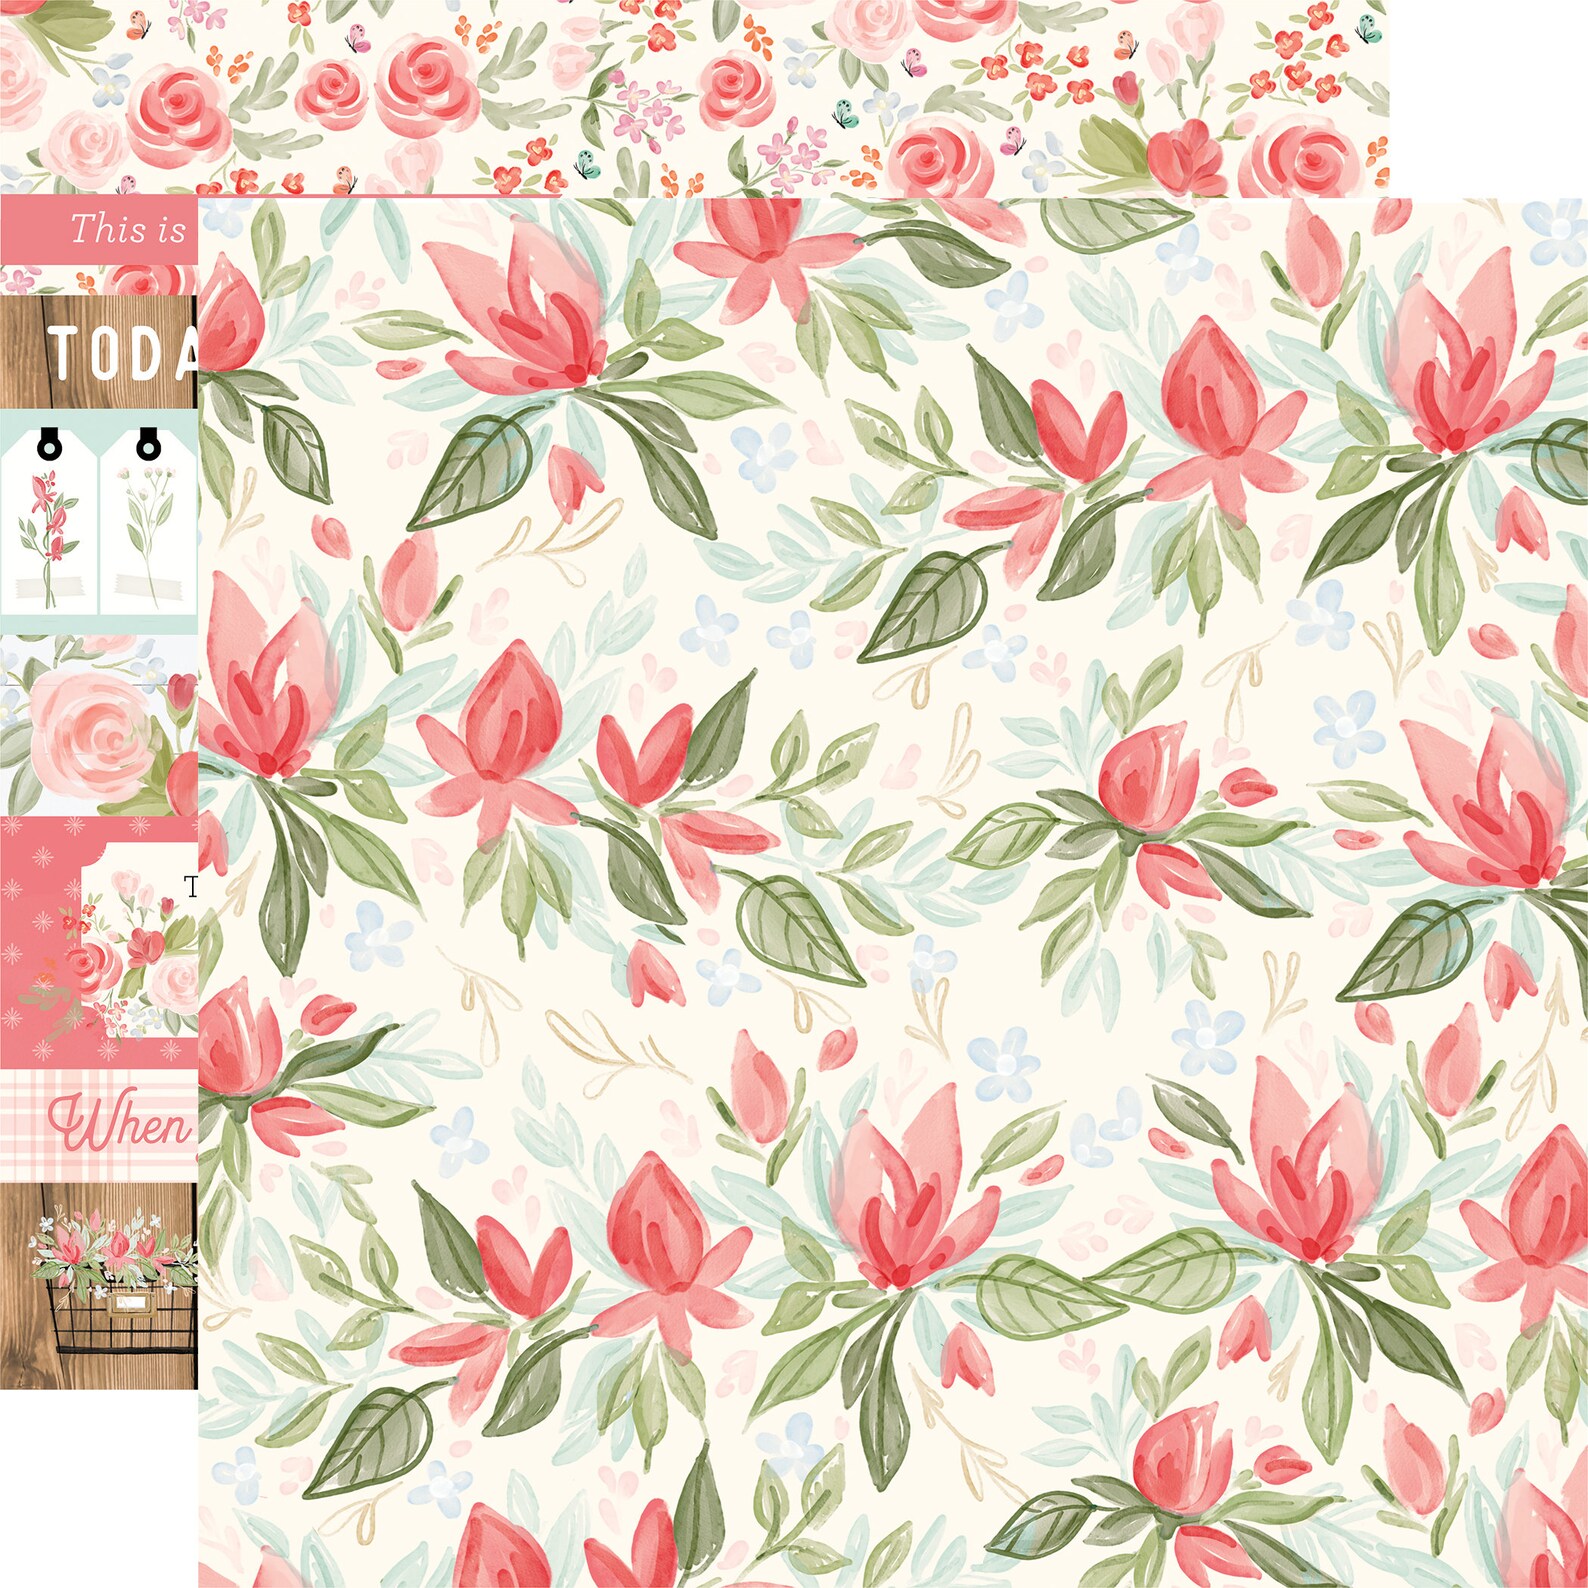

Once the fussy cutting was done I cut a piece of card stock into a 4 1/4" x 5 1/2" notecard. 
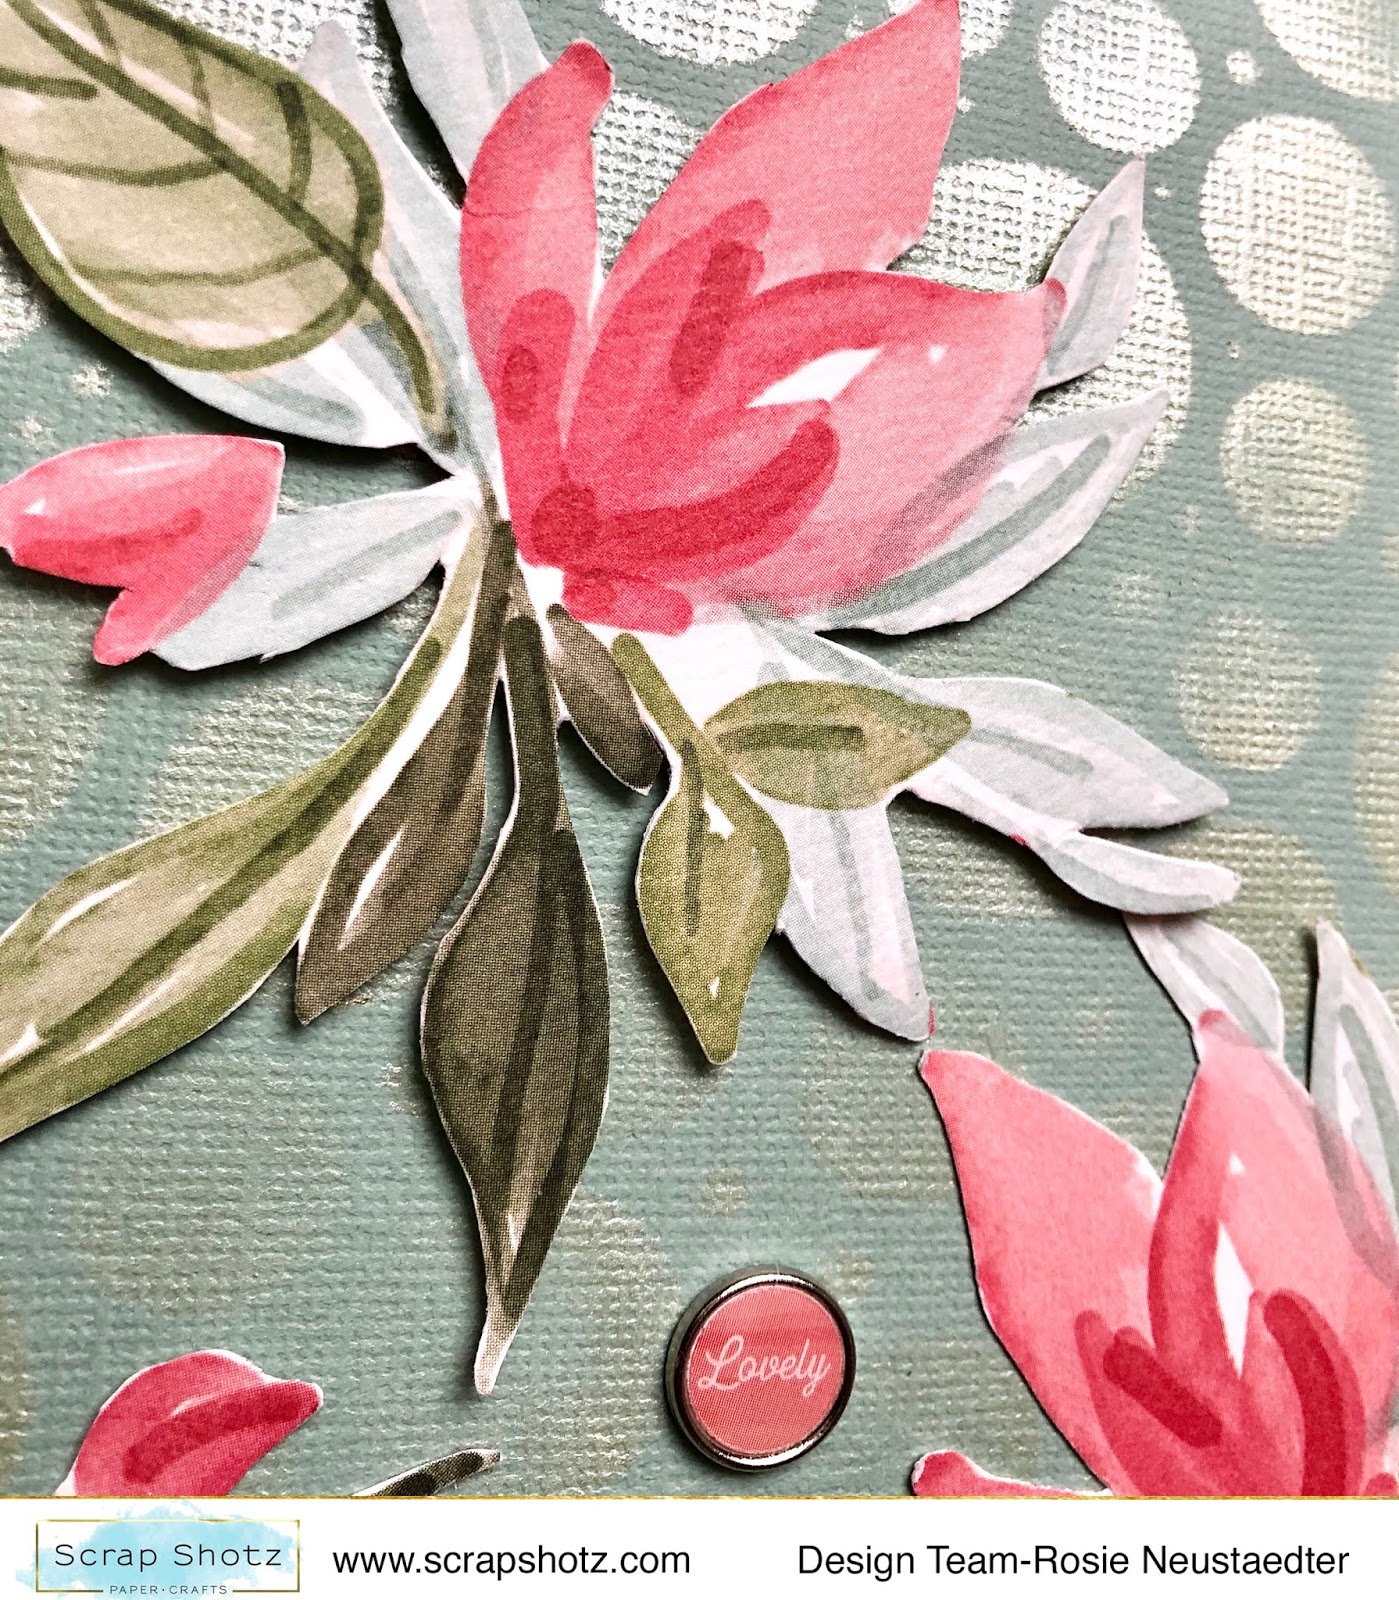
Next, I taped it to the Nicole Wright Designs Circlet Stencil and applied Mother of PearlNuvo Embellishment Mousse through the stencil.


I then arranged the fussy cut blooms to my satisfaction, adhered the larger with foam adhesive and the other two with liquid adhesive. A kit brad and enamel dots complete the card accents.


Thanks again for stopping in and please share your Scrap Shotz kit projects on the Scrap Shotz FB page or in the Scrap Shotz Paper Crafting Friends Facebook Group OR @scrapshotz, #scrapshotzkitmembers on Instagram.

Happy Crafting!


Tuesday, May 5, 2020

Scrap Shotz April Kit: Pt.2

Hi!

Rosie back again, with a few more projects using the April Farmhouse Market kit, the kit itself is sold out now but I've linked to the Single Kit purchase option above!

I'm going to start out with a couple of cards:

{click directly on the photo for the best view}


Slimline cards measure 8 1/2" x 3 1/2", are designed to fit inside a #10 business size envelope and require no additional postage. 

I created a couple here and love how they turned out.


I die cut the pink patterned paper with the Tim Holtz Alterations Courtyard die and then embellished with kit chipboard, "sentiment" cut from the kit paper and then added some shine with Pretty Pink Posh Confetti.


I cut a strip from the tags patterned paper and then layered a tag chipboard piece over the centre tag. The tag holes are embellished with Studio Katia Tiny Iridescent Bubbles.

I think this next project is my most favourite made with the kit.


This came together very quickly and the colours were perfect for that pink plush bunny ;).
I chose 6 different patterns, I'm sure at least 2 are the "b" side but I don't remember which is which, lol.


I tore the papers creating a white "border" and then layered them over each other. The photo is matted  first on white card stock and then patterned paper from the kit.


I then scattered kit brads, chipboard and PPP confetti to embellish the layout.

Thanks for stopping in! 

I'll be back later this month with one more post and I have not yet used up all the kit! 
Stay tuned for all the posts from the team!

Happy Crafting!


Thursday, February 6, 2020

January 2020 Kit: A Sketch Layout and Beautiful Journey

Hello!

Rosie back, with a couple more kit projects featuring the latest Scrap Shotz kit: Darcelle by Prima Marketing.


This layout is based on this Creative Scrapbooker Magazine sketch:


I love a grid design so this was a fun sketch to work with. I started by choosing 5 photos from a day trip we took to Lake Louise, AB and trimmed them down to 3"x3". I then cut seven 3.5"x3.5" photo mats and matted the photos, a journal block and a journal card with a quote included in the kit.


Here's a close up of the top right side of the layout and below is a close up of the bottom right with the journal block.


I have embellished the layout with chipboard pieces from the kit along with blooms from the kit.


Here you can see the journal card with the quote "in between goals is a thing called life, that has to be lived and enjoyed.".


The black glitter Thickers in the kit were perfect for the title and I added some gems and enamel dots to embellish the title area as well.


This large floral arrangement is fussy cut from the "Everything is Figureoutable" sheet. I added the off white bloom included in the kit. I love how this wintery layout came together thanks to this awesome sketch.

Next up is a project inspired by a fabulous Nathalie Desousa  layout in the Winter 2019 edition of Scrapbook and Cards Today.


I loved the angles on the inspiration layout and mimicked them here but in a vertical orientation as opposed to the horizontal orientation in the inspiration layout.

I hand cut the waves in the various kit papers and layered them over each other along the top right and mid-bottom left.


I matted the photo on patterned paper, card stock, then patterned paper again and placed it at the top right spanning the angled "borders".

I fussy cut blooms from the "Born to Make History" paper and placed them around the photo mat along with chipboard pieces and some of the kit stickers as well.

I created the title with the 'beautiful' puffy word stickers and a chipboard piece.

I've created 3 layouts so far and have five 12x12 sheets and two 12x12 sheets with only a 3.5"x3.5" square cut out of them. Lots of product for more projects so I'll be back to share those later this month.

Stay tuned to the blog as the team have LOADS of inspiration to share with you!

Happy Crafting!


Friday, September 27, 2019

More Just A Little Lovely Kit Projects

Hello Scrap Shotz friends,

Rosie back with the remainder of my of September kit projects. If you are looking for the Creative Team Blog Hop click HERE.


I fussy cut a portion of the wreath from the Around Here paper and rolled it back to create an area for this photo of my wonderful in-laws celebrating their 65th Wedding Anniversary.


I trimmed some of the paper to get a roll that was not too thick.


I backed the opening with silver glitter card stock that I inked with Tumbled Glass Distress Oxide ink, blue is the colour for a 65th anniversary. The photo is matted on black card stock and then tucked among the florals that were fussy cut.


I surrounded the photo with a wood sticker and dimensional sticker from the embellishment package. The small puffy alphas create the title and the word stickers reinforce the occasion being celebrated. I added Blue Lagoon Nuvo Glitter Drops randomly around the layout.

This is such a great kit, I made a total of 6 cards!


I inked white card stock with Picked Raspberry and Spun Sugar Distress Oxide ink, then applied Gina K White Glitz Glitter Gel through Vicki Boutin stencil, sorry I can not find the exact name of the stencil, it has lots of various sized circles.
The die cut card stock is made of two layers cut from the Mama Elephant Circular Grid die and then adhered together slightly offsetting the yellow under the green.


The die cuts are then glued to a white card stock on an angle and trimmed to fit. A kit phrase sticker serves as the sentiment and a sprinkle of Studio Katia crystals adds a little more shine.


I have inked this card with Mustard Seed and Carved Pumpkin Distess ink, then layer the Altenew Elegant Swirls stencil on top and "lifted off" ink with a wet paper towel.


The card is embellished with a gold foiled acetate flower and the sentiment is a combination of the puffy stickers and puffy alphas included in the kit.


This card was super easy to create. The "HBD" is a Stamp Market die so I cut it out of the watercolour patterned paper, ensuring I kept the insides of the B and D.
I then cut a foam panel with the die and sandwiched clear acetate between the patterned paper and foam. The insides of the B and D are glued to the front of the acetate sheet and the corresponding foam piece are glued behind the patterned paper creating the perfect channel for the shaker elements.


I laid the front piece face down, added Studio Katia clear and iridescent sequins and glued the patterned paper to the back of the foam. I was careful to get the liquid adhesive all the way to the inner edges of the letters to ensure the sequins don't escape.


After creating the shaker card I was left with the actual letters which make another super easy card. I adhered them to the foam letters and then glued them to a white card base.


I embellished the letters with florals from the kit and the card front with Studio Katia crystals and just like that, done!


I have fallen in love with the Lawn Fawn Magic Picture Changer and had coloured a number of these birthday cakes from the Lawn Fawn Birthday Before and Afters stamp set and this colour combo was perfect for the kit.
The cake is coloured with Copic Markers and of course the picture changer is cut with the die. The green frame is cut with the Magic Picture Changer Add On which is a must as it cuts the perfect sized frame.


The picture changer mat is cut from kit paper with the Lawn Fawn Just Stitching Double Rectangles.


The sentiment is created with the kit puffy alphas and phrase stickers and the card is embellished with kit enamel dots.

My final card is quick and easy one to make.


I simply trimmed leftover cuts from previous projects and adhered to white card stock. I added gold foiled acetate blooms with liquid adhesive, I spread it thinly across the die cut with my finger and you can not see any signs of it once it dries.

A phrase sticker from the kit stickers and die cut from the add on combine for the sentiment.

This kit is so inspiring all on it's own and packed full of product; the only add-on I used was the die cut add on. I created a total of 5 layouts and 6 cards and still had product leftover.

Thanks for taking a look!
