Showing posts with label scrapbooking layouts. Show all posts

Tuesday, October 17, 2023

49 and Market Christmas Spectacular 2023!

Hello Scrap Shotz Friends!

Sharing a couple of projects using the awesome 49 and Market Christmas Spectacular 2023! 


First up is this Kaisercraft Advent Calendar, this is a DIY advent calendar which provides all the pieces for you to assemble and then decorate with your choice of products. 

Kaisercraft no longer produces these calendars so if you want one grab it quickly!  

You can save yourself a bunch and take advantage of the PICK UP ONLY pricing if you're in Calgary!

I painted all the pieces, excluding the boxes, with black acrylic paint and then assembled. 

The individual boxes are assembled and covered with Christmas Spectacular 2023 6x8 papers, Scor-Tape and liquid adhesive.


After covering the boxes with patterned paper, I sanded the edges and inked them with Vintage Photo Distress Ink, you can use any dark brown ink for this. 

The date numbers are a combination of fussy cut and trimmed numbers from the Christmas Spectacular 2023 Ephemera Ticketed. 


Boxes are also embellished with the Washi Tape Postage Roll, Chipboard Set and Acetate Foliage.


The centre portion is covered with paper trimmed from the 12x12 collection pack (background and word strip). Hanging holly and potted tree are from Laser Cut Outs Greenery. The present is fussy cut from the Laser Cut Outs Greenery packaging. 

Next up is this layout which is based on this card sketch from Scrapbook and Cards Today.


I love how many fun, coordinating products 49 and Market offers for each of their lines!

The background is from the 12x12 collection pack which I trimmed and matted on a black cardstock base. The photos are cut into circles with a circle cutter and matted on cardstock cut with nesting circle dies.


The photo mats are layered over cards from the Ticketed Ephemera, the left side of the layout holds borders of Washi Tape Roll-Postage along with Film Strip Frames.


I've also added Acetate Foliage, pieces from the Chipboard Set and a heart and dot from the Wishing Bubbles & Baubles.

Thanks for stopping in!

Saturday, January 8, 2022

Fernwood and A Paper Crafting Challenge!

 Hello Friends!

Rosie here with another layout I created using the November Scrap Shotz Kit, the kit itself is sold out but the entire line is available open stock.

You can all the Fernwood available in the store HERE.


This was based on the Creative Scrapbooker Magazine December Sketch.

I fussy cut the flowers from the Flora and Fauna paper and added stickers and die cuts with foam tape.


You can add colour to the kit Thickers but I decided to leave them white.


Have you joined the Scrap Shotz Paper Crafting Group on Facebook? 

There is a brand new challenge running for January and we'd love to have you join in, all you have to do is create a project with something NEW, either a product or technique that is new to you.

I created this card with products that I purchased last year but had not yet used:


I embossed kraft card stock with the Altenew Deck Planks 3D Embossing Folder, then layered blooms stamped and heat embossed from the Fernwood InspiringAcrylic Stamp Set. The blooms are coloured with Vicki Boutin Gel Crayons and a sticker from the Fernwood November kit completes the sentiment.

There is a prize up for grabs as well so click on the link above to head to the group and join the challenge!

Tuesday, December 7, 2021

Vicki Boutin Fernwood-November Kit | Make Today Count

Hello!

Rosie back with another project featuring the November Kit  and I'm going to walk you through how I put this layout together.

I started with the Gather paper in the kit:


I then added some black splatters with the Altenew Jet Black Watercolor Brush Marker:


Next, I added stickers and ephemera from the kit and the Icon Ephemera I purchased as part of the Preorder Bundle:


I adhered the majority of die cuts and stickers with foam tape, filling in the "wreath" and then added photos and journaling.

The journal card is from the Journaling Ephemera pack included in the kit.


The chipboard letter Thickers are customizable so you can leave them white or add your choice of colour.

I inked them lightly and then added black dots with the Altenew Jet Black Watercolor Brushmarker:


The two strips of paper the letters are sitting on are the upc strips from the top of the 12x12 sheets, the backside are printed fully with patterns so you can use them rather than just throwing them away.


This is my third layout with the kit and I still have 7 sheets of patterned paper left so this kit is going to go a long ways! 


Sunday, December 5, 2021

November '21 Kit: Discover Pure Happiness

 Hello Friends!

Above is not only the title of my project but what I feel every time I sit down to create with a monthly kit!

Sandy takes all the guessing on what works together out of the equation by doing the work you! 

You never have to search for the 'right' colour of cardstock in your stash, Scrap Shotz does that for you.


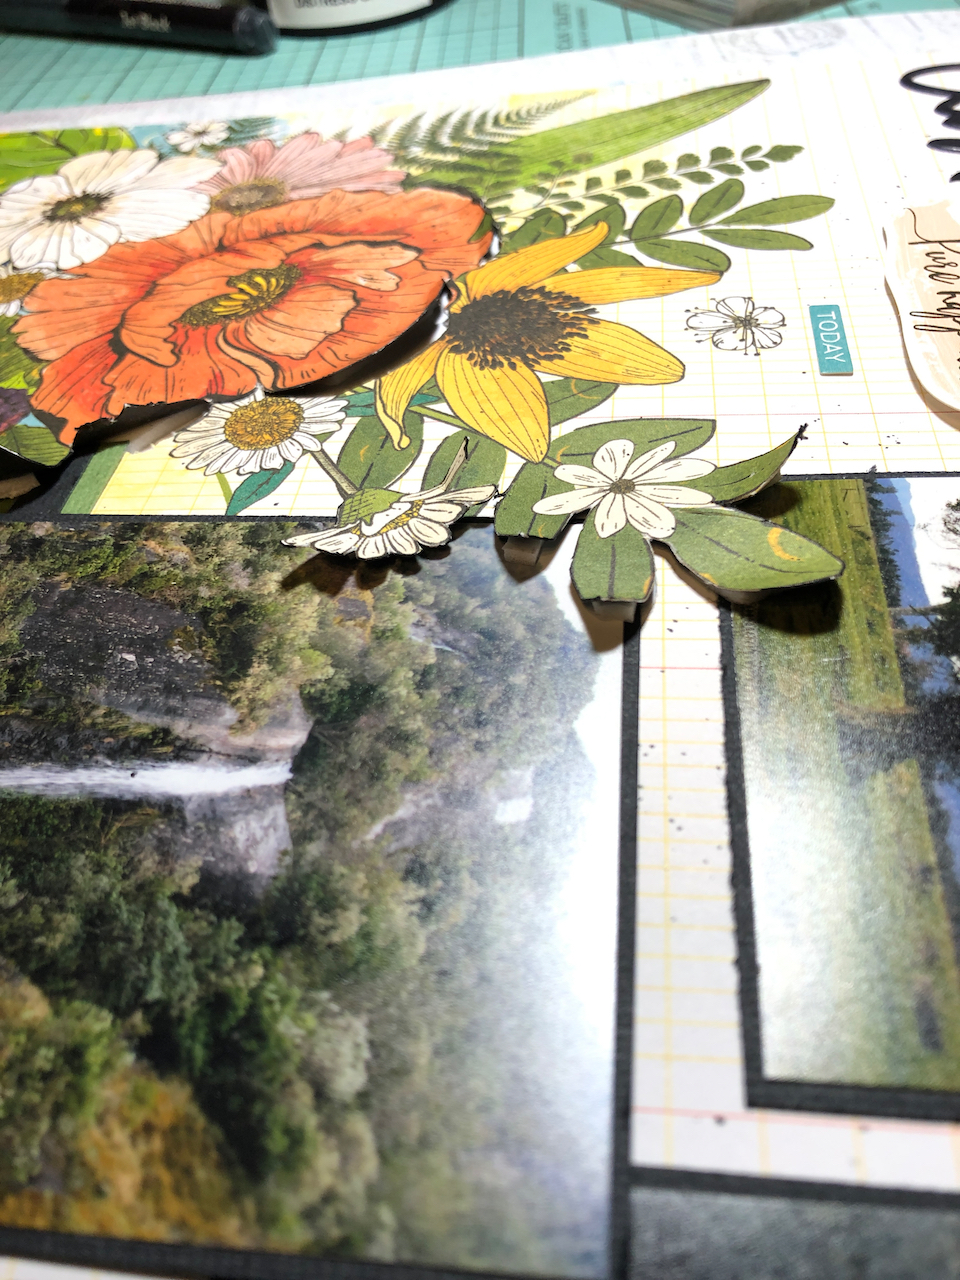
This patterned paper is printed with the large floral cluster in the bottom left and I didn't want to cover that up so I fussy cut around portions of the image with a craft knife and slid the photos underneath.


I also added foam tape under the fussy cut pieces.


The black splatters are created with the Altenew Jet Black Watercolour Brushmarker from my stash and I've curled up the edges of the fussy cut images.

The title is built by combining a Puffy Thicker and stickers from the kit, the butterfly and tall foliage are from the the Fernwood Icon Ephemera.

Pop on over to the store to see all the great products available, lots of time to get your Christmas Wish List together :)

STORE CLICK HERE


Friday, December 3, 2021

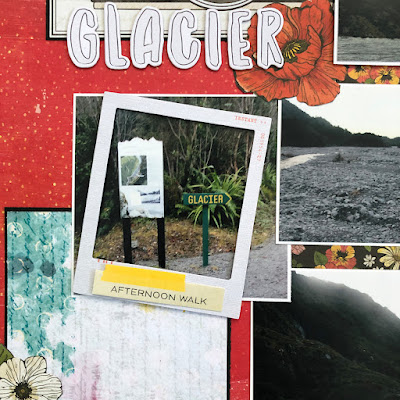
November Kit Club: Vicki Boutin Fernwood!

 Hello Scrap Shotz Friends!

Rosie here and I'm lucky to be playing with the November kit featuring Vicki Boutin's Fernwood line!


So Many Wonderful Things

Lots of fabulous product in this kit and let me start out by sharing a layout I created during a recent Facebook Live (click the link if you'd like to watch the video):


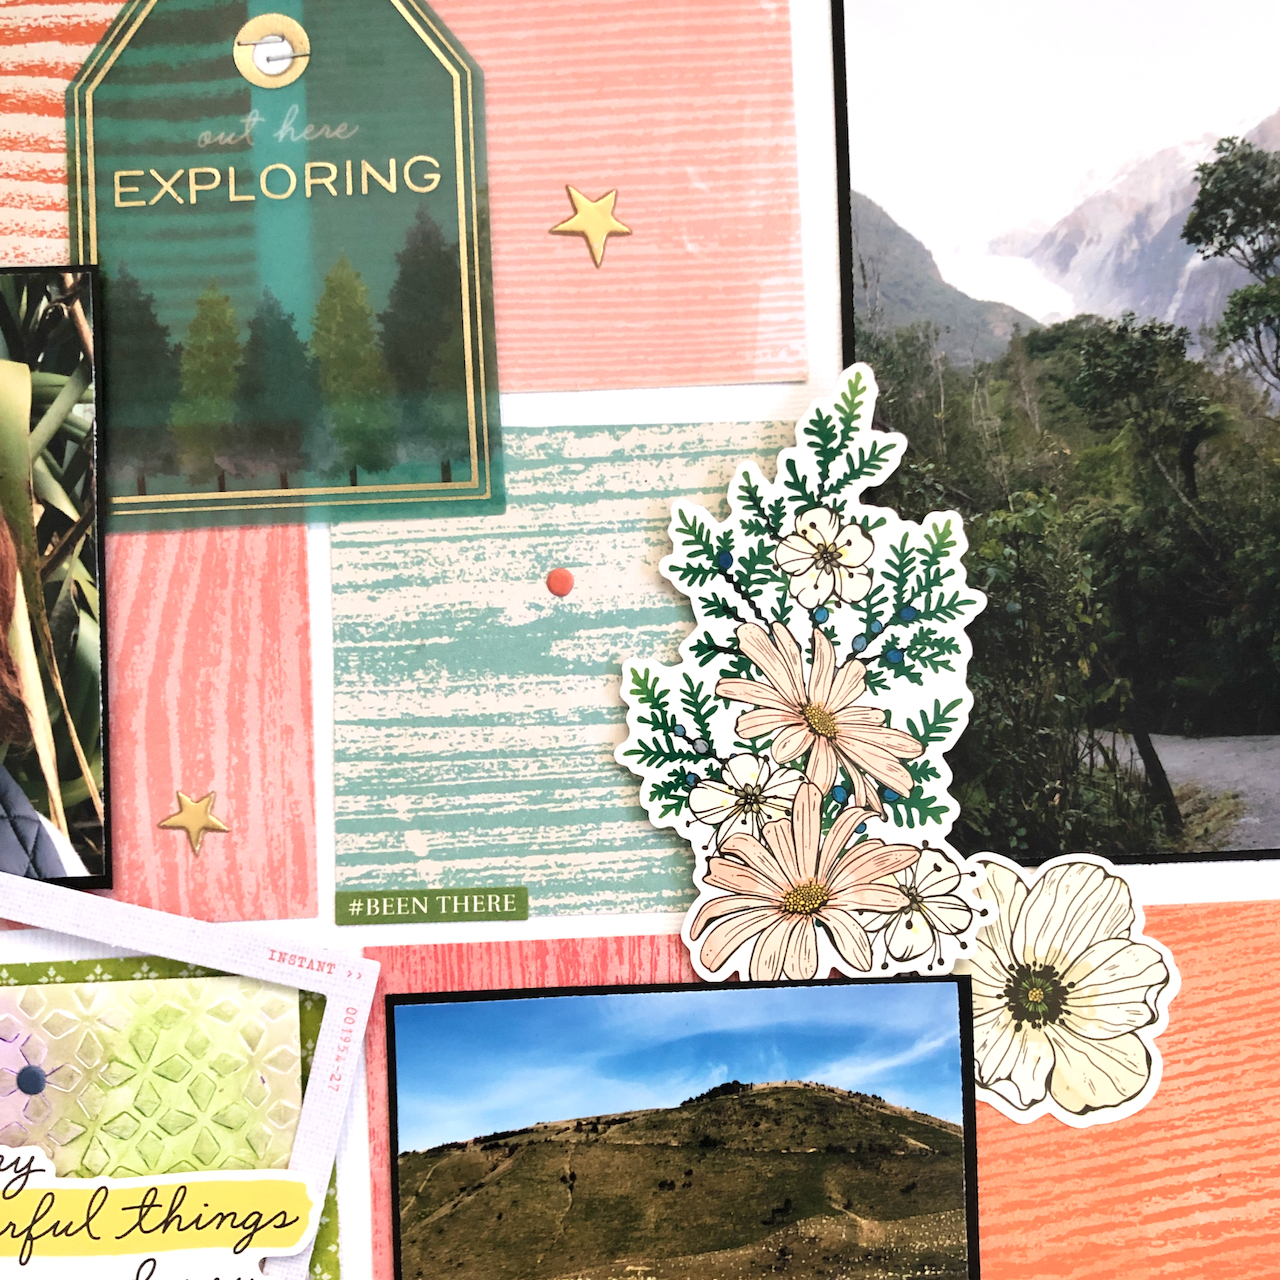
I cut apart a sheet of the kit paper that was printed in a grid pattern and recreated it on white card stock popping up some of the squares with foam tape. 


The cardstock piece "framed" in the photo is a piece of Vicki Boutin Foundations Paper that has been dry embossed with a stencil from the kit and then colour added with the Ranger *Limited Edition* Distress Mica Crayons.


Ephemera, stickers Thickers and Puffy Thickers from the kit embellish the layout. The kit has a great selection of Fernwood products in it but if you want it all, all the products are available open stock in the store!

Purchase Fernwood Products HERE

Go After Your Dreams


I applied white texture paste through the kit fern stencil on Ranger-Inkessentials Specialty Stamping Paper. Once the paste dried, I scribbled Hocus Pocus, Bubbling Cauldron and Crooked Broomstick Distress Mica Crayons over the paste, blending out with my fingers. I continued apply the crayons and blending until I was happy with the results. 

I trimmed the panel and before adhering to a piece of kit patterned paper and then an A2- 4 1/4" x 5 1/2" card base from the kit cardstock, I spritzed it with Distress Resist Spray then misted with a Glitter Duster and Tinsel Distress Glitter. Honestly I thought the Glitter Duster was silly the first time I saw it but after watching Tim Holtz demo it I had to pick one up and it is fantastic at misting out the fine glitter!

Lastly, I popped up one of the kit stickers with foam tape for the sentiment.

There's still time to pick up a kit if you want this line and I'll be sharing more kit projects as well as projects combing the kit and more of the fabulous products in the Fernwood line!

With all the recent shipping issues we just barely get the current out before it's time for next month's kit so if you're interested in the kit program the add on's are up for the December kit featuring Simple Stories Vintage Weathered Garden, click HERE to check it out as well as all the new items in the shop as of December 1.


Monday, May 10, 2021

Scrap Shotz April Kit "Keeping It Real" by Pinkfresh Studio

 Hello Scrap Shotz Friends!

Rosie here with the first of a few projects using the April kit. 

You all loved this kit and the add-ons so much that we had to scrape together some bits and pieces to go with the collection kit I had ordered separately to put together some projects but it's all good! 

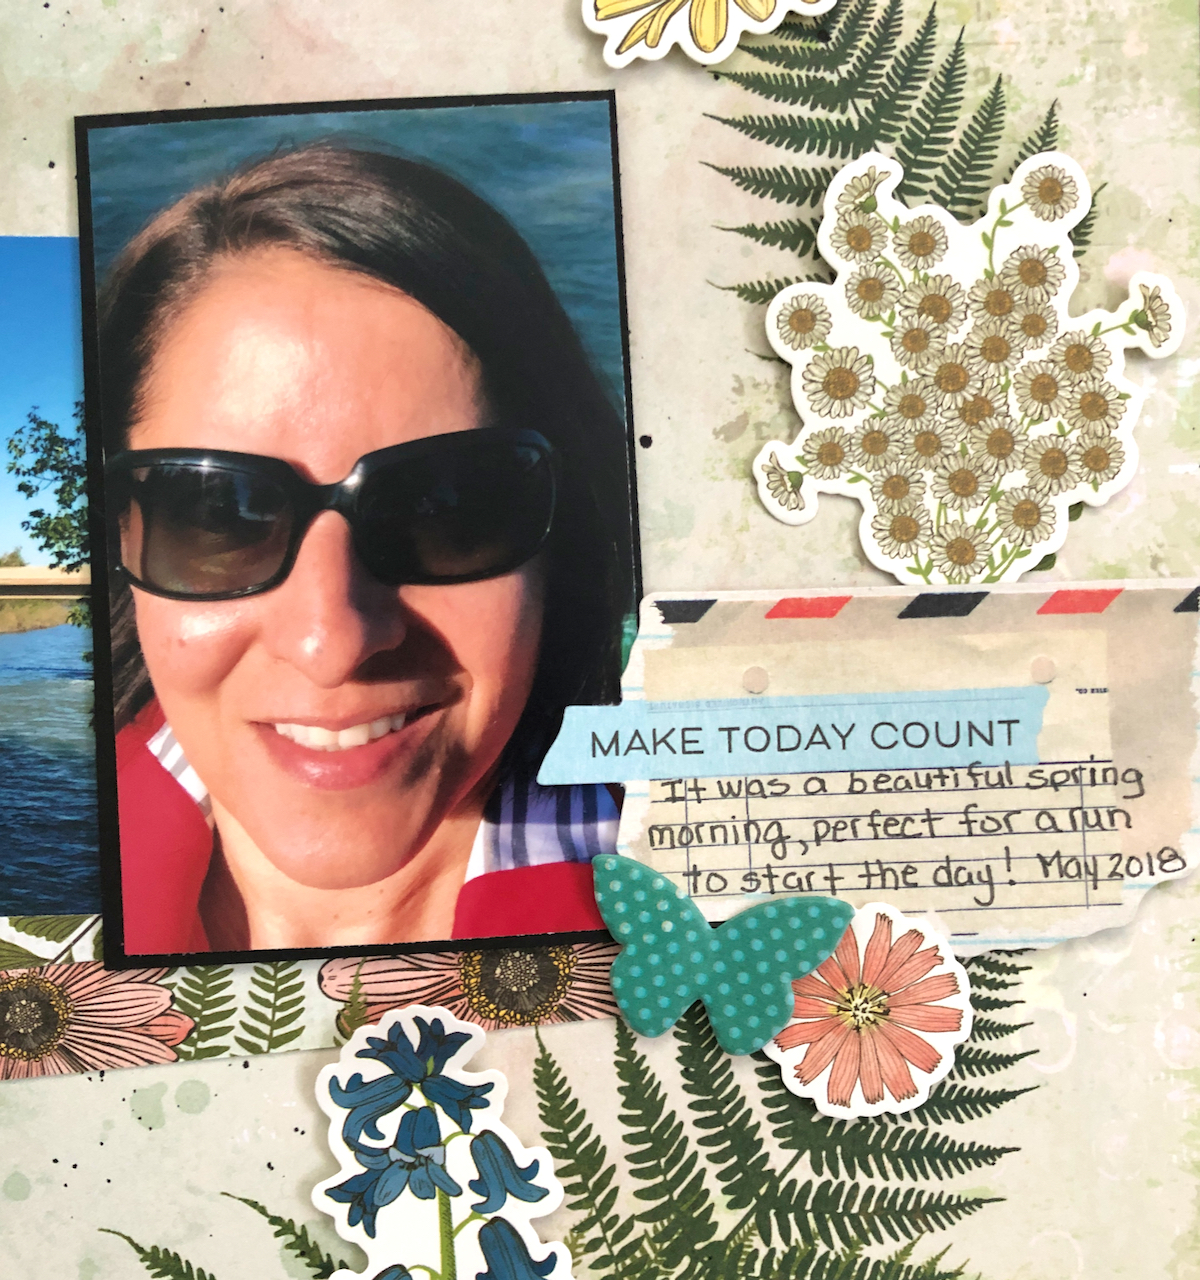
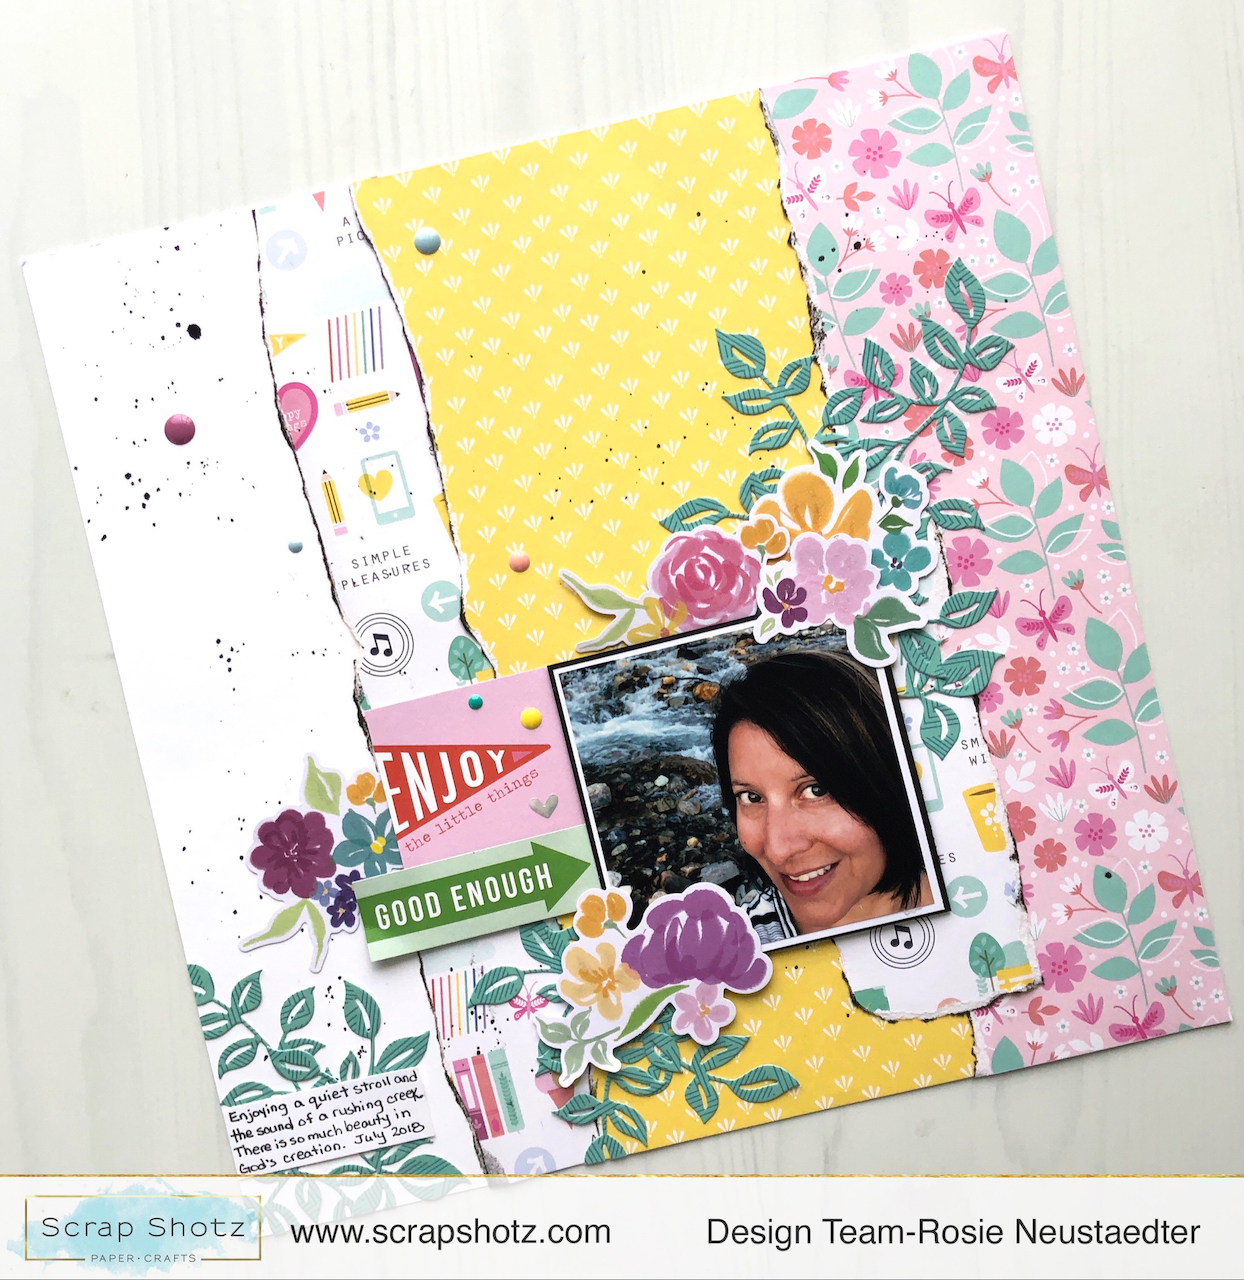
I'm thrilled to bring you some inspiration for your kit starting with this layout that was also inspired by the Creative Scrapbooker Magazine-V.I.P. May challenge "Scrapbook A Photo of You".


The patterns and colours in this paper line are so modern and fresh and super easy to work with.

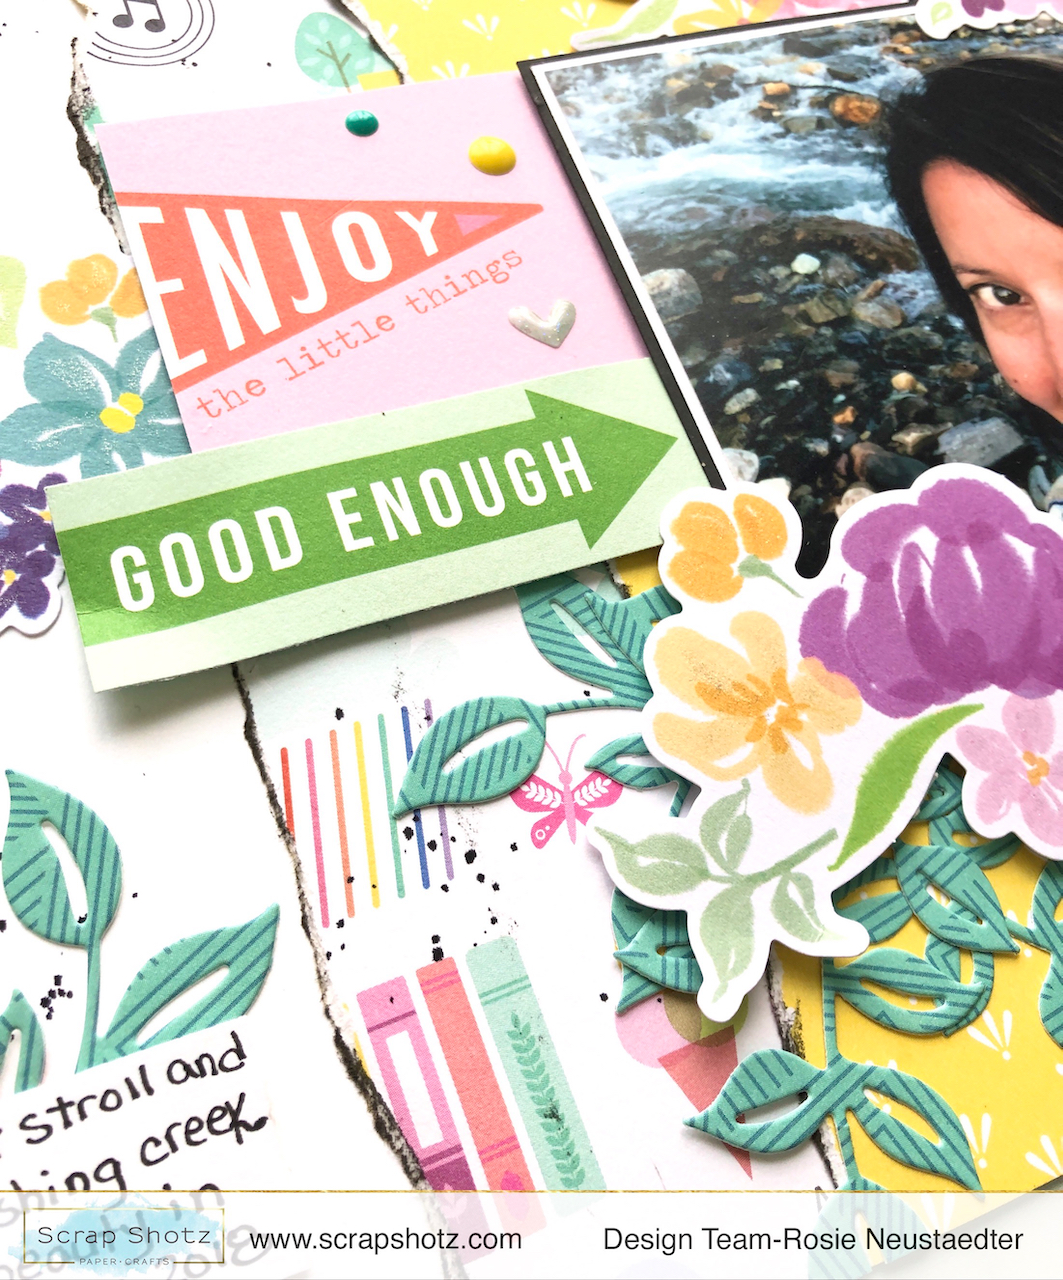
I tore the edges of the patterned paper and inked with a dark grey ink then layered them leaving a white border on the left side and than splattered black in with the Altenew Jet Black watecolour brushmarker.


The green leaves are die cut with the Pink Fresh Studio Curvy Leaves Die Set from the Reality Check paper and then layered them under the top right and bottom left corner of the photo that is double matted and then adhered with Studio Katia Foam Tape. I also layered florals from the Keeping It Real Floral Ephemera pack.

Enjoy the Little Things and Good Enough are fussy cut from the Reality Check paper.


This layout came together fairly quickly so I'm off to work on some more projects!

 Please share your April Kit projects to inspire others, either on Instagram, tag @scrapshotz or in the Facebook Scrap Shotz Paper Crafting Group and also tag your project #sszshares to give us permission to share your creation on social media :).

I'll be back with more projects with this kit and the team will also be sharing May kit projects and showcasing store products in the next few weeks.

Thanks for stopping in, Happy Crafting!


Thursday, February 11, 2021

Using Sketches with the Simple Stories Hello Today Collection!

 Hello friends! Karla back today with two layouts using the amazing Hello Today collection from Simple Stories! I just love how they've created this collection!! You can use the 12x12 Collection Pack, which comes with a paper for each month of the year and a full size sticker sheet, to do a whole year's worth of scrapbooking. You can cut apart the wonderful journaling cards and use them in a Flipbook or Project Life type pocket album - or you can use them on 12x12 layouts as I'm doing here!! Or if you decided you wanted to use the B sides you'll find beautiful patterns to mix and match. You can find a VIDEO below so you'll see exactly how this page came together! (Plus be sure to read to the bottom where you can find more exciting NEWS!)


I decided to use both the sketches from January and February for my layouts! First up - and I love this design - is the January Sketch from the Creative Scrapbooker Magazine Sketchy Challenge Facebook Group!

I love the foam letters and I love how well they stick to the page!! There are so many great elements in this collection - images you'll definitely be able to use all year! You can even pick up the 12x12 Combo Sticker Sheet separately - or if you want an extra with your collection pack ;) 


I love this sketch for placing my photos in a grid! I printed my photos with my Canon Selphy, using the Project Life app to collage them to 3x4's. My daughter got a new Instax Printer for Christmas and she sweetly gave me her little Polaroid pic!


I combined Bits & Pieces Ephemera with Puffy Stickers and the amazing (it's huge!!) Sticker Book for lots of fun details around the page! 


I added some splashes of Distress Oxide Sprays in Lucky Clover and Speckled Egg as well as some of the awesome Avery Elle White Ink Spray for a splash of colour! 


Be sure to check out the Process VIDEO HERE!


I was having so much fun with this collection that I had to do a second 12x12 layout with the January Paper from the 12x12 Collection Pack and all the fun coordinating accessories! This page is actually one using photos in December - but you can see it's easy to mix and match cards from the sheets of patterned paper. 


Here's a look at the February Sketch! I would never have thought to do a title wrapping around my photos - but I love how it turned out!


I used a 6x8 sheet of the Paper Pad to mat my photos on and grabbed stickers to create my title. The 'Birthday' word is actually from a Thickers set from my stash - but I felt like the colours matched so I went for it! 


I added some stickers from the amazing Sticker Book and 12x12 Sticker Sheet (either from the Collection Pack or purchased separately) and layered pretty flowers and a border sticker.


I decided to add in a bit of mixed media with the Lucky Clover and Speckled Egg Distress Oxide Sprays again and then continued my title elements around.


I wrote in my journaling on one of the cut apart cards that actually said 'Goals' at the top - and since I didn't want that on this page I used the numbers from the Bits & Pieces Ephemera to layer on. I really love that I actually did a page about me, hehe!

Thanks so much for stopping by!! I'll be back next week to share how I'm using this collection in a 2021 Flipbook as well. Be sure to check out the Hello Today collection in the Scrap Shotz Store! Remember - if anything is out of stock you can sign up to be notified by email as soon as it is back in!!

And don't forget today is our Facebook Live at 3 pm MST!! That means I'll be showing you lots of new goodies we have in the store AND we will make a fun card today using Deco Foil and Toner Sheets - along with some adorable Mama Elephant Toasty Friends stamps!! 

And PS 😉 We are having a fabulous FREE Online Crop in our Scrap Shotz Paper Crafting Facebook Group on February 19th & 20th!! Be sure to join the group so you don't miss out! Have a wonderful week and weekend ahead friends!


Tuesday, March 10, 2020

Pinkfresh Studio - Super Cool

Hey gang! I am sharing my layouts today created with the bright, fun, Pinkfresh Studio paper line  called "Super Cool." Living up to it's name, it uses lots of trendy icons, shapes and images that are currently in fashion and very "cool." Check out the line here!

The circles in this border contain lots of interesting images. They reminded me of bubbles, so they were an obvious fit for this fun bath time photo! Watching TV in the tub definitely gets a "thumbs-up" and a "Like" from me! I cut out and popped up a few of the elements in the right hand border, and used my typewriter for the journaling spot. Sequins from Wild Whisper Designs and Pinkfresh enamel dots in the line continued the "bubble" effect, and the "Super Cool" Puffy Alpha Thickers make titling a breeze.

For this layout, I used a wide strip of the teen verbiage patterned paper along with some of the acetate speech bubbles that come in the line.  I especially loved that the words are so positive and encouraging. I thought that hand-writing the title gave it more of a personal feel, conveying just how proud of this young man we are. And that smile!!!! ❤❤❤

Thanks for having a look! You can find this great line in the Scrapshotz store here.