Showing posts with label vickiboutinmixedmedia. Show all posts

Sunday, April 25, 2021

Vicki Boutin's Color Study!

Hello friends! Karla back today with some fun projects to share!! I was so excited to get to play with the New Vicki Boutin Color Study collection!! It is so bright and fun and I had a great time pairing it with other supplies to make some really awesome projects. First, I created a 12x12 scrapbook layout using the Color Study 6x8 Paper Pad and Vicki's Foundations Heavyweight Mixed Media Paper. Honestly, I don't know why I've never used this Foundations paper before!! It has always been popular and sells out so quickly, so I was really excited to finally get some. Let me tell you, after one layout, I won't be able to go back! If you're adding any kind of wet medium it's so awesome - and if you just want a nice sturdy white background paper it's perfect as well! 


I matted my photos with the pretty purple paper from the 6x8 Paper Pad and added some glittery detail with the Cosmic Shimmer Glitter Kiss in Lilac. You'll also notice some stamping on the background using the small dot stamp from the Hello Stamp Set and the Lilac Glitter Kiss. If you want to check out more ways to use the Cosmic Shimmer Creative Expressions products, check out this VIDEO HERE


I also layered various mixed media elements before adding the photos, including dry brushing and doing a plastic packaging watercolor kiss method with the new Vicki Boutin Gel Crayons (be sure to check out the video below to see all kinds of fun techniques!), using the Color Study Fresh Stencils with Denim Shimmer Shaker, which is a mica powder that creates a beautiful shimmery paint when you add water, and creating splatters with the Pure Gold Shimmer Shaker powder.


 I used stickers from the fabulous Sticker Book which is full of 171 Stickers on 6 sheets!! I love that there are words, images and sentiments included! I added some stamped spotches from the It's All Good Stamp Set and the cool colour wheel stamp in the Hello Stamp Set using Distress Oxide Ink


I fussy cut the paper and clip image from the journaling cards in the 6x8 paper pad and layered it on to add my journaling and added a title using the Color Study The Details Thicker pack. I love all the little dots and fun words in this pack!


Next, while I had all these supplies out, I decided to create a fun, bright card! I added all the mixed media elements and stamping that I used on my layout above onto a white card base and then layered it onto a piece of cardstock edged with Glitter Kiss to create a fabulous glittery paper effect!!


I fussy cut the paint image from another journaling card in the Color Study 6x8 Paper Pad and added a sentiment and puffy heart elements using the Color Study The Details Thicker pack.


I finished the card off with a sentiment strip and some stickers from the Sticker Book and used a black pen to add some hand drawn details. 


I love that there are so many fun products to play with in this collection, whether you area a cardmaker or scrapbooker - or both!!


Here's a look at some swatches I made using the New Vicki Boutin Gel Crayons


and various ways you can use them shown in the video below! (Don't forget to sign up to be notified by email when they are back in stock if they have sold in the store!)


I also created this slimline Hugs card with one of the Mama Elephant Slim die sets. You can find them in the Scrap Shotz shop HERE. They are really fun to work with and work well together. Don't forget if something is out of stock you can add your email to be one of the first to be notified with it comes back in. I stencilled over the beautiful Color Study Paper using the floral stencil in the Fresh Color Study Stencil Pack and Distress Oxide Inks. There are two new stencil packs in this collection and they are really such an amazing price point with beautiful designs!


I added stamping using the It's All Good Stamp Set. I just love the images included, and there again are two sets available in the Color Study Collection - at a really great price!! I diecut the HUGS from the Memory Box Twiggy Hugs Die. Memory Box has beautiful dies and I love the font on this sentiment. I cut four layers to create some dimension and layered it over some vellum to allow the beautiful paper to show through. I used some Crystal Glaze on top of the butterfly, which was stamped with Distress Oxide, to give it some shine and texture.  


I used the fun circle paper with the flowers in the It's All Good Stamp Set and heat embossed with white embossing powder. I added some diecut leaves and used Tonic Nuvo Dream Drops in the flower centers to finish them off.


Here's a video where you can check out just how this card came together! If you want to check out the full Facebook LIVE replay, you can find that HERE


Thanks so much for stopping by! Be sure to check out the amazing Vicki Boutin Color Study collection in the Scrap Shotz Store. And don't forget to set your reminder for Thursdays at 3 pm MST when I do a Facebook Live each week doing demos using fun new products, sharing techniques and showing you what is new in the shop! Have an amazing, crafty week friends!

Monday, February 12, 2018

All the Good Things Scrap Shotz February Kit

Hello!

Rosie here, back to share a couple more projects I created with the Scrap Shotz February kit. It's been so much fun working with fellow Canadian Vicki Boutin's brand spanking new line😁. This bright and cheery line is also very versatile especially if you purchase some of the fabulous add ons and use Vicki products in your stash!

Let's take a look at my first project:


This layout was inspired by the blues in the photo which I did not use for this layout. I decided to use these Vicki Boutin paints on the Vicki Boutin Mixed Media paper with a Prima 12x12 stencil from my stash. 
The photo had me thinking about an ombre look so I spread Daiquiri Ice paint with a paper towel through my stencil. I then mixed Saltwater Taffy paint with Daiquiri Ice paint for the mid-tone blue again with a paper towel through the stencil. Lastly, I combined the Saltwater Taffy paint with the Plum Pudding paint to create the denim blue bottom portion.

Once dry, I trimmed the painted background on all 4 sides and adhered to a kit patterned paper. Here's a closer look at the layout: 


I fussy cut the birds from one of the kit patterned papers, popped them up and then coated with a Spectrum Noir glitter pen.

 Silver thread was added as an accent under the embellishment cluster.

I created a visual triangle with the dark orange paper from the top left of the photo to the bottom right, adding punched circles from the dark orange paper to the lower right edge of the photo


Here you can see how the black Thickers title pops on this stencilled paint background. 

Let's take a look at the upper left portion of the layout:


Fussy cut birds accent this portion of the layout and let's see if you can see the aforementioned sparkle pen on the birds:


Below is a close-up of the journal label and fussy cut accent layered over silver thread.


Here is one final look at the layout, I hope you've also noticed the Studio Katia Crystal Fusion sequins sprinkled throughout.


Next up is my kit sketch layout and this month the team is using this Stuck?! Sketches Feb.1 sketch:


and here is my version:


This photo has been hanging around my crafty area for a few months and the moment I saw this kit I knew I would use this photo with it.


You can see I stayed fairly close to the sketch, creating a "doily" out of kit patterned paper inked with Blueprint Sketch Distress Oxide Ink and then spritzed with water.


Distress Ink Spray in Hickory Smoke was splattered on the ledger background paper along with Mr.Huey's Spray in Gold. Patterned paper punched circles, using a punch from my stash, frame the circular photo mat.


 I used Studio Katia Gold Foil sequins around the top left and bottom right portions of the layout.


These gold words are Thickers included in the kit.


Here is a close up look at the layout:


 My mind is still whirling with ideas for projects so keep tuned into the blog because I will be sharing them here.

Thanks for stopping in a taking a look😊.


Friday, February 9, 2018

Scrap Shotz February Kit - Vicki Boutin All the Good Things

Hello!

I am happy to share my first Scrap Shotz February kit project with you all, don't forget that there are more to come so please bookmark me or keep stopping in, here is my first project :


I used my Silhouette Cameo to cut the large letters that I backed with the kit patterned papers.


I fussy cut the blooms from the kit patterned paper and embellished with black gems from my stash. The title was cut with my Silhouette Cameo machine.


Enamel dots from the kit and black gems from my stash accent the blooms and layout in general :).


This is only my first project withe this awesome Scrap Shotz kit, I will have lots more upcoming!


Sunday, June 18, 2017

Currently

**Please Note: Photobucket very recently changed their terms of service and no longer supports direct linking for 3rd party hosting of images. To view the images not displayed, hover and right click over image, then choose either "open image in new window" or "open link in new window" **
Hello and welcome back to the blog for another kit project featuring the Scrap Shotz May Kit😊.


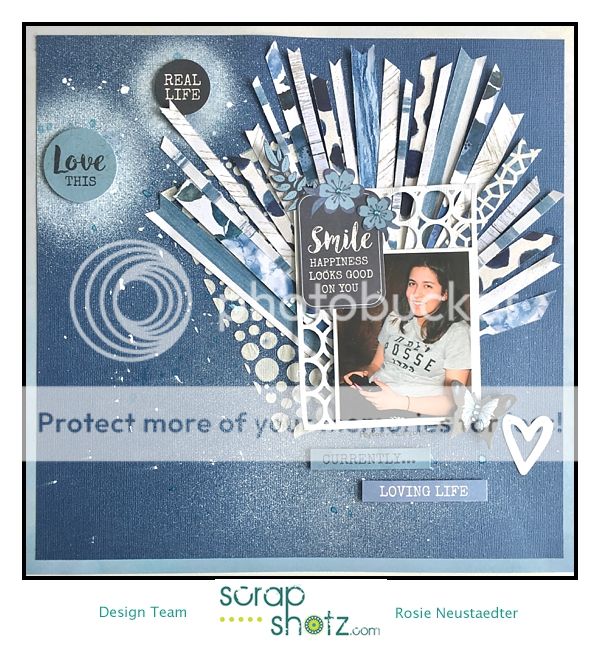
I began this layout with laying out paper strips on card stock paper. As I laid out the pieces and then placed the photo on top I felt it needed a little something so I moved the strips and applied Vicki Boutin Iridescent Glaze through a Vicki Boutin Stencil from the March Scrap Shotz kit, kits for March are still available if you'd like to get your hands on one.

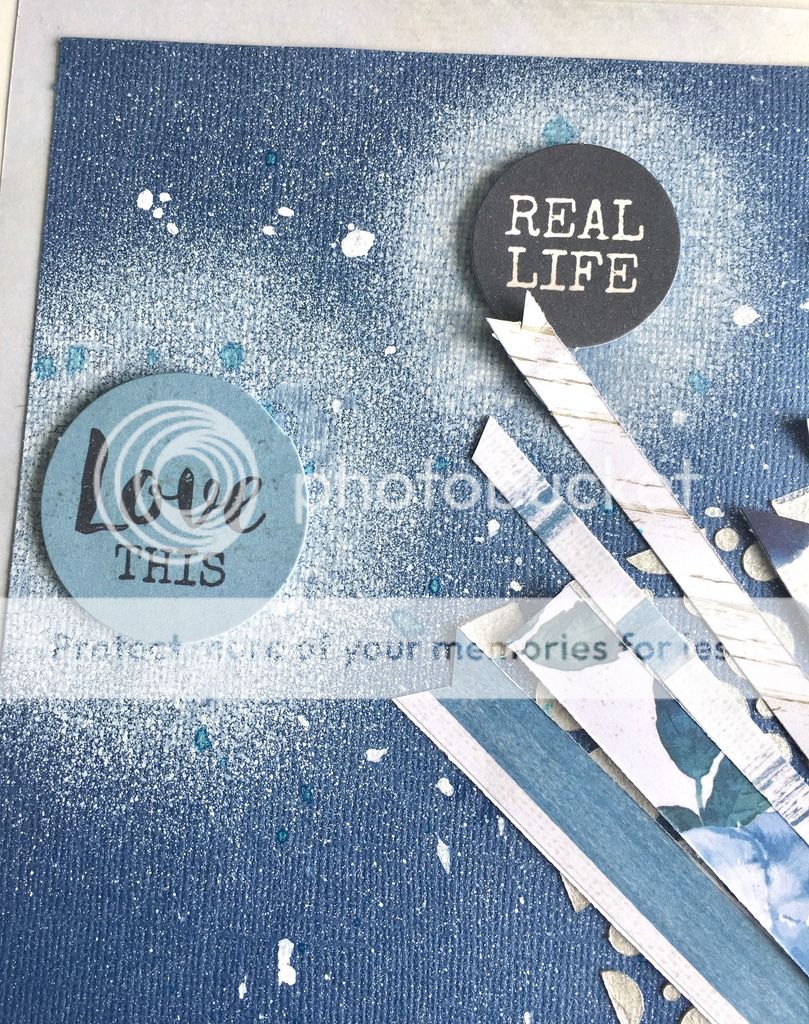
After the glaze dried I decided where my photo would go and then sprayed white mist in the upper left and lower right of the page and let dry. Once dry I arranged and adhered the paper strips as desired, some with foam tape to add visual interest.


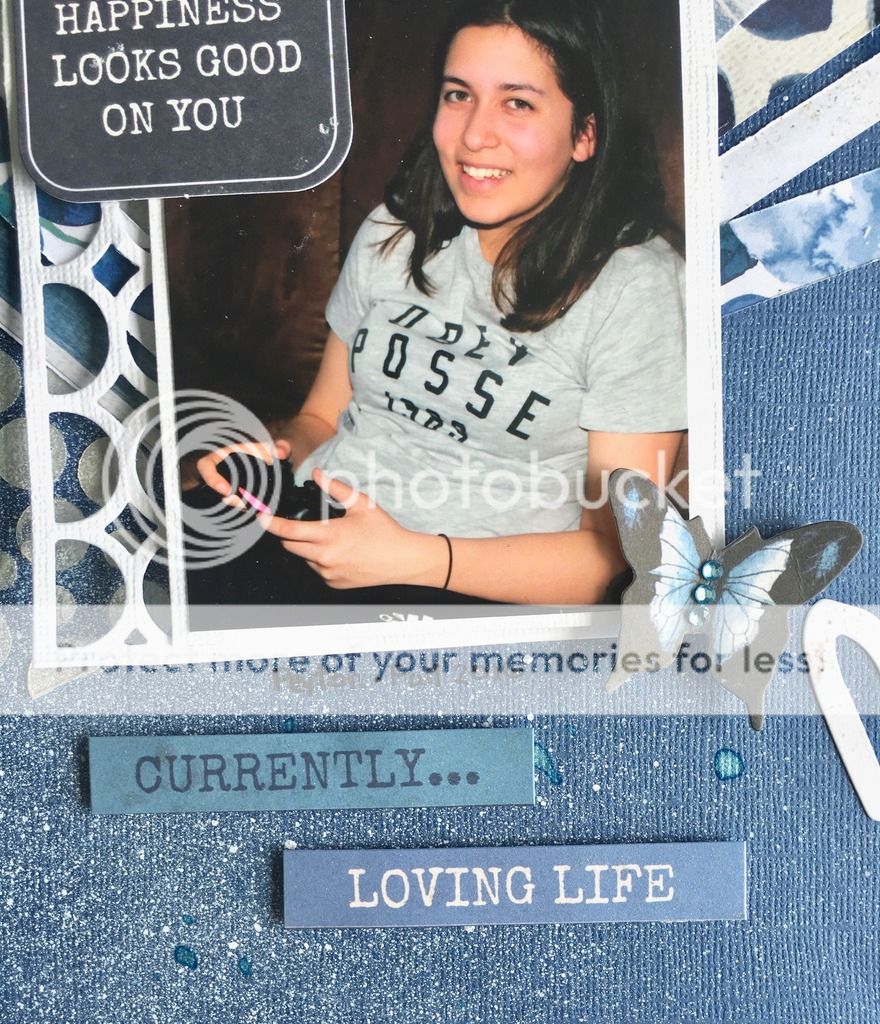
I then placed the photo where I wanted but felt like it got lost on the paper strips so I die cut a piece of white card stock with a Taylored Expression die and used that die cut as a mat under the photo.

The photo mat is embellished with kit die cuts and kit gems; kit stickers are attached with foam tape to create the page title:


Kit die cuts complete the layout.

The misted background looks tailored made for the die cuts however this was a happy accident. I was going for a nice "misting" and ended up with 2 distinct "sprays" but they became the perfect place for these kit die cuts.

This kit is still available for subscription purchase  along with all the add ons-with the exception of the stamp which is sold out.
Just a reminder that a kit subscription commits you to 3 months of kits ONLY, single purchase kits will go on sale after the 21st of the month if available.

Thanks for spending some time here! Follow us on Facebook and Instagram to stay up to date on what's in the store, sales, our kit program and don't forget if you see something you just "gotta have" on the web, contact Sandy at info@scrapshotz.com to place a special order.
SaveSave
SaveSave
SaveSaveSaveSaveSaveSaveSaveSave

Saturday, May 20, 2017

Travel Fun

**Please Note: Photobucket very recently changed their terms of service and no longer supports direct linking for 3rd party hosting of images. To view the images not displayed, hover and right click over image, then choose either "open image in new window" or "open link in new window" **


Greetings!

This Scrap Shotz April 2017 Kit is quite versatile as I hope you've seen from the previous posts. 

Today I have a travel layout to share with you:

My darling husband and myself took a trip to Texas, him to attend a Dallas Cowboys game with his cousins and a friend.  Myself and our cousin's wife, S., tagged along for the stadium tour and went shopping on game day. We had a fabulous time, especially taking in those El Jefe (tequila/martini) drinks at On the Border Grill (I think??, can't find it online). This layout above features a photo of our nighttime approach to land at Dallas/Fort Worth airport and a selfie of myself and my hubby.

A close up of the journal spot and the WRMK frame board frame highlighting the Fort Worth/Dallas portion of the map patterned paper along with the travel die cut sticker.
I added a couple of portions of the Cowboys schedule to finish off the layout.

Thanks for stopping in, we so appreciate the time to take to read our posts! Cheers!

Thursday, May 18, 2017

12 Be Fearless-Scrap Shotz April 2017 Kit-Interactive

**Please Note: Photobucket very recently changed their terms of service and no longer supports direct linking for 3rd party hosting of images. To view the images not displayed, hover and right click over image, then choose either "open image in new window" or "open link in new window" **

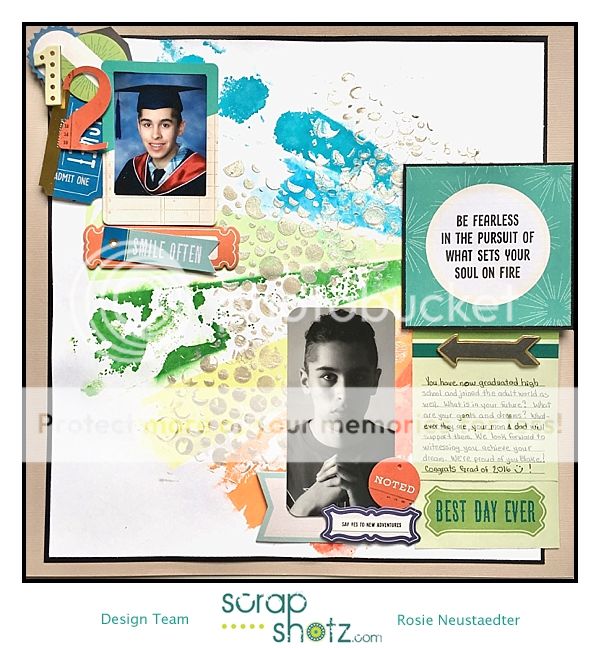
Welcome to another Scrap Shotz April 2017 Kit project and the star of this layout is my first grade 12 graduate.

I'll be honest, I ordered at least one copy of every image taken during my son's grad photo shoot. He graciously gave me permission to scrap them and post them online.
I was asked to create a sample using the Vicki Boutin reactive tissue for the Scrap Shotz NSD crop and this was what I camp up with.
At this point I was just figuring out the reactive tissue and handcut sunburst rays from various colours of tissue, laid down on Bazzil heavyweight card stock and then misted with water.
I didn't get the colour transfer I had anticipated so I lifted up the tissue paper, turned it over, placed it in the previous spots and misted again.
After letting the reactive tissue transfer dry, I applied Vicki Boutin Iridescent glaze through the kit stencil, let dry and then chose the photos for the layout followed by the die cuts.

I created an embellishment cluster next to the grad cap photo:
The photo frame and labels below the photo are from the kit die cuts and kit add on labels.

Journal pieces cut out from sheets of kit patterned paper provide the journaling area and quote title.

I love how wonderfully this kit showcases these special photos for my family!

Thanks for taking a look 😊

Tuesday, May 16, 2017

Scrap Shotz April 2017 Kit-XOXO and Otters

**Please Note: Photobucket very recently changed their terms of service and no longer supports direct linking for 3rd party hosting of images. To view the images not displayed, hover and right click over image, then choose either "open image in new window" or "open link in new window" **

Welcome here again for more kit projects created with the Scrap Shotz April 2017 kit.

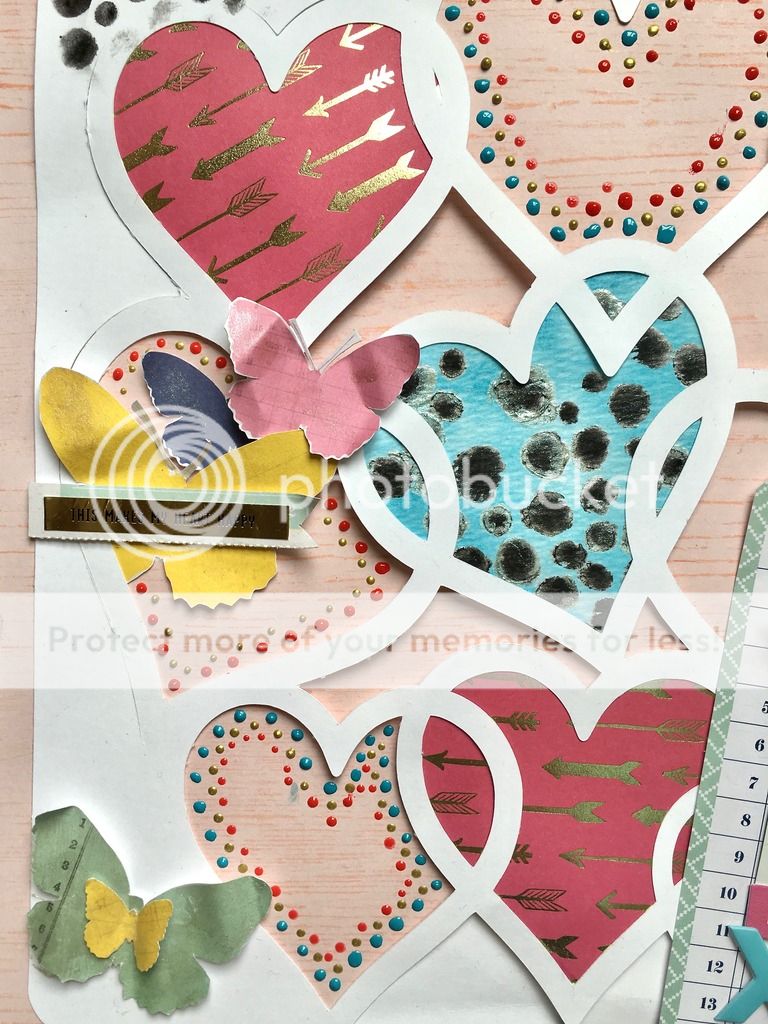
I designed and cut this heart die cut with my Silhouette Cameo.
The middle heart is stencilled with the Vicki Boutin kit stencil, black watercolour crayon, add-on Vicki Boutin Iridescent Glaze and Tim Holtz distress ink from my stash.
Two hearts are backed with the Vicki Boutin hot pink, gold arrow patterned paper and the negative spaces of the 3 remaining hearts are filled with Nuvo Crystal drops, fussy cut butterfly images topped with iridescent glaze and a phrase sticker from the Vicki Boutin line,
The tassle is had cut from patterned paper, wrapped with Kaisercraft gold washi tape and the ends rubbed with Nuvo gold Glitter paste.

Next up is this sweet card:

This Mama Elephant stamp set is so sweet and has a coordinating die to make it easy to cut out the otter images.
Vicki Boutin Iridescent glaze was spread through the Tim Holtz Splash stencil on Bazzil card stock. Once the glaze dried, Tim Holtz Distress Ink in Mermaid Lagoon and Blueprint Sketch was applied.
Otter images were stamped in black Memento Ink, then copic coloured. Red glitter heart was die cut from glitter paper with heart from otter die cut set.
A kit patterned paper piece is cut to size and embossed, hand cut banner is layered under circle shaker  frame which houses otters and dollar store sequins.
Sentiment is stamped in Hero Arts Unicorn pigment ink and heat embossed with Stampendous clear detail embossing powder.

Thank you for stopping by and there are more kit projects to come!