Showing posts with label florals. Show all posts

Saturday, October 29, 2022

Print Shop, Vicki Boutin - October Scrapbook Kit

I am loving playing with the new Print Shop collection from Vicki Boutin - this month’s scrapbook kit! All the amazing colours and florals and oh my! 


I decided to start my Print Shop adventure with a focus on the flowers and botanical ephemera. There is a great mix of florals, leaves and stems that make layering on a page super easy. Here we go … 

Monochromatic Botanicals


For the first layout I pulled all the blue, green and purple botanicals from the ephemera kit - I also picked out papers from the collection and corresponding cardstock go the same colour scheme. My idea was to feature the design on the top and bottom of the page with all the leaves and such ‘growing’ towards each other to fill the space between. 

I prepped the cardstock background with a bunch of repeated stamping with the word ‘beautiful places’ from a past Vicki Boutin stamp collection using Paper Rose Studio Premium Dye Ink in Intense Black. I also added some black splatters over the stamping using some Nuvo Crystal Drops, Black mixed with a touch of water. To add a touch of colour I splattered some Distress Ink in mowed lawn, crushed olive and peeled paint too. 
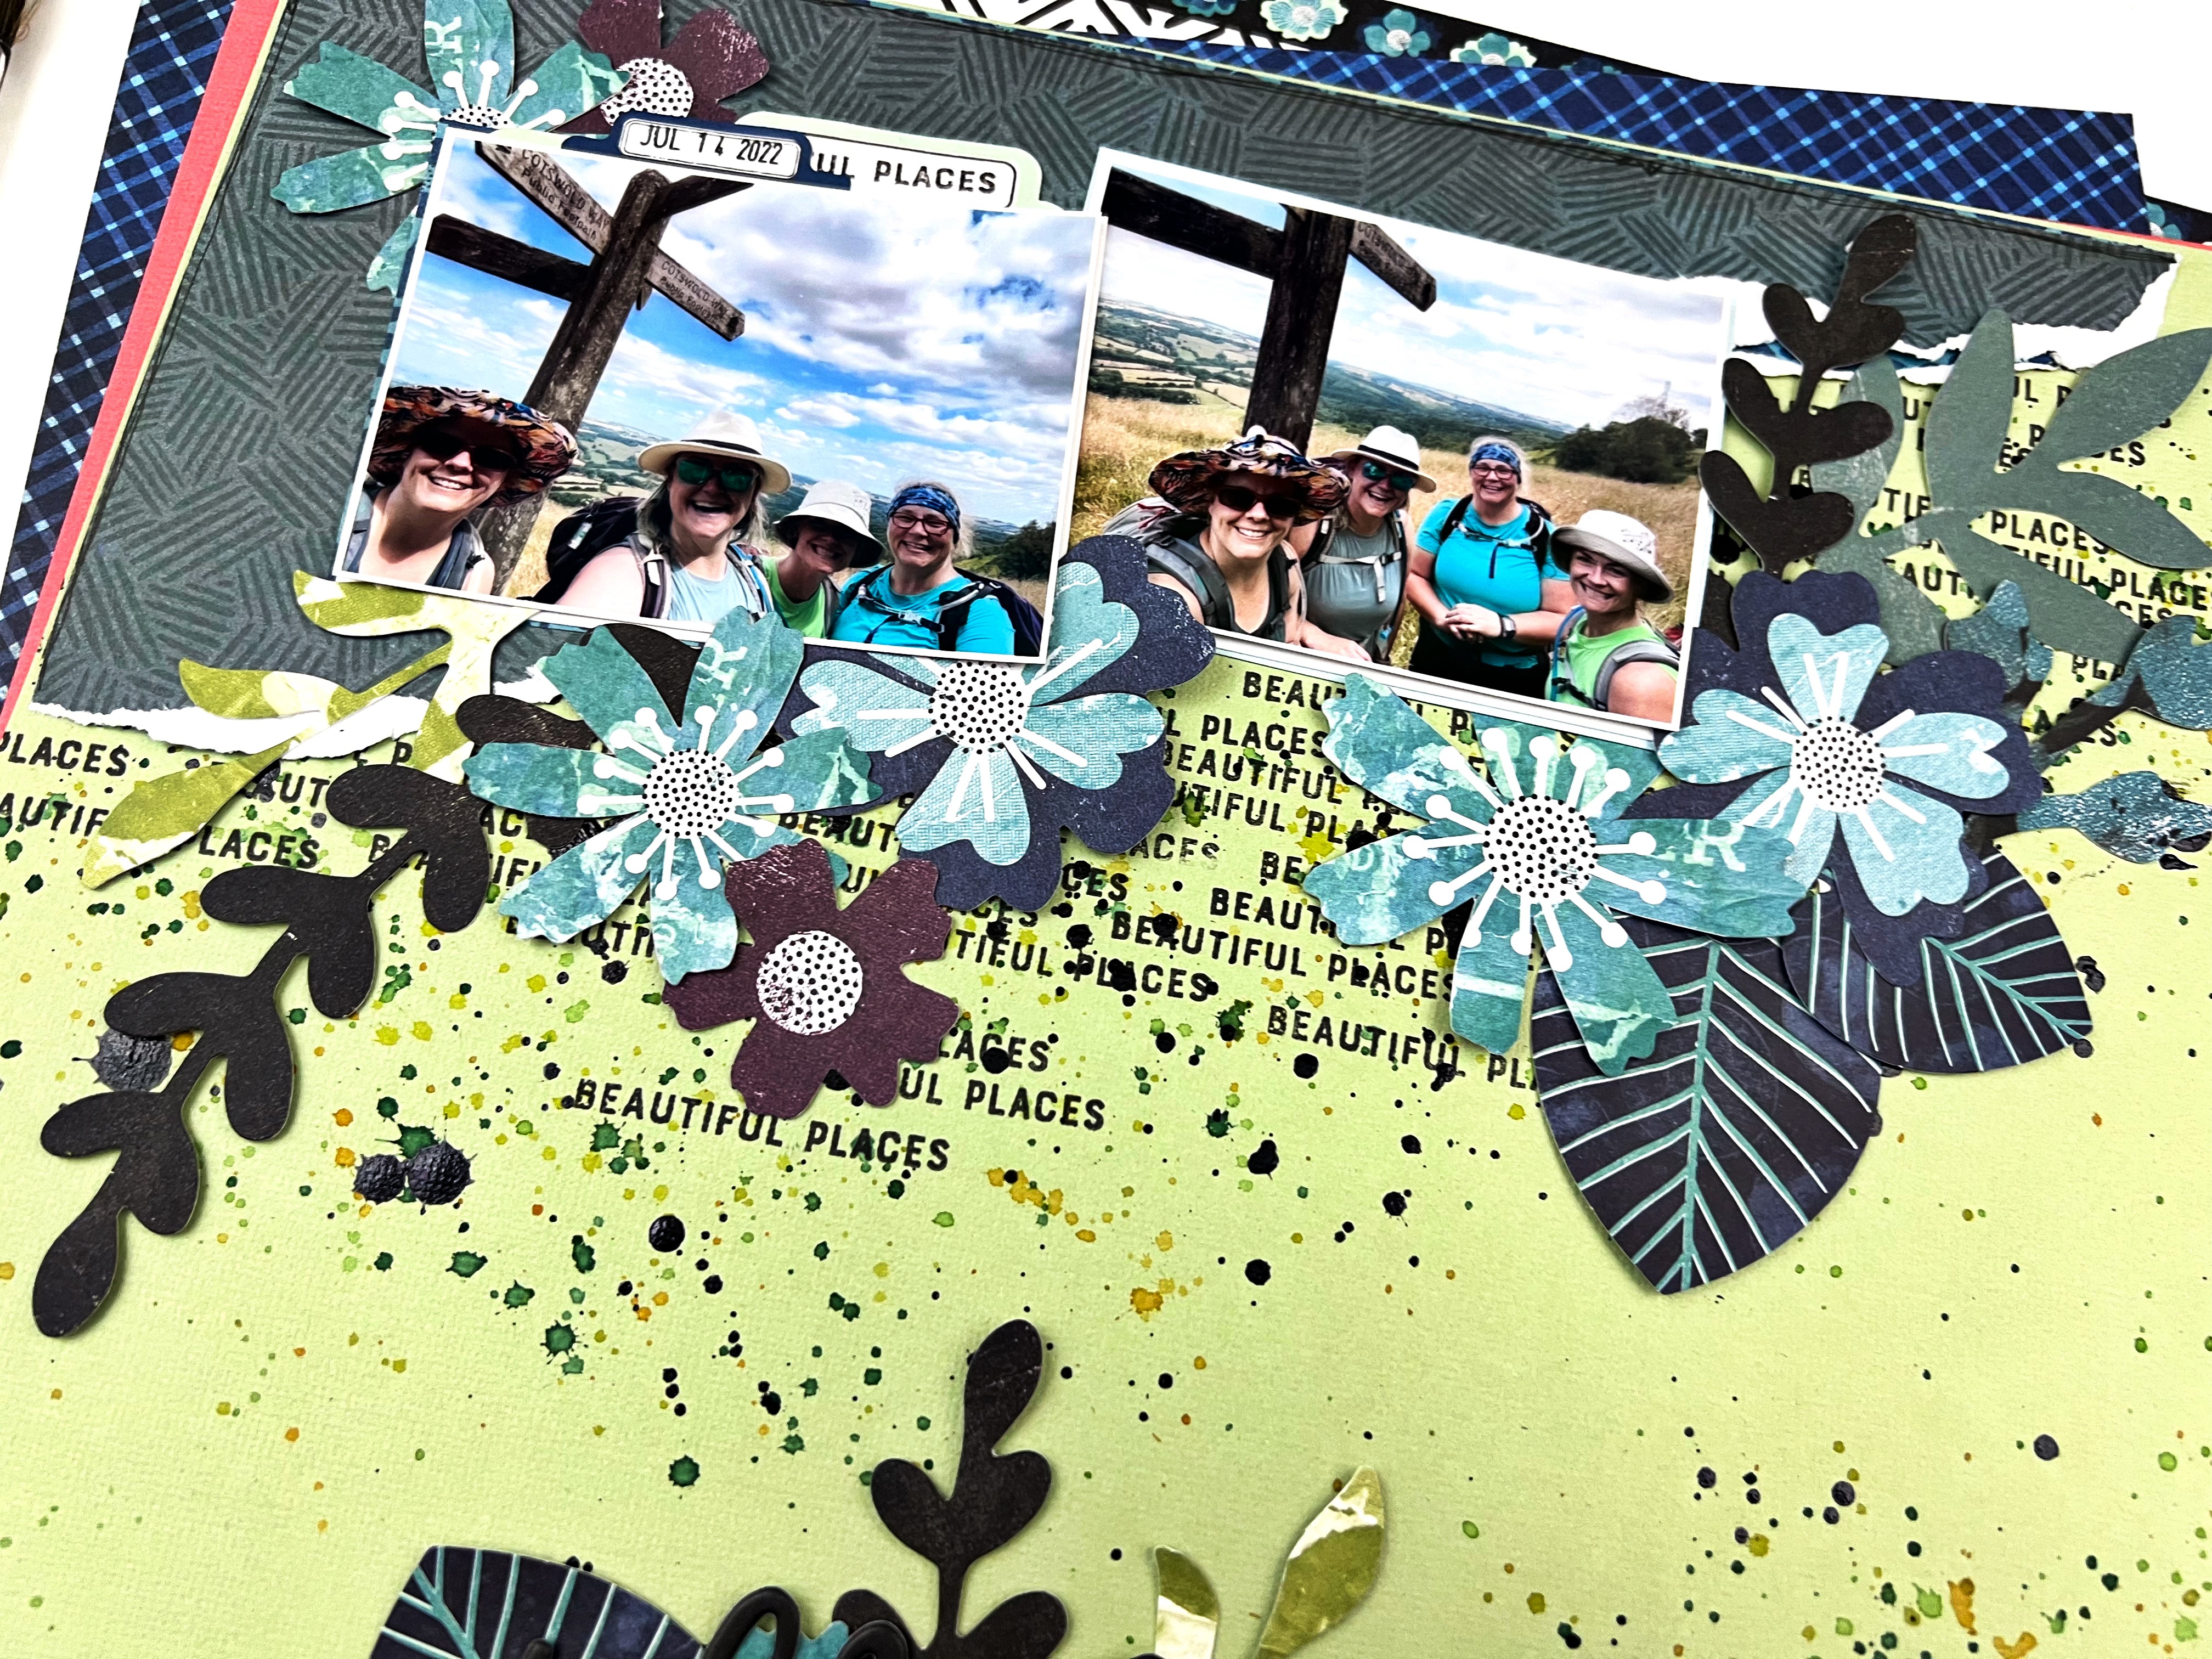

From there, I ripped some of the pattern paper to create an anchor for my photos on the top and bottom of the page - making sure to not cover all the stamping and splatters. I added my photos and then spent the next bit tucking and layering the ephemera I had put aside until it looked messy but somehow still organized. 


A little trick if you want to layer after the big stuff like photos and pattern paper are stuck down - only glue or tape down the very center of things so you have lots of room to tuck and layer behind. When it’s all in place you can go back and gently add a few more spots of glue to make sure it stays put. 

The title ‘perfect day’ was the final touch - I love how it’s nestled in with the leaves and stems! 

Overflowing Envelopes


For my next layout I had an idea to create a line of envelopes all overflowing with florals and butterflies. I had three photos of me and my wee niece where she tried to take the selfie of us that make me laugh so much. I thought the ‘overflowing’ design would be a way to how my love this little peanut often feels the same. 

I selected a few of my favourite patterns from the collection and used my Big Shot and the little envelope die from Paper Rose Studio to create 4 envelopes - they are sort of hard to see in the final layout, I may have overflowed the overflowing look.

I selected this text pattern from the kit so there was some pattern but nothing that would overwhelm the envelopes. I prepped the background with the repeated heart stencil from the collection using Distress Ink in scattered straw, saltwater taffy and a touch of crushed olive. First rubbing the inks through the stencil randomly so they blended here and there and second as light splatters across the page. The text pattern already has some black splatters,  so I added a few more to bring some more black in. 


I adhered the 4 envelopes across the hearts and added my 3 photos, then just started tucking and playing with the florals from the die cuts, stickers and chipboard stickers in the kit. A few butterflies here and there added some contrast. Finally I added the title from the phrase puffy stickers in the collection for a pop of black. 


I am off to play some more! There is a whole pattern paper of cut apart tags that I have my eye on - be back soon to show you what I come up with. 


Sunday, September 27, 2020

Daydream is Dreamy

Summer season is over and while I am sad to see the long days of sunshine giveaway to long dark nights, I am way ver excited about the return to Scrap Shotz Scrapbooking Kit Club season! Over July and August, we take a pause on the Kit Club and then kick it off again in September, and what a kickoff! 

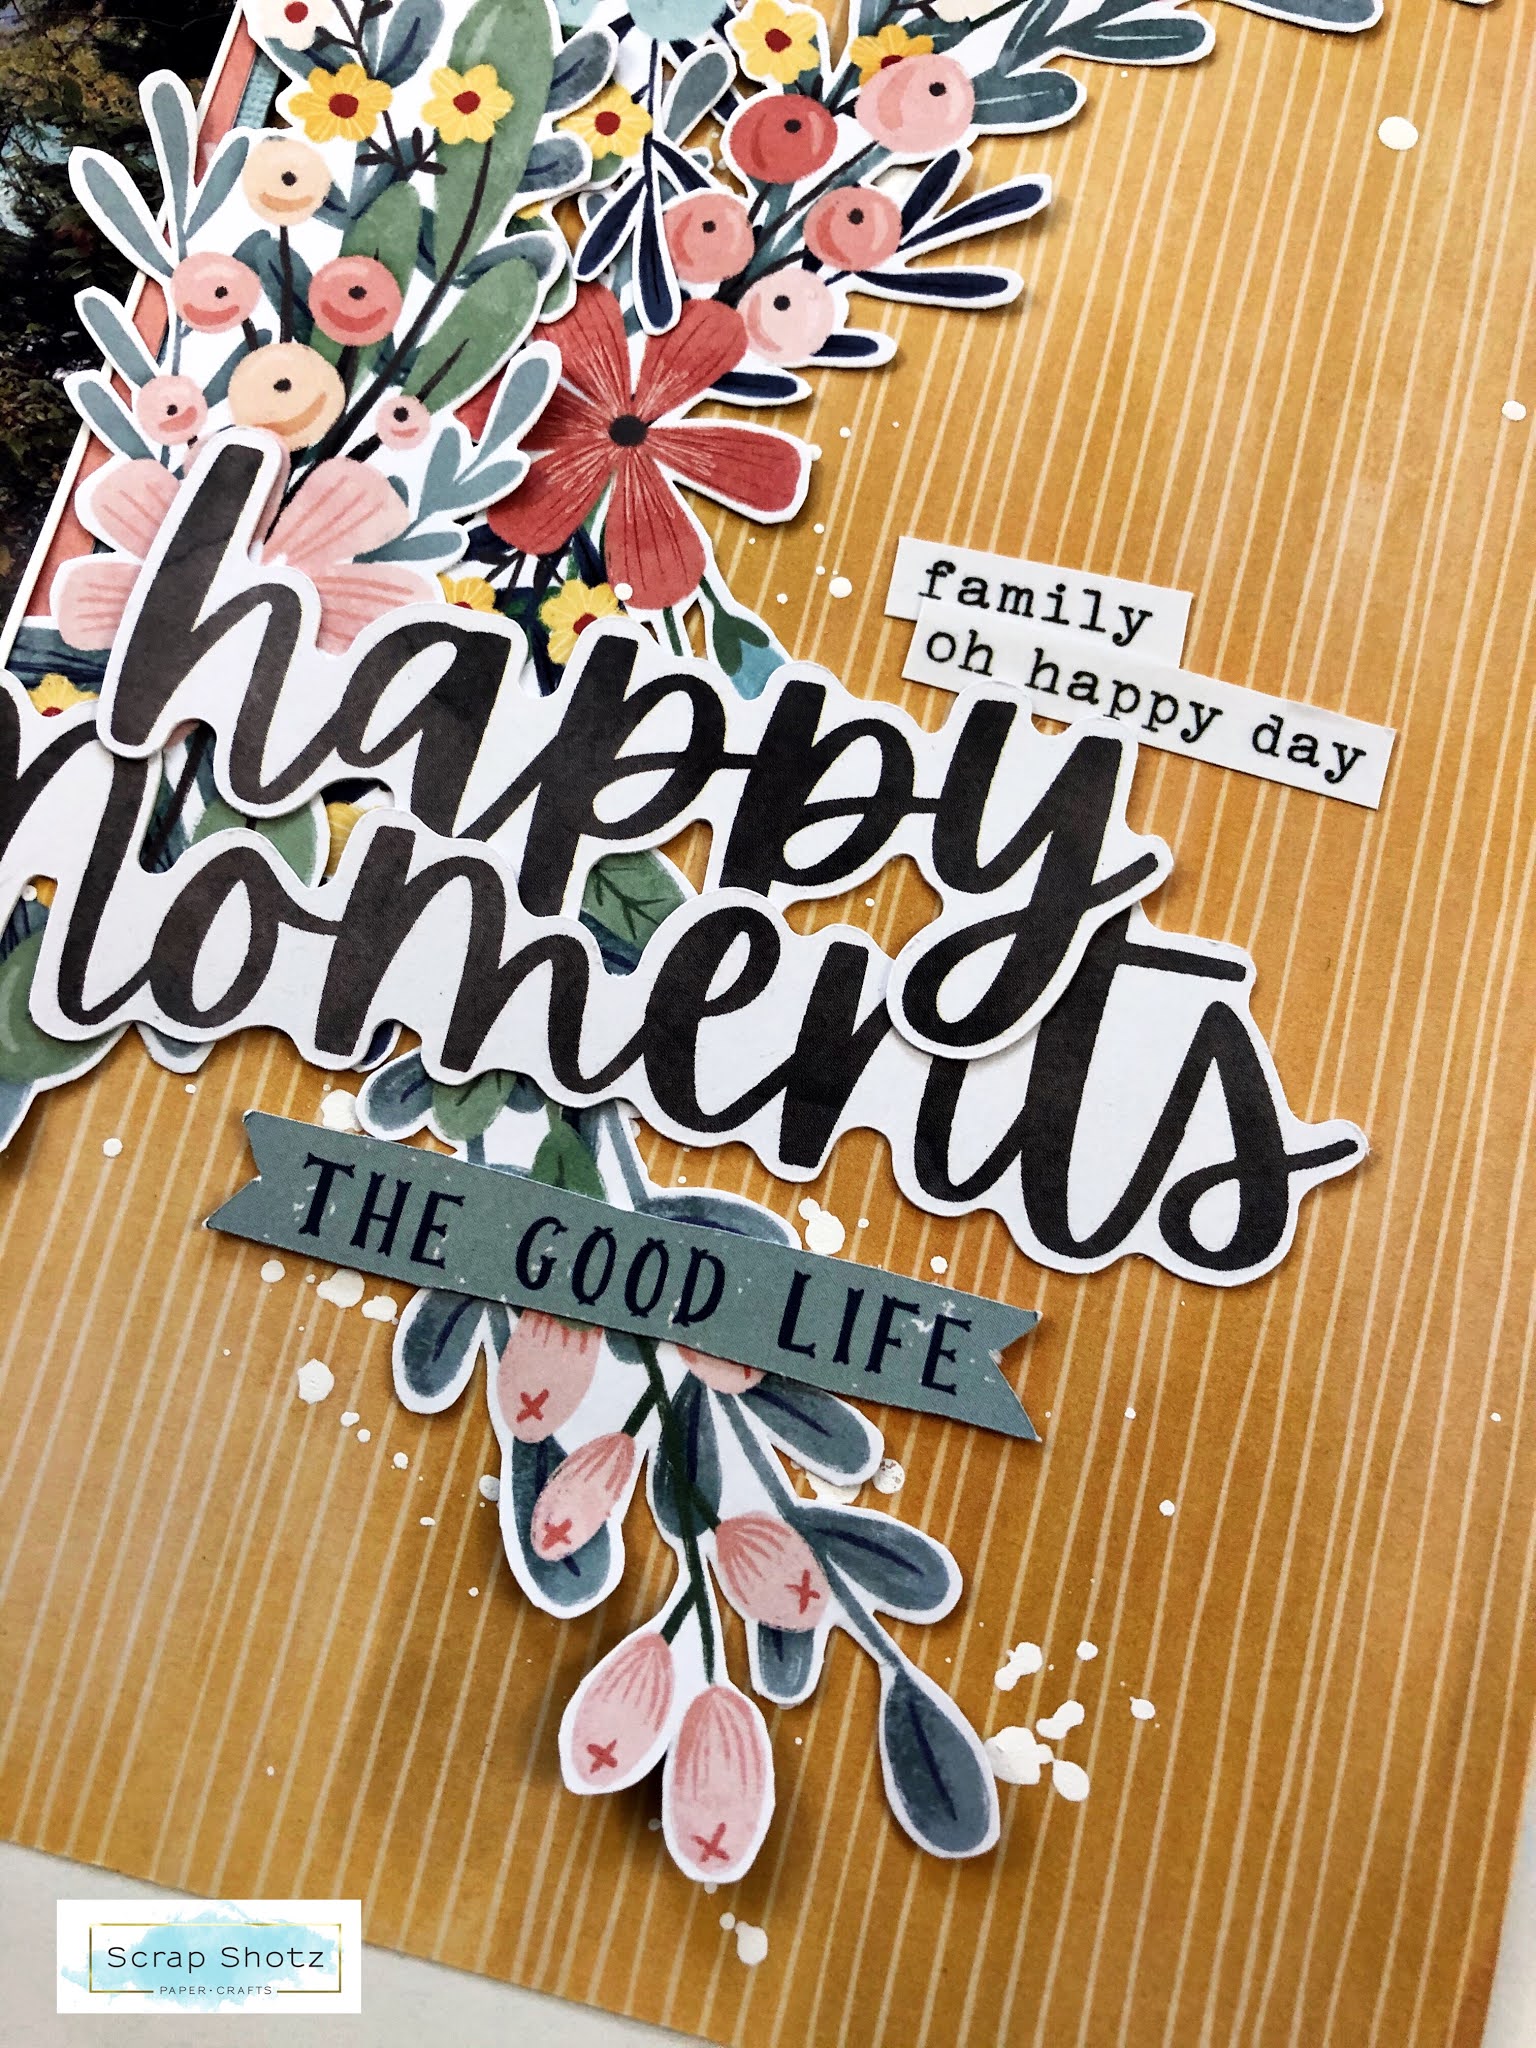
Right out of the new-season-gate we are playing with the brand new collection from Cocoa Vanilla, called Daydream. Wow is it dreamy! Florals and bold colours and little houses and loads of hearts and pretty moths and butterflies too. Scrap Shotz paired mine with a Vicki Boutin Speciality Paper (vellum with a rainbow of butterflies and a gold accents) and colour Pinkfresh Studio alphas. I was so excited to get this kit and within minutes of playing, I am loving it as much as I thought I would. 


For my first layout with the kit, I started with the Daisy Days pattern paper. This one has A side that features a floral wreath on white, and a B side of small white daisies on a baby blue background - both really cute, but I had my eye set on the wreath. I fussy cut it into 3 floral pieces and bunched those as the focus of my design. Before glueing it down though I added a few splatters with white acrylic paint just behind the florals to make it really subtle. 

From there I used two of the words from the Kit to create my title "happy moments". Then I added a die-cut phrase below the title and the one above to balance it too. To avoid a righted-side heavy look, I added a small cluster of the Daydream goodies to the left too.  


Wow, I love how it turned out! Full disclosure, I have never been successful using a wreath designed pattern paper - but that is ok. Fussy cutting for the win. Make every supply your very own. etc. 

TIP: If you ever come across a pattern paper you just know you cannot get behind, pause and think " do I like anything about this paper?". If yes, fussy cut that part and tuck it as a layer behind a photo or as an embellishment!

Happy crafting!  


Wednesday, May 6, 2020

Make it a Double, Even with a Single

Are you a double-page Scrapbooker? 

From my perhaps too many numerous strolls on social media these past few weeks, it looks like most of us stick to a single page layout. Once in while we dabble into doubles, but it is definitely easier to create something up to 12x12 vs as big as 24x12. At least for me, for sure. 

When you do dabble, how do you create a cohesive double page layout when our kits generally only come with 1 piece of each pattern paper? No problem, stretch the pattern with the coordinating cardstock in your kit! 


The wood background with watercolour florals was by far my favourite pattern in the April Kit and I wanted to showcase it on both sides of this double page layout. 

Inspired by the wood slates of the pattern, I cut it into thick strips. I used a couple of these with some white cardstock from my stash to cover about 6+inches of both of the far edges of the layout. I simply glued it right onto the pink cardstock (also from the kit) my entire layout is anchored on. The bit of white showing between the strips of wood pattern gave me that much more coverage and I think really made the look pop too! 


I then spent the rest of my evening fussy cutting one of the amazing floral patterns and the tag pattern papers from the kit to tuck and layer and tuck some more in and around these photos. Finished it all off with some gold string from my stash in some of the tags, added some brads and chipboard from the kit and a little splatter or two of white acrylic mixed with just a touch of water.


Photo tip ... 

The photos are of are me and my sisters/bridesmaids getting ready the morning of my wedding. I didn’t care to capture the colour of my crazy fun orange shirt or the brown carpet in the hotel room  - I just wanted to remember the sentiment of the morning. Full disclosure, I was also a bit worried about how busy these photos plus all the kit goodies would feel. 

Drum roll...black and white to the rescue - gives the eye a place to rest with such a busy layout and portrays just the feelings of the photos, not our colourful outfits! 


Are you a double-page scraper? We would love to see! Tag @scrapshotz or #scrapshotz on social media.