Showing posts with label December Monthly Kit. Show all posts

Saturday, January 23, 2021

Carta Bella Farmhouse Christmas Layouts and Cards

 Hello crafty friends! Remember Christmas? It seems so long ago now but I've been having fun scrapping all those Christmas pictures with the Carta Bella Farmhouse Christmas Collection. It has everything you need to make cards and layouts. I love how the patterned papers have nice background patterns on one side and something more fun on the other side. Here's what I put together.


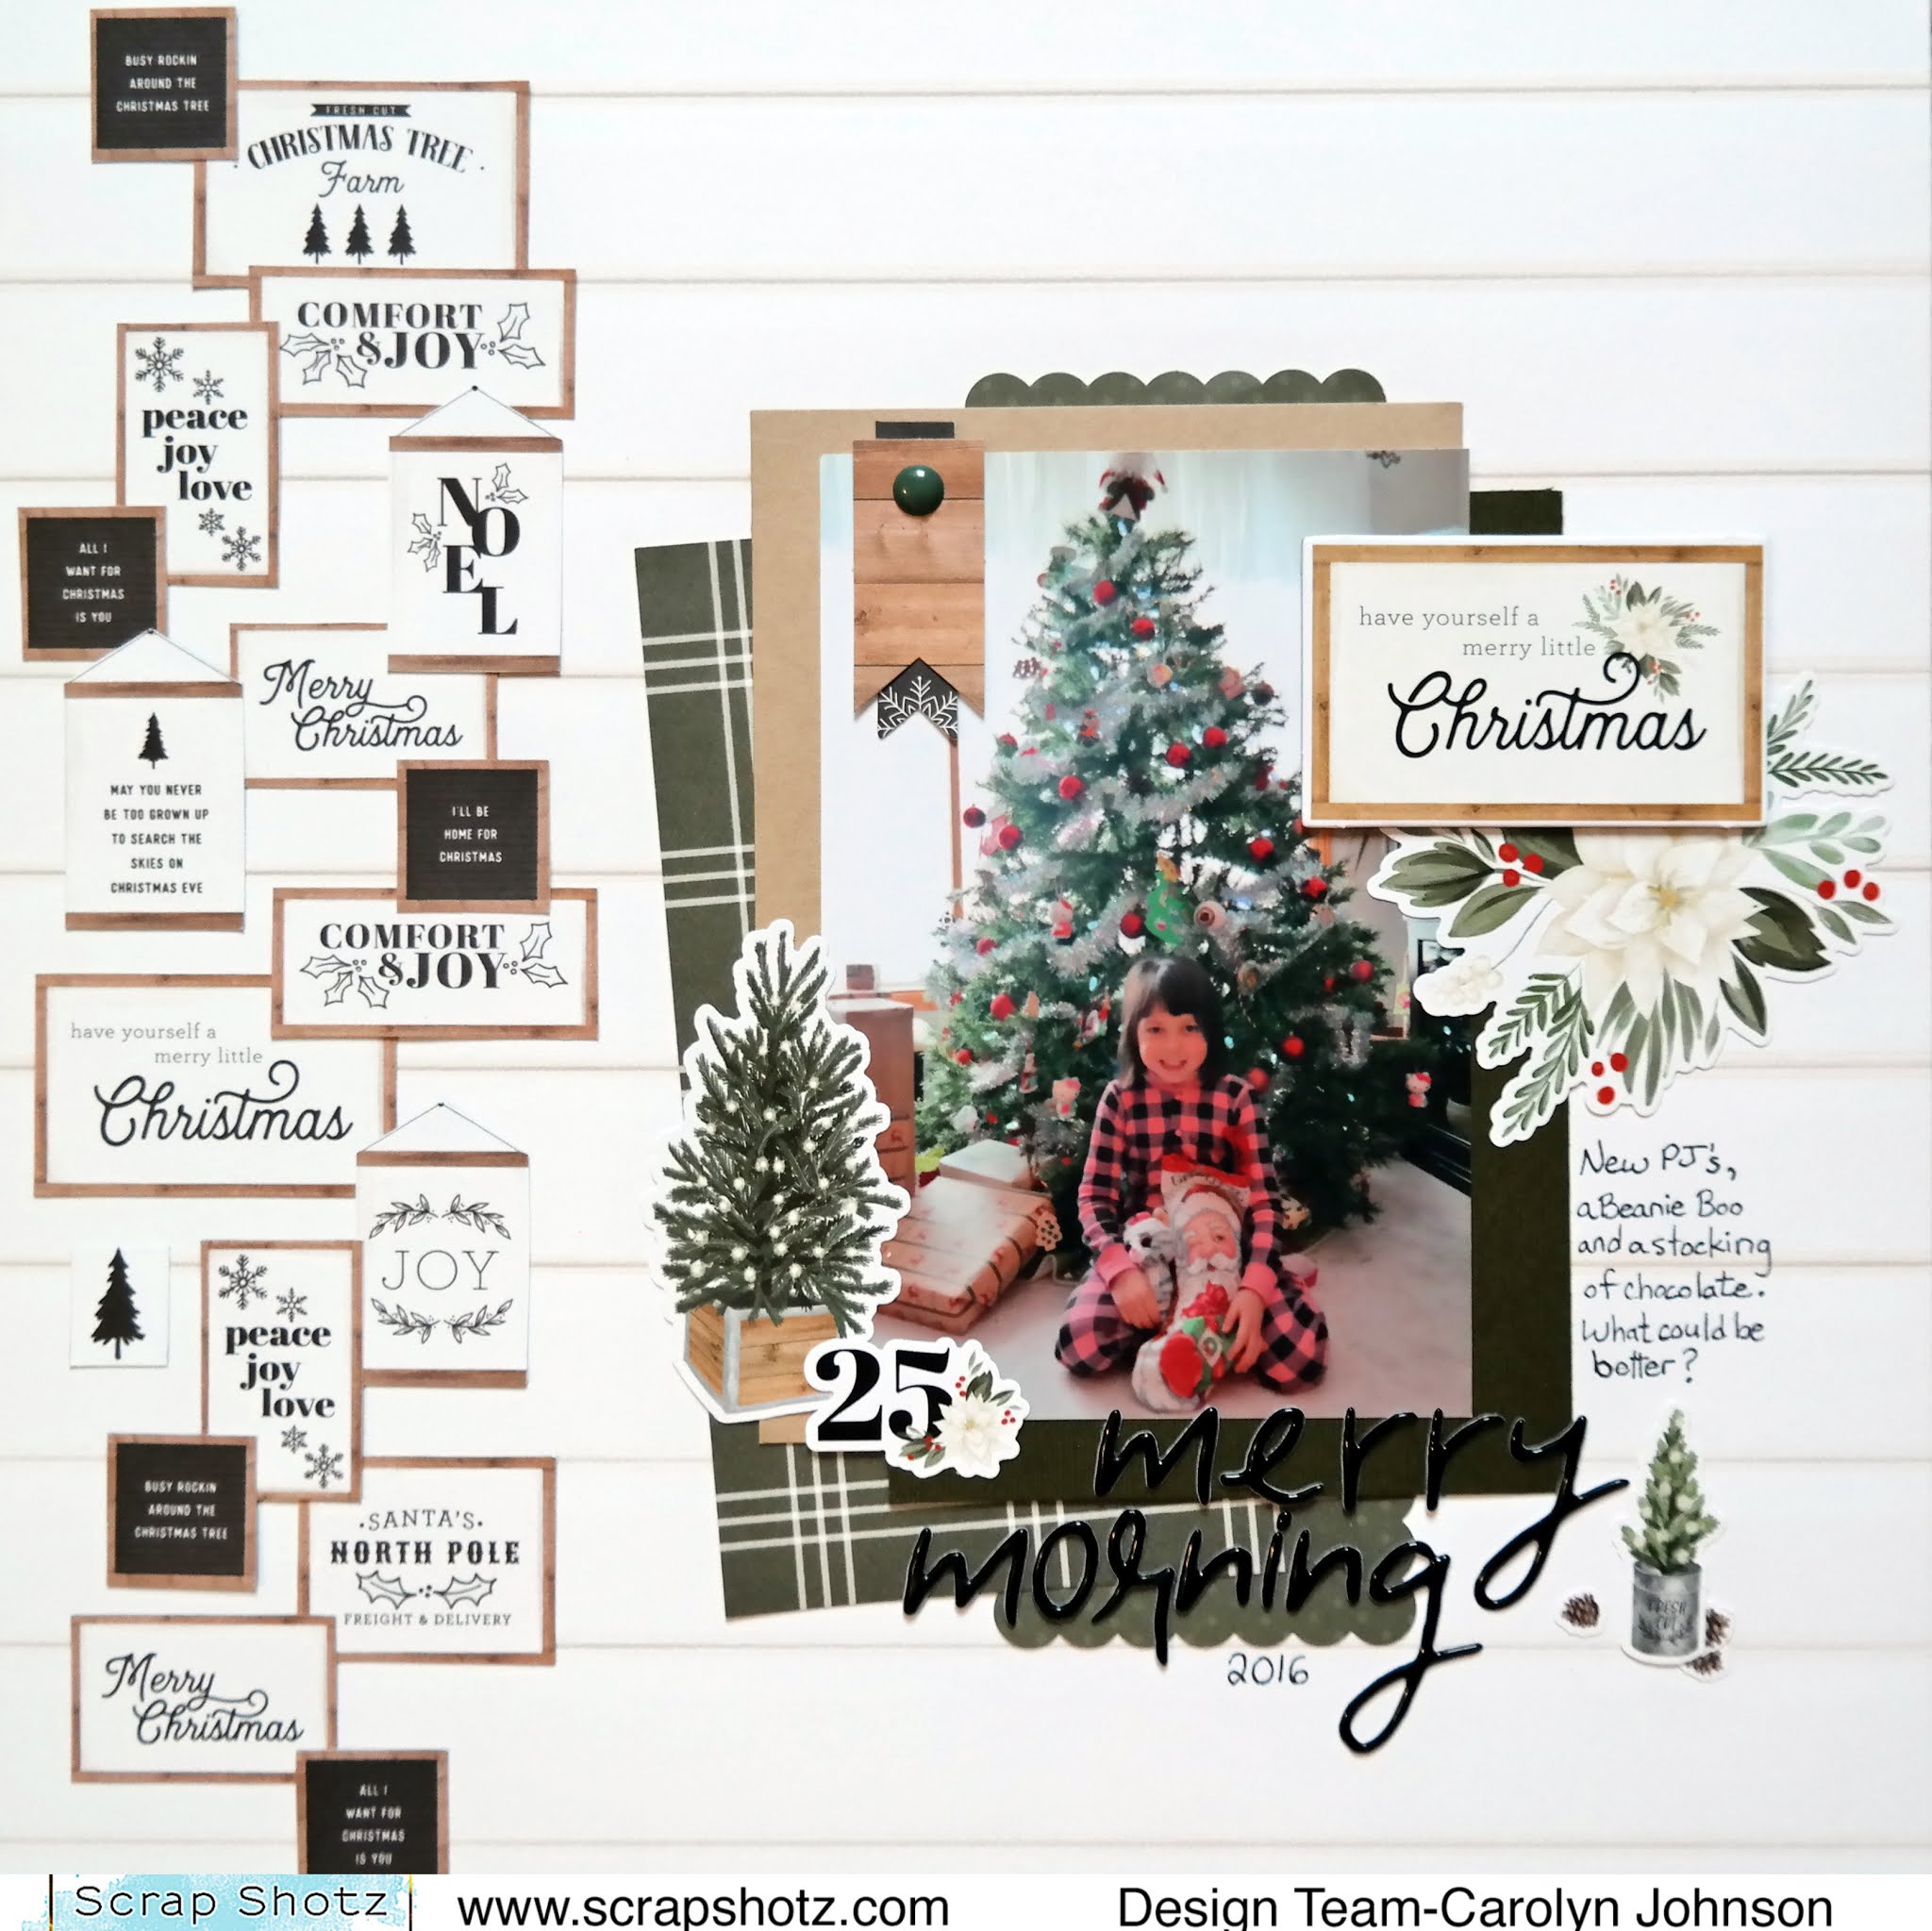
For this layout I cut apart the signs on one of the papers. I used some of the cardstock in the kit to back the photo and topped it off with some cardstock and chipboard stickers. 


Brads from the kit and a piece of twine from my stash. This one uses lots of ephemera pieces. 


I saw a cut file similar to this style so I recreated the words in the tree with the stickers and Thickers in the kit. I used two shades of green ink and one yellow.


I used the January sketch on the Creative Scrapbooker Magazine's Sketchy Group Facebook page to design this page. 


I fussy cut the flowers for this page and chose a brush script font on the Silhouette for the title.


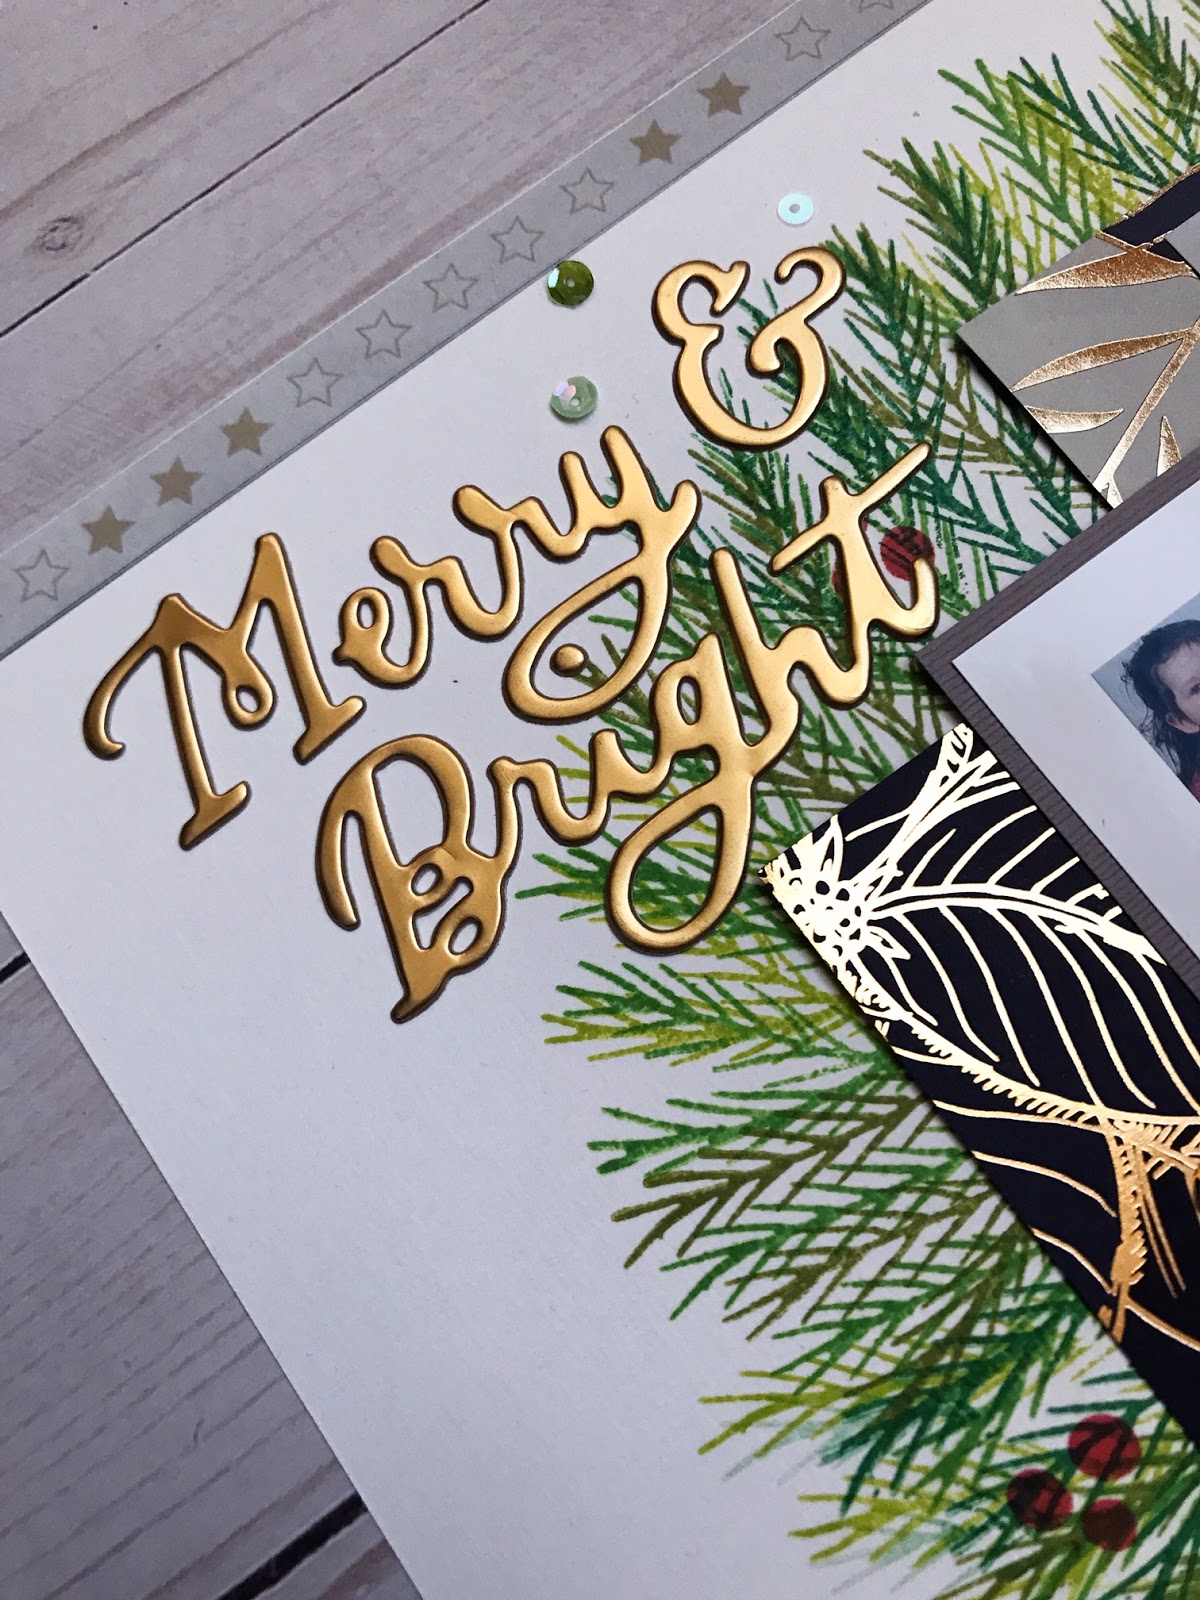
This one uses a few ribbons from my stash, gold paint and a cut file.


And here are a couple cards with the last few pieces from the kit. 
Thanks for stopping by and happy scrapping!

Friday, January 17, 2020

Chipboard Embellishments - Add Some Sparkle

Hello! I am again to show you another layout using our Scrap Shotz December 2019 Scrapbook Kit which features the amazing collection from Kaisercraft called Starry Night. This Kit is gold and blue perfection!

In one of my past posts, Wood Embellishments - Add Some Colour I showed you how I used some Nuva Mica Mist, Antique Gold to add a touch of colour to the wood veneers in the Kit - I love how this brought a touch of gold into all the page elements.

Today I am here to encourage you to add even more colour - so much so, you make the embellishments in your kits, your stash, your layouts, your cards SPARKLE!


To add sparkle to the "Believe" chipboard from the Southern Ridge Trading Company Chipboard, I used a paintbrush to dip deep into my bottle of Nuvo Mica Mist, Antique Gold to gather lots of the gold 'dust' and painted a number of coats. Probably about 3 in total but it took no time at all the as the paint dries really fast and was sparkly from the first application - I could have stopped at anytime but the chipboard is of great quality and did not bend or warp in any way so I kept adding and building up the sparkle. 


The heart in the background is a cut file from The Cut Shoppe - the heart is full of speech bubbles and I filled each of these with pattern paper or the phrase cut apart paper from the Kit. I love Christmas sentiments especially when they are in gold. Originally I had the cut file in white cardstock but decided to paint the cardstock with some more of the Nuva Mica Mist, Antique Gold.


For the poinsettia embellishments, I fussy cut these from one of the Kit's pattern papers and used some of the swirly-doo accent pieces in the Collectables (die cuts) also from the Kit to create what I hope look like fancy gold leaves behind each flower.


I finished it all of by adhering it to one of the Bazzill Cardstock, Kraft papers in the kit I also .. surprise, surprise also added some of the Nuva Mica Mist, Antique Gold using the packaging smooshing technique and some splatters plus a few white acrylic paint splatters. I did mat the Kraft paper in a thin strip of white cardstock and a thin strip of the cut apart paper from the Kit too.

Thanks so much for swinging by today - hope your weekend is crafty!


Monday, January 6, 2020

Wood Embellishments - Add Some Colour

Happy New Year! For those of you working this month to scrapbook all of your last month's memories - I am with you. While I do try and document daily in December, the actual scrapbooking in a traditional sense tends to happen in January and sometimes February too for me. I like drawing out the Christmas cheer a little longer!

I am currently playing with the Scrap Shotz December 2019 Scrapbook Kit which features the amazing collection from Kaisercraft called Starry Night. Wow, think blues and gold foil and beautiful. Included in the kit are a number of Bazzil Cardstock papers and one is called Stonehenge - think kraft married to the colour grey and then add some classic Bazzill texture - and I am totally crushing on this colour. So much so, it inspired this layout!


I was surrounded by the amazing gold foil papers of the Kit and still, it was the Stonehenge that caught my eye most. Funny! I love the soft tone of this colour (especially paired with a black and white photo) and how it really made the gold foil in the papers and die cuts from the Kit pop.

Loving the colour so much, I thought I would alter the wood veneers from the Kit with some paints from my stash to try and recreate it in my embellishments too. Queue Nuvo products! I reached for the Nuva Mica Mist, Antique Gold I had to get my hands on from the Scrap Shotz shop last month and started painting.


Tip: The benefit of wood veneer is that it is porous which means the colour you add from distress inks to Nuvo to watercolours to stamping pads will not look super bright on the first coat. Want a more subtle look like I did here - go with less (this is one coat). Want something a little brighter or bolder - use more paint or whatever product you are using to colour the wood veneer. 

To finish it all off - and is something I think I do on almost every Christmas inspired layout - I added some white acrylic paint splatters to give the layout some winter whimsy. 


I am working on a second layout now where I have painted numerous coats of the Nuvo Mica Mist on a chipboard embellishments to get a very, very gold colour and shine - once I have that little guy finished and its layout complete, I will be back here on the blog to share. 

Happy crafting! 


Monday, December 30, 2019

Christmas Scrapbooking with the December Kit

Hello! Karla back today with two cute layouts using the awesome December 2019 Kit featuring the gorgeous Kaisercraft Starry Night collection. I love when the busyness of Christmas settles down and I can relax, get my photos out and enjoy scrapping all those wonderful pics and memories! For these two layouts I'm using some super adorable pics of my niece and nephew. We didn't get to see them in person over the holidays, but it was so nice to get photos and see cute videos of them opening their gifts. I love that the neutrals in this kit allow you to use any photos and add whatever colour you want! For my first layout I chose this sepia toned photo, which I knew would go perfectly with the pops of gold in the kit.


I started off by cutting a piece of the gold foiled poinsettia paper down to 10x10" and layering it on a piece of the black Bazzil cardstock included in the kit. I layered my photo (matted on white) on this black and gold bubbly paper. BTW, I can totally see using this for New Years too!


Next I glued down my matted photo and added a sentiment from the 12x12 sheet of sentiment cut aparts to the left of the layout. I cut one of the ephemera poinsettias included in the kit and added it to the top of the sentiment and then layered on one of the pretty round glass Curio embellishments to create a little cluster.


Next, I cut a tag and layered it above and below the photo and then cut apart a foiled gold ephemera swirl and added it to either side of the tag. The twine included in the kit was such a nice touch to add to the sweet bauble ornaments, and I added the rest of that poinsettia I cut near the top of the tag. 


I added the 'love' sticker from the Christmas Word Thickers add on package under the photo and used a gold marker to colour in the wooden tree from the package of wood flourishes in the kit.


I finished off this layout with a wooden 25 coloured with an ink pad and some shiny sequins from my stash along with some handwritten journaling to document my memories!


For the second layout I created I used the Starry Night Acrylic Stamp Set which is a coordinating add-on you can purchase in the shop. This is the first time I used Kaisercraft stamps and I was really impressed with the quality and how nicely they stamped! I wanted to focus on the bright outfits these two cuties were wearing, and I was really happy with how this turned out.


I started off by layering on two of the patterned branding strips on the top and bottom of a sheet of white Bazzil cardstock from the kit. I then added a strip of sweet gold foiled reindeer from the 12x12 paper full of cut apart border strips. I used a plate and pencil to create a round guide to start stamping my wreath on.


I stamped the evergreen bough stamp roughly around my circle using four different colours of green ink. It's not a perfect circle, but I was totally ok with that. This is handmade after all 😉 I honestly can't wait to use these stamps on some cards for next year too!


Next I used red ink to stamp just the berries from the holly stamp onto the wreath as well as stamp two trees directly on the cardstock. I did stamp on the side of the cardstock that was more smooth than textured and it worked beautifully! I created some basic paper layers with leftover scraps of my paper from the first layout and glued it to the center of the wreath. 


I decided I needed one more accent for my wreath so I grabbed some pink and red inks and simply rubbed them on some white cardstock. 


I stamped over the inked background with the poinsettia stamp and black ink creating a variegated look, which I love! I added some gold stone Nuvo drops to the center of the flower and tucked a banner in from the gold foiled ephemera pack. 


I used the Christmas Word Thickers add on pack, which you can pick up separately in the shop, again to add a title and glued on some sequins from my stash.


I added a wooden tree from the wood flourishes pack in the kit, coloured with a red ink pad, and the gold holly leaves and berries from the Christmas Thickers pack.


If you missed it, you can find the December 2019 Kit Reveal Post HERE with VIDEO where you can see all these beautiful elements close up!


Thanks so much for stopping by! Be sure to head over to the Scrap Shotz Store to check out this beautiful new KIT, and don't forget you can always find new goodies HERE. Hope you all have a very Happy New Years and I'll be back in January for more fun projects using this kit!

Wednesday, January 9, 2019

Sledding!

Good morning!
I love theses photos - I was so happy to have caught these progressive photos of Tyler hitting the jump on one of our sledding adventures!


I started by trimming, distressing and layering the wonderful Carta Bella 'Let It Snow' papers


He got a lot of air on that jump!


I added a little twine and some chipboard shapes

Thanks for stopping by


Wednesday, January 2, 2019

Scrap Shotz Monthly Kit| December

Hello Scrap Shotz Friends!

Happy Holidays to you all, hope you have been having a wonderful holiday season! It has been quite mild for us here in Alberta but we're enjoying it while it lasts!

Rosie back to share another layout using the December Scrap Shotz kit, it's a great value at $35.95 packed full of product! I'll have a video later this week taking a closer look at the kit. 

In the meantime, I have created a layout based on this fabulous Creative Scrapbooker Magazine sketch:


We went to Lake Louise on a day trip last January, it was COLD and snowy, this kit was perfect for these photos. 


I don't often find myself in the photos so I took the opportunity to use one on this layout. I really like the circular aspect of the sketch and created the circle with a die cut and emphasized it with gold and silver cord. I followed the edge of a pot lid with liquid adhesive and then placed the cord on top of the glue.


I then added punched squares and circles, kit ephemera and punched snowflakes around the layout following the circle die cut and cord. All of these elements are adhered to one of the kit dotted patterned papers. The snowflake centres are embellished with Studio Katia clear drops and kit enamel dots.


Kit ephemera and chipboard also embellish the layout.


The kit alphas comprise the title and I've brushed a Wink of Stella clear glitter pen over the top to add sparkle.

Thanks for stopping by to take a look!

Monday, December 18, 2017

Cabin Fever is Right!!

Hello again everyone! It's Cathy here with my take on the December Monthly Kit sketch from Creative Scrapbooker Magazine. Here is the sketch we are following this month.


Here's my version of the sketch, featuring the Cabin Fever line from Carta Bella.

I used a picture that is about 7 years old, when my kids and I lived in Calgary and headed out to Zoolights.

I was afraid of the circles at first, since I do not have any of the cutting machines(just my handy Big Shot), but fear not.....there is much around your house you can use!! As you can see I had a variety of items to make my circles, and I heard from another DT member that pot lids are handy too!

A margarine lid, a cd and a lid from a Christmas banner.

For the background on my 12X12 sheet of blue, I used the TH stencil with white texture paste. Before the paste dried completely I sprinkled it with some Soft Fallen Snow embossing powder.

While I waited for the texture paste to dry, I inked all the edges on my circles.

Here are some of the details of the layout. The ephemera pack and the enamel dots are addicting!

The stay warm toque was cut out from one of the cards that comes on a 12X12 sheet in the paper pack.

I typed up my story and used the frame from the ephemera pack to highlight it.


Love the hint of sparkle and texture you can get just from adding a bit of Soft Fallen Snow embossing powder to texture paste.

I also did up a few more projects using the fantastic monthly kit.  I have two cards done up, using the cabin theme and the stickers that come in the paper pack. 

On this card I used one of the cut apart cards from the paper pack for the background and the cabin picture is also one of the cut apart cards. The cabin plaque is from the ephemera pack with a couple of enamel dots added.


To add a bit of sparkle on this one I used some Stickles along the roof and on the snow on the trees.

This card uses the cut apart cards as well and stickers from the paper pack. Loved the little cabin snowglobe and it fit just right on the pine cone piece.

And my last project for today is a small 6X6 canvas board done using the cut apart cards, and Distress Crayons for the edge.


All the snowflakes are done with patterned paper from Cabin Fever and the TH Thinlits Snowflakes.

A few enamel dots for dimension and one of the pretty amber brads for the center of "snow"

Did I mention I love the enamels dots?! They were perfect for the snowman's little cheeks.

Whew....that was a long one! Hope you all made it this far to see all the different things you can do with the amazing December Monthly Kit from Scrap Shotz!

Here are some quick links for you to take you to the products I used:

Have a great week everyone!! And best wishes for a wonderful holiday to you and yours!

Cathy