Hello!
It's the first post of the New Year here at Scrap Shotz, hope you all had a wonderful Christmas and best wishes for a very Happy New Year from all of us here at Scrap Shotz :)
Rosie here, to share with you my projects from the
December 2016 kit featuring the lovely "Wintery" by Authentique line.
Let's start it off with my project showcasing the Ranger Silver Metallic Paint Dabber included in the kit:
Wishing you Winter Cheer
I decided I wanted to create a card background with a bokeh effect so I began with white card stock and Tim Holtz Distress Ink in Mermaid Lagoon, Blueprint Sketch and Faded Jeans blending each colour into each other until I was happy with the intensity of each colour. I then used my mini distress ink tool to apply large circles of metallic paint and dried with my heat tool. Once dry, I created the small circles directly on the paper with the Silver Metallic Paint Dabber. I stamped the sentiment with the Penny Black "Yuletide Wishes" stamp set in
Hero Arts Ombre Vintage Metallic Steel pigment and heat embossed with
Ranger Clear Embossing Powder. I grounded the sentiment block with a piece of
Best Creations Glitter Card Stock, I love this card stock, lots of glitter with none of the mess, I try to keep a healthy supply on hand during the Christmas season. A few kit glitter dots finish off my first Christmas card for 2017 ;)).
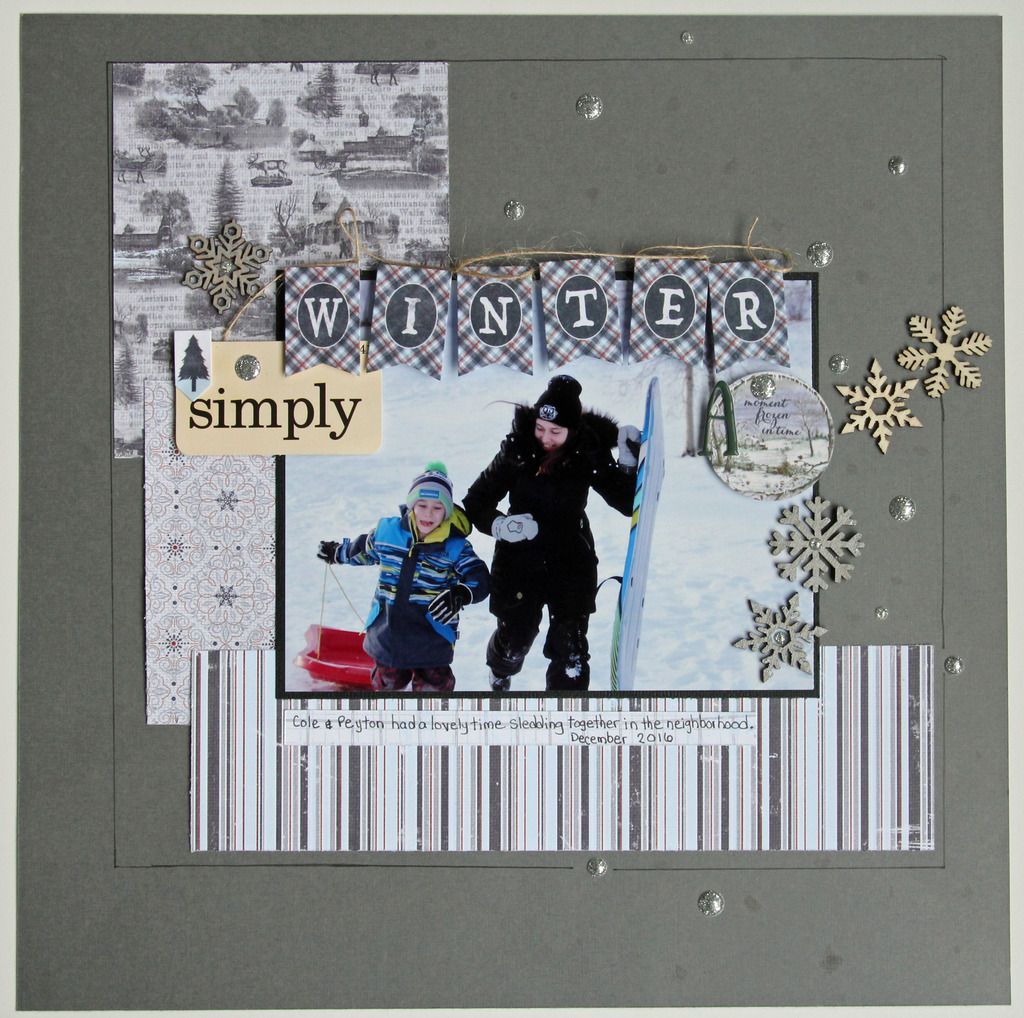
Simply Winter A Moment Frozen in Time
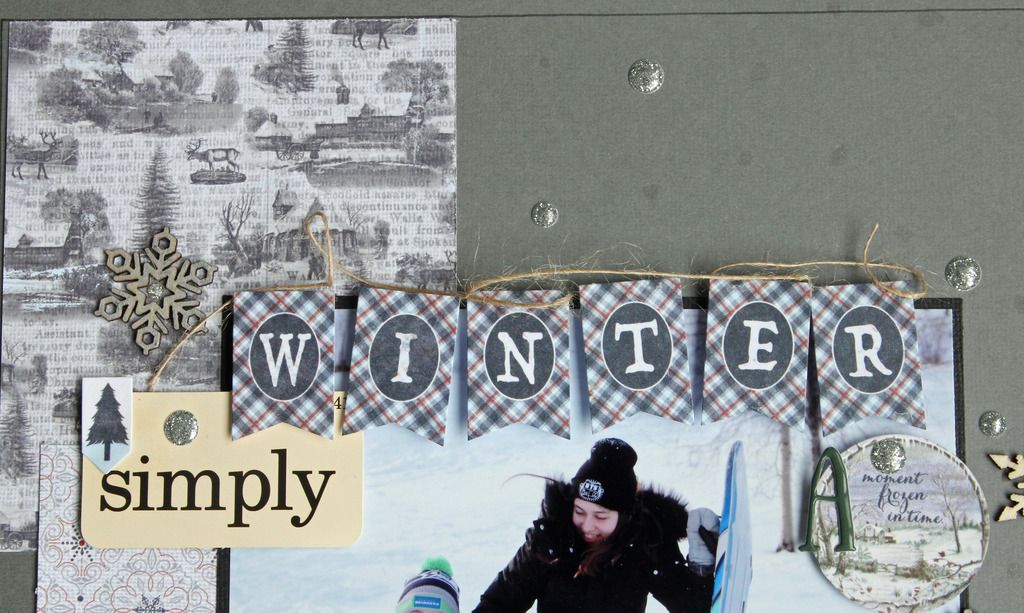
This project fits this paper line to a 't', with a photo of two of my kids sledding. I layered off cuts of three different patterned papers under my matted photo. The title is created with one of the kit Tim Holtz Idea-ology flashcards and kit stickers. The twine around the flag stickers is from my stash and I painted some of the kit snowflakes with the kit silver metallic paint.
I also used my Wink of Stella glitter marker to add some dots of watermark like glitter to the page and hand drew a border with a black marker as well.
We love sketches here at SSZ and the Creative Scrapbook Magazine January 2017 sketch is our team inspiration, here is the sketch:
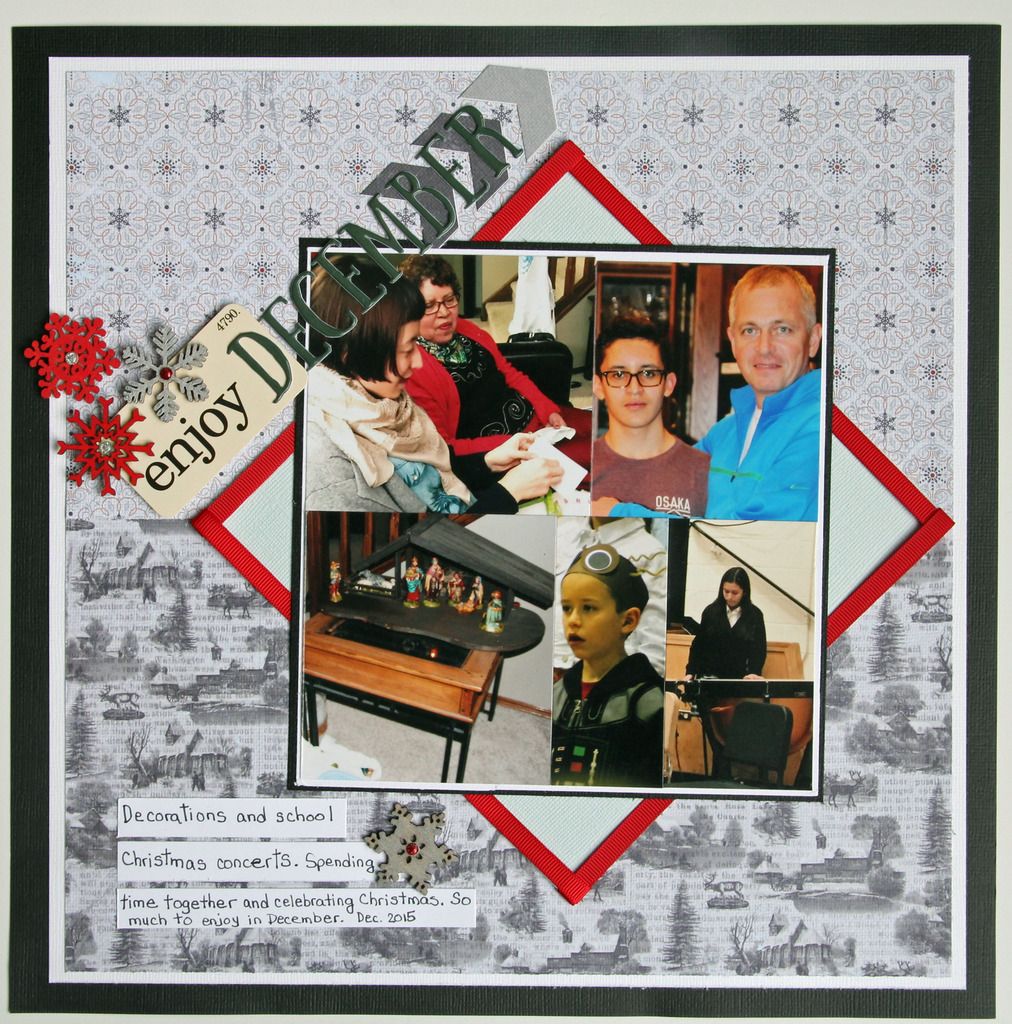
Enjoy December
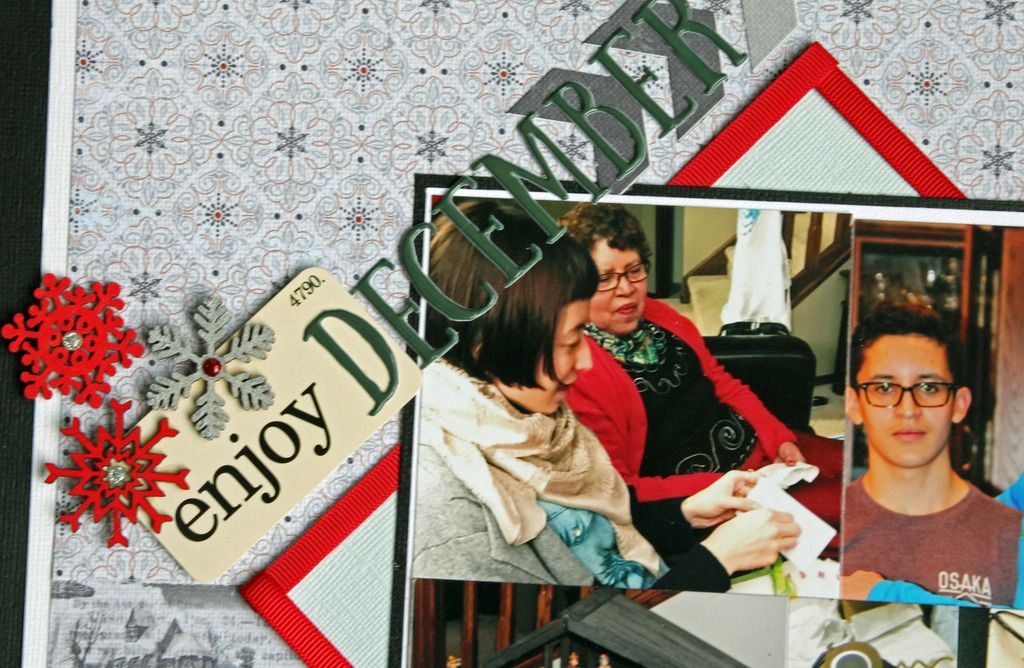
I love the angles in the sketch, especially the angled title. I created a focal point photo by closely cropping 5 photos and lining them up together to look like one photo. The cropping was a great way to deal with the heads and unknown faces of other kids in my son and daughter's Christmas concert.
The cluster of snowflakes are painted with the kit metallic paint and Candied Apple Distress paint. A kit flashcard, alphas and die cuts combine with the snowflakes to echo the sketch angled titled. The painted snowflakes are also accented with the kit silver and red glitter dots. You'll see a lot of pops of red in my projects this month, I was in love with the grey and red colour combination :).
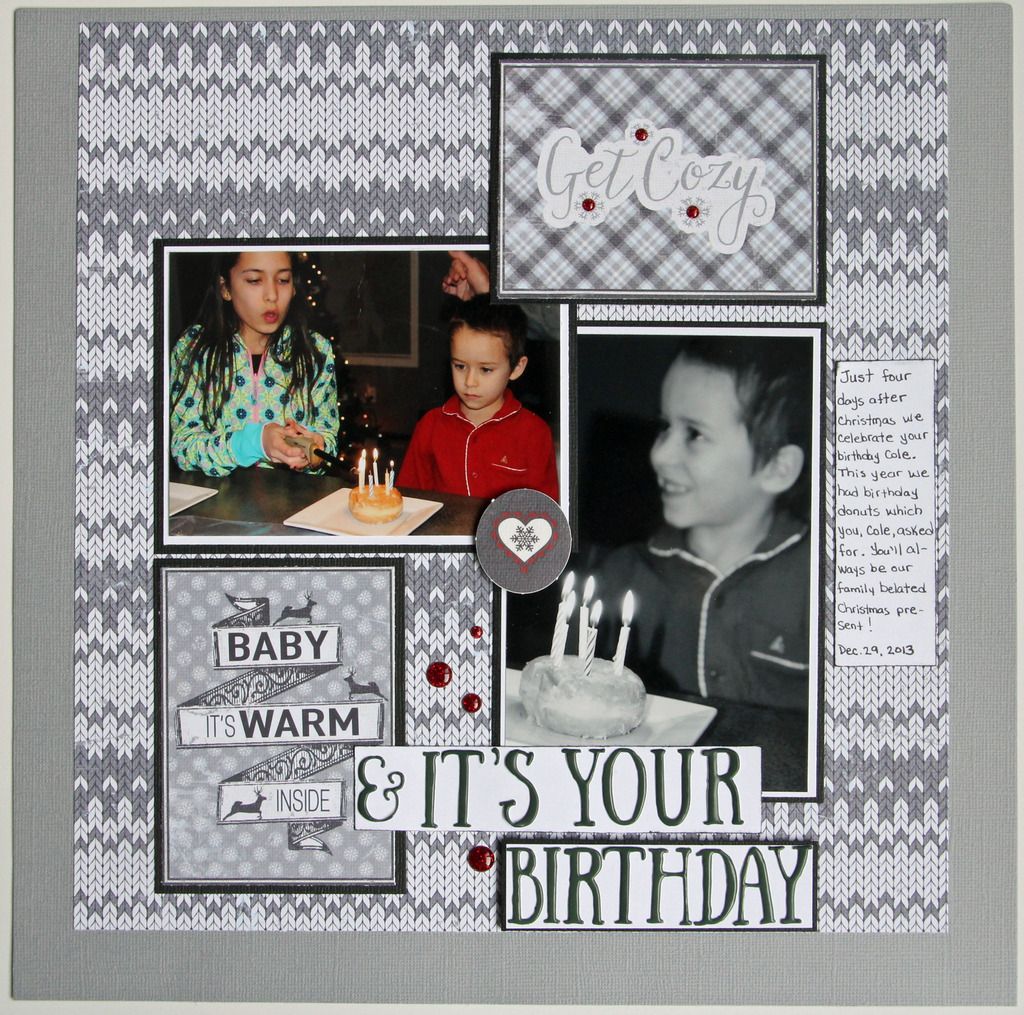
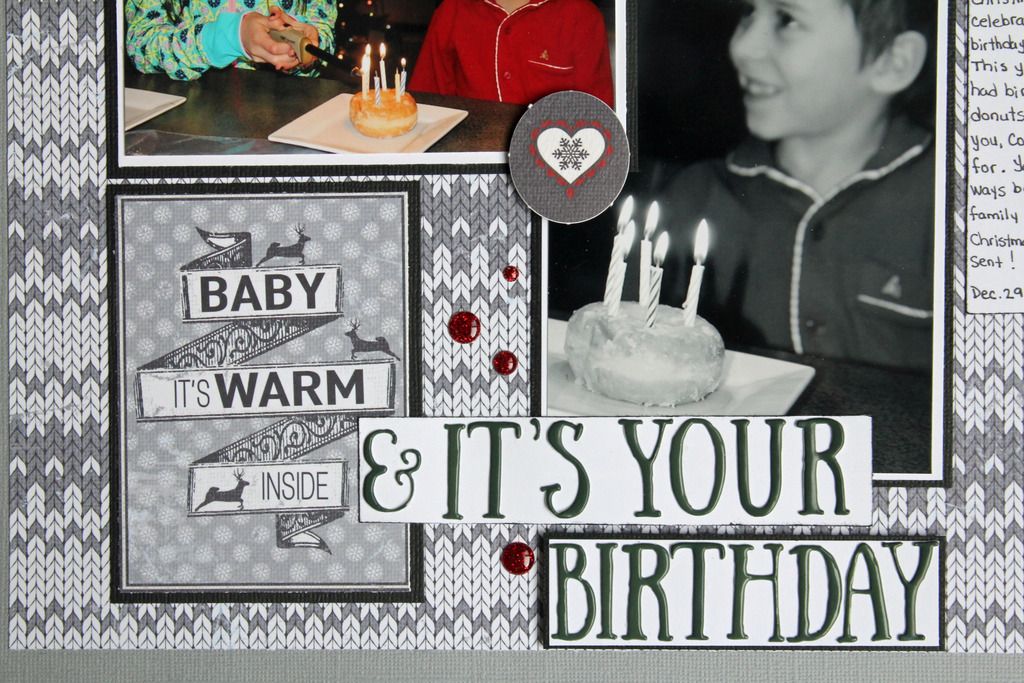
Get Cozy Baby, It's Warm Inside and It's Your Birthday
This sweater patterned paper feels like a big, warm hug doesn't it? The 3x4 cards were my inspiration for the title of this layout, kit alphas finish off the title. The patterns of this kit work together so easily and there is that colour combination of red and grey again :).
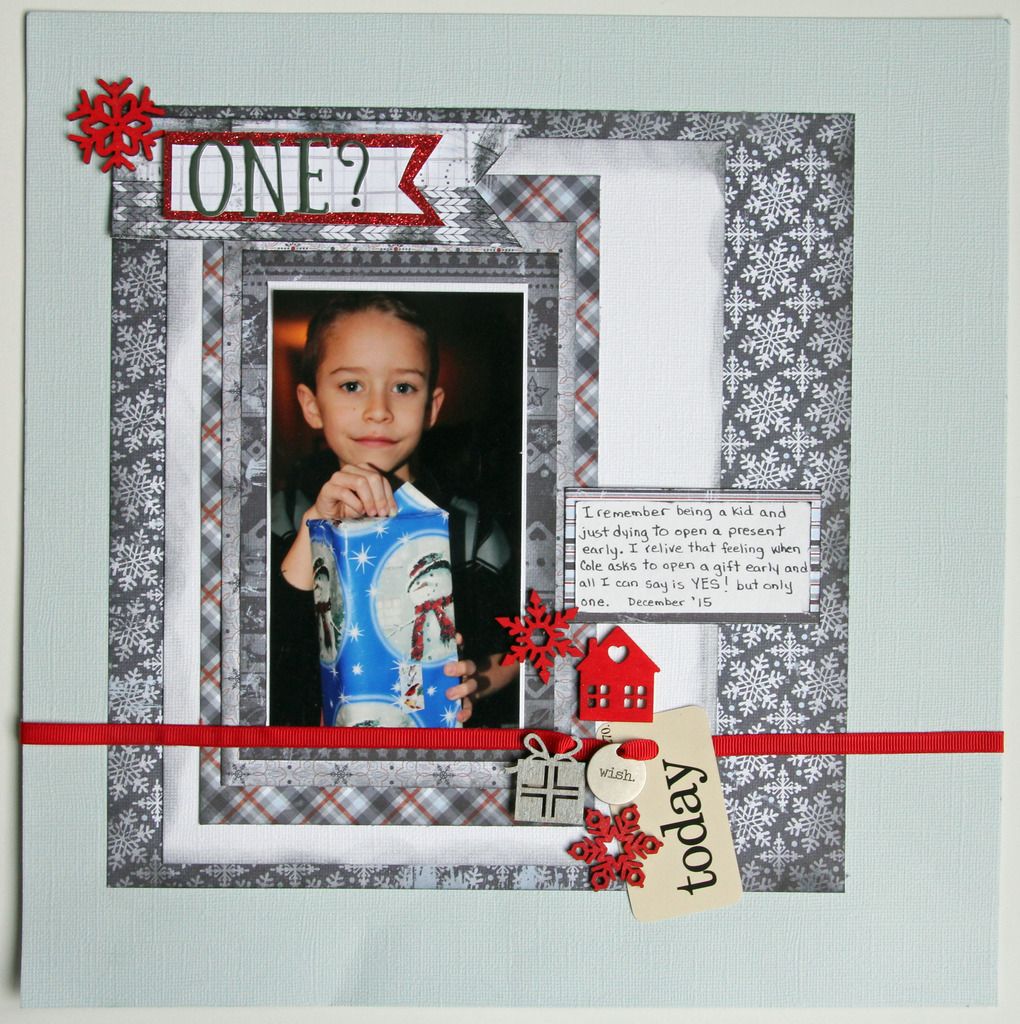
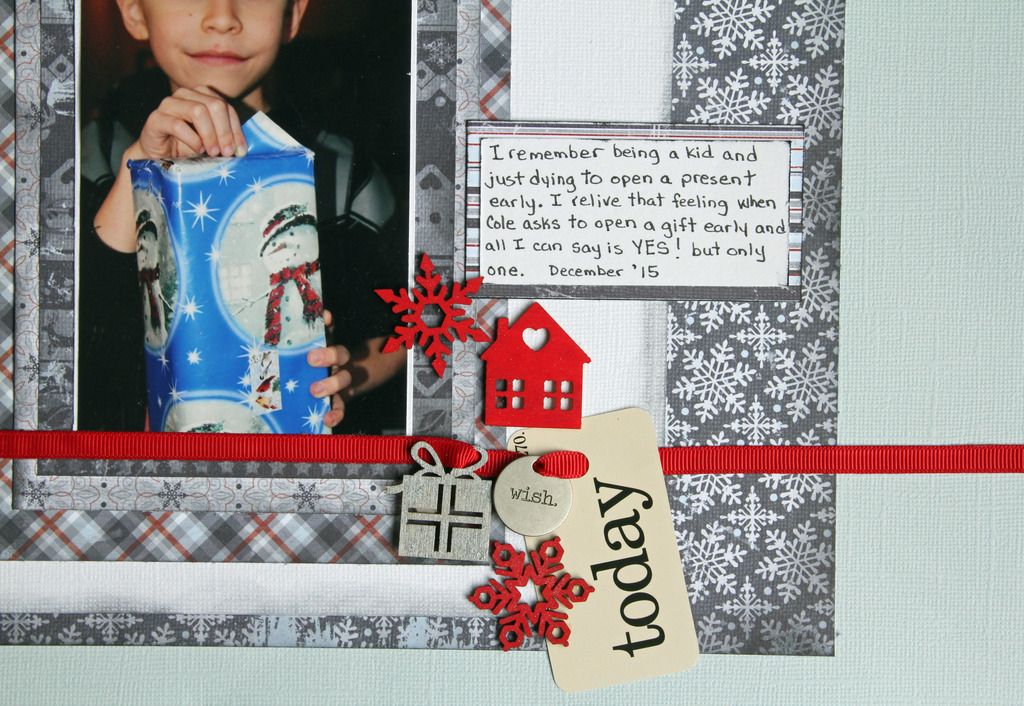
One?
The add-ons are the house and the present painted in Distress Paint Candied Apple Red and Silver Metallic Paint Dabber respectively. The metal 'wish' token, snowflakes, flashcard and papers are from the main kit. I added some SU red ribbon and
glitter card stock, the edges of the patterned papers inked with TH Black Soot Distress Ink and the mini ink tool.
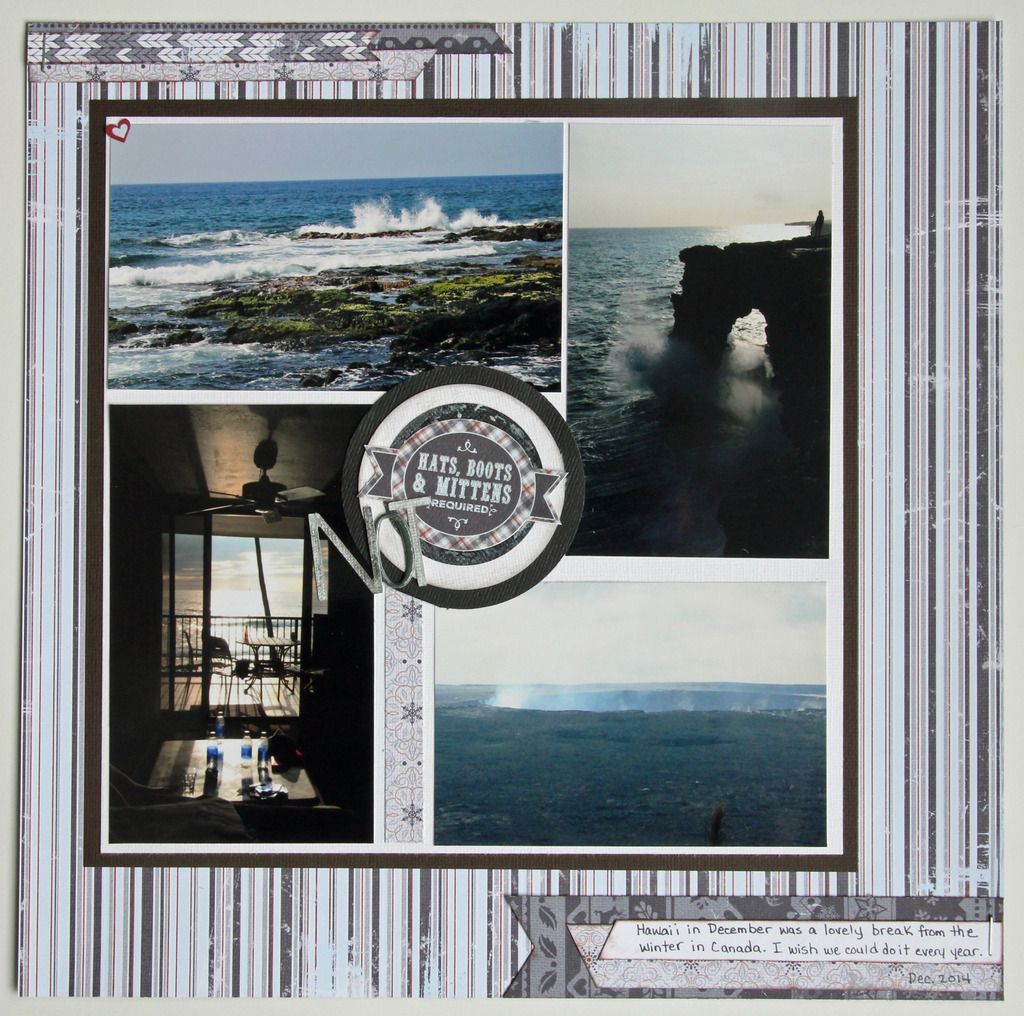
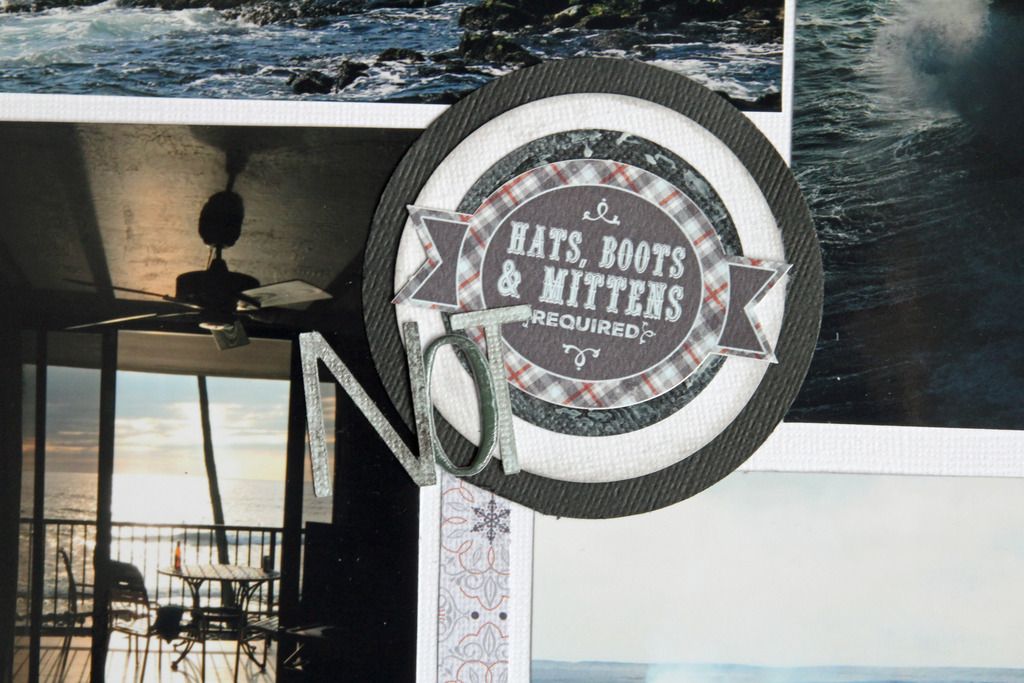
I like to challenge myself to create a project or two which are opposite the theme of kit. This first layout was inspired by the kit sticker in the centre:
Hats Boots and Mittens not Required
I have to be honest, I am not terribly pleased with the end result, feels like it's still missing something know what I mean?? I will happily take your suggestions on the finishing touches that are missing ;), so please comment! The colour palette of these papers are quite neutral so they work really well with these photos of our Hawaiian vacation 2 years ago.
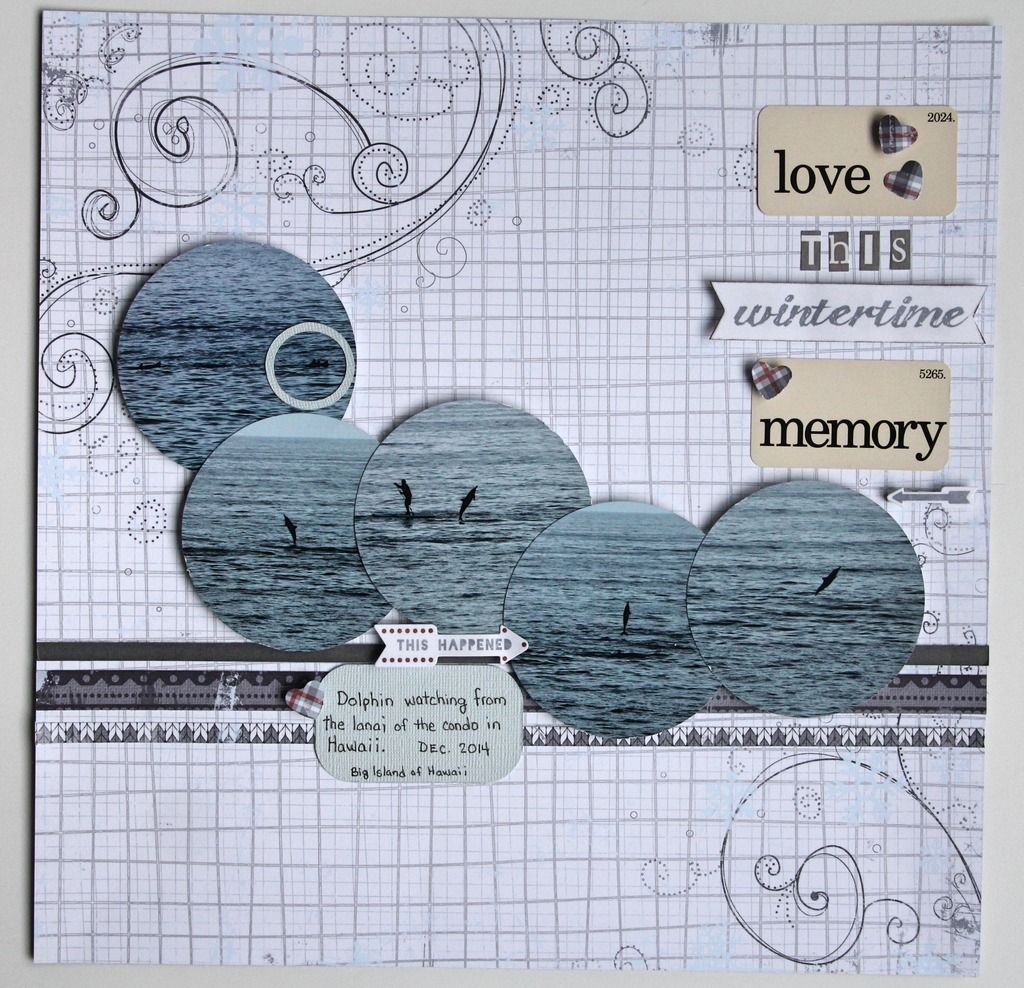
This next layout showcases more photos from the same Hawaiian vacation as above:
Love This Wintertime Memory
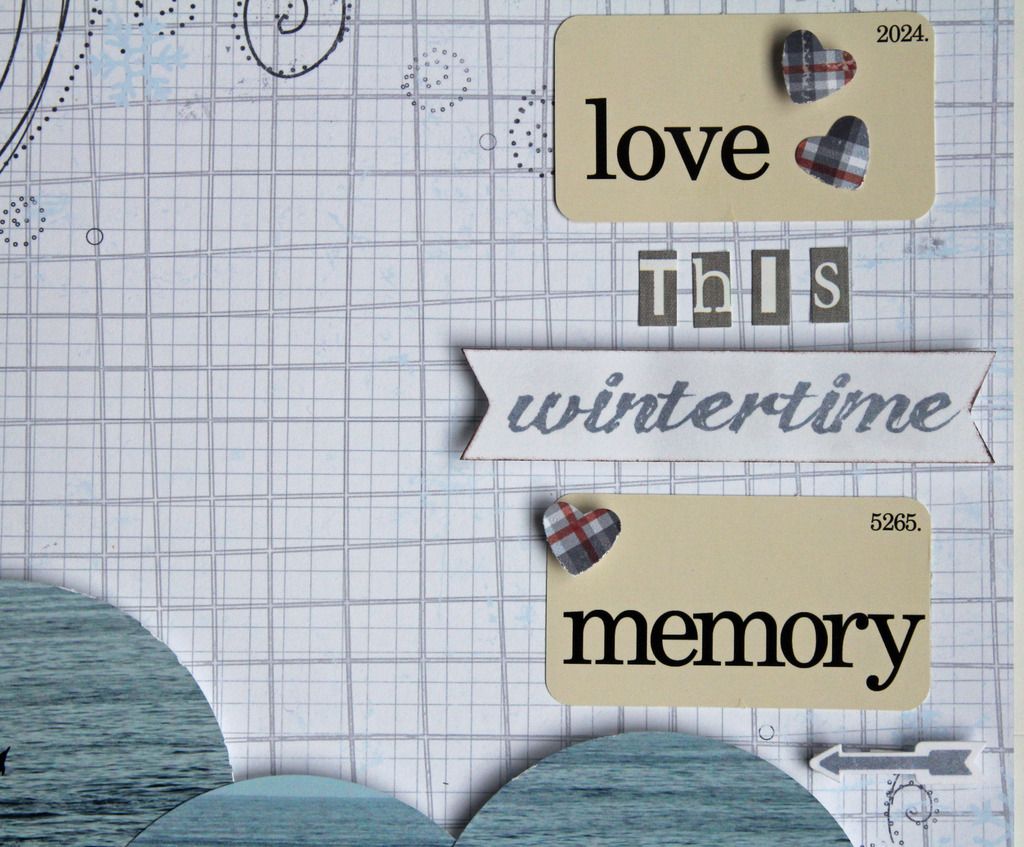
The blue-grey colour of the photos works really well with the blue-grey of this paper in the kit. I put my circle punch to good use cropping the photos to highlight the dolphins which are the subject of my photos. The kit flashcards along with a kit sticker and alpha stickers from my stash combine to work perfectly creating the title for this project.
I punched the mini hearts with a punch from my stash.
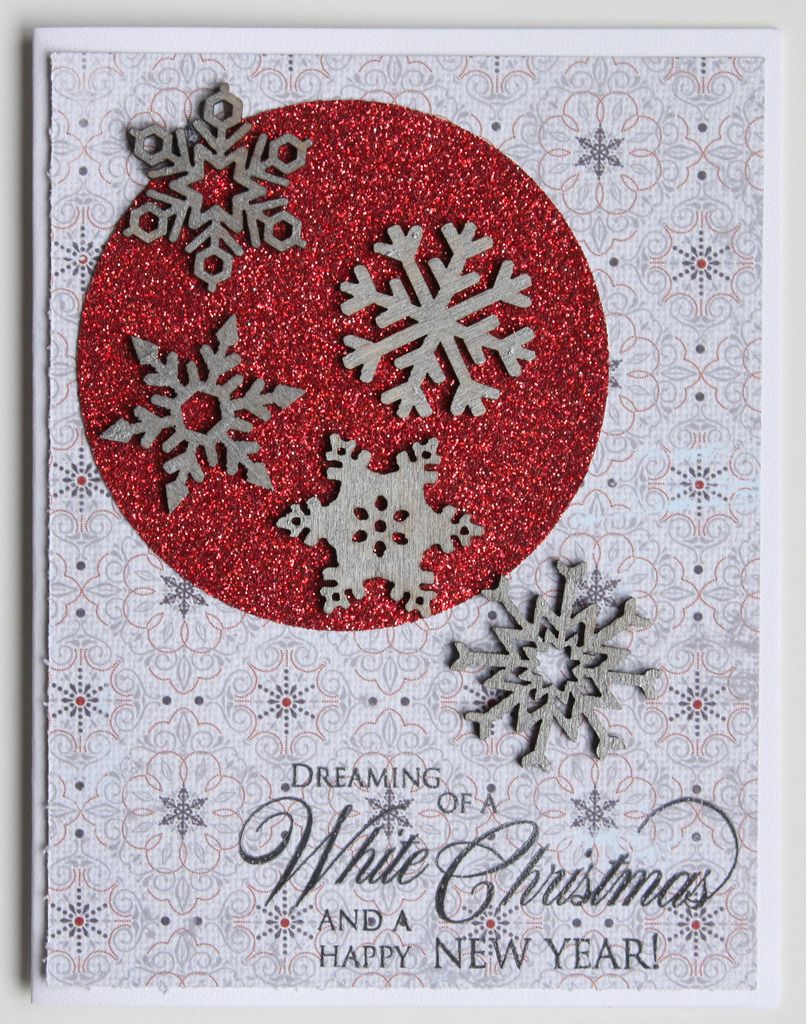
Dreaming of a White Christmas
This red glitter card stock provides the perfect base for the silver metallic snowflakes. A Penny Black 'Yuletide Wishes' embossed sentiment makes this a lovely Christmas card for the coming year.
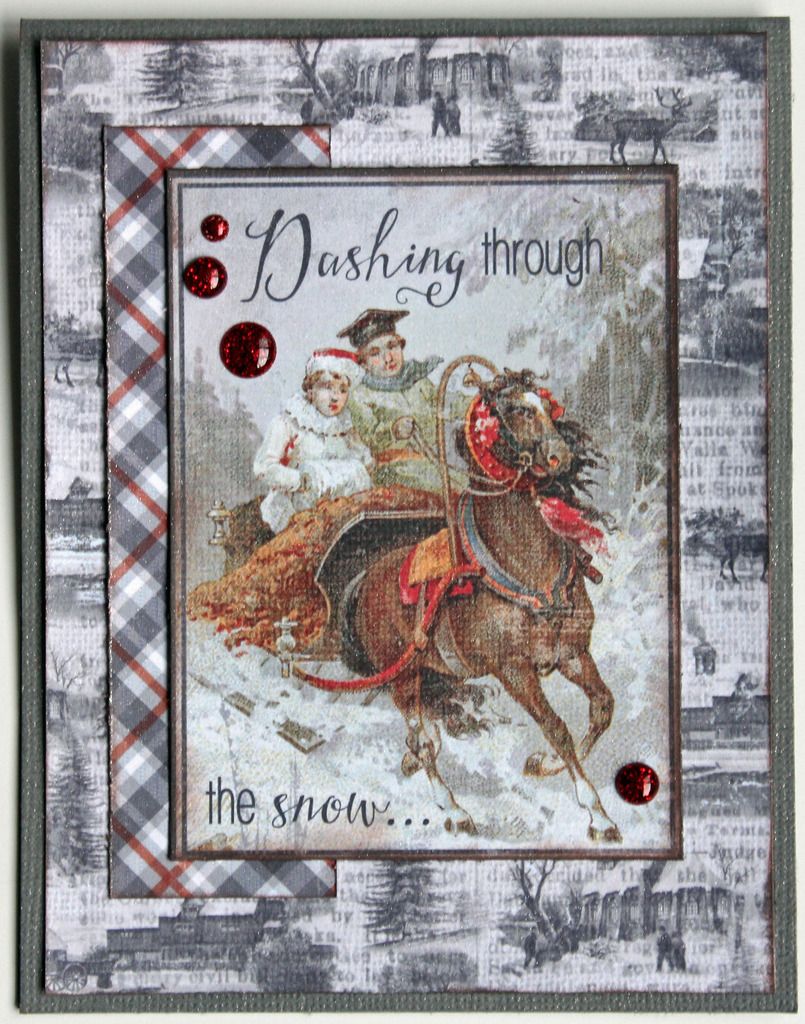
One of the kit paper's is a sheet full of 3x4 pieces like this card front. I've inked the edges of the papers and misted with a shimmer spray which is impossible to capture here. Some red glitter dots finish the card off.
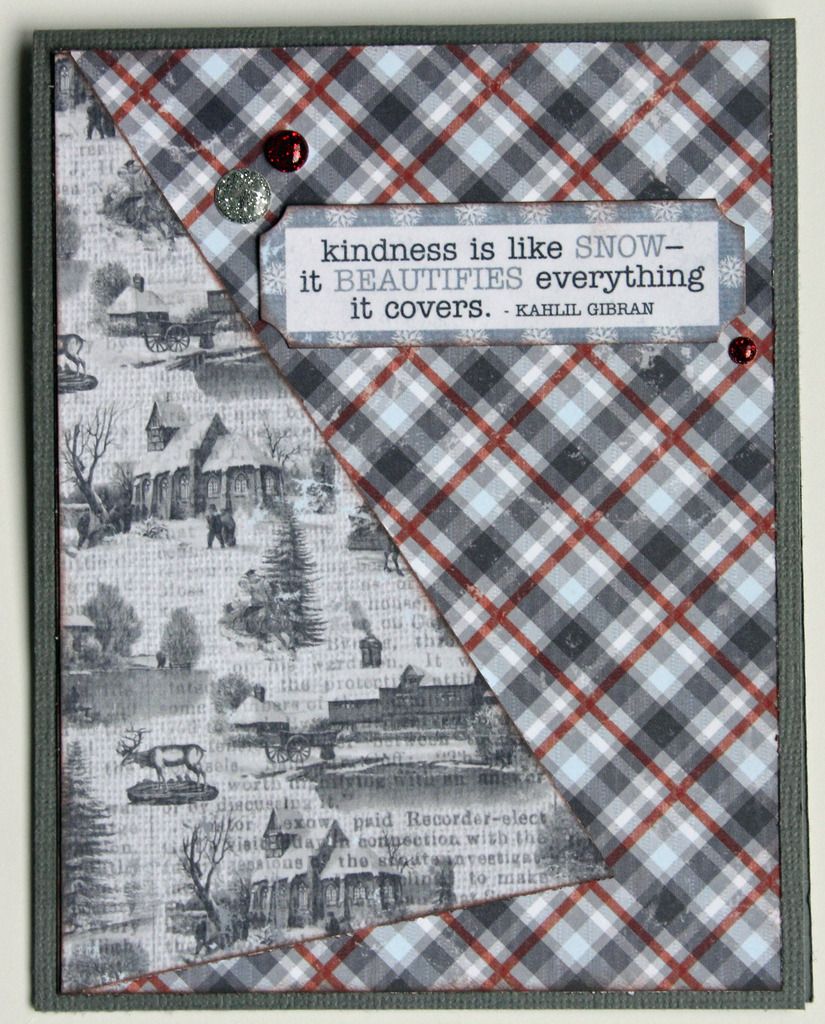
My last project for this kit reveal is this card:
I inked the edges of the papers and the sticker sentiment to make them stand out. All the patterns in this kit work so well together as you can see in this card and in all the projects!
Thank you so much for taking the time to stop in and have a look at these projects!
Happy New Year!
Rosie