Working with sketches really inspires me....I have fun creating sketches and the layout after!
I used our June sketch and the fabulous May kit for this months challenge to create this layout
the sketch calls for lots of layers - but you don't have to use only paper - you can use a mixture of mixed media, stickers, ephemera - whatever you have on hand
I chose to layer with the Kaisercraft Pen and Ink paper and stickers from the main kit and the ephemera pack also from the main kit
If you would like to enter into out sketch challenge you can enter here
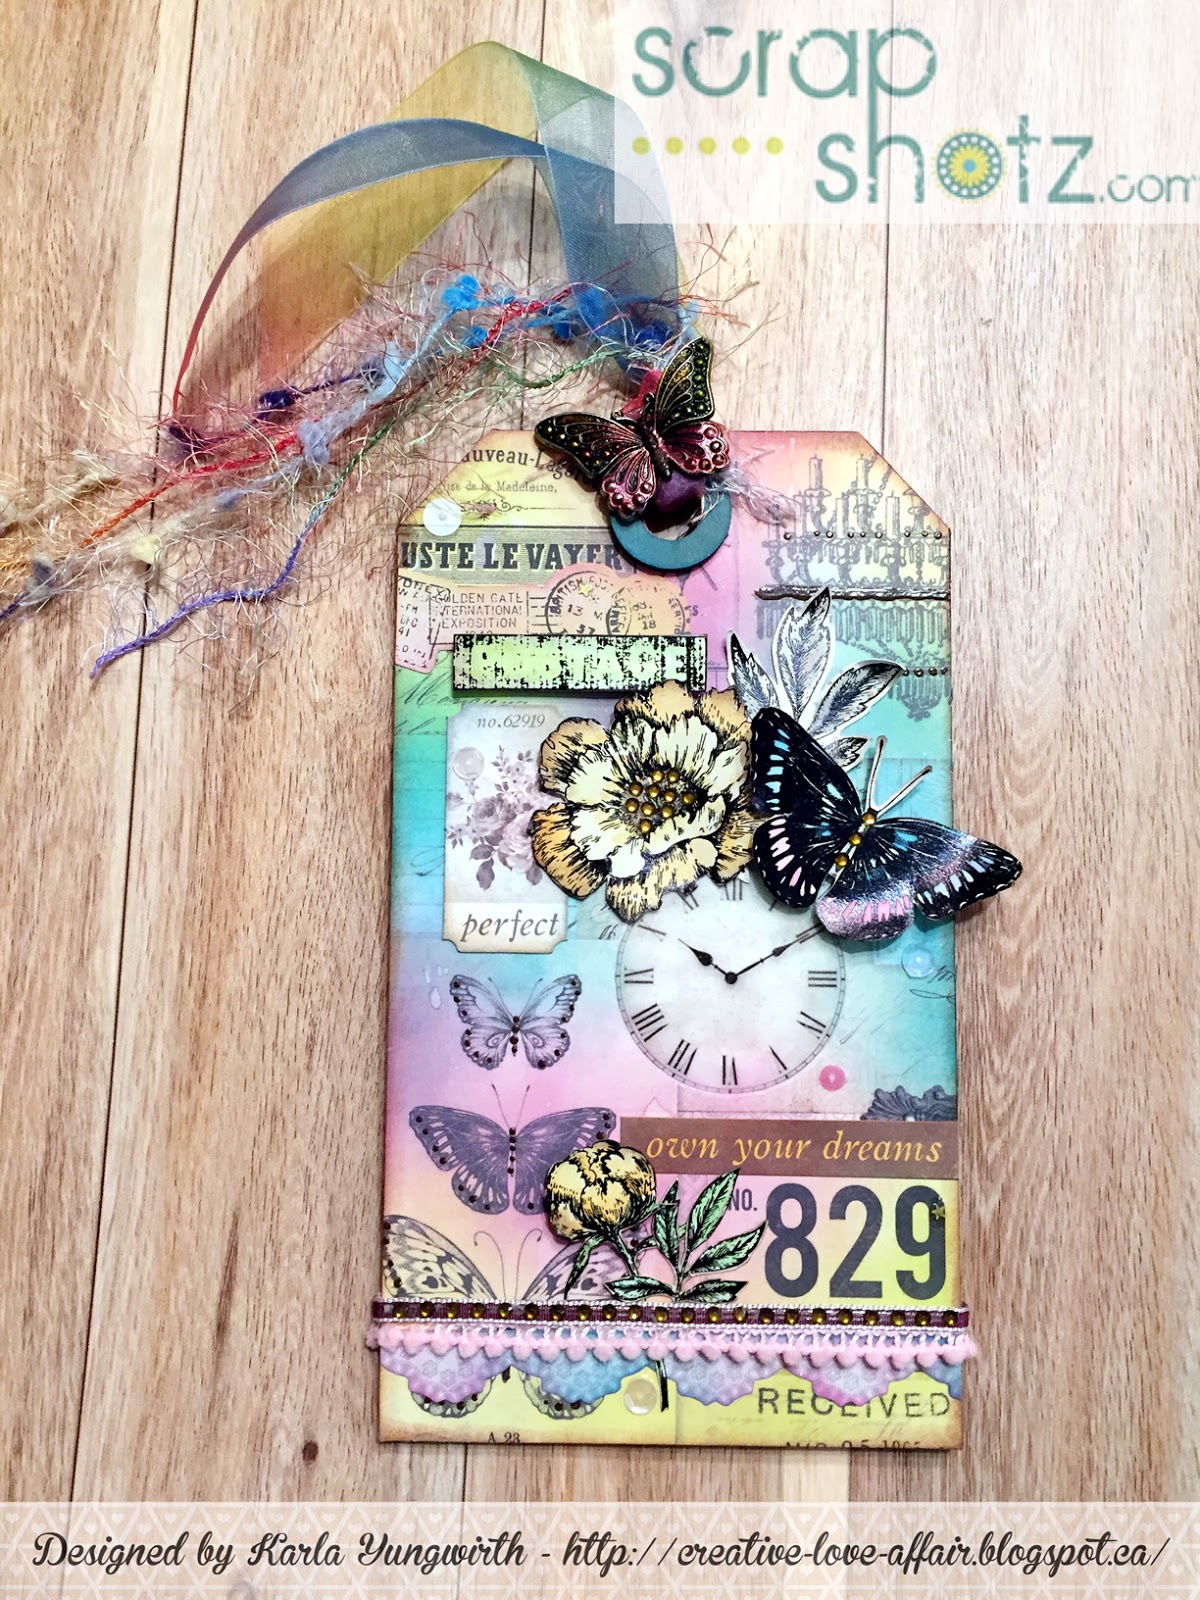
Hello! Karla back today with another project using the Scrap Shotz May Kit, featuring the gorgeous Kaisercraft Pen & Ink collection! In my first post HERE I wanted to show you how you could use the layout in a neutral colour scheme with a hint of pink. Today, I wanted to show you how you could take the neutral palette of these papers and add lots of colour for a bright and fun look. Included in the kit is an amazing Tim Holtz Etcetera Thickboard tag. As soon as I saw it I knew I wanted to make a pretty Spring tag to put in my dining room for a lovely home decor piece.
I then glued on the paper to the tag, added the reinforcer, which I also sponged with the Peacock Feathers ink, and added Glossy Accents to the clock and the Enamel Accents from the Kit to add details to the background. I used the same Oxides along with some Distress Inks to watercolour in images cut from the Foiled Paper from the Kit and used some Ranger Alcohol Inks to add colour to the metal butterfly, also in the Kit.
I used various ribbons and yarns from my stash along the bottom of the tag and threaded through the top of the tag hole before hot gluing the metal butterfly at the top. I added some of the watercoloured foiled images and used a strip of the Kaisercraft gems (an add-on) to the bottom of the tag along with a sentiment sticker and the pretty lace sticker from the 12x12 Sticker Sheet from the Kit.
Lastly, I added a ticket from the Ephemera Pack, included in the Kit, and layered more of the watercoloured foiled images, bending the edges of the paper slightly and adding some foam dots to give some dimension.
A little shimmery mist gave the background some shine along with a few pretty sequins.
The Kaisercraft gems look beautiful cut to fit inside the center of the watercoloured flower. I love how this turned out and I'm so excited to have a new piece of Spring home decor!
Thanks so much for stopping by! Be sure to head over to the Scrap Shotz store to order your KIT and any fun ADD-ON's. If you missed the Kit Unboxing be sure to head over to that post HERE, and have a super crafty week!
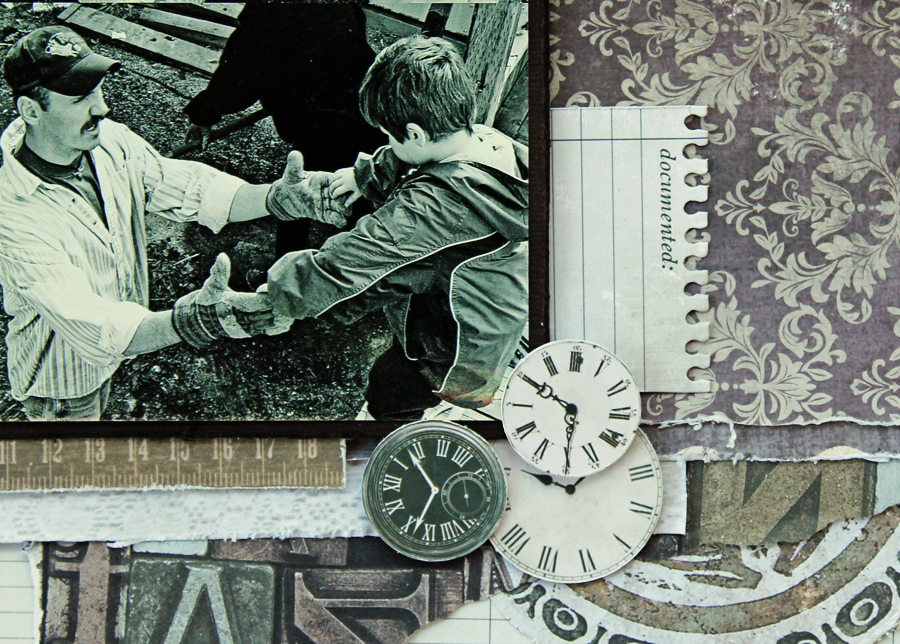
To create his layout I started with by using the walnut cardstock from the main kit for a base.
I then layered a piece of the wonderful Kaisercraft Pen and Ink paper that I layered
I chose a sequence of photos from a recent photo shoot of our boys and my hubby playing around jumping from a gate....boys being boys!
I wanted to use the gold tape from the add on but it was a little too gold for the layout so I used the lawn fawn walnut ink pad to darken the gold and make it match my layout more!
Hi friends! Karla back today with an Unboxing Video of the new May 2018 Kit - which is gorgeous - and two layouts I've created with it. I've also got a second process video of one of the layouts I created below. I really love the neutral colours in this kit, which you can use as is beautifully, or easily add colour to - customizing it as you wish!
Click on the link HERE to see the unboxing or watch below (and don't forget to scroll down to see the layouts I created with the kit!!)
There are so many elements you can fussy cut from these amazing papers, and if you can't decide which side to use you might just have to order the extra paper add- on 😉 I absolutely adore these brush lettering puffy stickers from Pink Fresh Studio!
There is a whole 12x12 sheet of stickers as well as a page of foiled images that will be gorgeous coloured and cut! And I can't wait to use this frame paper 💓
The cardstock coordinates beautifully and the diecut package is chalk-full of goodness! These gems are an add-on and will look amazing paired with the Enamel Accents!
Now, here's a look at the layouts I created with this kit! The theme, colours and sentiments included worked perfectly for some baby photos of my little one - now 6! Yup, I was happy to get these scrapped ;) For the first layout I'm using our featured sketch this month from Creative Scrapbooker Magazine Sketchy Challenge. I added soft pinks and browns using Distress Inks and Oxides to add a bit of colour to the pretty embellishments and papers.
The lovely Kaisercraft gems were perfect as an accent to the butterflies and some SpiegelMom Scraps sequins add some colour along with the pretty Enamel Accents dots. I love how you can vary the size of the Enamel Accents - I applied it at the end and waited about 20 minutes for everything to dry completely.
The Pink Fresh Studio brushed letter puffy stickers created a lovely title when combined with the hello diecut from the ephemera pack.
There are so many lovely elements to fussy cut from the papers that it was easy to add layers to the page.
For my second layout I used the beautiful Frame diecut paper and layered it on one of the patterned papers included in the kit. I love how this turned out!
I embellished the metal butterfly, included in the kit, with some Rose Gold and Gold alcohol inks from my stash. I added some of the glossy brown Enamel Accents to the center of the butterfly as well as adding it to the lightly coloured flower diecut for colour and dimension. The strips of Kaisercraft gems can easily be manipulated to created a circular pattern and worked beautifully as an accent around the edge of the Frame paper.
I added pink and green Distress Ink and Oxides to various elements on this layout and even used them to create some pretty spatters.
I cut one of the branding strips from the bottom of the patterned paper to use as a sweet sentiment below my title. A bit of Glossy Accents give dimension to the Love diecut.
You can check out the video HERE or watch below to see the process I used to create the Hello Beautiful layout!