Showing posts with label Scrap Shotz May Reveal. Show all posts

Monday, October 30, 2017

December Daily Mini Album with Lawn Fawn

Hi there!

This is my fifth year doing a version of a December Daily album.  Obviously, December is a busy time, so to make things simple I usually make my own mini album ahead of time.  The Perfectly Plaid 6x6 paper pack from Lawn Fawn is perfect for a mini album.


To start the album, cut the following pieces of heavy cardstock:

1 - 12" x 6"
3 - 12" x 5.75"
2 - 5.5" x 5.5"pł

Score the 12 x 6 piece at 3" and 2.5" from each end.


Adhere the two 5" x 5" pieces of cardstock to the outer flaps of the 12" x 6" cardstock making sure to centre the piece with an even border around it. This will be the cover.


Score the three 12" x 5.75" pieces at 3" inches from each end. Adhere the three scored and folded pieces together to make a paper chain.


Adhere the centre portion of the paper chain to the centre of the cover. Be sure to use very strong adhesive to do this step (I used wet glue) since this is the part that is the support for the book pages.

You can leave the book like this and it will give you 11 pages (not counting the covers). But, I do all 31 days of December, so I needed more pages. I cut and scored a two more 12" x 5.75" pieces and adhered them to the ends of the paper chain. I cut and folded three 5" x 10" pieces and adhered them to the centre of each panel to make flip up pages. I added more pieces and flip cards to the album until I had 31 pages.

Now that the album is finished, I wall papered every page with the Lawn Fawn paper.

For the cover, I embossed and watercoloured  the poinsettia stamp from The Ton. The pine branches and snowflakes are cut from a Kaisercraft die from my stash. The scalloped circle was cut from with my Silhouette. Swing Thickers from the September Kit  and some alphas from my stash make up the title. The dots are from Liquid Pearls in Gold.

The only page completed in the album is the dedication page. I keep all my Christmas/December Daily supplies in a pizza box and try to use any products that will work for my needs. Here, I used an old Elle Studio journaling card, some more Lawn Fawn paper cut with a Fiskars punch and the number one die cut from an old Spellbinders tag die.  The rest of the pages will be completed as the month progresses.


I have prepared a short video showing how the album looks with all the pages expanded.


I'm pretty happy with this album and can't wait for December to get started!

Thanks for looking!


Monday, June 19, 2017

May 2017 Scrap Shotz Kit Reveal...Hello

**Please Note: Photobucket very recently changed their terms of service and no longer supports direct linking for 3rd party hosting of images. To view the images not displayed, hover and right click over image, then choose either "open image in new window" or "open link in new window" **

Hello!

It's Rosie, back with a couple of cards made with the Scrap Shotz May kit.


One of the kit add ons is this Hero Arts Ombre ink pad used in the card above.
To create the inked background, press the stamp pad on white card stock, let dry and then trim.
Choose 2 coordinating patterned papers, trim to size to fit a 5.5" X 4.25" card base, adhere to card base offset and using foam tape.

Hello is die cut using the Avery Elle Simply Said Hello die, not in stock but can be special ordered.
Glossy Accents is generously applied over the die cut and then adhered with foam tape over inked card stock.

Dollar Store sequins add some shine and the card is ready for giving😁.

When I received this kit I thought it would be perfect for a fabulous Father's Day card and I still think so, BUT I didn't get one done😬, instead I made birthday card.

2017-06-12_0010
I heat embossed the stamped flowers with silver detail embossing powder on watercolour paper and then coloured with the Hero Arts Ombre ink pad and a water brush for the flowers. The green leaves are coloured with Kuretake Gansai Tambi Watercolours.


If I manage to whip up a Father's Day card with this kit I will post it as a bonus project so make sure you keep checking back here to see what happens!

Thanks for taking a look😃
SaveSave
SaveSaveSaveSaveSaveSave
SaveSaveSaveSaveSaveSaveSaveSaveSaveSaveSaveSave

Saturday, June 4, 2016

'Starshine' May Scrap Shotz Kit Reveal

Hello and happy soon to be summer, we are enjoying some beautiful weather in this part of the world so thoughts of summer are close at hand.

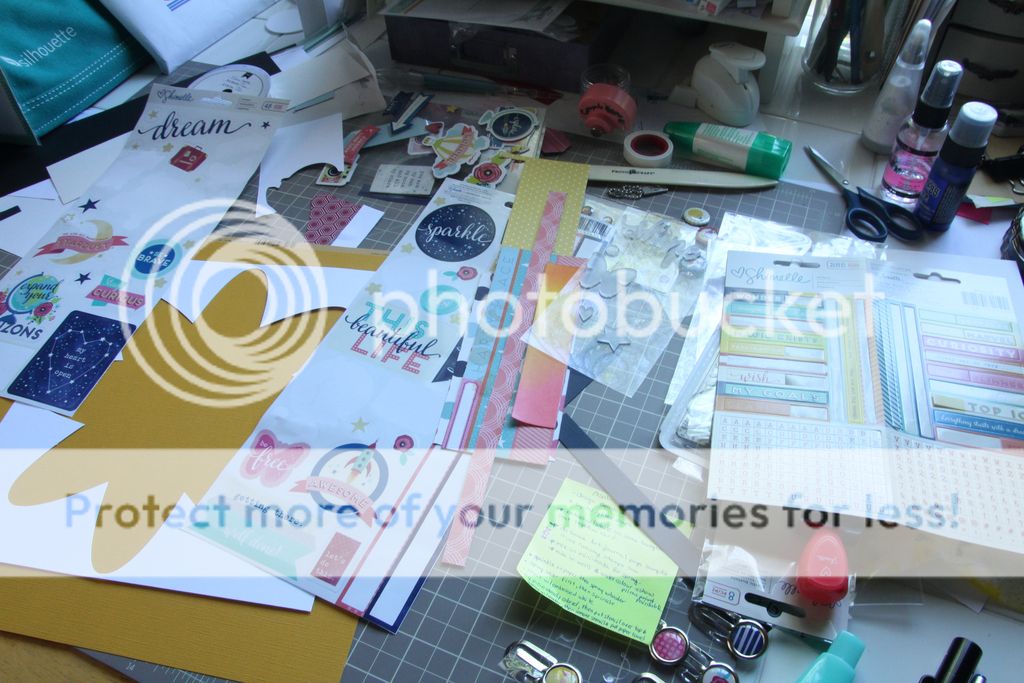
This month's kit is literally packed full of product-paper, chipboard, stickers, acrylic shapes, clips, ribbon and roller rub-ons.

The grand total of projects for me this month is 7 layouts total-6 single, 1 double page and 3 cards. I so love this line I doubled my patterned paper but only used one page from the extras. I could have made a few more cards but ran out of time, not counting the extra patterned paper I bought I could easily create a couple more single page layouts and 2 or 3 cards with what I still have left.

Enough talking from me, lets take a look at what I created beginning with my sketch project based on this sketch I made:


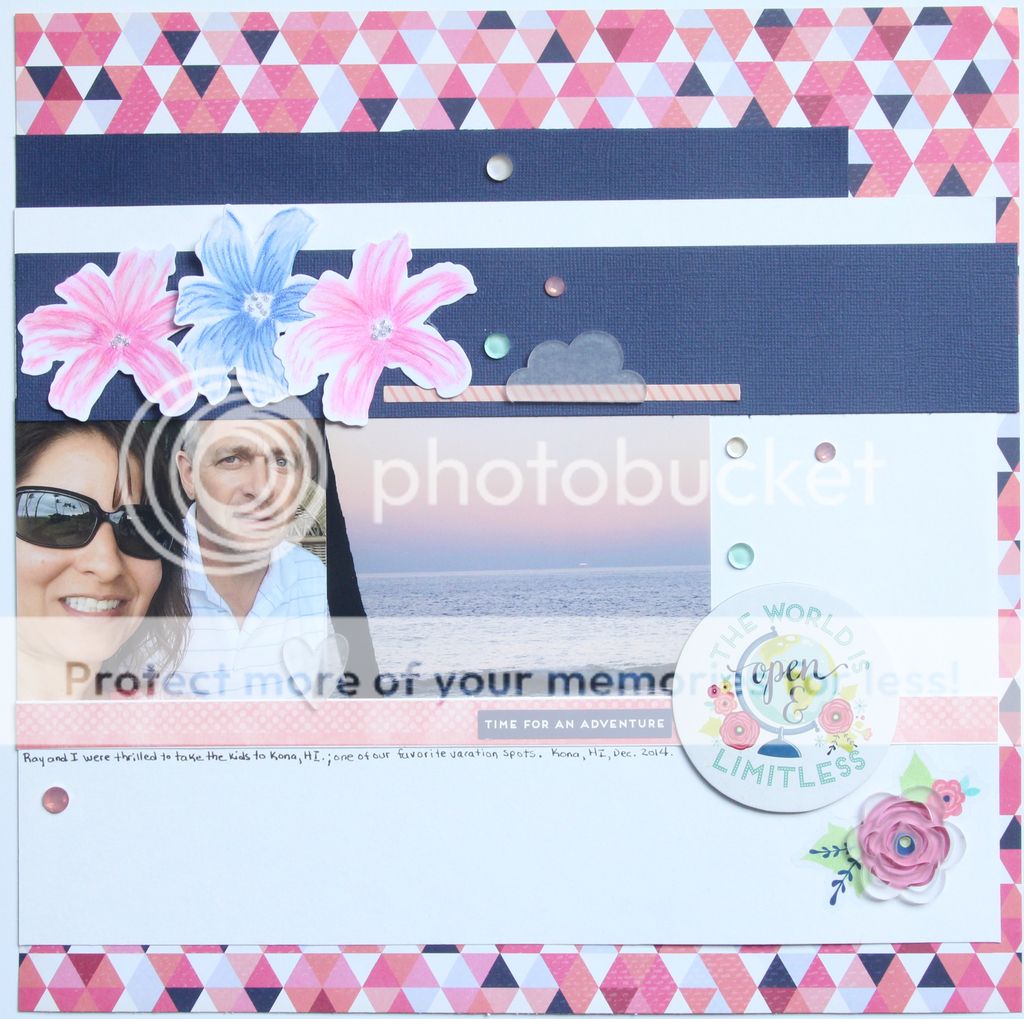
The flowers are stamped and cut with the Altenew Layered Lily stamp and die.
I stamped them with the lightest shade of Altenew Crisp dye ink in pink and blue, then added detail by coloring with copic markers and pencil crayons. The centres are created with Nuvo Glitter Drops.
I layered an acrylic flower over a floral sticker to complete the visual triangle of acrylic shapes.
The rub on roller pens work just like a white out pen so they are super easy to use. I took advantage of their ease here by running the star pen along the edge of the card stock strips to create multiple borders for my photo.
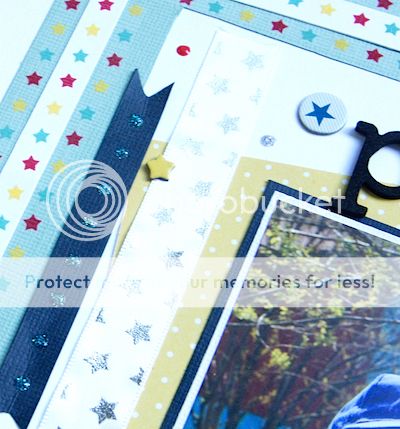
The kit ribbon comes backed with adhesive, just peel and stick! Nuvo Glitter and Crystal drops are added for interest.

I hope you're not completely bored with my planner spread, I am a 'simple' planner girl. I've added stickers and bit of ribbon along the top, the rub on roller is perfect for a planner and one of the epoxy clips. In addition, I used the roller stamp add on as well.


The paper is pre-printed with these stripes, I cut along the outside edge of them, adhered to white card stock, then added the black and hexagon pattern strips.
'Happy' is a white Mama Elephant die cut I had laying around, I colored it with a black marker and then Wink of Stella clear glitter.
I popped up the word strips and camera sticker with pop dots.

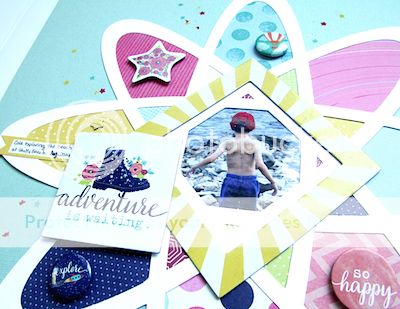
This is a die cut I created for my Cameo, I backed the open spaces with patterend paper.
This yellow square frame happened to be just the right size to frame this photo. The stars were added randomly with the roller rub on pen.

This next layout began with this:
What am I going to do with all these 'leftovers' ?


I randomly placed stickers on card stock and used the outside leftover from the die cut stencil as a frame.

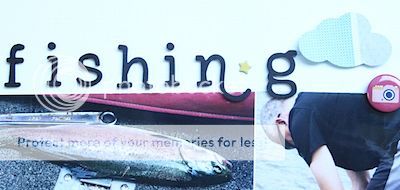
I used the rub on roller pen to "frame" the photo by applying it directly on the photo. Chipboard, stickers, a flair button, an acrylic shape and an epoxy clip finish it off.

It was my turn to create a 2 page layout and I had fun designing this one. I created a photo block that spans both pages and then added paper strips along the bottom of the block to also unifying both sides of the spread.

Here are some close-ups of the punched & acrylic clouds, stickers, title and flair button.


Paper strips are the theme of this layout ranging from wide to thin and cut into banners.

Isn't this chipboard gorgeous, check out the store to see what's in stock. I painted it with Tim Holtz Distress Paint, Prima Alchemy paint and highlighted with Wink of Stella white glitter.
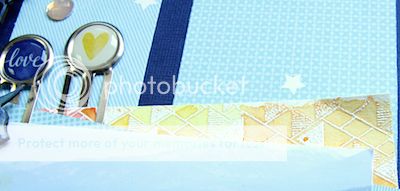
See the yellow mat? It's watercolour paper stamped with Versa Mark ink, heat embossed with Emerald Creek white embossing powder and then painted with watercolor paints.

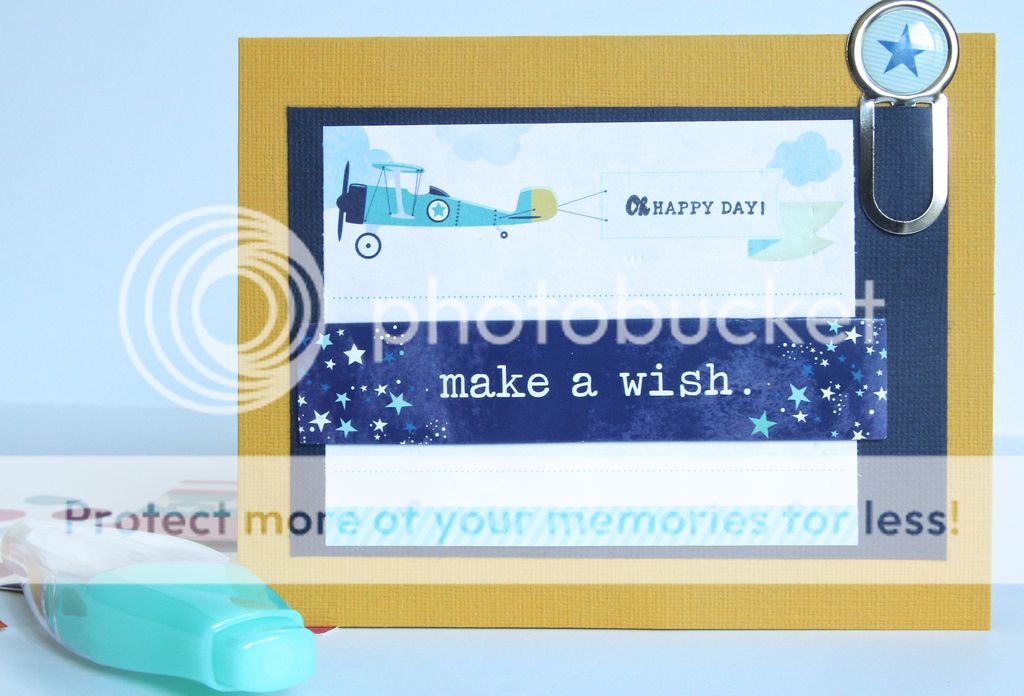
This card was so easy, I used a piece of paper from the notepad & stamp add-on, stamped the banner preprinted on the paper and added the chipboard 'make a wish' for boy a birthday card.
I had this Distress ink background hanging around and decided it would make a great card base for this acrylic hot air balloon. The sentiments are fussy cut from border pattern paper. Some Jillibean Soup die cut clouds and gems finish this one off.
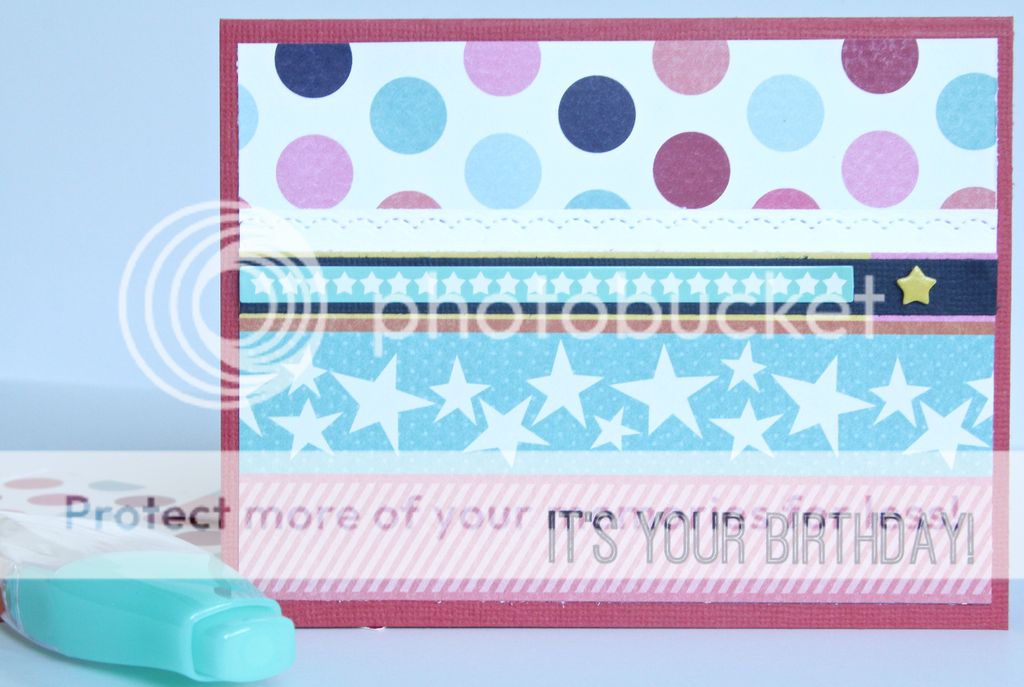
Working with a paper line makes it so easy to mix and match patterns and colours as they are designed to work together. Altenew "Birthday Greetings" stamp set provides the sentiment and the small star sticker strip yellow chipboard star complete this birthday card.

Thanks for stopping by and please come back to see Virginia's projects later this week.


Wednesday, June 1, 2016

Scrapshotz May 2016 Kit - American Crafts "Shimelle Starshine"

Hello! Lorraine here to share the beautiful AC "Shimelle Starshine" Scrapshotz kit. What a versatile goodie package!!! I was able to put together a wide variety of pages, from a heritage layout to a sleek, modern layout - from a sports page to a baby giggles page. Let's dig in...
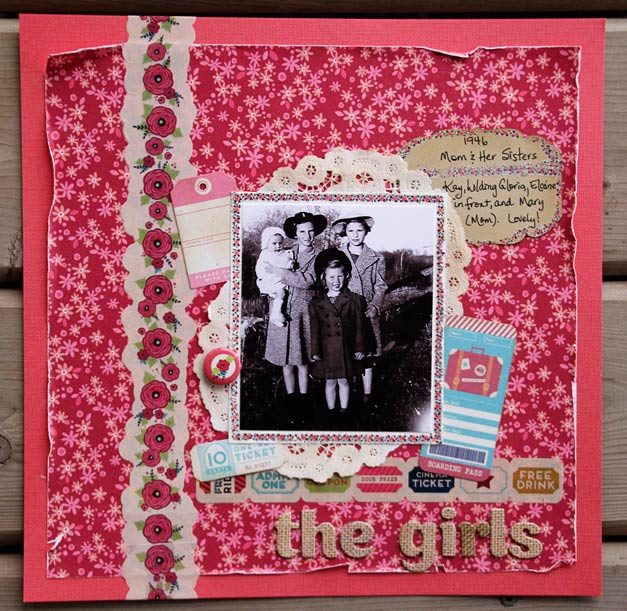
The gorgeous floral design on this patterned paper was perfect for a heritage photo of my mom and her sisters from 1946. The stunning washi tape made an interesting border and a platform for my photo to rest on. I made the layout a bit more feminine by adding a doily and finished it up with the Thickers title and bits and pieces from the kit, including flair, some die cuts and smooth as silk rub on rollers on the photo and journal spot borders. 
The clean and simple, modern design of this layout was perfect for a photo of my grandson with his died hair. The AC Shimelle Starshine thickers made the marquee title shine, and chipboard die cuts gave the layout interest and dimension.
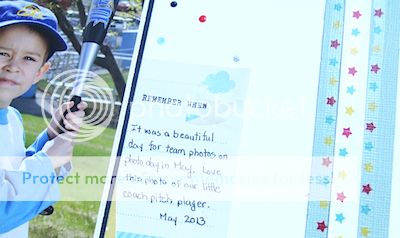
 This baseball layout was based on a sketch created by our own Rosie Neustaedter for use with this month's kit. I love the great patterned paper here with the stars in light and dark colors. It suited the mood I was looking for on my layout very well. The mirror cardstock stars were cut out with My Favorite Things Stitched Star Stax and the title words were die cut with Sizzix Marquee Alphabet Die set.

This "Baby Giggles" layout was my showcase project. The chipboard elements were the products that I chose to highlight. I used them behind, under, on top of and beside my photographs. I stitched over some of them to give them even more texture and used the AC Thickers that came with the kit for the title.

Here are the cards I created with elements from this kit. Here are some die cuts,

a chipboard piece and a transparent sticker,
 more transparent stickers and that beautiful, wide floral washi tape.
Here I used some transparent die cuts. These were popped up and were quite simply enough on their own. These will make great Graduation cards!


Thanks for sticking with me through this reveal. I hope you're inspired and can dig into this kit with fresh ideas! Look for Rosie's and Virginia's projects later this week! 


Thursday, May 5, 2011

Scrap Shotz May 2011 Reveal

Have you seen the luscious May 2011 Scrap Shotz monthly kit yet??? It is a stunner! Also a stunner is the work of our uber talented Creative Team. It was hard to pick a favorite from each designer but here are my best efforts...

From Lorraine, don't you absolutely adore the purple with these gorgeous Grandparent photos??? I know I do!


From Laura, I adore this fantastic Mother's Day card! The colours are sweet and fresh and well, amazing!


From Wendy, just look at this gorgeous card!!!! The kit stamp image is beautifully coloured.


From Jennifer, I adore this beautiful Mother's Day card. The fresh greens are breathtaking.


From Melissa, check out these fantastic gift bags!!! The bag itself is a gift!


From Gail, doesn't this layout just melt your heart? Double joy!


Thanks for joining me in drooling over the May 2011 Reveal!