Hello and happy soon to be summer, we are enjoying some beautiful weather in this part of the world so thoughts of summer are close at hand.
This month's kit is literally packed full of product-paper, chipboard, stickers, acrylic shapes, clips, ribbon and roller rub-ons.
The grand total of projects for me this month is 7 layouts total-6 single, 1 double page and 3 cards. I so love this line I doubled my patterned paper but only used one page from the extras. I could have made a few more cards but ran out of time, not counting the extra patterned paper I bought I could easily create a couple more single page layouts and 2 or 3 cards with what I still have left.
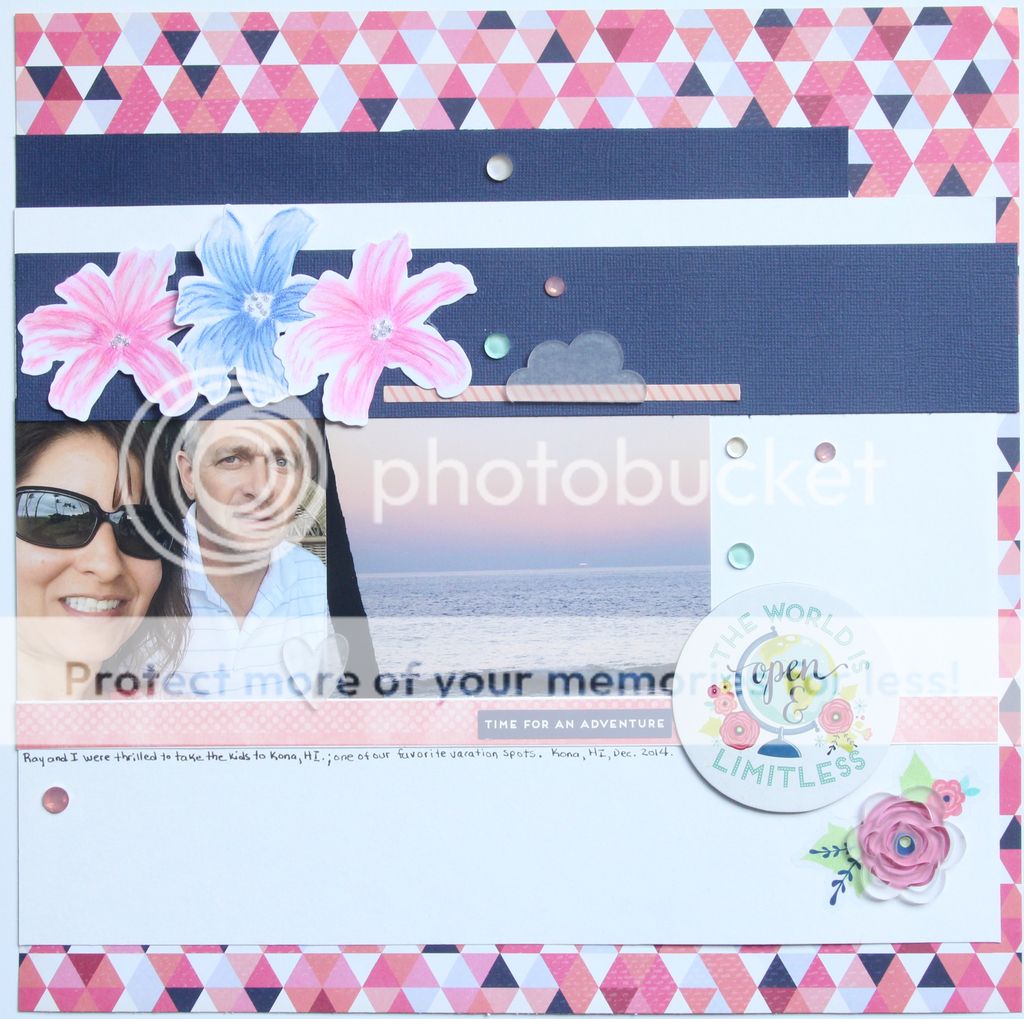
Enough talking from me, lets take a look at what I created beginning with my sketch project based on this sketch I made:
The flowers are stamped and cut with the Altenew Layered Lily stamp and die.
I stamped them with the lightest shade of Altenew Crisp dye ink in pink and blue, then added detail by coloring with copic markers and pencil crayons. The centres are created with Nuvo Glitter Drops.
I layered an acrylic flower over a floral sticker to complete the visual triangle of acrylic shapes.
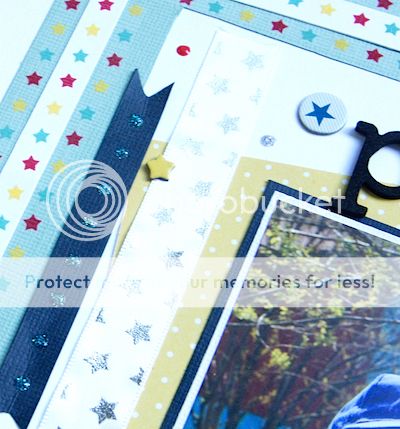
The rub on roller pens work just like a white out pen so they are super easy to use. I took advantage of their ease here by running the star pen along the edge of the card stock strips to create multiple borders for my photo.
The kit ribbon comes backed with adhesive, just peel and stick! Nuvo Glitter and Crystal drops are added for interest.
I hope you're not completely bored with my planner spread, I am a 'simple' planner girl. I've added stickers and bit of ribbon along the top, the rub on roller is perfect for a planner and one of the epoxy clips. In addition, I used the roller stamp add on as well.
The paper is pre-printed with these stripes, I cut along the outside edge of them, adhered to white card stock, then added the black and hexagon pattern strips.
'Happy' is a white Mama Elephant die cut I had laying around, I colored it with a black marker and then Wink of Stella clear glitter.
I popped up the word strips and camera sticker with pop dots.
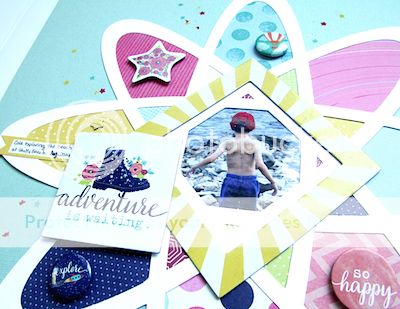
This is a die cut I created for my Cameo, I backed the open spaces with patterend paper.
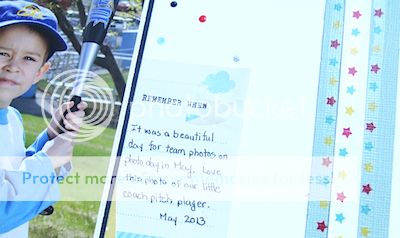
This yellow square frame happened to be just the right size to frame this photo. The stars were added randomly with the roller rub on pen.
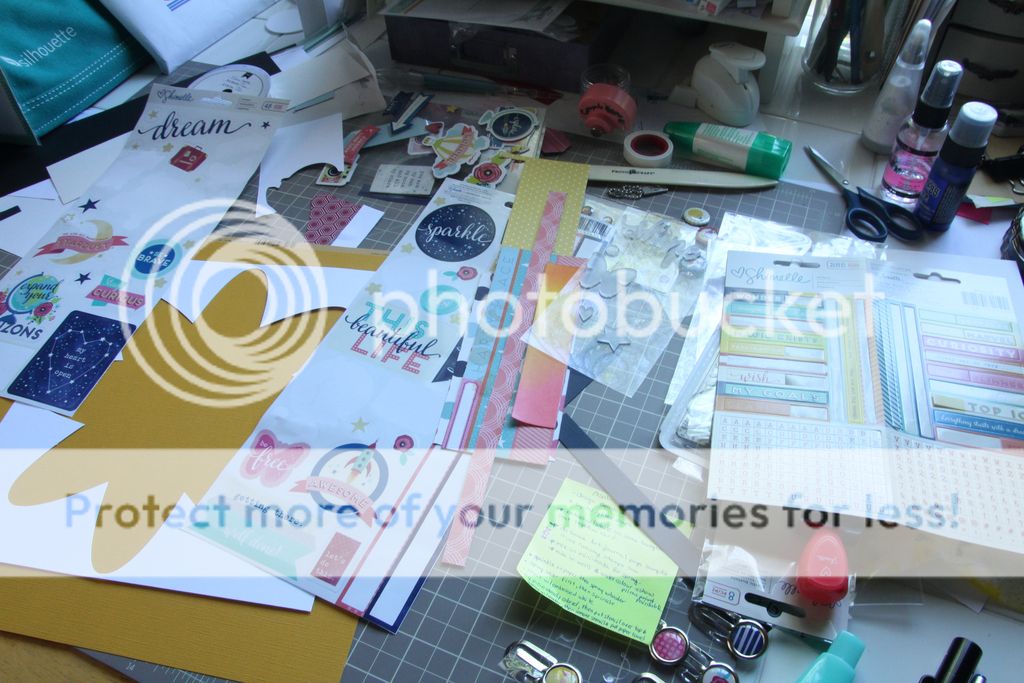
This next layout began with this:
What am I going to do with all these 'leftovers' ?
I randomly placed stickers on card stock and used the outside leftover from the die cut stencil as a frame.
I used the rub on roller pen to "frame" the photo by applying it directly on the photo. Chipboard, stickers, a flair button, an acrylic shape and an epoxy clip finish it off.
It was my turn to create a 2 page layout and I had fun designing this one. I created a photo block that spans both pages and then added paper strips along the bottom of the block to also unifying both sides of the spread.
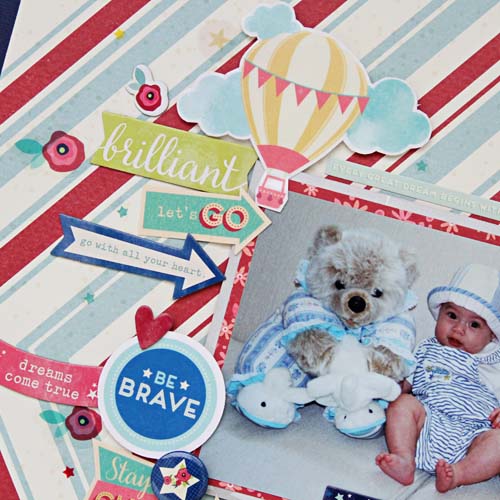
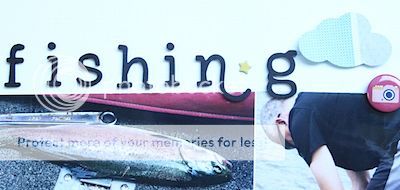
Here are some close-ups of the punched & acrylic clouds, stickers, title and flair button.
Paper strips are the theme of this layout ranging from wide to thin and cut into banners.
Isn't this chipboard gorgeous, check out the
store to see what's in stock. I painted it with Tim Holtz Distress Paint, Prima Alchemy paint and highlighted with Wink of Stella white glitter.
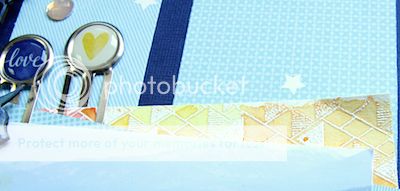
See the yellow mat? It's watercolour paper stamped with Versa Mark ink, heat embossed with Emerald Creek white embossing powder and then painted with watercolor paints.
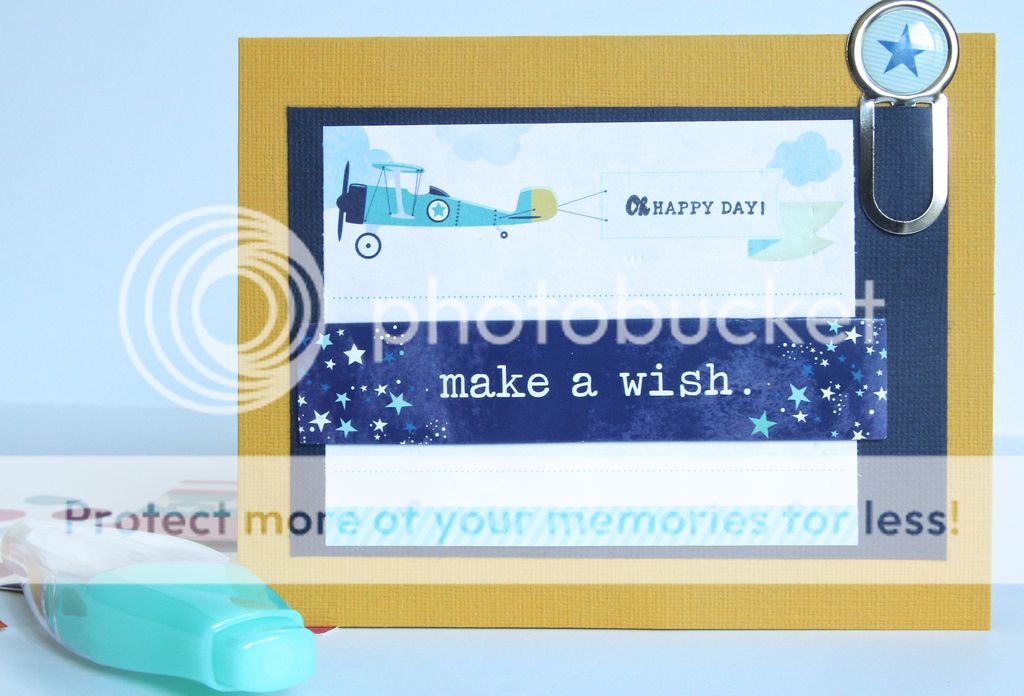
This card was so easy, I used a piece of paper from the notepad & stamp add-on, stamped the banner preprinted on the paper and added the chipboard 'make a wish' for boy a birthday card.
I had this Distress ink background hanging around and decided it would make a great card base for this acrylic hot air balloon. The sentiments are fussy cut from border pattern paper. Some Jillibean Soup die cut clouds and gems finish this one off.
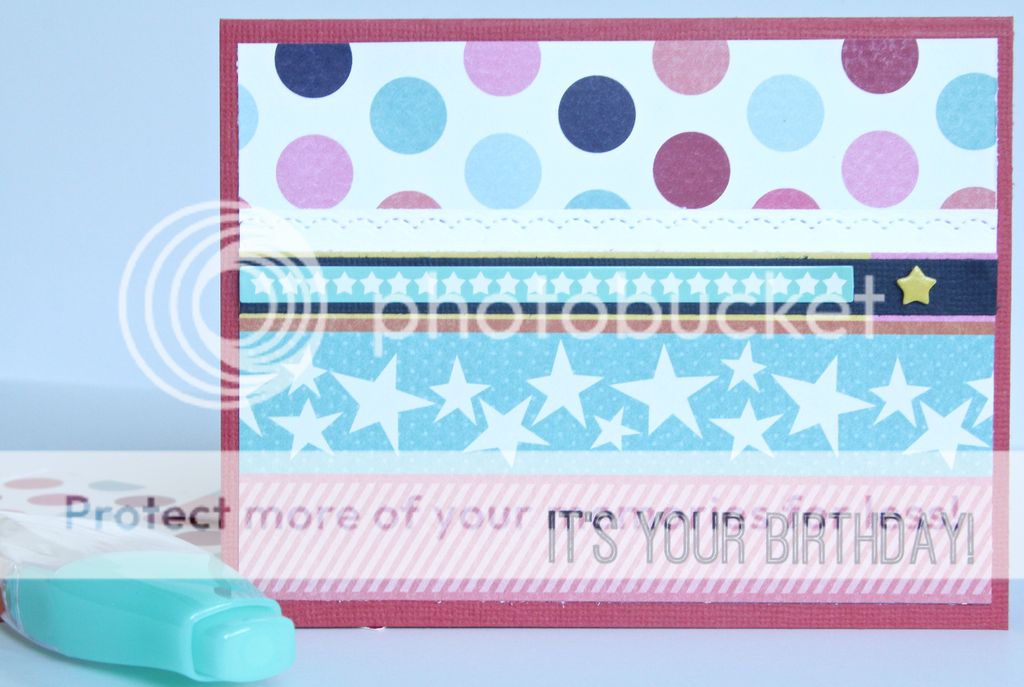
Working with a paper line makes it so easy to mix and match patterns and colours as they are designed to work together. Altenew "Birthday Greetings" stamp set provides the sentiment and the small star sticker strip yellow chipboard star complete this birthday card.
Thanks for stopping by and please come back to see Virginia's projects later this week.