Showing posts with label kaiser craft. Show all posts

Thursday, February 25, 2021

Kaisercraft Chipboard Alphas


Have you got your hands on the Kaisercraft Chipboard Alphas yet? Oh my wow, I am having so much fun customizing these to match my layouts! 

Sharing the four layouts I have had the pleasure of creating so far using these chipboards and the Kaisercraft Explorer collection. Hope to inspire you to give them a try! 

Pattern Paper and Stamps: 
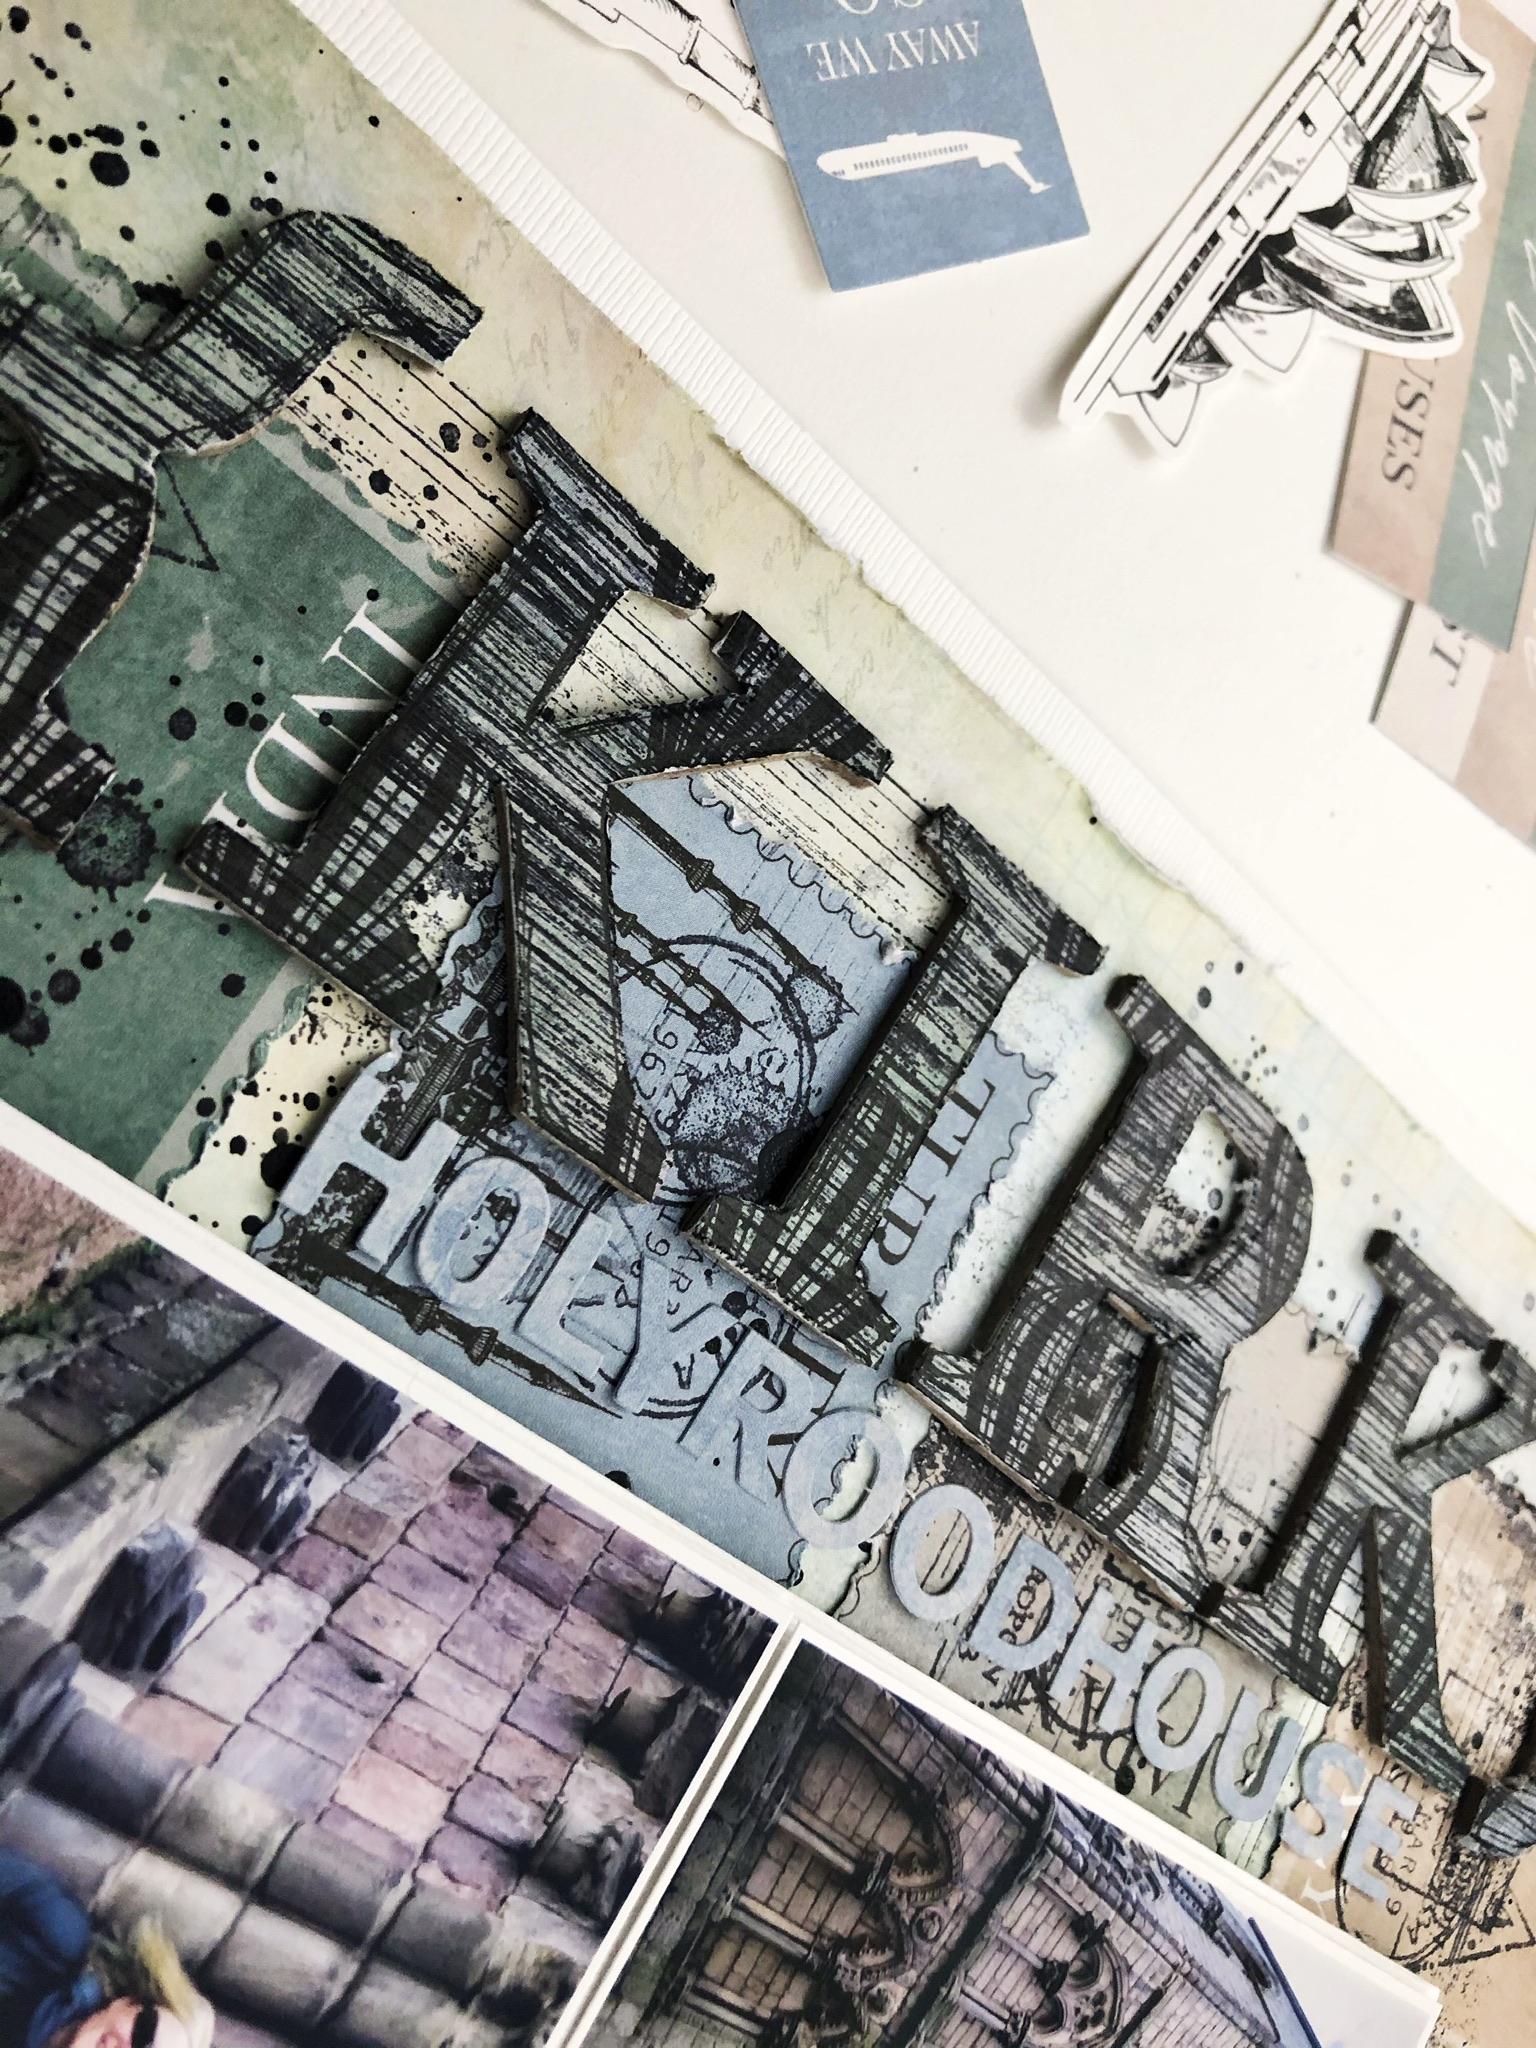
For this layout I customized the chipboard alphas in the word ‘Kirk’ to match using both pattern paper and stamps: 

1) covered each letter with the blue air balloon pattern paper of the collection (Flight) using liquid glue

2) flipped them on their face once the glue had dried and cut around each letter with a craft knife. The chipboard gives the pen a place to push up against making this quick work

3) stamped the front of each letter over and over again with this grungy stripe stamp from my stash in Staz On Jet Black

4) using a black journalling pen I messily traced the outline of each letter on the edge of the pattern paper 

Stamps and Watercolour Paint: 

For my title ‘ROAM’ I used a stamp and some watercolour paints:

1) using the suitcase stamp from the Wild Whisper Designs, Where to Next? set and some Staz On Jet Black to just stamp over and over on the front of each alpha

2) scribbled some Vicki Boutin Art Crayon in blue/grey onto plastic, added some water and after mixing it up with a paint brush used it to paint each letter 

Strips of Pattern Paper and Border Stickers:

For this title ‘Wallace’ I focused on the pattern paper and stickers of the Explorer collection:  

1) cut thin 1/4 inch strips from my favourite patterns from the papers, branding strips and some of the border stickers from the collection 

2) covered each letter with adhesive glue 

3) messily laid down the strips of paper and border stickers in no particular order on each letter 

4) once the glue dried, I flipped the letters over and used a craft knife to cut around each letter to get rid of the excess bits of paper and sticker bits 

Some of my letters got a few random black splatters when I added those to the page - a fun touch! 

Stamps and Splatters: 


For this layout I used the chevron bits and pieces of the chipboard set:

1) stamped a bunch of travel inspired stamps from my stash in a messy way all over the front of each chevron using Staz On Jet Black 

2) scribbled some Vicki Boutin Art Crayon in blue/grey onto plastic, added some water and after mixing it up with a paint brush used the paint brush to splatter the letters 

3) squeezed some Nuvo Crystal Dots Black onto plastic, added a spritz or two of water, then used a paint brush to splatter the letters 

So many possibilities for making these chipboards perfect for your next layout. I should mention I didn’t prepare the letters in anyway with Gesso or anything. Also the chipboard set includes punctuation, arrows and as shown above chevrons too. 

Thanks for stopping by! 


Thursday, November 19, 2020

Christmas Cards - So Many to Give


The Kaisercraft Emerald Eve collection Scrap Shotz sent me to play with this month continues to bring a touch of Christmas to my scrappy space - never too early to get into the Christmas spirit! 

If you read my post from earlier this week you will have read ... wait for it ... I have never made cards! Nope, never, not a thing in my wheelhouse, too intimidating to give something I made away, reserved for the scrappy experts out there, etc. 

Well Emerald Eve inspired a change of mind and now I can’t stop! Card making is for everyone! The fantastic green tones with touches of country vintage cream and brown and pops of bling Christmas gold in this collection are so much fun to play with that I just had to keep playing and playing and playing. 

Here are a few cards I made with this collection (you can see more in the post link above too): 


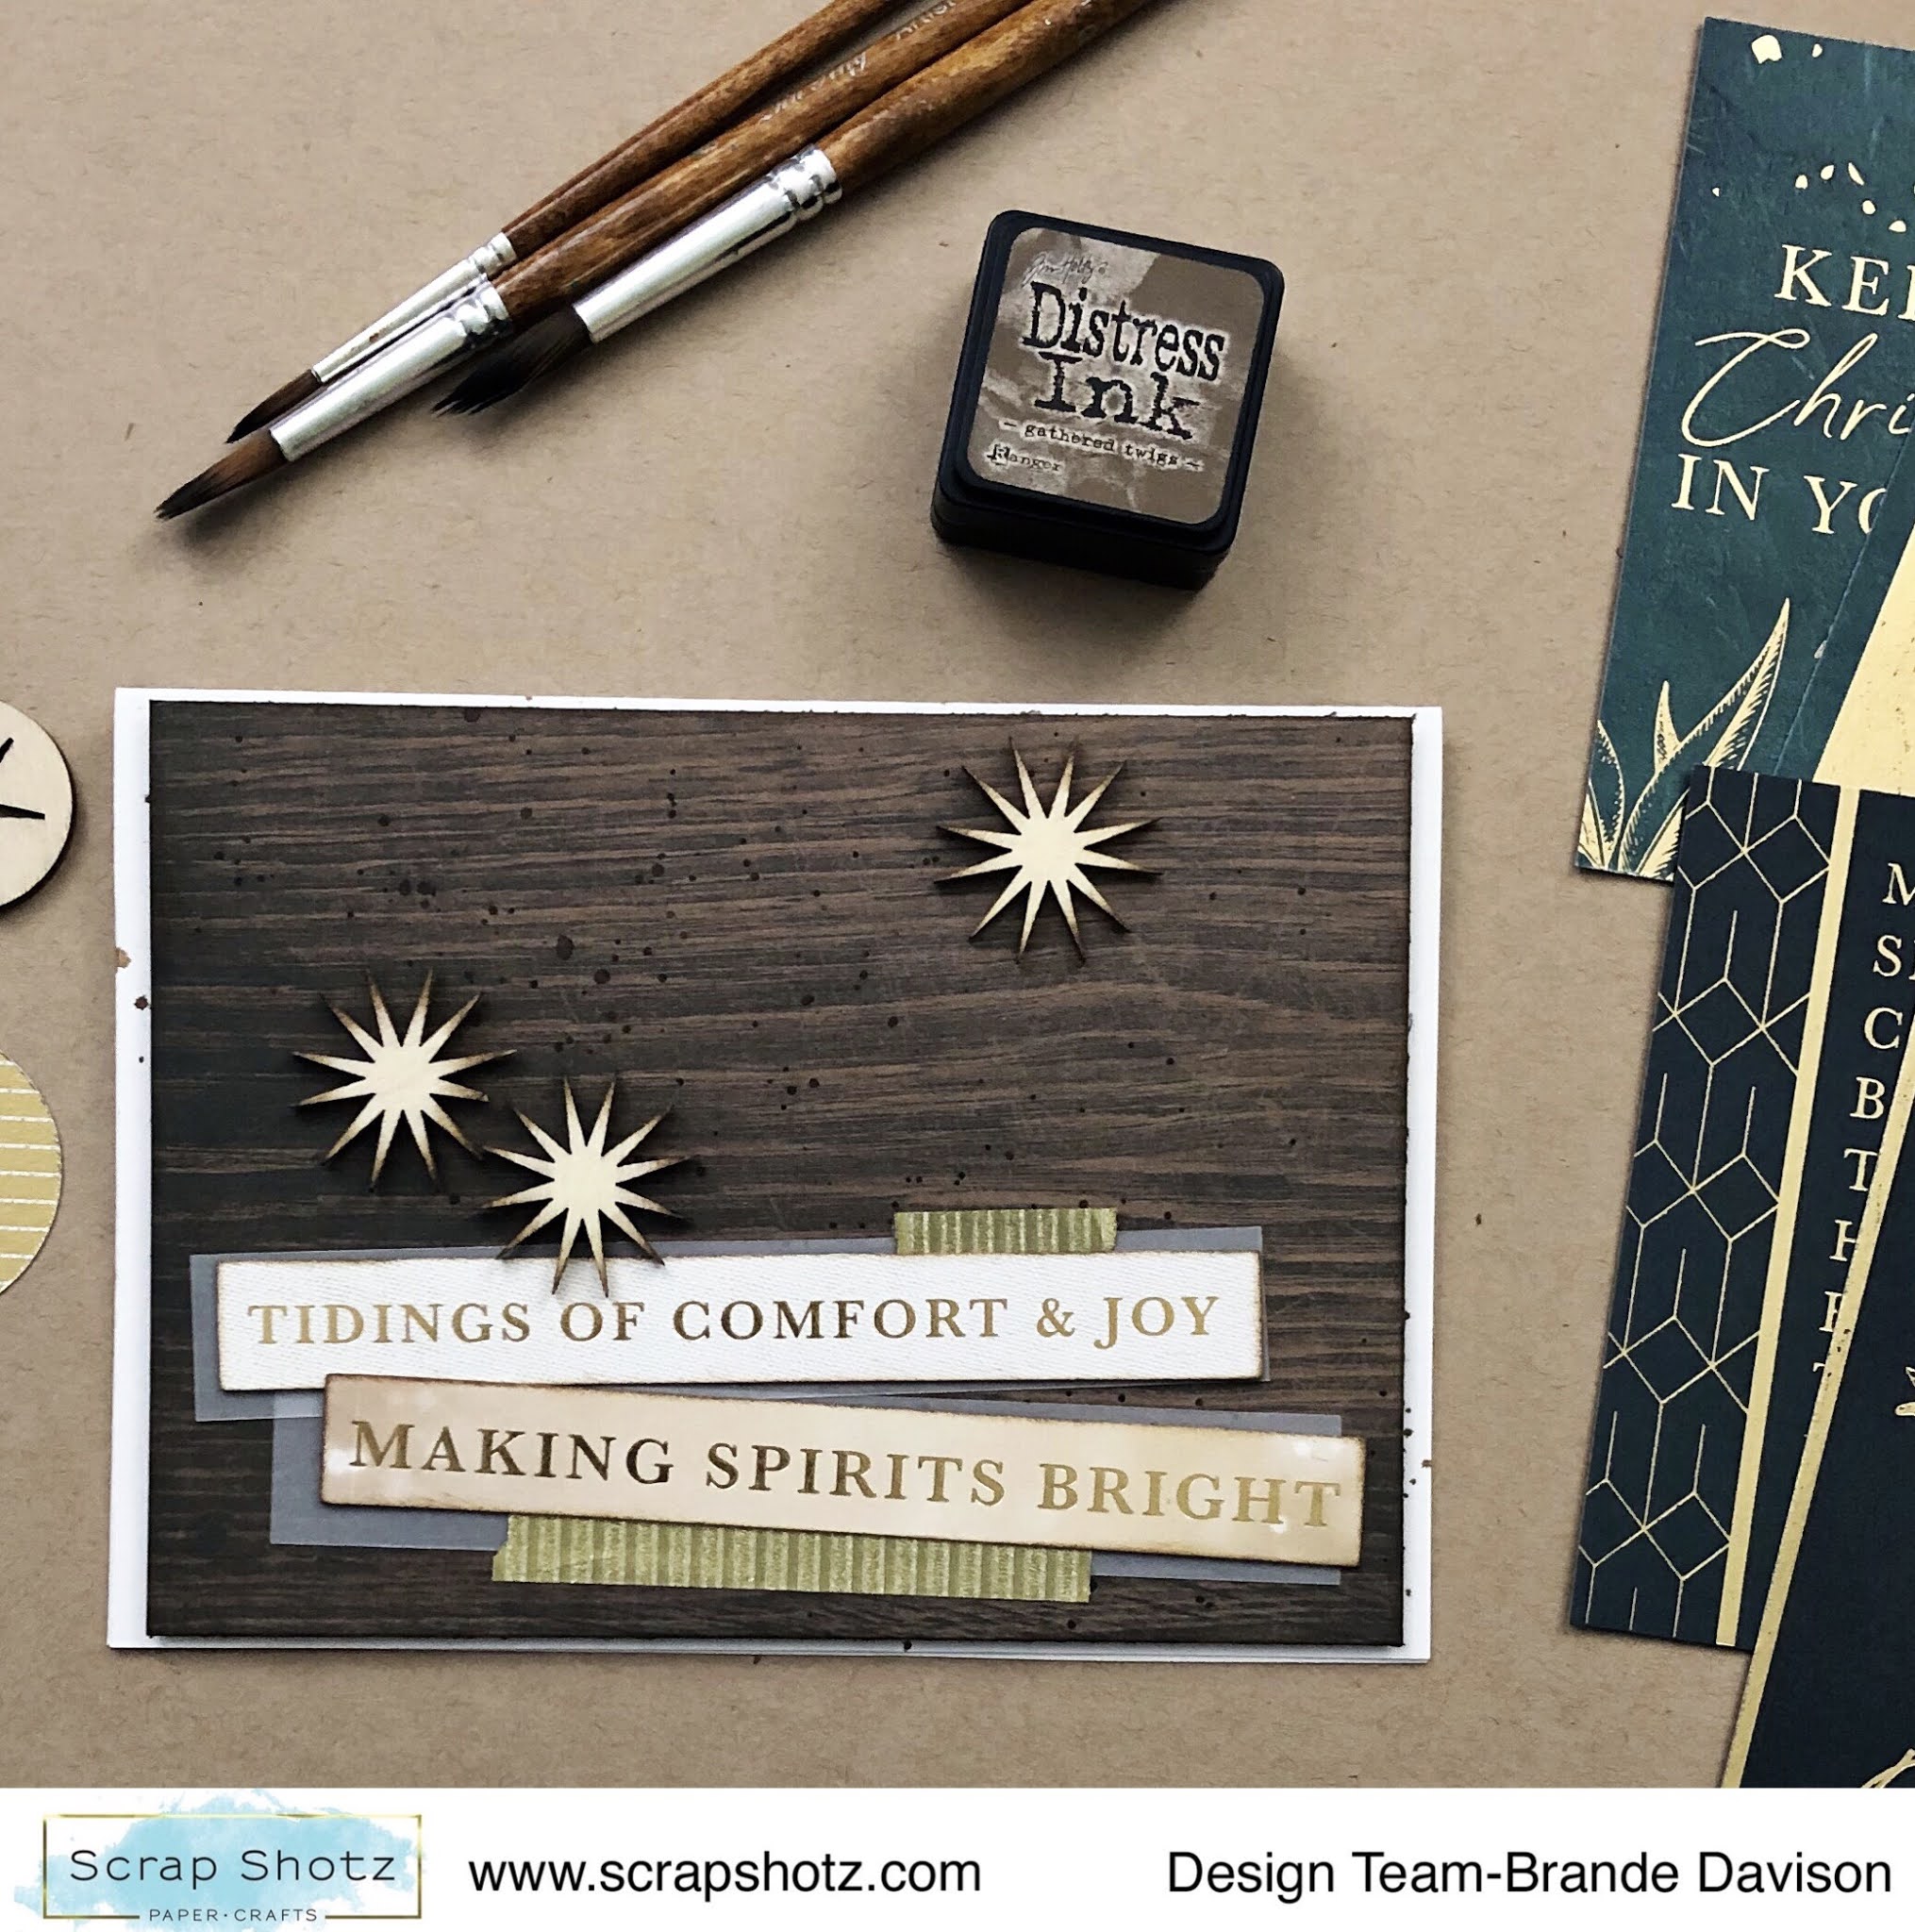
Literally the only supplies from my stash I brought to the Emerald Eve card making party was some vellum, Distress Ink (Gathered Twigs), 2 gold washi’s from Vicki Boutin collections, and white card stock for the card base. I did use a stencil and one of my dies too. But wow, so many cards made and I still have goodies left to play with. 

Lots of paper and embellishments and more from this Kaisercraft collection in the Scrap Shotz store! What are you using for your Christmas card or December scrappy supplies? 


Monday, November 16, 2020

Christmas Cards - A First Time for Everything

This month Scrap Shotz sent me Kaisercraft Emerald Eve to play with - what a beautiful collection! All the great greens of Christmas with a touch of brown, cream and gold. The collection gives me a bit of a country feel but with a classic gold Christmas pop thanks to all the beautiful foiling. 

I was a bit torn on what to do with this collection actually. The design seemed to beautiful for my December Daily project (I tend to go on the sillier side because, well, my family is amazingly silly) and I was not quite ready to create Christmas pages. Then I came across a Christmas Card post on the Scrap Shotz Paper Crafting Group on Facebook and just like that, I was inspired! Wow there are some talented card makers in our scrappy community. 

Big caveat folks ... I have never made cards before! I find them really intimidating. Creating something you give away to others where they can see if my glue went over the edge or or or makes me a little nervous. So much more pressure than creating a page that sits in my album in my house! But wow do I love receiving homemade cards. So, give to the world what you hope to get back and all that right? 

To get me started, I scrolled and saved inspiration from cards posted on the Scrap Shotz Paper Crafting Group on Facebook and Scrap Shotz Instagram which included loads of ideas from our resident card making gurus Karla Yungwith and Rosie Neustedter. With my brain filled up on inspiration I laid out the collection and just stared to play - what fun! 

I had a few stencils on my desk, some Tim Holtz Distress Ink to shade the edges of the cards, for the stencils and to give some dimension to the fantastic wood veneer in the collection. I also grabbed the gold washi tape from the last couple of Vicki Boutin collections and that was my kit! 


Next will be to figure out who I can give all the homemade cards to. Maybe a local Long Term Care residence so the wee grams and gramps can send cards this year and not have to venture to the local card store to buy any. Hmm that's an idea. 

Are you a card maker? If you are like me and have never made cards before - honestly, do it! There is something so fun about making something smaller than my usual 12x12 and you don't have to match the design to a story or photo, its pure play! Crafty therapy at its best. 

Happy crafting!


Friday, January 17, 2020

Chipboard Embellishments - Add Some Sparkle

Hello! I am again to show you another layout using our Scrap Shotz December 2019 Scrapbook Kit which features the amazing collection from Kaisercraft called Starry Night. This Kit is gold and blue perfection!

In one of my past posts, Wood Embellishments - Add Some Colour I showed you how I used some Nuva Mica Mist, Antique Gold to add a touch of colour to the wood veneers in the Kit - I love how this brought a touch of gold into all the page elements.

Today I am here to encourage you to add even more colour - so much so, you make the embellishments in your kits, your stash, your layouts, your cards SPARKLE!


To add sparkle to the "Believe" chipboard from the Southern Ridge Trading Company Chipboard, I used a paintbrush to dip deep into my bottle of Nuvo Mica Mist, Antique Gold to gather lots of the gold 'dust' and painted a number of coats. Probably about 3 in total but it took no time at all the as the paint dries really fast and was sparkly from the first application - I could have stopped at anytime but the chipboard is of great quality and did not bend or warp in any way so I kept adding and building up the sparkle. 


The heart in the background is a cut file from The Cut Shoppe - the heart is full of speech bubbles and I filled each of these with pattern paper or the phrase cut apart paper from the Kit. I love Christmas sentiments especially when they are in gold. Originally I had the cut file in white cardstock but decided to paint the cardstock with some more of the Nuva Mica Mist, Antique Gold.


For the poinsettia embellishments, I fussy cut these from one of the Kit's pattern papers and used some of the swirly-doo accent pieces in the Collectables (die cuts) also from the Kit to create what I hope look like fancy gold leaves behind each flower.


I finished it all of by adhering it to one of the Bazzill Cardstock, Kraft papers in the kit I also .. surprise, surprise also added some of the Nuva Mica Mist, Antique Gold using the packaging smooshing technique and some splatters plus a few white acrylic paint splatters. I did mat the Kraft paper in a thin strip of white cardstock and a thin strip of the cut apart paper from the Kit too.

Thanks so much for swinging by today - hope your weekend is crafty!


Monday, January 13, 2020

Embellishments - Inspired by Shape

Hello, hello - Brande here again with a little post all about how the shape of an embellishment inspired the design of my latest project for Scrap Shotz!

When flipping through all of the oh-so-pretty collectables of the Scrap Shotz December 2019 Scrapbook Kit I was really drawn to the gold and foil ornaments. I decided to play on the shape, the shine, and the texture of these ornaments for all my design decisions.


For the shape, I went through the goodies in the kit to find all the circles. In addition to the 3 ornaments - I found the 2 circle titles 'Season's Greetings' and 'Merry Christmas', wood veneer circles, the glass circle curios, and a gold die cut that resembled the shape of the wood veneer circles. Perfect! I also went through the papers and cut random circles out of any that felt especially pretty to me at that moment. Solid scrapbooker decision making at its best!


For the shine, I did a little simple packaging smoosh technique in the background with some Nuvo Mica Mist, Antique Gold from the Scrap Shotz shop. I also painted the wood veneer with the Antique Gold - compared to the foil on the papers and collectables, the wood veneer looked plain and I feel they had shine envy. (wink) I also took a little bit of Antique Gold on a paintbrush and rubbed the edges of each of the paper circles. Some splatters on the page with the Gold tied it all together.


For the texture, I was super keen to use the gold / white twine included in the kit. So I wrapped it loosely around and within the circles. This was super easy - I was able to hook it behind the ornaments that were popped up on foam and then go back and tack it down in a few spots with glue. For a little more texture I did use some Staz On Black to stamp some messy circles in the background and added some gold sequins and black enamel dots around the circles too - these last few items are from my stash.


I finished the layout off by matting the whole thing on some of the Bazzil Cardstock, Kraft in the kit (which I also used to mat my photo) and a few more Nuvo Mica Mist, Antique Gold splatters. My title is part of one of the branding strips from papers in the kit - love Kaisercraft for their branding strips. So useful!

Ever been inspired by an embellishment shape? Give it a go! If there are hearts in your kit - add way too many hearts (in a good way) all over your page or better yet, cluster your embellishments into a big background heart shape. If you are keen on florals - consider sketching and fussy cutting some black and white stems or leaves to tuck and peek from behind the florals of the kit you are working with. So many possibilities - embrace the shape ... and the shine, and the texture!


Monday, January 6, 2020

Wood Embellishments - Add Some Colour

Happy New Year! For those of you working this month to scrapbook all of your last month's memories - I am with you. While I do try and document daily in December, the actual scrapbooking in a traditional sense tends to happen in January and sometimes February too for me. I like drawing out the Christmas cheer a little longer!

I am currently playing with the Scrap Shotz December 2019 Scrapbook Kit which features the amazing collection from Kaisercraft called Starry Night. Wow, think blues and gold foil and beautiful. Included in the kit are a number of Bazzil Cardstock papers and one is called Stonehenge - think kraft married to the colour grey and then add some classic Bazzill texture - and I am totally crushing on this colour. So much so, it inspired this layout!


I was surrounded by the amazing gold foil papers of the Kit and still, it was the Stonehenge that caught my eye most. Funny! I love the soft tone of this colour (especially paired with a black and white photo) and how it really made the gold foil in the papers and die cuts from the Kit pop.

Loving the colour so much, I thought I would alter the wood veneers from the Kit with some paints from my stash to try and recreate it in my embellishments too. Queue Nuvo products! I reached for the Nuva Mica Mist, Antique Gold I had to get my hands on from the Scrap Shotz shop last month and started painting.


Tip: The benefit of wood veneer is that it is porous which means the colour you add from distress inks to Nuvo to watercolours to stamping pads will not look super bright on the first coat. Want a more subtle look like I did here - go with less (this is one coat). Want something a little brighter or bolder - use more paint or whatever product you are using to colour the wood veneer. 

To finish it all off - and is something I think I do on almost every Christmas inspired layout - I added some white acrylic paint splatters to give the layout some winter whimsy. 


I am working on a second layout now where I have painted numerous coats of the Nuvo Mica Mist on a chipboard embellishments to get a very, very gold colour and shine - once I have that little guy finished and its layout complete, I will be back here on the blog to share. 

Happy crafting! 


Saturday, December 28, 2019

Kaisercraft| Under the Gum Leaves Showcase PT.2

Hello!


Welcome back to the second half of my Kaisercraft Under the Gum Leaves projects, my youngest celebrates his birthday right after Christmas and can I be honest? I decided to use this line because it coordinates with Grandma's jacket perfectly! I have also used the Creative Scrapbooker Magazine December sketch:


I fussy cut the leaves from one of the patterned papers, these are the same leaves I used on all my tags in my previous post. The evergreen bough and floral die-cut are from the Under the Gum Leaves card stock die-cuts. The red accents are Wooden Flourishes which have been sprayed with Dylusions Ink Spray in Postbox Red and, once dry, coated with Sheer Shimmer Stix in Gold and adhered with liquid glue.

To create the title I applied embossing ink through the Altenew Feathered Leaves stencil, coated in Altenew translucent embossing powder** and then heat set. Letters are cut with the Altenew Bold Alpha die**.

This next layout documents a family day trip taken to the Royal Tyrell Museum or as we refer to it: the dinosaur museum.


This layout began with the fussy cut leaves from the "Gum" paper and was also inspired by the November CSM sketch:
After trimming the photos, papers and laying out everything on a sheet of Vicki Boutin foundations paper I felt like something was missing so I dug through my stash and pulled out an old 12x12 Prima stencil and sprayed the pattern with Hickory Smoke distress ink. I then added large patches of color with Ken Oliver Colour Burst powders and water.  After all was dry, I applied texture paste through the same stencil.


The final colour applied was Altenew Grapevine ink** over the texture paste. 


The layout is embellished with fussy cut leaves, flowers and die cuts and journaling handwritten on kraft card stock.

Here is a look at all the products available in this line in the store:


Thanks for stopping by and Happy Holidays!