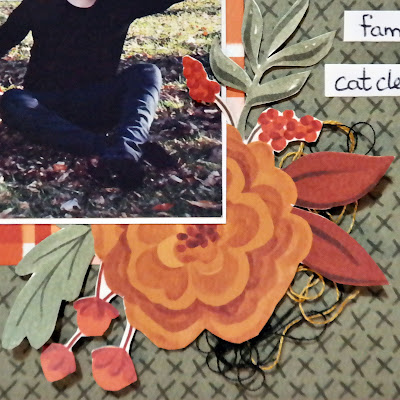
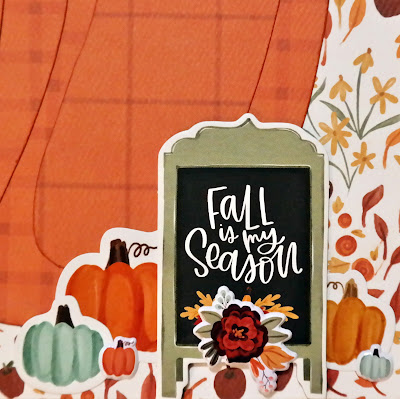
Hello everyone! I'm so excited to show you the Carta Bella "Welcome Fall" collection! I love how there are so many basic pattern papers to choose from. It's so easy to build a layout without it looking too crazy.
Monday, October 31, 2022
Carta Bella Welcome Fall Layouts
Sunday, October 30, 2022
Print Shop, Vicki Boutin - October Scrapbook Kit - Continued
I love how much variety Vicki includes in her collections - this one feature florals and snails to scissors and paint splatters. There are so many memories you can document with that range of goodies!
Cardstock Grid Layout
For this layout I wanted to showcase this fantastic coordinating cardstock in this month’s kit - what a colour! I had to add a little mixed media to bring the ‘me’ to the design so reached for the kit’s circle stencil and some Distress Inks.
Using a ruler I drew a line down the middle of the page horizontally and vertically using a couple of different widths of journal pens to create the grid. Then I used the circle stencil and a random combination of Distress Ink stormy sky, crushed olive, saltwater taffy and a bit of black soot to add pattern to each grid square.
I didn’t worry too much about how much of each colour I used and purposely made sure it was a bit uneven so it was a little messy. I finished off with the plus sign stamps with Paper Rose Studio, Premium Dye Ink in Intense Black and some black splatters.
After that I created a cluster of pattern paper behind each of the three photographs and dropped them into one of the grid squares. Making sure each cluster included one of the cut apart tags. Then the real fun begins - embellishments! I had so much fun tucking things here and there until it looked busy.
All the Patterns
For this next layout I reached for all of my favourite patterns from the kit and made strips of paper 6 inches wide and of varying heights (about 2 inches each). I wanted to create a cascade of paper strips all messy down the middle of the page to give me lots of places to tuck embellishments.Before adhering the strips down, I used a paper punch to give one edge a notebook journal edge. I also used my ruler and a journal pen to create some random stripes across the paper strips. Once adhered down, I went through and added any embellishment that was about creating, making, being awesome and even the cardstock scissors found a home tucked in the layers of pattern paper for this one.
I have lots of goodies left to play with and you can bet this kit will be on my desk for a while yet - such fun!
You can also check out the first two layouts I made at Print Shop, Vicki Boutin - October Scrapbook Kit - these ones focused on the floral and botanical ephemera.
If you are playing with the kit, we would love to see! Pop your creations up on the Scrap Shotz Paper Crafting Facebook Group or tag us on Instagram so we can ohh and ahh!
Saturday, October 29, 2022
Print Shop, Vicki Boutin - October Scrapbook Kit
Monday, October 24, 2022
Christmas with Lawn Fawn!
Hello friends! Karla back today with a whole lotta Lawn Fawn Christmas fun!! I was fortunate to be able to take a retailer class for Scrap Shotz last week and got to put together the cards below with Kelly and Jenn from Lawn Fawn!!
Happy Crafting!
Monday, October 17, 2022
October Kit Club - Vicki Boutin Print Shop!!
Hello friends! Karla here today with a look at a layout created with the October Kit Club, some Add-On's and products from the shop featuring Vicki Boutin Print Shop!! It is such a pretty collection, and there are so many ways to use it! I created this layout to scrap some photos I took of us in my oldest daughter's neighborhood, where you can see the downtown city lights. We don't get to see this view from our house so we all thought that was pretty cool!
Saturday, October 8, 2022
More Christmas Card Inspiration with Spellbinders!
Hello Friends!
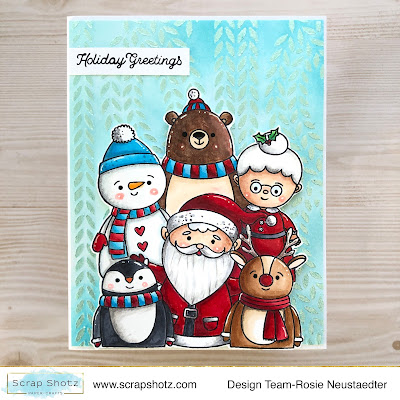
Rosie back to share some card inspiration featuring Spellbinders!
Wednesday, October 5, 2022
Oh What Fun & Good Cheer!
Hello Scrap Shotz Friends!
October has arrived so quickly but there's still time to get your Christmas cards done if you're making some for the season. Rosie here to share some inspiration with you!
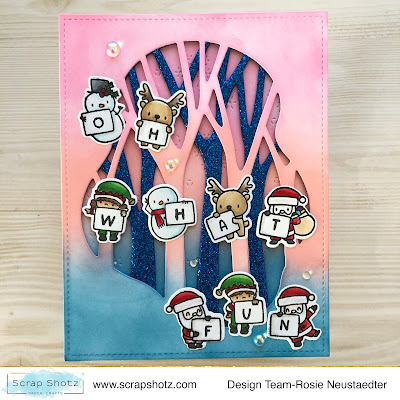
I've inked a card front with Distress Oxides and die cut with the one layer of the Mama Elephant Into The Woods Creative Cuts, I die cut the second layer from Spellbinders Glitter Foam and layered them together. These cuties from the Mama Elephant Little Merry Sign Agenda are Copic coloured and the sentiment is stamped with the alphas in the stamp set. Lastly, I've embellished with a few Studio Katia Iridescent Bubbles.
I used the same stamp set to create the merry portion of the sentiment and then die cut Christmas from Spellbinders Glitter Foam with the Spellbinders Mix and Match Holiday Greetings Die Set. The card front is cut from Spellbinders Mirror Red Cardstock with the Mama Elephant Magic Snow Creative Cuts plate.
This next card features the Pinkfresh Studios Ornaments Stamp, layering stencils and die.
I'll be back in a few with more Christmas Card inspiration for you!


