Showing posts with label Tim Holtz. Show all posts

Thursday, February 8, 2024

Traveler's Notebook Layout with 49 and Market

 Hello, Jenn here to share a Traveler's Notebook layout. I've been inspired by Scrap Shotz challenge for the month of February to get an unfinished project FINISHED! I know I'm not alone in having a pile of half finished projects that need some attention so I think this challenge is the perfect push to pick one and get it done. The first project I've chosen is my May 2019 Traveler's Notebook, which only has a few pages left to finish, one of which just happened to be a picture of my peach lemonade from Starbucks, the perfect match for the 49 and Market Color Swatch Peach Collection that I got from Scrap Shotz! Here is what I did:


All month long I have been playing with the sketch that I created for February so I thought it would be fun to try shrinking it down to a Traveler's Notebook size for this layout. I threw in a few of my favourite techniques, as well, to ingnite some creative sparks and complete the rest of the notebook. To start I used some watered down Abandoned Coral Distress Ink to create splatters on my background. While that dried, I chose the cover paper from the Peach collection, which has a small sample of each paper pattern on it. I really love using this paper in every collection to stretch my collection. I tore strips of paper from this sheet so there would be multiple patters on each strip, for my horizontal and vertical layers. This gave me a lot of colour for my layers without having to sacrifice a small strip torn off of multiple pieces of paper. The torn edges also give a lot of texture and interest without too much dimension. 


I layed down in strips in layers, similar to the sketch, and then added an envelope and tag from the Peach Envelope Bits pack, and some leaves and butterflies from the Peach Acetate Leaves pack. I also had a piece of a cutfile that I used as a stencil for an earlier layout in the Traveler's notebook and thought might make a nice embellishment so I cut it apart to fit it around my little picture. The finishing touches were a few sequins from the SpiegelMom Scraps Peach Fizz sequins mix and a sketchy border around the layout using a peach marker.


I always enjoy creating fun little layouts that come together quick and easy. I like to stick to my comfort zone to get started with finishing a project that I haven't touched for a little while, and then I can slowly build up my creative confidence with go-to techniques. For me, those include using a sketch to inspire design, using scraps, paper tearing, splatters, sequins, and sketchy borders. I try to keep it simple and use a limited amount of supplies, like a single collection. After creating this layout, I went on to finish three more and completed this project, WOOHOO!!! Please check out my Youtube Channel for a more detailed list of all of the unfinished projects I am working on this year, as well as the process video for this layout and a flip-through of the finished Traveler's Notebook. To find all of the supplies I used, click the links that are highlighted, or head to the Scrap Shotz store to see all of the beautiful 49 and Market products now available.

Thanks so much for popping by, Happy Scrapping :)
Jenn


Monday, August 16, 2021

Cardmaking With The Sandy Paws Collection!

Hello friends! Karla back today with set of summer cards using the fabulous Sandy Paws Collection from Craft Consortium! This is such a cute beachy set, perfect for hot summer days! We recently took a trip to Saskatchewan to visit family and I wanted to send out some thank you cards after our stay, and these were perfect to do just that! The 6x6 paper pad is filled with awesome images and patterns and has some really cool cut aparts too! 


I stamped the images on Bristol Smooth Cardstock and watercoloured them with Zig Clean Color Real Brush Markers while we were away! It was the perfect way to craft on holidays. I chose images from the Ice Cream Stamp Set, but I love that there are so many different stamp sets to choose from!!


The little Enamel Rings are so cute and are perfectly colour coordinated! I added in some other embellishments from my stash as well for even more pops of colour. These Rainbow Wheels from Studio Katia would be fun to use too!


I used the Tim Holtz Label Stickers to add sentiments to my cards. These have the same dimension and texture as an actual label maker - so cool! 


I used the colouring guide on the stamp set packaging to colour in the images for the most part. I like that I could just follow along and know that it was going to match these fabulous papers perfectly! 


I stamped several of the smaller images, including these yummy ice cream cones, to use as embellishments.


How cute is this little truck?!! Seriously! And, yes, we did eat lots of ice cream while we were at the lake, lol. There is a little grocery store called Fern's Grocery, and it was just a few minutes walk away from the cabin, so.... 🤣


The beach house is one of my favourite images from this set! The paper even has a glossy coating on the little houses on one side - so fun! 


I used the cut apart strips from the pages with various scenes printed, across each of the cards, placing them so that I had scenery for the stamped images.


I used some sparkly Stardust Gelliroll Gel Pen to add some shimmer to various images on the cards, because sparkle is awesome! 


Be sure to check out the full Sandy Paws Collection in the Shop! 


We are also super excited to soon be at the Creative Scrapbooker Magazine Great Canadian Scrapbook Carnival and we hope to see you there too!! If you would like to shop online and have your order ready to pick up at either the Edmonton or Calgary locations, just choose local pickup and make a note where you'll pick up!! Have an awesome week friends!


Friday, March 19, 2021

Well Hello Today


Are you one of the lucky ones who has the Simple Stories, Hello Today in your stash? This super fun collection is near all sold out from the Scrap Shotz shop, so a bunch of us do. I blame my need to have this collection on Design Team member Karla! Her layouts were so inspiring, I had to have it too and ohh I am loving playing with this one! 

All the Numbers  


For my first layout I started with a Bazzill Cardstock, Raven and some Picket Fence, Paper Glaze in Black Pansy and a Tim Holtz number stencil - inspired by the numbers in the Hello Today collection. I wasn’t sure if the black glaze would shop up on the black background but it sure does and wow I love it - a nice subtle touch of texture and shine.


From there I found this fantastic photo oh my littlest brother,  printed in black and white, and just had fun tucking and adding any of the die cuts or stickers that were numbers. I wanted to create this sort of  ‘all the ways I love ya bro and think you are one of the coolest humans I know’ sort of idea.

I was a little torn on if I could pull off the black and white flowers but I think it totally works for the memory and story. Some white splatters to finish it off (seems I need something messy on every layout) and I love it! 


All About the Title 


For some reason anytime I see a pattern paper or embellishment with a lot of orange, especially when paired with yellow or red, I think retro and I think bowling. Perfect! I had some cool Instax bowling photos to document! 

Inspired by the ‘Hello today’ die cut in the Hello Today Page Pieces I decided to anchor the entire design on this title. I ripped a couple of my favourite pattern papers for the bottom of the page and then started added the photos and little layers here and there all around the title. I used some Tonic, Nuvo Crystal Dots in Moroccan Red as paint to add a little colour behind all this goodness. 


There was a little too much white space above all this good stuff so I added a little bit of a confetti look up top with some die cuts, chipboard pieces including some cute hearts, and of course splatters. 


All the Circles 

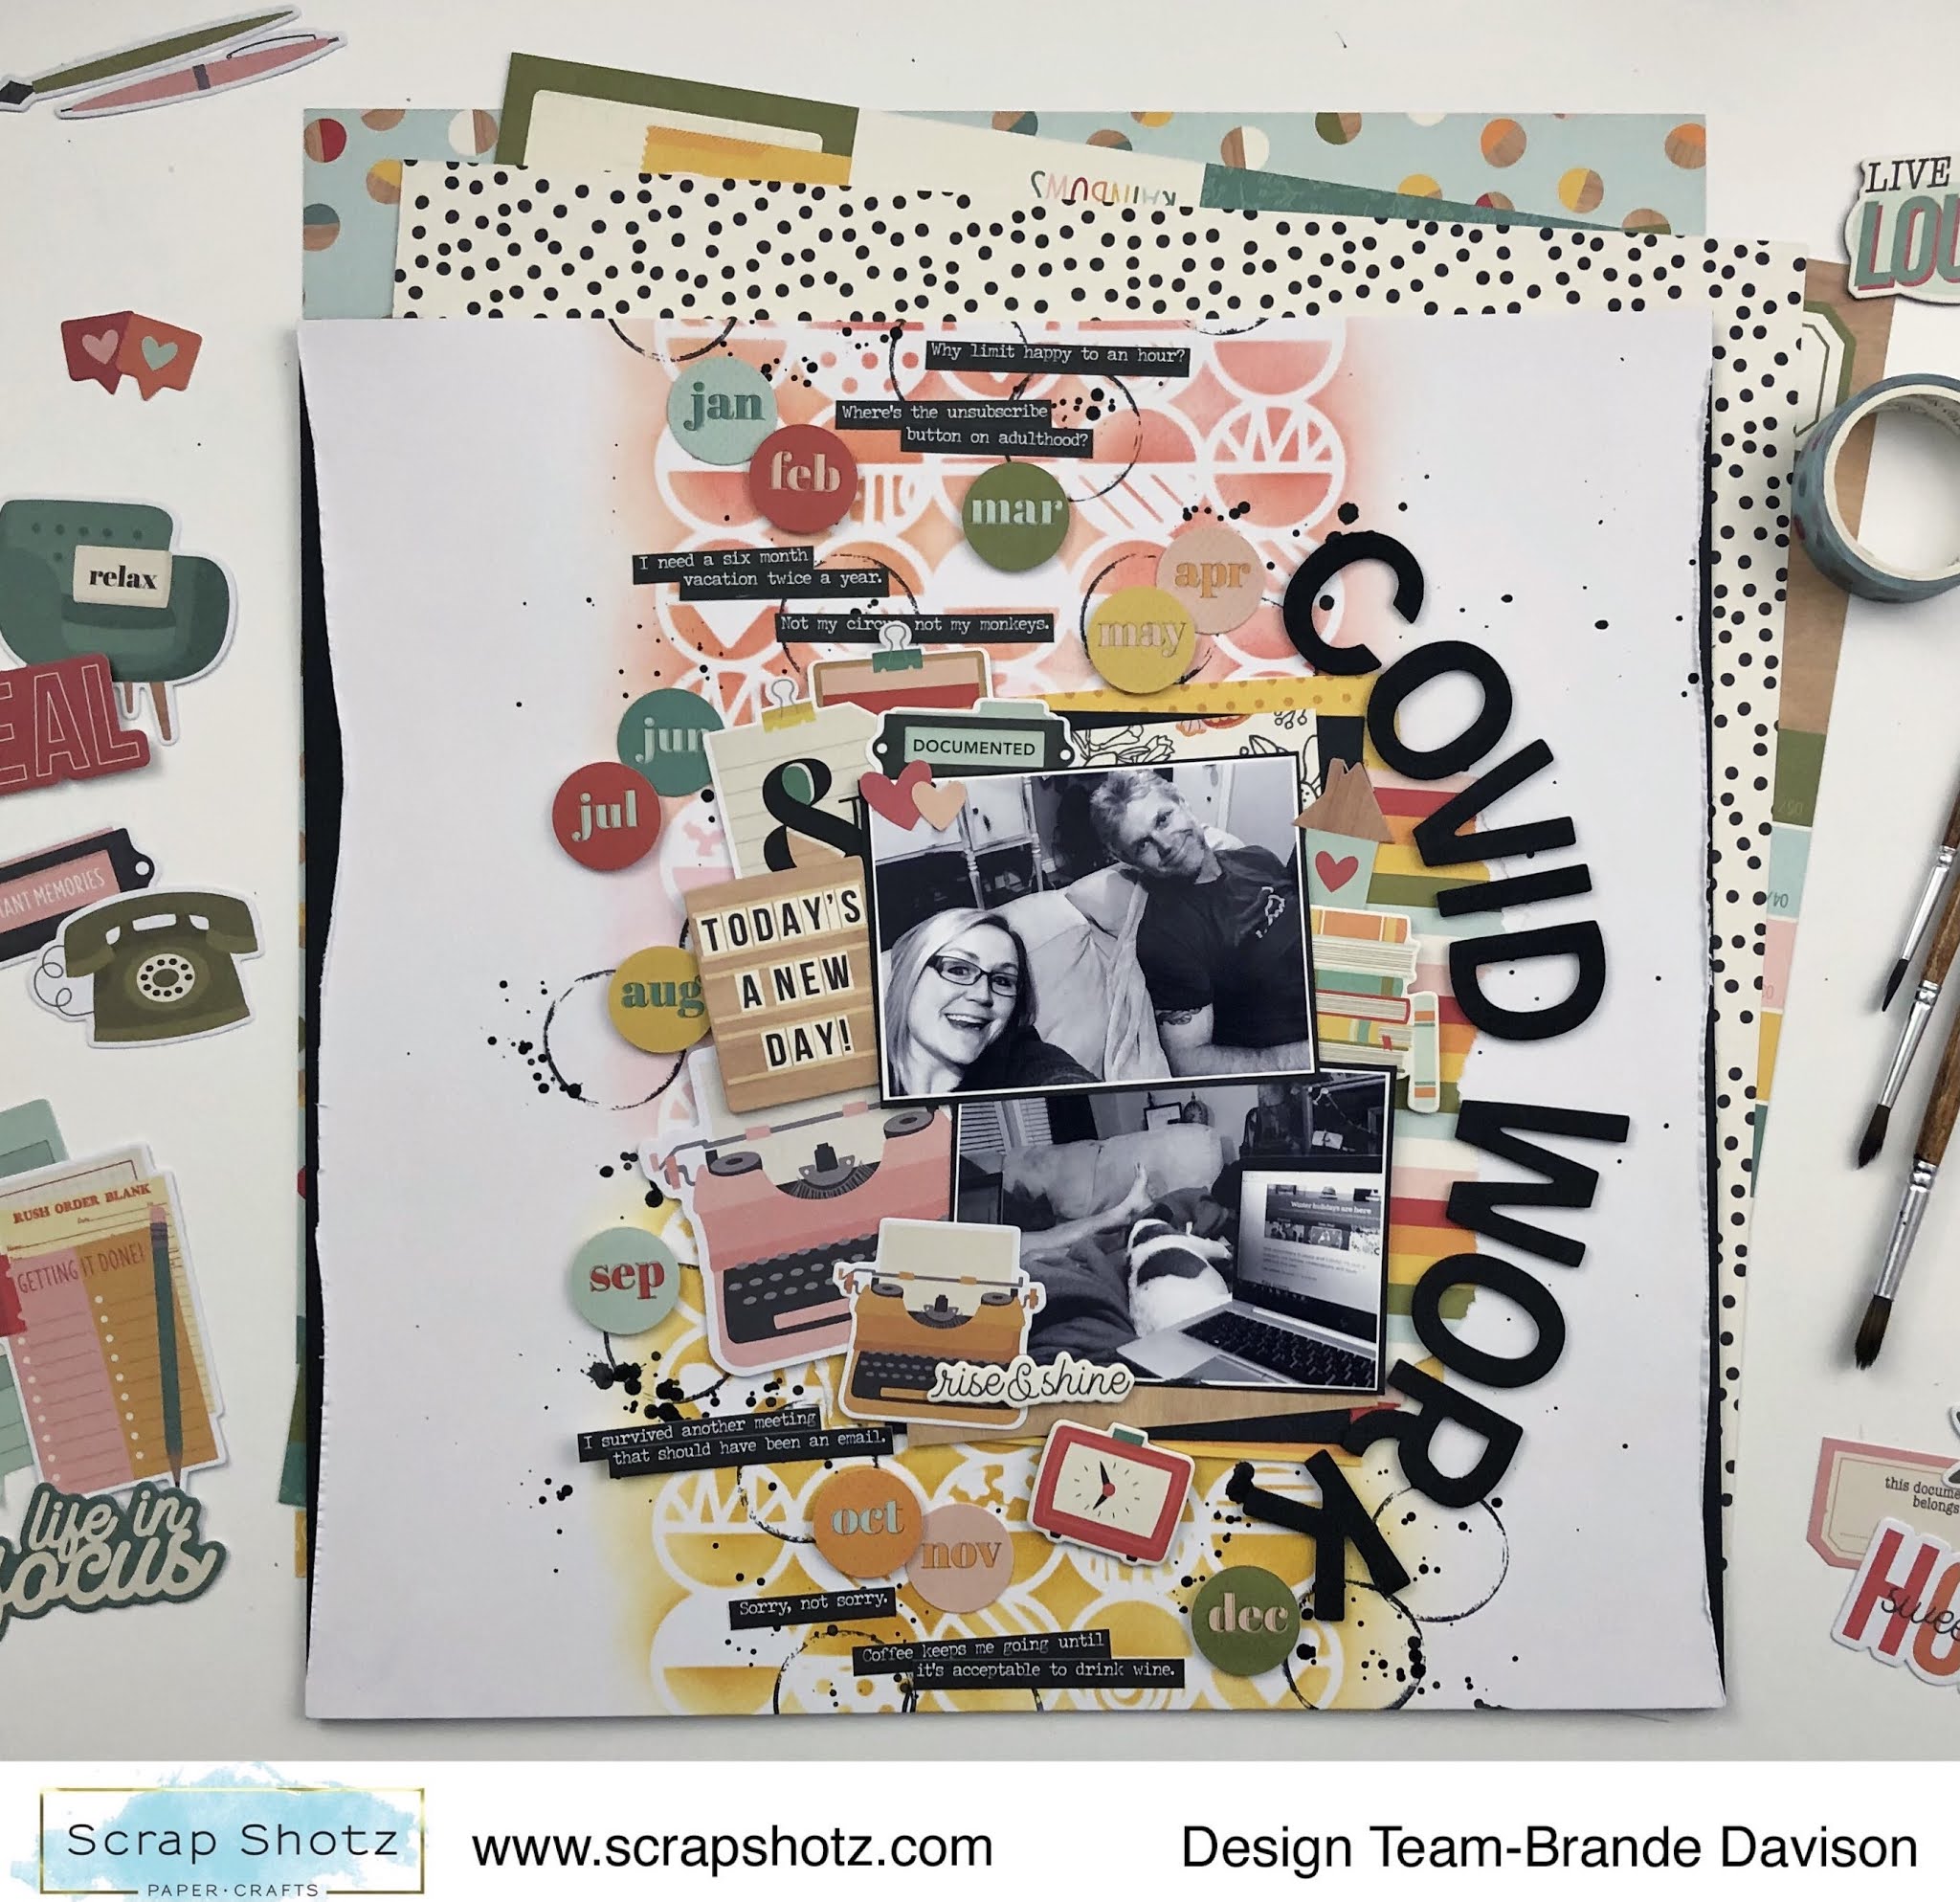
For this layout I was inspired by the die cut circles for each month in the collection! So cute! So I grabbed a circle stencil from my stash and used some Tim Holtz Distress Inks in matching colours to the collection and a Ranger Blending Tool to create a multi coloured background. 

From there it was a matter of playing with the circle die cuts and my photos to bring it all together. I used these bold black foam alphas from my stash and some cheeky Tim Holtz phrase stickers in black to bring a little drama to the page - I love the pops of black. 


Such a fun collection to play with. If you had the chance to grab some of these goodies from the shop, we would love to see your projects. Drop your project onto the Scrap Shotz Paper Crafting FaceBookGroup or tag is @scrapshotz on Instagram! 


Monday, April 13, 2020

March 2020 Kit Club Layouts!! Plus a Video and Updates

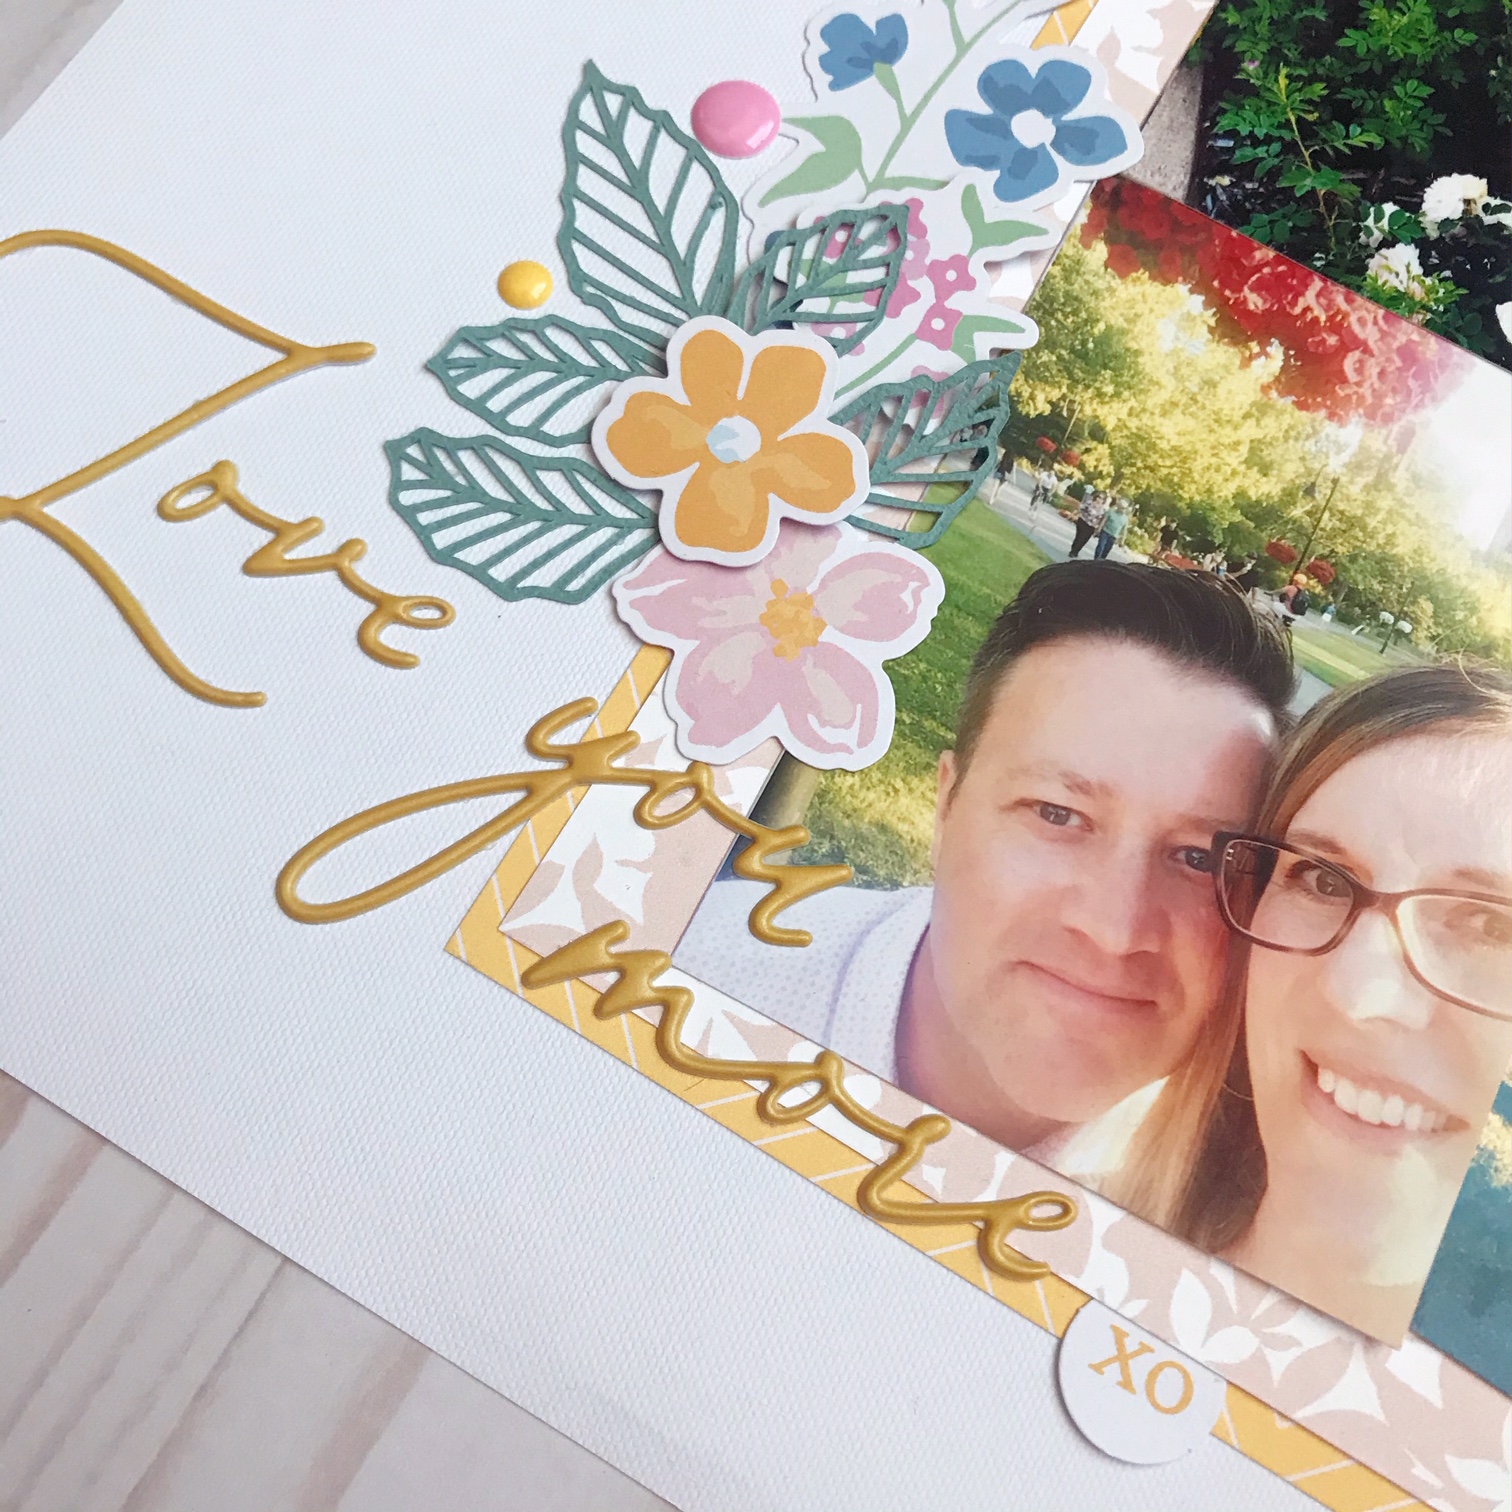
Hello! Karla back today with two pretty layouts using the gorgeous March 2020 Scrapbook Kit that features Pinkfresh Studio My Favorite Story collection! There are so many fun things you're going to do with this kit!! It's perfect for spring and summer- oh those lovely colours! I couldn't stop at just one layout today, so I'm sharing two - and even created a process video of one of them for you 💗 First off we have a scrapbook page of my husband and I a few years ago on a date night. How nice to remember these things right now when our lives are so different. I'm definitely going to appreciate date nights in the future - but for now I'm loving having time to scrapbook these special photos.


I used some of the beautiful Puffy Phrase Stickers from the Kit as my title and layered on some Add-On Floral Ephemera pieces, popping some up with foam tape. 


I found these pretty diecut cutfiles in the Pinkfresh Studio Fan Group! The albums have all the available files free to download and there is lots of inspiration, as well as challenges in their group! I even used this week's Sketch Challenge to base my layout on. I cut the pieces out with colours of cardstock that were included in the kit and even used papers from the kit to back those lovely florals! 


I tucked in pieces of the Diecut Ephemera from the kit and added this tag from the Add-On Cardstock Tags, where I did my journaling. If you're a Kit Club Member you get dibs on all the awesome Add-On goodies!! I tucked in a few of the neat enamel dots from this kit to finish it off.


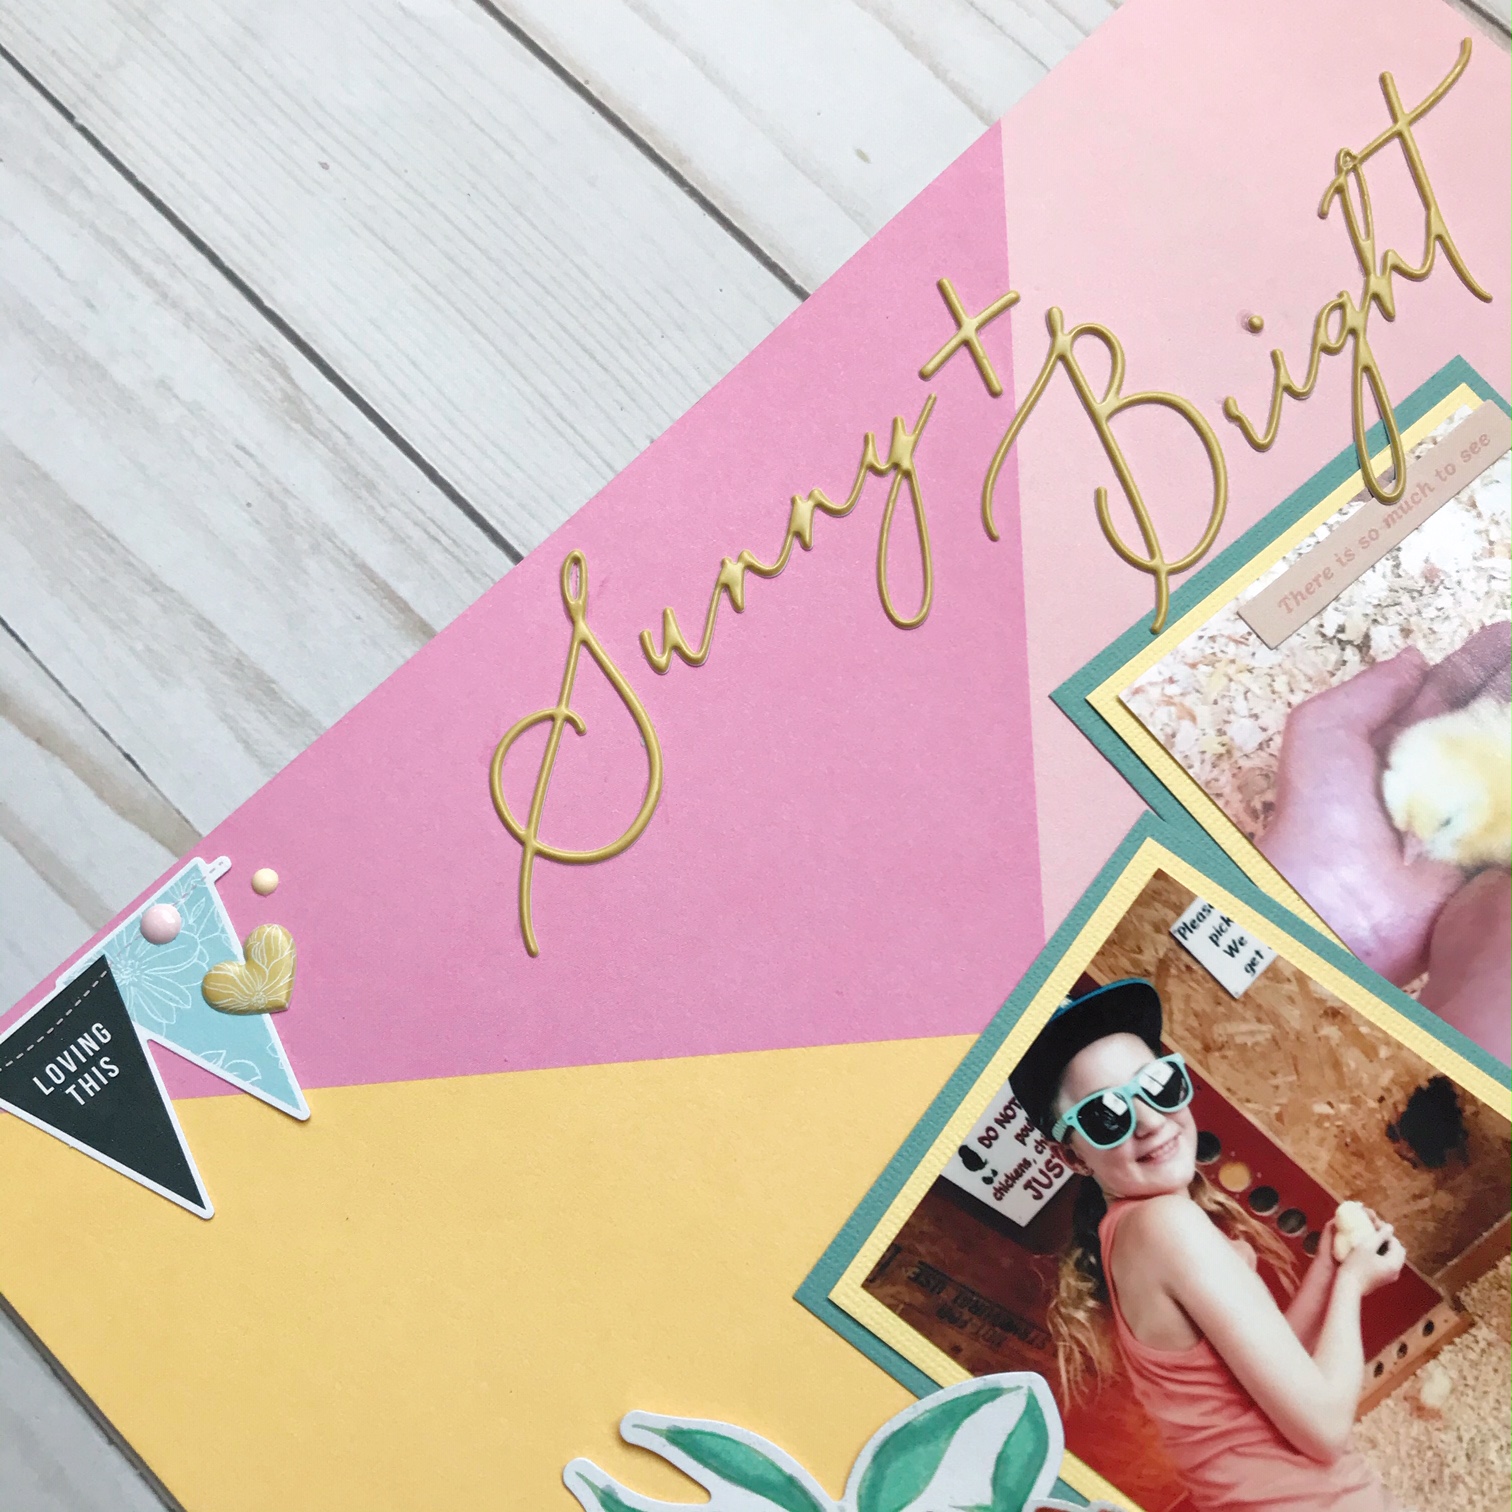
For my second layout (you can find the process video below) I decided to use the  Creative Scrapbooker Magazine April Sketchy Challenge to start off with. I just love starting with a sketch and this one was perfect to use four 3x4 photos from our trip to Butterfield Acres Farm in Calgary a few years ago. Plus, seriously, the colours in the photos were awesome with this collection, lol! Don't you love when that happens?!! 


I matted the pictures on cardstock from the kit and then customized the Add-On Floral Ephemera with Tim Holtz NEW Distress Embossing Glazes. You can see how easy it is to do this in the video below. I love the translucent quality of the glazes - perfect for this technique!


There are so many awesome pieces in the Ephemera Pack from the kit - I added lots of sentiments and little pieces to embellish the photos.


The Puffy Phrase Stickers in the Kit are so lovely and I used them for my title. You even get little puffy hearts in this pack!! Yay! They worked perfect side by side with the Enamel Dots to finish off the layout.


Here's a look at the process I used to create this layout and add colour to these fun Floral Ephemera Add-Ons with Tim Holtz NEW Distress Embossing Glazes 😍 You can find the Video HERE or watch below!


Thanks so much for stopping by! Be sure to head over to the shop to grab the March 2020 Kit before it's gone. 

** ALSO - HAVE YOU HEARD - We just started a new Scrap Shotz Paper Crafting Group on Facebook, and we'd love to see you over there! There's going to be some fun stuff happening next month ;) 
** I'm going LIVE on the Scrap Shotz' Facebook Page at 1 pm MST on Tuesdays to share fun new things in the shop, tips and techniques! Mark your calendars!
** You can also find out about fun things happening and crafty savings on the Facebook Page! Click  HERE to get the info on this week's Monday Sale!

I'll be back in a couple days with even more inspiration. I hope you all have a safe, happy and very crafty week!


Thursday, August 1, 2019

Die Cut Cards

Hello!
Rosie here with a few cards for your viewing pleasure😊 using some fun dies available in the store.


Can I be honest? I wasn't going to invest in the Lawn Fawn Magic Picture Changer Die but after making a couple of sample cards I was hooked; for the card above I used the Lawn Fawn Birthday Before and Afters set. I stamped the images on Copic friendly card stock and coloured with Copic Markers. 
I can't wait to use this die with some of the new Lawn Fawn release which you can preorder right HERE. 

There are a number of great dies in the store and I finally had a bit of time to create some cards with them. First up is a card featuring the Tim Holtz Destination Die:


The card front is created by ink blending Distress Oxide inks in Squeezed Lemonade, Picked Raspberry, Wilted Violet and Blueprint Sketch. I then adhered Die Cut'N Bond double sided adhesive to black card stock and cut the Destination (globe) die cut. The die cuts all the pieces out as you can see in this photo:
I left a few of the die cut pieces in place as you can see below:


The sentiment is from Mama Elephant Friendship Sentiments, stamped in Versafine Black Onyx ink, heat embossed with Ranger Clear Embossing powder on vellum. The top and bottom are framed with a sliver of Best Creations glitter card stock. The sentiment is adhered with liquid glue over the die cut.

These next two cards showcase the versatility of the Tim Holtz-Thinlits Dies Retro Repeat, the set has 4 different dies that can be used to create a border or a repeating die cut across a card front. It also happens to be on sale right now at close to 50% off so it's a great value for 4 dies!


Here you can see how the die easily lines up with the previous cut to carry across the card front inked with Distress Oxide inks.


The die cut front is then layered over dark silver glitter card stock, sentiment from the Mama Elephant Friendship Sentiments set and sparkle courtesy of Studio Katia gems.


Here we have a completely different look as the silver glitter card stock is die cut with the "star" thinlet and then layered over an alcohol pearl ink background with foam adhesive.

The sentiment is die cut with the Altenew Fancy Hello die from the same alcohol pearl ink background.

I hope you've enjoyed a quick look at some of the metal dies available in the store, thanks for stopping in to take a look!


Monday, October 29, 2018

Kaisercraft First Noel and Sizzix Stars Layout and Video

Hello friends! It's Karla back today with more fun projects using Kaisercraft First Noel Collection and the Sizzix Tim Holtz Thinlets Die Swirling Stars - both new products in the Scrap Shotz Store! These fun supplies are going to be awesome for your Christmas crafting! If you missed the post where I share a video closeup of all these products, along with a layout and three cards, click HERE.

Today, I'm sharing this sweet Christmas layout of my daughter's Kindergarten nativity pageant where she played Mary. I thought this paper was just perfect with the three wisemen printed directly on the background! I'm using the October Sketchy Challenge from Creative Scrapbooker Magazine, and you can see the process I used in the video below.


There are so many fun elements to layer in this collection- papers, stickers and diecuts!! I added a border sticker from the 12x12 Sticker Sheet across the top of my photos and then layered a 3x4 card from the cut apart sheet with leafy stickers from the Sticker Booklet and sweet bird diecuts from the Ephemera Pack.


The Swirling Star dies are so fun to use, just as you would sequins or enamel dots - simply glue them on wherever you like! The sticker booklet has lovely sentiment stickers - I layered one directly on the photo on the left and one under the photo on the right. I wrote my journaling directly on the page, using the grid pattern as a guide.


Here's a look at the process video where you can see exactly how I created this layout-


Thanks so much for stopping by today! Be sure to head over to the Scrap Shotz store to check out the Kaisercraft First Noel Collection and the Sizzix Tim Holtz Thinlets Die Swirling Stars, and don't forget you can always browse what's new HERE. Have a fantastic, crafty week ahead!