Showing posts with label Copic. Show all posts

Friday, December 11, 2020

All Kinds Of Crafty Fun!!

 Hello friends! Karla back today with an assortment of crafty projects using lots of goodies from the Scrap Shotz Store! If you got to check out the Scrap Shotz Facebook Live video yesterday, you will have seen these up close!! First up I'm sharing the brand new We R Memory Keepers Explosion Board. This is soooo cool and really well designed. I love those exploding boxes you see decorated with photos or just fun ephemera, and this makes it super quick and easy to create one or many in lots of different sizes using papers from 6x6 to 12x12. Why yes, this would be a great way to use up those pretty pieces of paper we've been hoarding - or maybe that's just me! 😉 


The Explosion Board creates boxes in different sizes and styles, some with pockets, some with sides, some with hearts you can create with the included stencils, as well as lids to fit each size. You can layer these as I did below for an exploding box or create fun gift boxes individually! I used some of the fun Simple Stories Winter Cottage products to decorate the insides and lid of this pretty box. It would make a beautiful gift personalized with photos for a special friend or family member! 


Be sure to check out the LIVE video linked below to see how quick and easy it is to add an extra layer into the box and decorate it! I even give you a little peek at each layer!


But wait! There's more!! The Explosion Board also creates gate fold cards and squash cards! I created an adorable little squash card below. It really is the coolest thing! By scoring three pieces of cardstock and attaching them you create a fun card that pops open. You can again add images, stamps, photos and then decorate the front to make a special keepsake card for any occasion!


I used one of the new Mama Elephant Flurry Frame Creative Cuts Dies to cut a pretty pink snowflake out of foil cardstock. The dotted detail is amazing! I layered it on my front cover and then added a foliage sticker from the Winter Cottage Sticker Book, a puffy snowflake from the Puffy Sticker Pack and a chipboard house and heart from the Chipboard Sticker Sheet. Some ribbon sandwiched between the squash card and the covers ties the ends to keep it closed.


Here's a look at the inside of the card when it's fully opened. I used papers and 2x2 square cut-aparts from the Winter Cottage Collection Pack as well as some sentiment stickers from the sticker book.


Lastly, I demoed this adorable card in the Facebook Live (linked below) using the awesome MFT Outside The Box die set and the new Snow Drifts Dienamics. With these sets you can create a box card so quickly! Whomever you give it to is going to be amazed!! I added some of the Winter Cottage paper and Paper Rose Snuggly Christmas paper to decorate the box using the dies included with the main set.


These adorable birds from the MFT Winter Songbird stamps are so perfect to add to a card like this! I really love the included greenery with the set. We actually made this into a winter birthday card in the Live, so be sure to check that out! I used Copic markers to colour in the images and then added detail with a White and Stardust Gelly Roll pens - new in the shop. I used some of the Nuvo Dream Drops to add shimmer to the snow drifts and add iridescent drops to embellish the card! There are many different sentiments included with this set - I know you'll love it!


You can see these projects close up, including a demo on how to make the box card, in the Scrap Shotz Facebook Live video. Click the link or watch below! There are many fun tutorials in our video links on Facebook, so be sure to check them out HERE!


PS, be sure to check out the awesome Simple Stories Winter Farmhouse Bundle featured in the LIVE!! It's awesome!


Thanks so much for stopping by! If you'd like to share what you're working on, we'd love to see you in the Scrap Shotz Paper Crafting Facebook Group! I'll be live again next Thursday, December 17th @ 3 pm MST (my regular time) and then for the weeks of Christmas and New Years I will be on Wednesday, December 23 @ 1 pm MST and Wednesday December 30th @ 1 pm MST. Set your reminders and let's get crafty! Don't forget to check out the Scrap Shotz Store - you can find everything NEW in the store here


Tuesday, April 14, 2020

Wish Big Peek A Boo Birthday Cards


Hi Scrap Shotz Friends!

Hope you all had an enjoyable Easter in spite of the current circumstances!

I had the opportunity to play with the Hero Arts Wish Big Peek a Boo stamp set. This is a background sized stamp set that can be used with the Hero Arts Peek a Boo Doors die. This die coordinates the Mail Jumble background stamp and the Present background stamp as well .

Let's take a look at my first card:


I stamped the background on copic friendly paper in Memento black ink and then coloured the images with copic markers.

Once the colouring was completed I die cut with the Hero Arts Peek a Boo Door Die. I then placed the die cut on top of white card stock and traced each door with a pencil to plan out the interior stamping. This stamp set has small sentiments that fit perfectly within the die cut doors.


I placed the card stock in my Misti stamping tool added the sentiments within the penciled in boxes and stamped in black in with the stamping tool. The red hearts are from the Sunny Studio-Love Monkey stamp set which just happens to be on sale right now!
After erasing the pencil lines I adhered the die cut panel to the stamped base with foam adhesive, cutting the adhesive with Tim Holtz Non-Stick scissors.


There are so many ways to use this set with and without the peek a boo die and these next two cards will show you how easy it is to create something lovely without the die :)


For these cards I stamped the background stamp on copic friendly white card stock and then cut the stamped card stock in half diagonally.

I coloured one half in blues and the other in reds to create the bases for two cards.


I added a blue card stock strip behind the coloured portion and adhered them both on to blue patterned paper from the Lawn Fawn 6x6 Rainbow Scallops paper pad. Prior to adding the Studio Katia Clear Drops .

I stamped the birthday sentiment with the Altenew Birthday Greetings stamp set (not currently in store but can be special ordered, email sandy@scrapshotz.com to order).

I then created the same card with the other half of the panel coloured in reds in the same manner:


The copic coloured panel is adhered to Lawn Fawn 6x6 Hello Sunshine Remix paper and then glued to a white card base.

This is a great stamp set for birthday cards of any age and gender!

Happy Crafting!


Wednesday, June 5, 2019

New Product Review - Lawn Fawn Center Picture Window Cards

Hello friends! Karla back today with three super cute cards using the brand new Lawn Fawn Center Picture Window Card Die and Add On. As soon as I saw these die sets I knew I would love using them... and I do!! There are just so many possibilities, and you can use this card design with any of the stamp sets you have already, or with the cute new ones I’m featuring here 😉


The first card uses fun stamps from the new Say What Pets Set. I coloured the images with Copics and created a sweet scene on both the front and inside. The Add On set has lovely stitched rectangles sized to perfectly fit the front, back and inside panels. I used some border dies from my stash to add grassy areas to the front oval and inside base. The T-shaped scoring die, included in the main die set, works perfectly to configure any border to fit the Center Window area.


The fun little stackable dies add so much dimension and are so easy to assemble!


I added an area on the back of the card to write a little message and stamped a greeting with another Lawn Fawn Set, Butterfly Kisses.


For the next two cards I’m using the new Lawn Fawn Smooth Sailing stamp set. I grew up in Nova Scotia, so lighthouses and sailboats have a special place in my heart. For this card I wanted to create a nighttime scene, so I used the star and moon die from the Center Picture Window Card die set. I love the little accessories that come with this set and the Add On! The Lawn Fawn Sparkle Spring Cardstock gives a little glimmer to the card and I used the oval diecut from the Center Picture Window Card Die Set to cut a focal area for the front of the card.


I used the Lawn Fawn Wavy Sayings Stamp Set to add a thank you sentiment to the inside of the card, stamped on the banner included in the Center Picture Window die. Seriously, there are a lot of dies included in this set!! The sweet little bunny in the Smooth Sailing set is so sweet! I stamped the stars from this stamp set on the sailboat for a cute little pattern before I coloured in the images. The tiny star diecuts from the Center Window Picture die add just another layer of detail to the inside folded window.


Lastly, I wanted to make a more masculine card that I could give to my hubby for Father's Day coming up. I love the Lawn Fawn Really Rainbow Scallops Paper and used the Add On die to cut a stitched rectangle before stamping a sentiment from the Smooth Sailing stamp set and adding the anchor from the same set.


Inside, I used the Wavy Sayings stamp set on the banner again and created a cute little ocean scene with the smaller boat, lighthouse and clouds from Smooth Sailing, while adding a tiny diecut sunshine from the Center Picture Window die set. I used a stitched hill die from a set in my stash to create a wave effect at the bottom of the card. 


Supplies:

This card base goes together so easily, and I love how the recipient will be so surprised when they open it up!! I know you’re going think of many more ways to use the Lawn Fawn Center Picture Window Card Die and Add On, so happy crafting! Thanks so much for stopping by today and have a fantastic week 💕

Hugs, 
Karla

Friday, May 31, 2019

New Product Review - Lawn Fawn Say What Pets Gift Tags and Video

Hello friends! Karla back today to share 6 adorable gift tags created with the super cute Lawn Fawn Say What Pets Stamp Set and Dies! I already had the Say What Critters and Gift Tag Die Set from a previous release and I thought this set would be a great addition to them. I do love that Lawn Fawn always has lots of sets that work with your other products you already own and love!! Here's a look at all 6 tags. I created three shaker tags and three more flat tags. Both kinds are easy to create and are definitely guaranteed to bring a smile to the face of whomever you give them to. Be sure to scroll down to the end where I'm sharing a video giving you a closeup look at all the tags and walking you through creating one of each kind.


I find that by using fun foam from my kids' craft drawer I am quickly and easily able to create my shaker areas with no fuss! These fun sequins from Studio Katia and Pretty Pink Posh add to the bright Spring feel of these tags.


And, oh my gosh.... these adorable sentiments! So super cute!! I coloured a whole bunch of these sweet animals up in different colours and then coordinated them with different colours of tag bases, frames and reinforcers from the Gift Tag Die Set. A few more sequins add just a little more bling. 


You can check out the video below for even more details and to see how easy it is to create both styles of tags!


Supplies:
Lawn Fawn Say What Christmas Critters Stamps and Dies
Studio Katia Sequins
Pretty Pink Posh Sequins

Thanks so much for stopping by! Be sure to check out all the fun NEW products in the Scrap Shotz Store, and have fun creating!! I hope you have an awesome weekend, and I'll be back next week to share another sweet new product with you 💗

Hugs,
Karla

Wednesday, October 25, 2017

Concord and 9th: Many Thanks Turnabout Stamp

Wow wow wow....Concord and 9th continues to hit it out of the park with their innovative stamps and dies! In particular, I am smitten with their turnabout stamp series. (Selfish plug on my part :-) you can see samples of their turnabout stamps on my instagram feed @virginiawong12)

Today is all about showcasing the Many Thanks turnabout stamp. If you have not used a turnabout stamp, you are in for a treat. In addition, this fabulous stamp has fabulous fonts which always makes me gushy inside and the individual stamps are super versatile as well.

For my first card, I chose traditional Christmas colors of red, green and gold. This was paired with an extra green embossed Wreath image also from Concord and 9th Magnolia wreath stamp and die set. Golden berries were added to the wreath with Nuvo drops.


So then I decided to have some fun with the backgrounds. It's nice to add a smile to the card recipient so I added the adorable panda bears from My Favorite Things to the turnabout background. The front panel was created using the individual stamps also included. 


To mix up the colors, I created an autumnal feel for the thank you card by stamping in orange, green, purple and black. It was the perfect backdrop for the Altenew Smile More and Hug Me stamp and die set.


And my last card is a contemporary Christmas card (I have plans to make a few for the Caring Hearts Drive 2017). For the background, I used the traditional colours but turned the turnabout 3 times, leaving some white space to balance the stamped and heat embossed Magnolia wreath. That yeti is a favorite of mine. While it does not photograph well, he is covered in sparkles. The Honeybee stamp and die has been embossed with antique gold twice. The inside sentiment reads, "it's Christmas!"


Thanks for dropping by and I hope I've given you inspiration to craft!

-Virginia

Monday, October 23, 2017

The Ton Stamps - Peony Cluster Mini and Cozy Poinsettia

Hi there!

This month I got to play with stamps and die sets from The Ton.  This is a "new to me" stamp line, but I'm thinking there will be more added to my collection very soon.  The designs are so versatile and the detail is incredible.


I started with a simple card design using the Peony Cluster Mini.


After heat embossing with gold, I used some pink water colour to colour my image.  I'm quite the novice at water colouring, so I find embossing the image first is quite forgiving.

The flowers were then cut with the available die and using foam tape, mounted it on a nest of pink twine. All of that was then placed on top of the strip of pink cardstock which had been stamped repeatedly with the sentiment. To finish it off, I added some strips of washi tape, some rhinestones, and rounded the corners of the card.

Now that my creative muscles were flexed, I set out to play with the Cozy Poinsettia stamp.


The gold embossing and the water colours were still on my desk, so I used those supplies again.  This time, instead of using regular foam adhesive, I used the die to cut out some fun foam.  The larger image was quite warped (even though I had used water colour paper), and gluing the image to the fun foam keeps it nice and flat.  I think it will hold up better in the mail, as well.

I mounted the image on a piece of white cardstock and a piece of patterned paper from the Perfectly Plaid 6x6 pad by Lawn Fawn.  I embellished it with a small strip of washi at the top and some Nuvo Crystal Drops in Pale Gold.

The creative juices were flowing now, so I pulled out my Copics and started colouring.


Again, I'm no expert in Copic colouring and I only have a few markers.  I started by stamping the image with Black Archival Ink. The markers were R05, R27, R89, G24, G17, and YR09.  Then, Stickles were added to the centers.

Using an A2 sized card, I cut approximate,2 3/4 inches off the front of the card base and replaced it with a piece of Hot Off the Press Acetate. To cover the seam, I placed some washi tape. I stamped the sentiment on top of the acetate with Staz On Ink. 

Whew!  Lots of words to explain three pretty simple cards.  But, I just love how they turned out.

Thanks for looking and for any products not linked, please be sure to check out the store.


Friday, September 15, 2017

Lawn Fawn: Perfectly Plaid Rainbow

Hello Everyone!

This month I am experimenting with some fabulous products, namely the Lawn Fawn: Perfectly Plaid Rainbow paper pack, a set of New Day Thickers, Darice Thanks embossing folder, crystal drops from Nuvo in Bottle Green and the Pink Flamingo floral package from 49 Market.

When I received my product, I gave a girly squeal of delight and yeah, a fist pump in the air too! My first project is a pop-up box card. I have been admiring these cards all over Instagram and decided to give it a go!

To make this card, cut a piece of cardstock to 8.5" x 12". Then score at 2.75", 5.5", 8.25" and 11" along the long side.

Next cut a 2"x12" strip off. From the short scored end, cut a 4.75" x 2" strip. Rotate the strip and cut into 1" strips. These 2-1" strips are the inserts within the box card.

With the 6.5"x12" piece of cardstock, score at 2.75"


Fold along the score lines. Now cut along the score lines to make the box flaps.


I decided to decorate my box and cut 8 - 2.75" x 2.75" of various pieces of pattern paper and another 8 - 2.75" x 3.75" of coordination pieces of pattern paper. Adhere the pattern pieces to the front and inside of the box card.


Now adhere the inserts.


As I am participating in The Daily Marker 30 Color Challenge, I have several left over copic colored images on my desk. I mixed and matched those images to create a fun and vibrant birthday card!


Of course I could not stop at one card so here is my second card!


Thank you for dropping by!

-Virginia

Thursday, April 15, 2010

Copic Thursday - Coloring Blonde Hair

Hello my coloring friends! :D This week we are moving back to hair... specifically blonde hair. You may want to review the technique tutorials from our week on brunette hair before you tackle this week's challenge! :wink:

Here is a fantastic PDF for blonde hair from Suzanne Dean

And a tutorial from her BLOG

Here is a great close up view from Marianne Walker

And one more drawing

Here is the link to the original challenge on the Copic Creations site where you can see the gallery of submissions for the challenge...

After much deliberation... (and many many heads of blonde hair) I have decided that I like the look of dark blonde...

I used Y21, E31 and E33 for this one...


It's beautiful Jess! Thanks for another Copic Thursday!

Thursday, April 8, 2010

Copic Thursday - Coloring with Reds and Pinks

The Reds and Pinks family is a gorgeous set of colours but it can be very challenging to master these colours.


Some tips that helped me are:

The red and darker pinks react differently to the Colourless Blender than other Copic marker colours. Not all the colour is "erased" (for lack of a better word); there is almost always a residual colour.

When colouring with reds and pinks, pay extra attention to colouring TO the line of the image rather than ONTO the line of the image.

Blend, blend, blend...red is a strong colour and can overpower the adjoining colours.

There are a few tutorials that I found to be helpful.

Sharon Harnist #1
Sharon Harnist #2
Suzanne Dean #1
Suzanne Dean #2

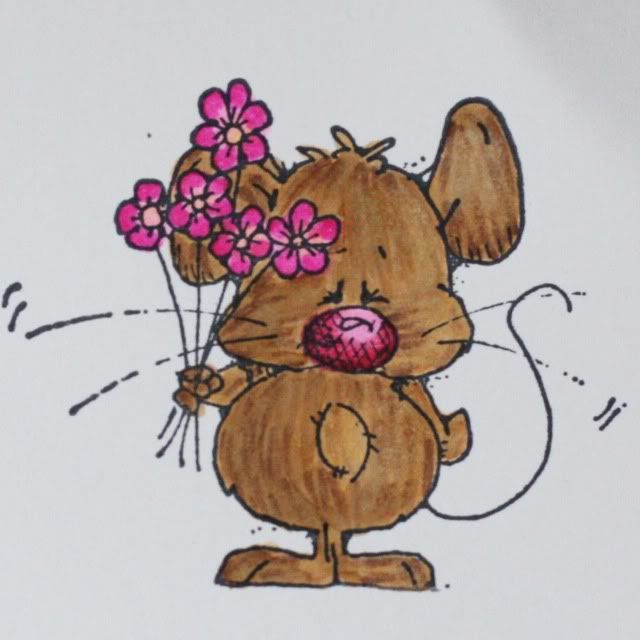
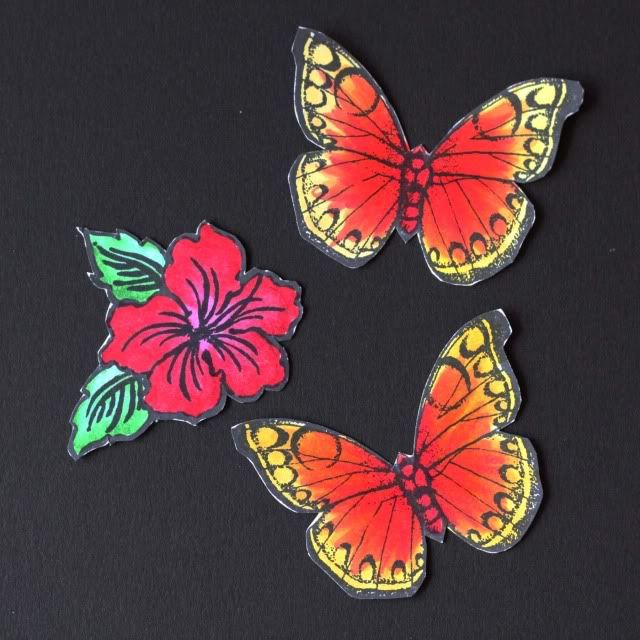
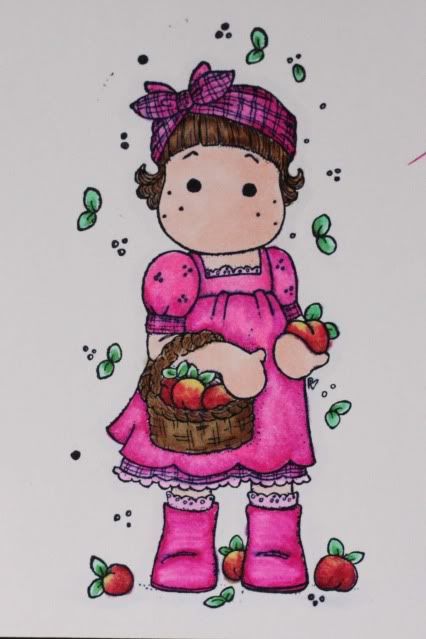
Here are my samples.

Colours used are: E55, E57, E59, Y11, Y15, RV02, R17, R89, YR21, R01, B32, B34, B37, C00.

I started out small to get the hang of things and practice my fur colouring. I had a wee bit of trouble with the shadowing :oops:

Then I moved out to a flower and a few butterflies to build my confidence.


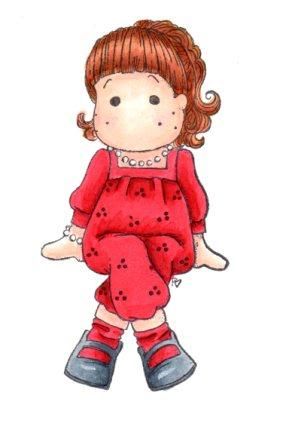
And here are a couple of Magnolias dressed in pink and red. Again, I wasn't thrilled with the shadows as I was getting obsessed with the reds and pinks techniques. :roll: :oops:


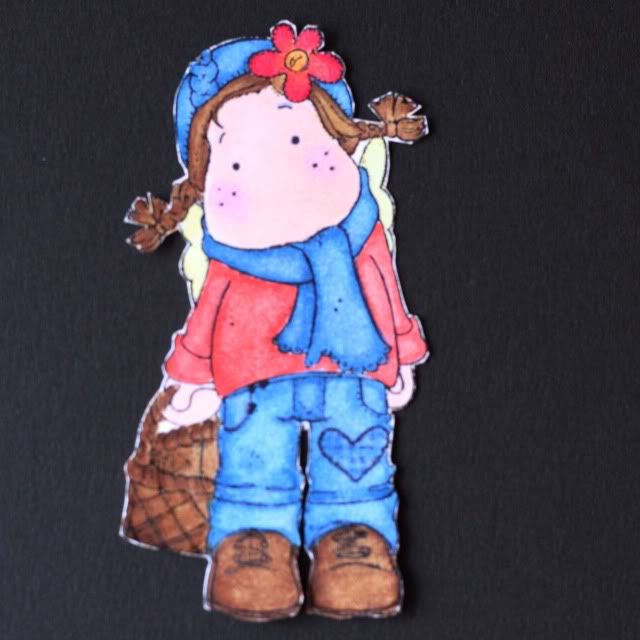
Here is a sample from the fabulous Lorraine!


Hair is E08, E37, E97. Dress is R24, R27, R59.


I hope to see your Copic creations using Red and Pink!