Showing posts with label cards. Show all posts

Friday, March 5, 2021

Mama Elephant Easy Sentiments

 Hello! 

Rosie back with two cards using the Mama Elephant Easy Sentiments stamp set. Here's a look a the set itself:


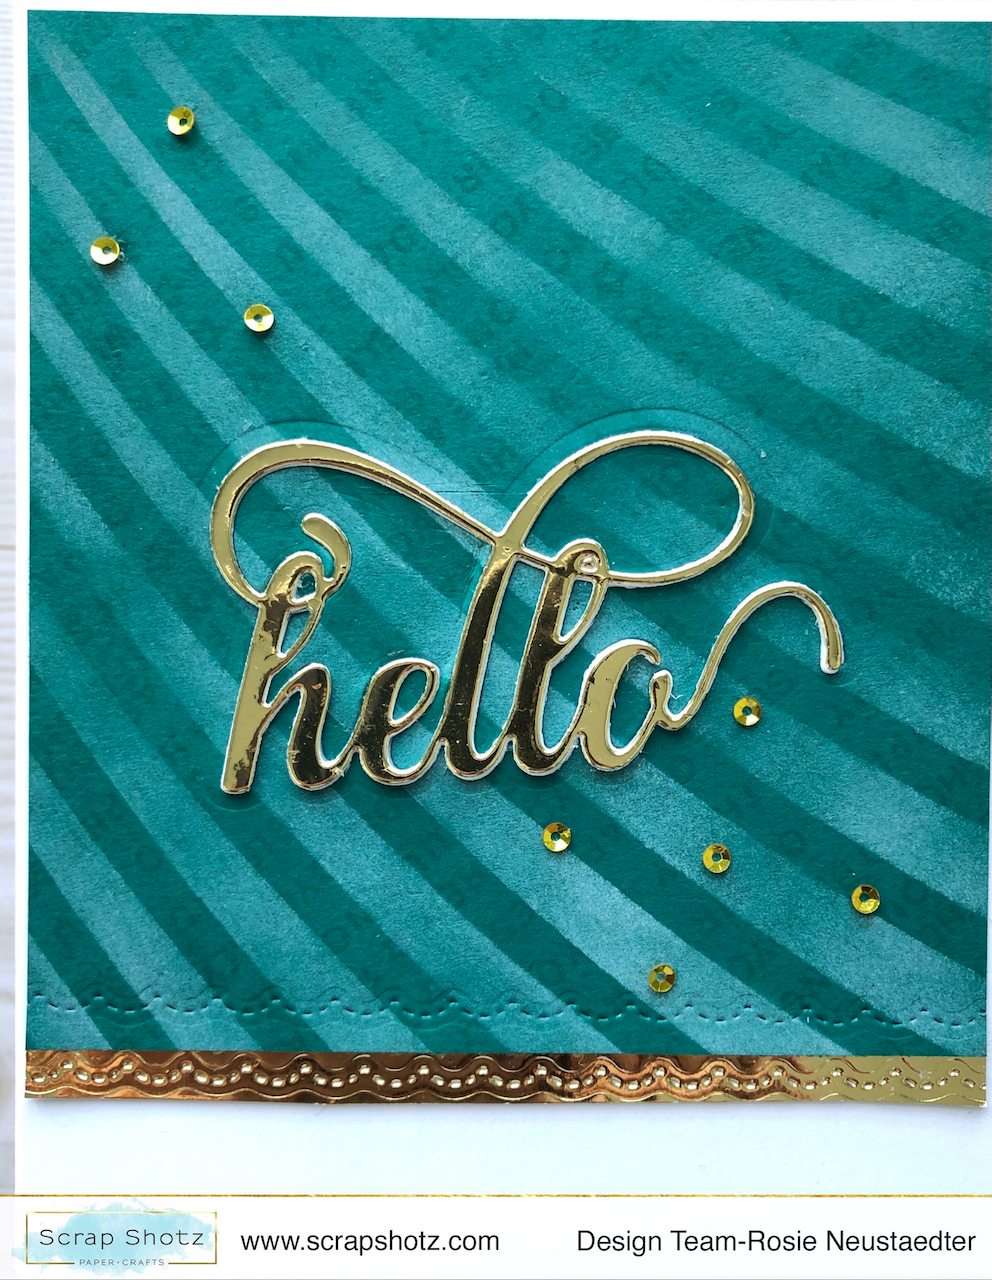
I decided to try out a technique from Jennifer McGuire and use the sentiments as a background.


Please click on the image to see it close up as it's a little hard to see the background. 

I stamped the sentiments multiple times with an ink colour similar to the Lawn Fawn Rainforest card stock* (please note that items marked with an asterisk are not currently in the store but can be special ordered). I then added Lawn Fawn Yeti Pigment ink through the Altenew Molded Lines stencil. 

Next time I try this I'm going to reverse my process and ink the stencil with ink similar to the card stock colour and stamp the sentiments with white pigment ink.


I used the Altenew Fancy Hello die to cut out of Altenew Gold Mirror card stock* and 3 times from white card stock which I layered together to add some dimension. 

I also cut "hello" from the card front, gluing the negative pieces back in to create a stacked inlaid sentiment.
The pierced scallops were created with the Mama Elephant Fine Trimmings die and some Studio Katia Gold Foil sequins finish this off.


This card uses the same Easy Sentiments stamp set as well as the Mini Everyday Messages set.
After stamping the sentiment background, I added Nuvo Moonstone Glimmer Paste through the Vicki Boutin Starstruck stencil.

I die cut the star window with some star dies I had in my stash and the 'happy birthday' with the Cause for Celebration dies from My Favorite Things, it's so old I don't even think they make it anymore.


So easy and fun to create a background with sentiment stamps, I'm looking forward to making more cards using this technique.

Happy Crafting!

Sunday, November 22, 2020

Winter Market Cards

 Hello. Just popping in to show some cards that I made for a special project here in Winnipeg. As you may have seen in the news, we are in as close to a full lockdown as you can get. There are so many personal care homes struggling with outbreaks and/or visitor restrictions. Our local radio station is collecting cards for the residents. So my daughter and I spent the weekend making cards.

I made 4 cards with the Carta Bella Winter Market Collection. I used some of the cut apart cards, 12x12 papers, ephemera and enamel dots. I used foam to attach some of the stickers so they pop off the card.


For the final card I used the Creative Expressions Winter Wreath Embossing Folder. I used Distress Inks in two different colours, dabbed red paint for berries and glued an embroidery thread around a stamped sentiment. 

I still see the Winter Market Collection in the shop, so head on over and check it out!

Friday, October 23, 2020

Paper Rose - Nature Paper Collection

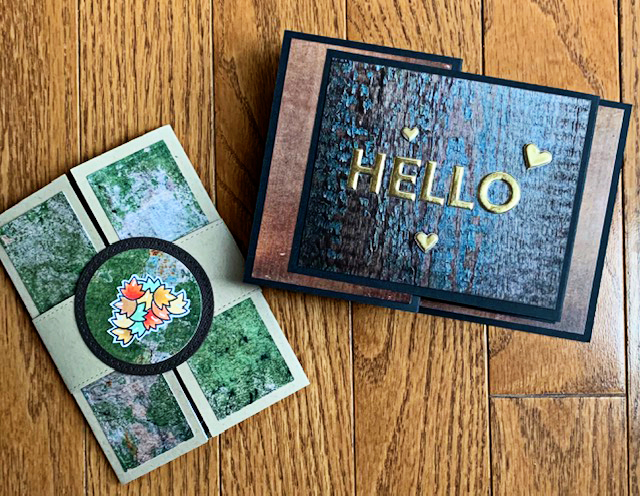
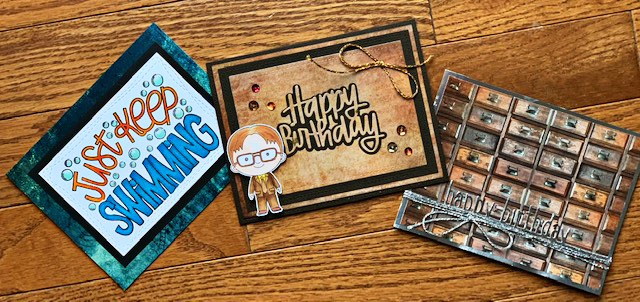
Hello everyone! Today I'm sharing my cards that I created with the Paper Rose - Nature collection. This paper is amazing. Once I started using it, I just kept finding new ways to use it. I was able to create masculine cards, sympathy cards, fall cards, kids cards and some feminine cards, too.

I created some fancy fold cards, a Z fold and a card using the Lawn Fawn Shutter Card dies.
This paper is a great weight and quality, and it can take lots of different techniques without showing weakness. Here I added some blooms and brads, and on the other I splashed on some Cosmic Shimmer Opal Blaze for sparkle.

 It was awesome for using various embossing powders. There are plenty of embossing powders here in the shop. Embossing
I used some Cosmic Shimmer Opal Polish through a stencil on some, and the paper took it very well! For two of these cards I used these Paper Rose Bamboo Stencil and Paper Rose Hexagon Swirl Stencil.


I did some dry embossing on the Thank you card. The paper is so detailed, it's hard to tell in the photo that only the light brown checker plate is actually raised.
I used different die cuts and elements from my stash. Every sheet of this paper has such great texture!
The paper pad is A5 sized and a couple of the patterns are full pages and worked for slimline cards.
Some of the paper was almost too pretty to cover, like this one with the drawers. No embellishment needed!
I made 30 cards with this single pack of paper, and still have a few part sheets left. I used various bits and pieces from my stash to embellish and decorate my cards, so if there's something you'd like to know about, just ask. It was fun!

Thanks for stopping by! Have a great weekend.


Thursday, May 14, 2020

April Kit Pt.3: Home Sweet Home, Crafty Helper and More

Hello Friends!

I hope you've been enjoying all the Creative Team inspiration! 

Rosie back to share my final kit projects using the April kit, this is another Mother's Day layout I made with the kit, this one with myself and almost all my kids, lol...hard to have them all in the same room at the same time once they get jobs.


The centre of this layout was created during this Vicki Boutin FB live, with Distress Oxide Inks and the Altenew Painted Butterfly stamp and die set. The butterflies are also heat embossed with gold embossing powder. I stamped butterflies in with the same Oxide inks used for the "blown butterflies" and  die cut them with the matching die.


I cut the paper down and matted it on black card stock, the photo itself was also matted on black card stock and layered over plaid patterned paper from the kit which was back with Kraft and then black card stock. Kit chipboard, stickers, a brad and sparkly confetti embellish the layout.


I used one of my new purchases, embossing glaze, on this next project:


It was fun to document my son helping me stitch on a layout a couple of years ago.

I applied embossing ink with an embossing dauber to the edges of the library drawer, text patterned paper and the title and sub-title die cuts.


I then applied Walnut Stain Distress Embossing Glaze  and set with a heat tool.


I love the extra interest it gives along the edges.

Now for a few more cards :)


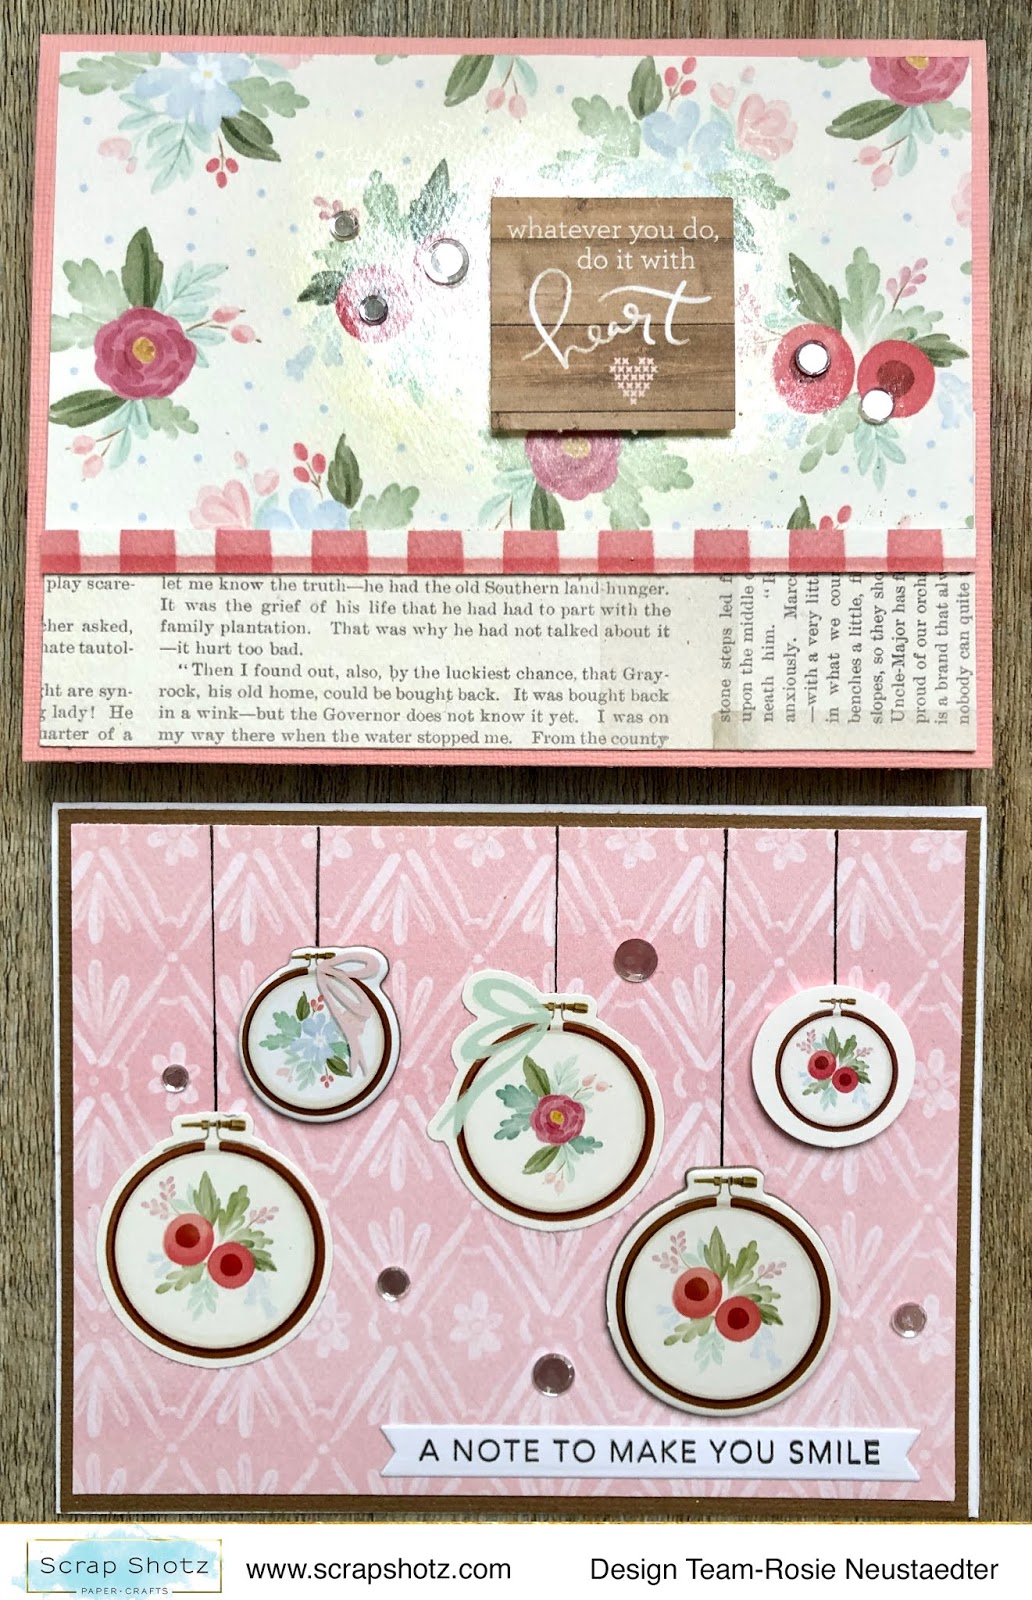
So easy to combine patterns when using a paper line, everything coordinates very easily as you can see from the card on the top. 

The bottom card has a patterned paper base matted on card stock and I used a combination of the chipboard, die cut and sticker hoops, the "hangers" are hand drawn with a black marker and the sentiment is from the Taylored Expressions Simple Strips Background Set. This is a great set, it stamps 18 varied sentiments that you die cut with the matching die. I stamped, die cut and then keep them in a ziplock bag and pull one out when I need one!


A little shine is added with PPP confetti, you can use anything shiny from your stash :).

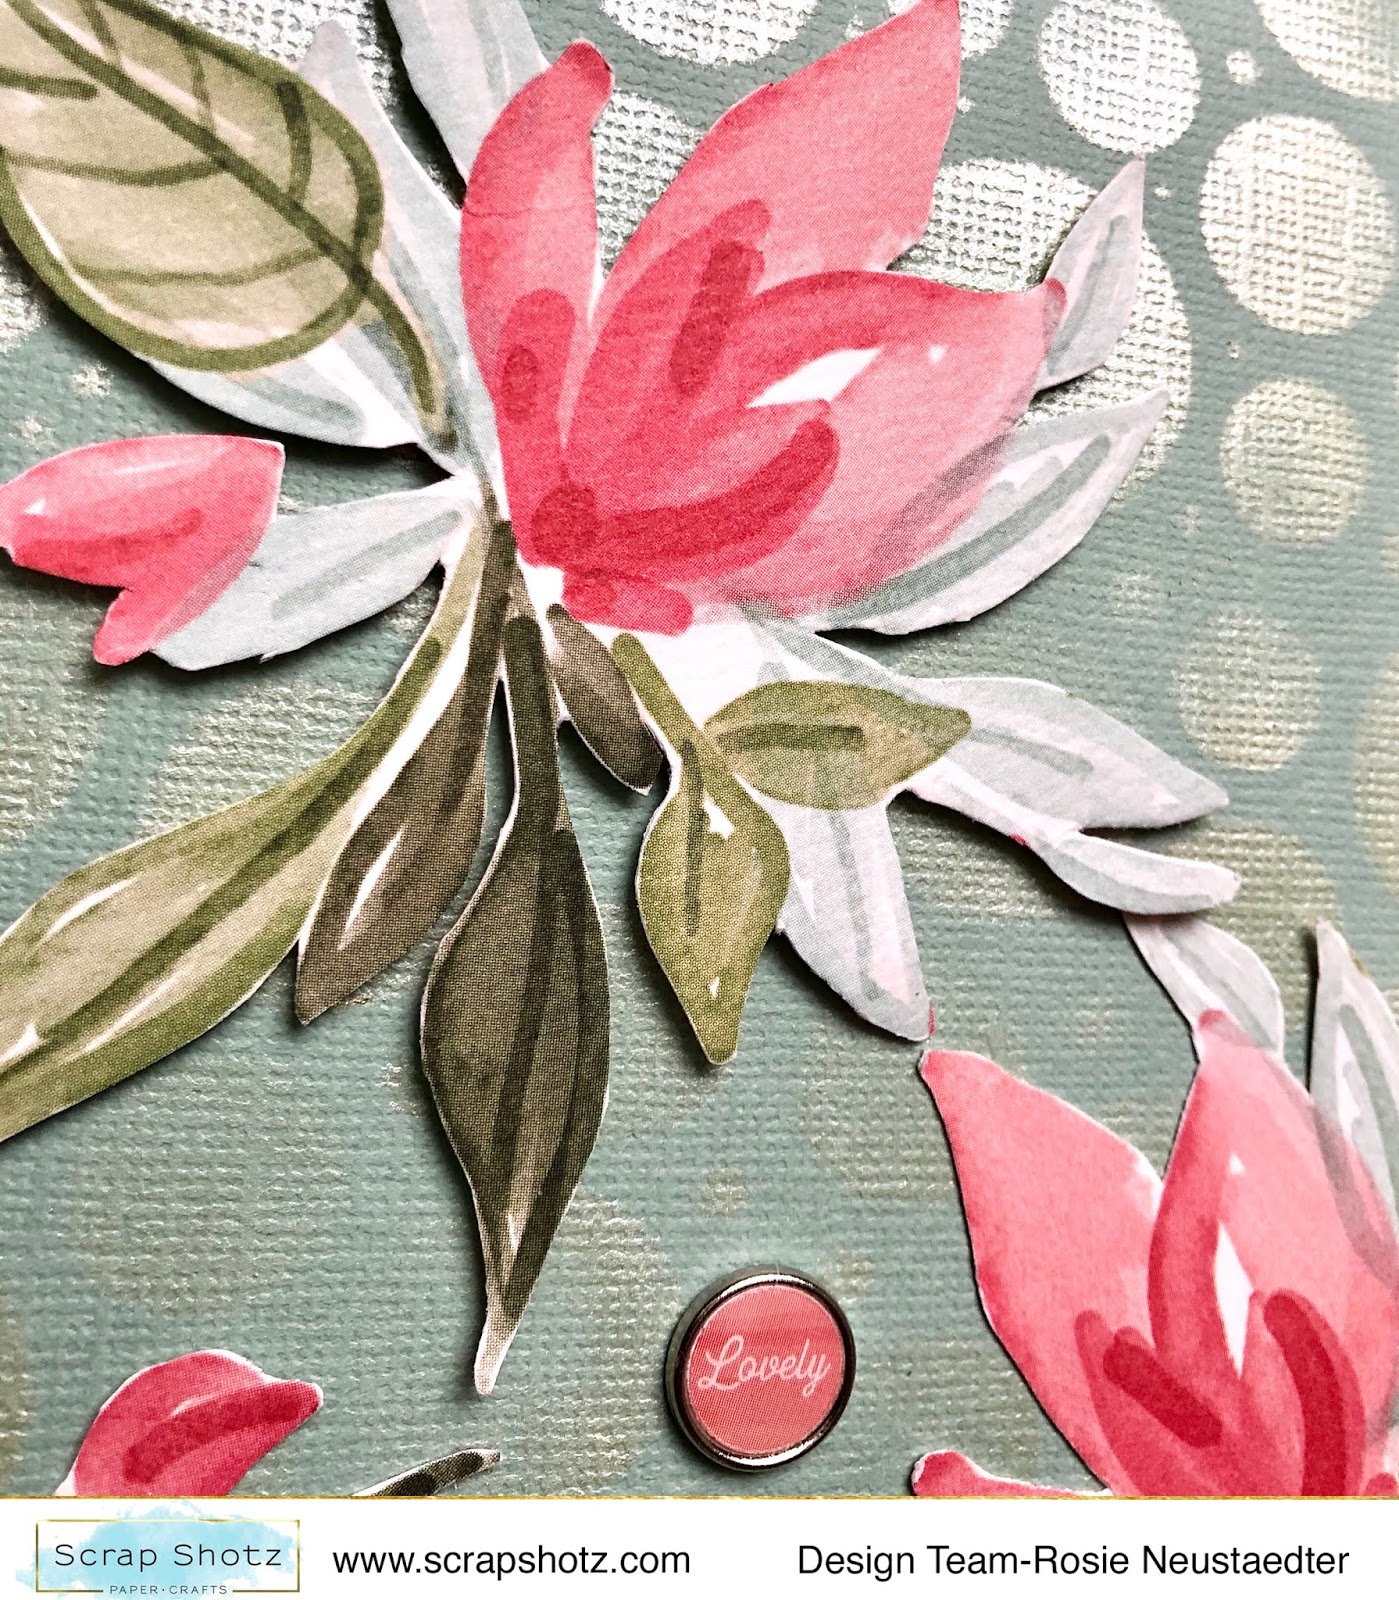
When I saw this paper I decided I wanted to fussy cut some blooms:


Once the fussy cutting was done I cut a piece of card stock into a 4 1/4" x 5 1/2" notecard. 
Next, I taped it to the Nicole Wright Designs Circlet Stencil and applied Mother of PearlNuvo Embellishment Mousse through the stencil.


I then arranged the fussy cut blooms to my satisfaction, adhered the larger with foam adhesive and the other two with liquid adhesive. A kit brad and enamel dots complete the card accents.


Thanks again for stopping in and please share your Scrap Shotz kit projects on the Scrap Shotz FB page or in the Scrap Shotz Paper Crafting Friends Facebook Group OR @scrapshotz, #scrapshotzkitmembers on Instagram.

Happy Crafting!


Tuesday, May 5, 2020

Scrap Shotz April Kit: Pt.2

Hi!

Rosie back again, with a few more projects using the April Farmhouse Market kit, the kit itself is sold out now but I've linked to the Single Kit purchase option above!

I'm going to start out with a couple of cards:

{click directly on the photo for the best view}


Slimline cards measure 8 1/2" x 3 1/2", are designed to fit inside a #10 business size envelope and require no additional postage. 

I created a couple here and love how they turned out.


I die cut the pink patterned paper with the Tim Holtz Alterations Courtyard die and then embellished with kit chipboard, "sentiment" cut from the kit paper and then added some shine with Pretty Pink Posh Confetti.


I cut a strip from the tags patterned paper and then layered a tag chipboard piece over the centre tag. The tag holes are embellished with Studio Katia Tiny Iridescent Bubbles.

I think this next project is my most favourite made with the kit.


This came together very quickly and the colours were perfect for that pink plush bunny ;).
I chose 6 different patterns, I'm sure at least 2 are the "b" side but I don't remember which is which, lol.


I tore the papers creating a white "border" and then layered them over each other. The photo is matted  first on white card stock and then patterned paper from the kit.


I then scattered kit brads, chipboard and PPP confetti to embellish the layout.

Thanks for stopping in! 

I'll be back later this month with one more post and I have not yet used up all the kit! 
Stay tuned for all the posts from the team!

Happy Crafting!


Monday, April 20, 2020

Distress Crayon, Wish Big & Stamping Village Tutorial

Hello All!

Rosie back with a quick tutorial using a seldom used supply from my stash, Distress Crayons!


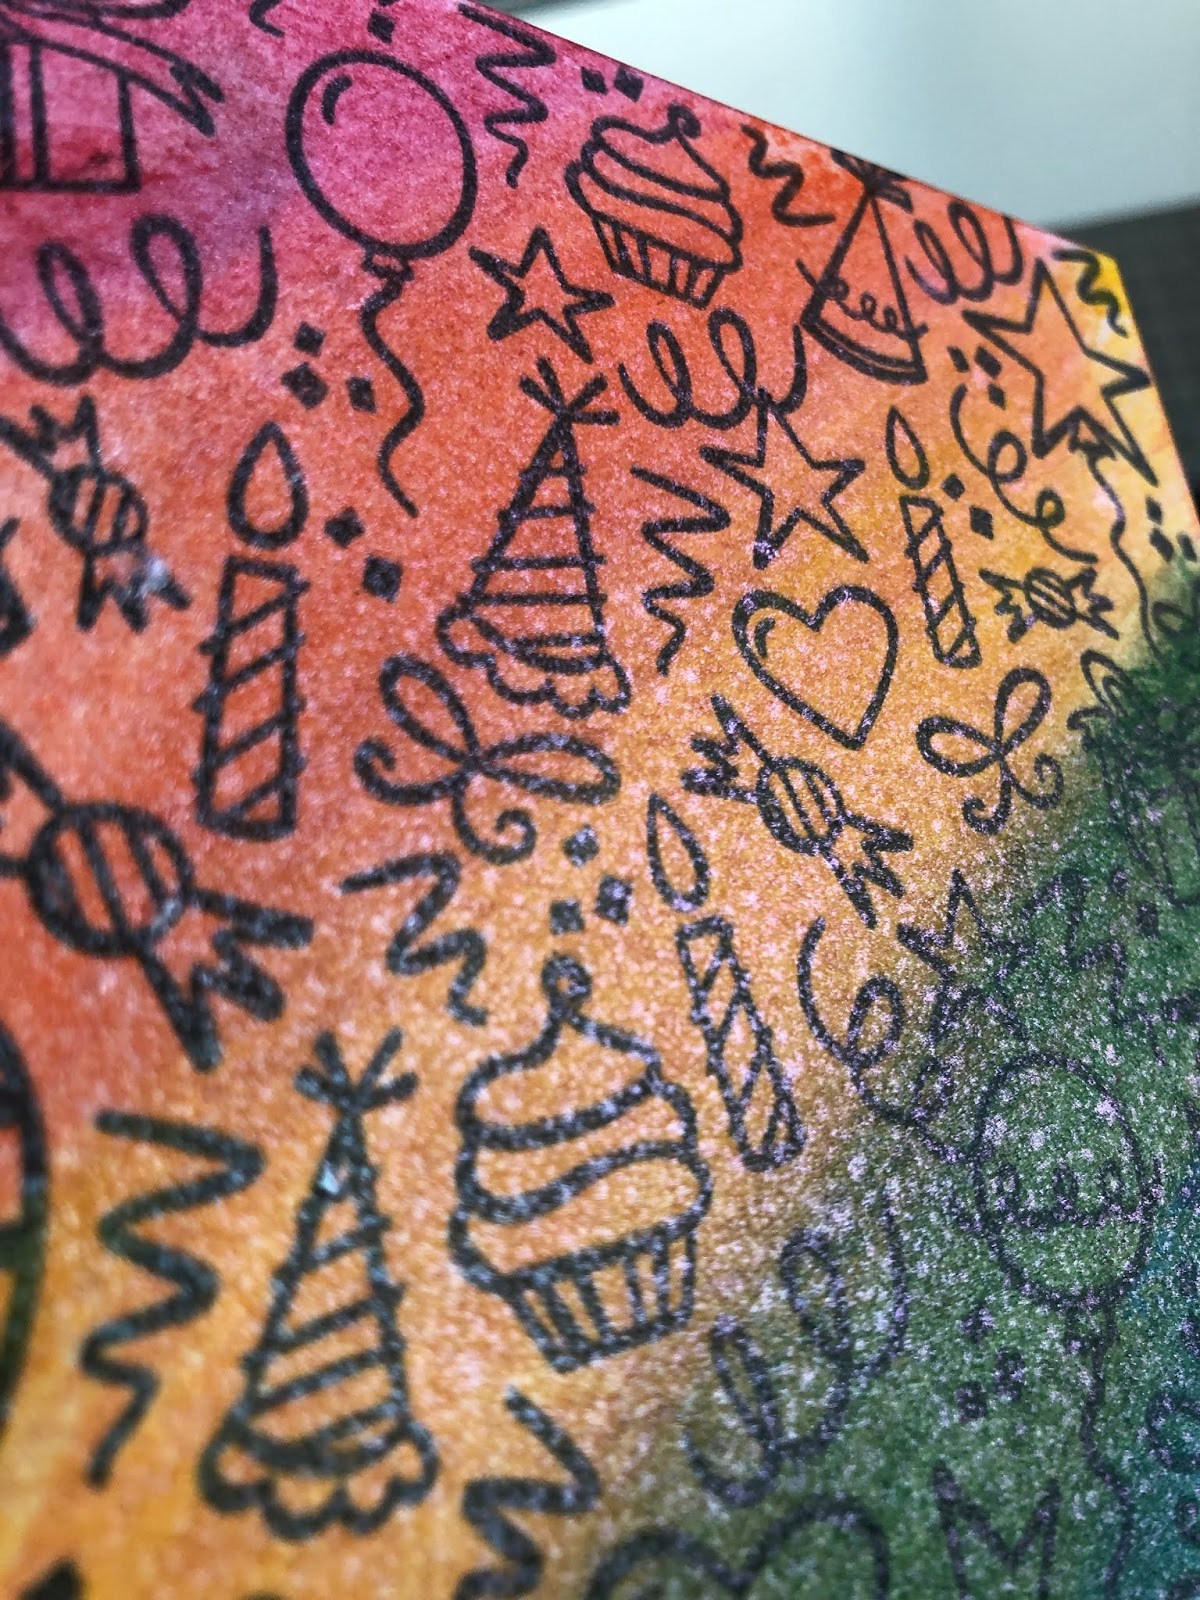
After stamping a couple of backgrounds on watercolour paper with Gina K Amalgam Ink I came across this youTube video using Distress Crayons. 


I pulled out all my crayons and picked out "rainbow" colours...
-Candied Apple
-Carved Pumpkin
-Mustard Seed
-Mowed Lawn
-Salty Ocean
-Seedless Preserves

Beginning in the top left corner I scribbled the crayons in rainbow order diagonally down the paper to the lower right hand corner.


Once the entire paper is covered, take a baby wipe and wipe in the direction the crayon is applied from top left, diagonally, to bottom right blending the colours along the way.


After drying with a heat tool, I wanted to darken the colours up so I applied another layer of crayon and blended again with a clean baby wipe.


After blending and drying, I spritzed the card front with Altenew Iridescent Ink Spray


I created a frame with layered rectangle dies and die cut from the center of the panel. I stamped the sentiment on white card stock inside the "frame". Sentiment is from the Stamping Village Happy Birthday stamp set and watercolored with distress crayons.

The outer card front is adhered with foam adhesive and then embellished with Studio Katia Clear Drops.


Thanks for stopping by!

Happy Crafting!