Saturday, June 4, 2016

'Starshine' May Scrap Shotz Kit Reveal

Hello and happy soon to be summer, we are enjoying some beautiful weather in this part of the world so thoughts of summer are close at hand.

This month's kit is literally packed full of product-paper, chipboard, stickers, acrylic shapes, clips, ribbon and roller rub-ons.

The grand total of projects for me this month is 7 layouts total-6 single, 1 double page and 3 cards. I so love this line I doubled my patterned paper but only used one page from the extras. I could have made a few more cards but ran out of time, not counting the extra patterned paper I bought I could easily create a couple more single page layouts and 2 or 3 cards with what I still have left.

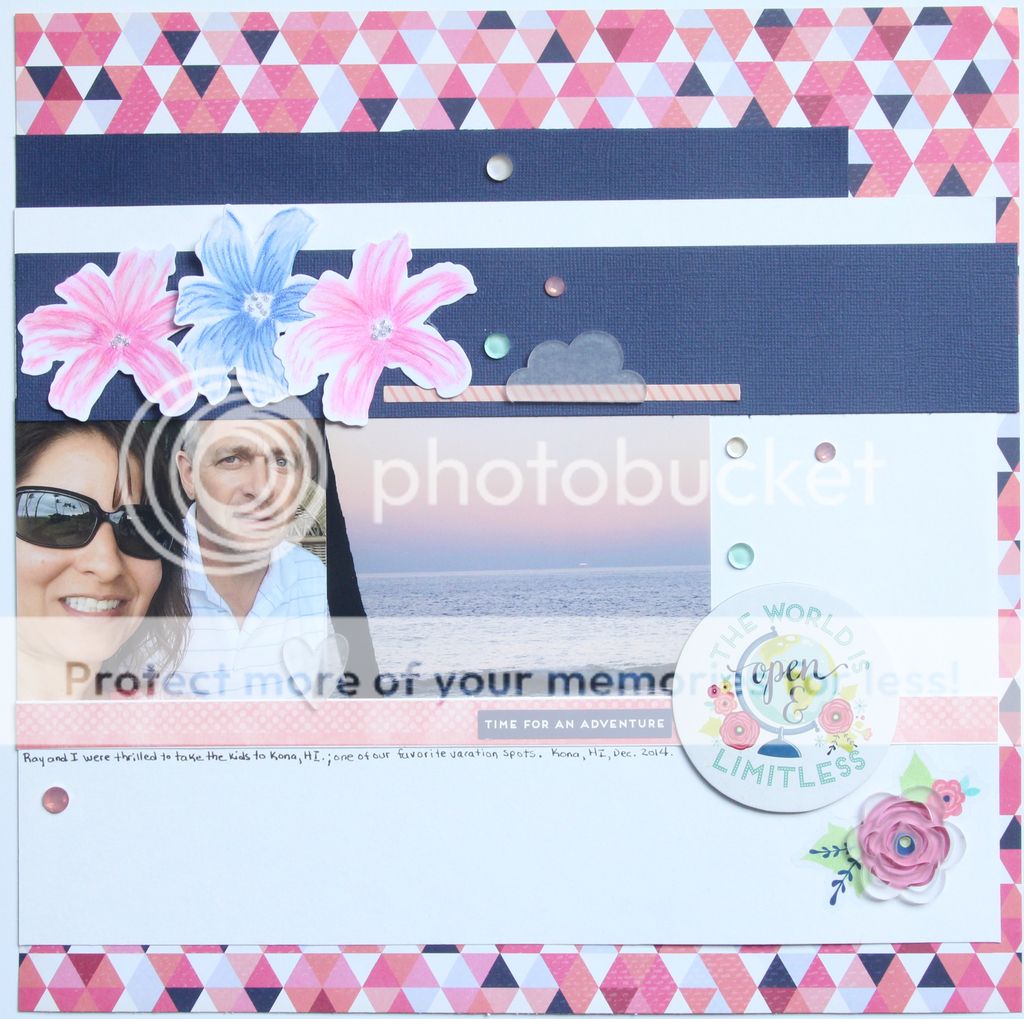
Enough talking from me, lets take a look at what I created beginning with my sketch project based on this sketch I made:


The flowers are stamped and cut with the Altenew Layered Lily stamp and die.
I stamped them with the lightest shade of Altenew Crisp dye ink in pink and blue, then added detail by coloring with copic markers and pencil crayons. The centres are created with Nuvo Glitter Drops.
I layered an acrylic flower over a floral sticker to complete the visual triangle of acrylic shapes.
The rub on roller pens work just like a white out pen so they are super easy to use. I took advantage of their ease here by running the star pen along the edge of the card stock strips to create multiple borders for my photo.
The kit ribbon comes backed with adhesive, just peel and stick! Nuvo Glitter and Crystal drops are added for interest.

I hope you're not completely bored with my planner spread, I am a 'simple' planner girl. I've added stickers and bit of ribbon along the top, the rub on roller is perfect for a planner and one of the epoxy clips. In addition, I used the roller stamp add on as well.


The paper is pre-printed with these stripes, I cut along the outside edge of them, adhered to white card stock, then added the black and hexagon pattern strips.
'Happy' is a white Mama Elephant die cut I had laying around, I colored it with a black marker and then Wink of Stella clear glitter.
I popped up the word strips and camera sticker with pop dots.

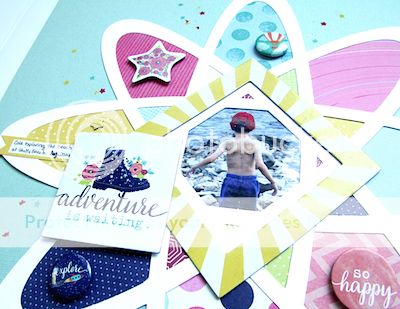
This is a die cut I created for my Cameo, I backed the open spaces with patterend paper.
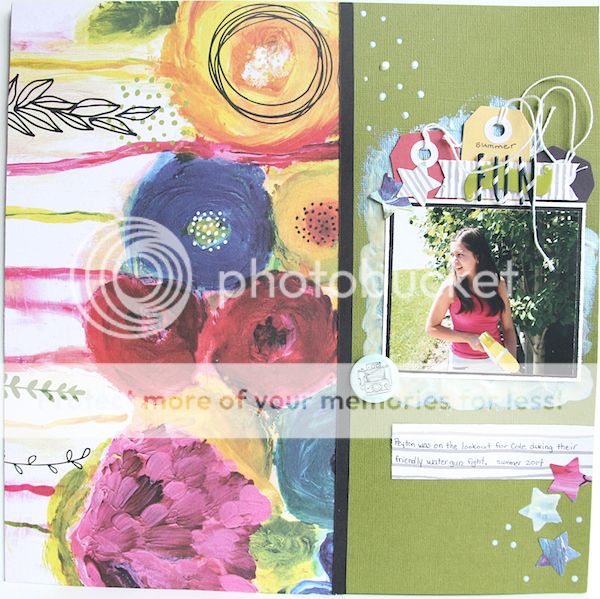
This yellow square frame happened to be just the right size to frame this photo. The stars were added randomly with the roller rub on pen.

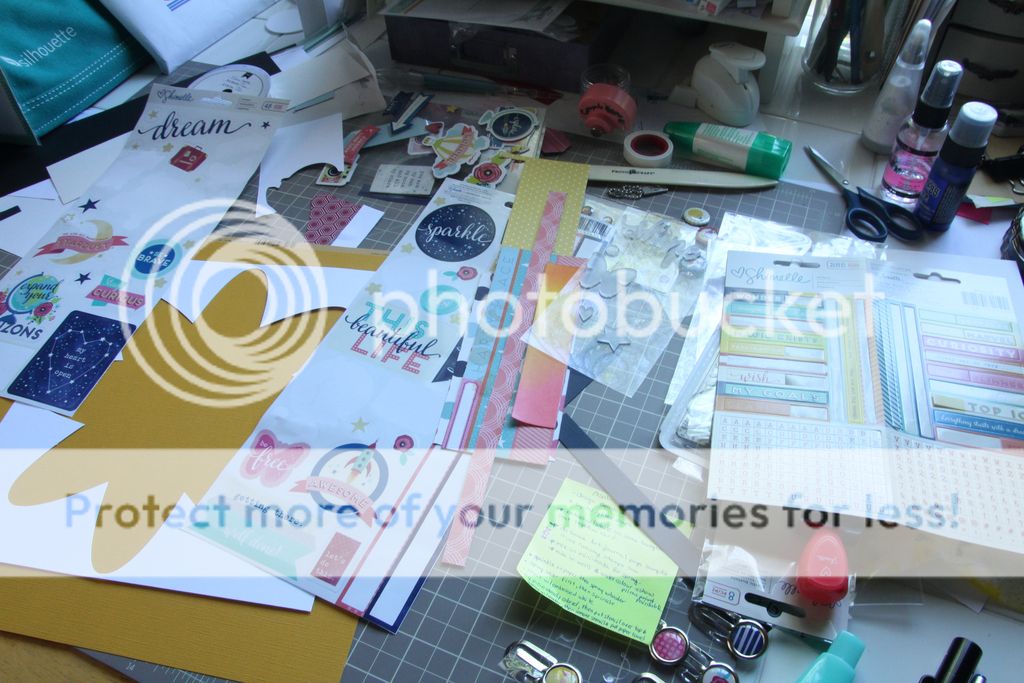
This next layout began with this:
What am I going to do with all these 'leftovers' ?


I randomly placed stickers on card stock and used the outside leftover from the die cut stencil as a frame.

I used the rub on roller pen to "frame" the photo by applying it directly on the photo. Chipboard, stickers, a flair button, an acrylic shape and an epoxy clip finish it off.

It was my turn to create a 2 page layout and I had fun designing this one. I created a photo block that spans both pages and then added paper strips along the bottom of the block to also unifying both sides of the spread.

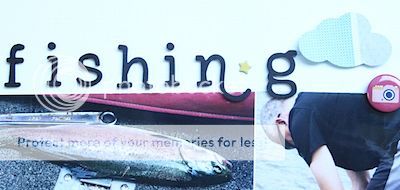
Here are some close-ups of the punched & acrylic clouds, stickers, title and flair button.


Paper strips are the theme of this layout ranging from wide to thin and cut into banners.

Isn't this chipboard gorgeous, check out the store to see what's in stock. I painted it with Tim Holtz Distress Paint, Prima Alchemy paint and highlighted with Wink of Stella white glitter.
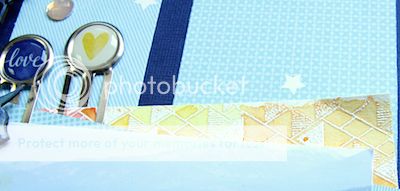
See the yellow mat? It's watercolour paper stamped with Versa Mark ink, heat embossed with Emerald Creek white embossing powder and then painted with watercolor paints.

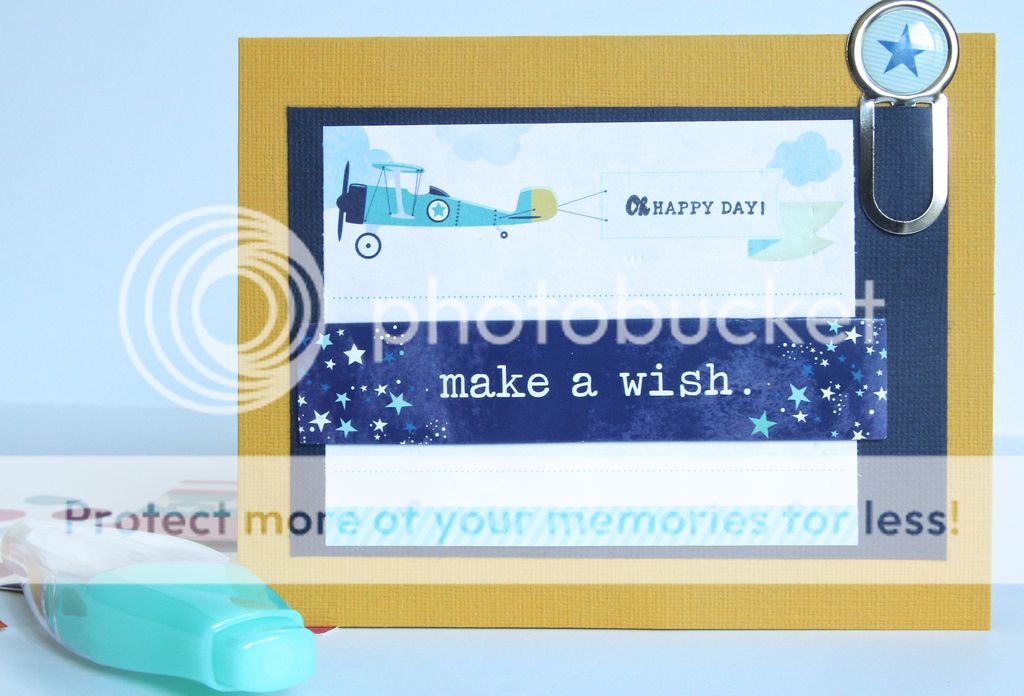
This card was so easy, I used a piece of paper from the notepad & stamp add-on, stamped the banner preprinted on the paper and added the chipboard 'make a wish' for boy a birthday card.
I had this Distress ink background hanging around and decided it would make a great card base for this acrylic hot air balloon. The sentiments are fussy cut from border pattern paper. Some Jillibean Soup die cut clouds and gems finish this one off.
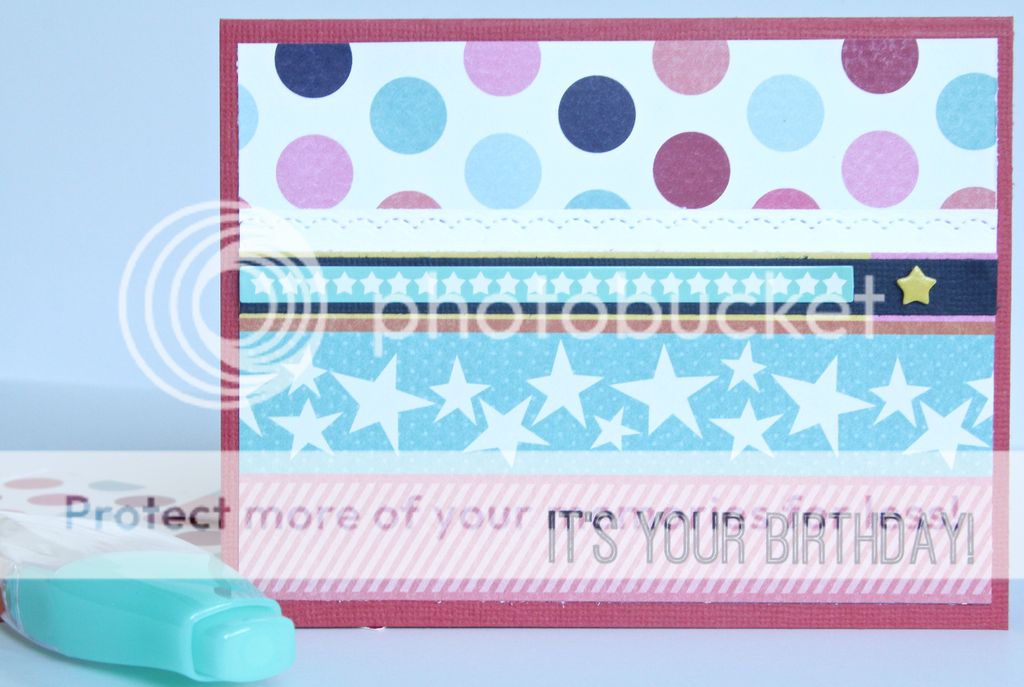
Working with a paper line makes it so easy to mix and match patterns and colours as they are designed to work together. Altenew "Birthday Greetings" stamp set provides the sentiment and the small star sticker strip yellow chipboard star complete this birthday card.

Thanks for stopping by and please come back to see Virginia's projects later this week.


Wednesday, June 1, 2016

Scrapshotz May 2016 Kit - American Crafts "Shimelle Starshine"

Hello! Lorraine here to share the beautiful AC "Shimelle Starshine" Scrapshotz kit. What a versatile goodie package!!! I was able to put together a wide variety of pages, from a heritage layout to a sleek, modern layout - from a sports page to a baby giggles page. Let's dig in...
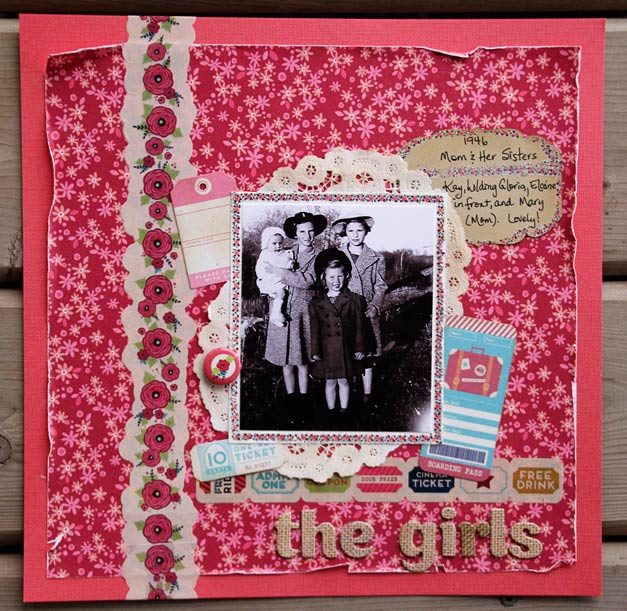
The gorgeous floral design on this patterned paper was perfect for a heritage photo of my mom and her sisters from 1946. The stunning washi tape made an interesting border and a platform for my photo to rest on. I made the layout a bit more feminine by adding a doily and finished it up with the Thickers title and bits and pieces from the kit, including flair, some die cuts and smooth as silk rub on rollers on the photo and journal spot borders. 
The clean and simple, modern design of this layout was perfect for a photo of my grandson with his died hair. The AC Shimelle Starshine thickers made the marquee title shine, and chipboard die cuts gave the layout interest and dimension.
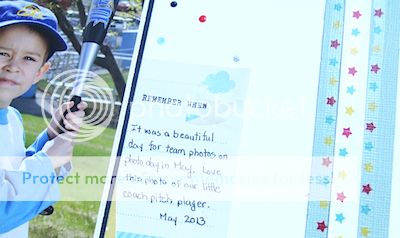
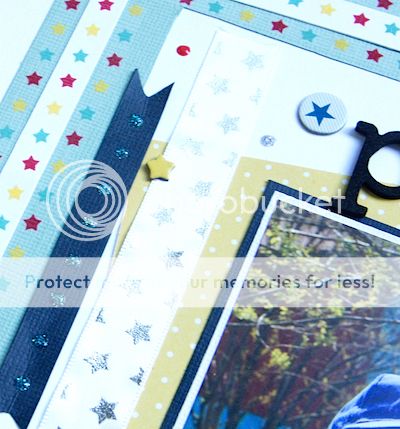
 This baseball layout was based on a sketch created by our own Rosie Neustaedter for use with this month's kit. I love the great patterned paper here with the stars in light and dark colors. It suited the mood I was looking for on my layout very well. The mirror cardstock stars were cut out with My Favorite Things Stitched Star Stax and the title words were die cut with Sizzix Marquee Alphabet Die set.

This "Baby Giggles" layout was my showcase project. The chipboard elements were the products that I chose to highlight. I used them behind, under, on top of and beside my photographs. I stitched over some of them to give them even more texture and used the AC Thickers that came with the kit for the title.

Here are the cards I created with elements from this kit. Here are some die cuts,

a chipboard piece and a transparent sticker,
 more transparent stickers and that beautiful, wide floral washi tape.
Here I used some transparent die cuts. These were popped up and were quite simply enough on their own. These will make great Graduation cards!


Thanks for sticking with me through this reveal. I hope you're inspired and can dig into this kit with fresh ideas! Look for Rosie's and Virginia's projects later this week! 


Friday, May 6, 2016

More Fancy Pants Designs Attwell to Share from the April Kit

Hasn't the reveal of the Scrap Shotz April 2016 monthly kit been fantastic???

Fancy Pants Designs has always been one of my favorite manufacturers; year after year, they continue to release fresh, beautiful and versatile paper lines and coordinating accessories. The Attwell paper line has been just that - beautiful AND versatile.

The conception of first layout came together in minutes but the actual construction was over a period of days. I am in love with the Art Alchemy acrylic paint; its properties are absolute magic! In the layout below, I began by painting a a layer of Art Alchemy paint onto a sheet of parchment paper and then let it air dry for about 2 hours. Normally it takes about 15-20 minutes for the paint to dry but I was inconsistent in its thickness and wanted the paint to be bone dry.

As I applied the paint to the parchment paper, I splashed some of the paint onto the white corrugated background; that is how I ended up with the smeared look in the corners! The main elements of the layout were assembled quickly and I put it aside until I completed my remaining layouts, also shown below.


The flowers were die cut from Tim Holtz Tattered Flowers die, Tim Holtz Alterations Spring Greenery die (which Sandy special ordered for me) and a Sizzix rolled flower die (also special ordered by Sandy). The flower centres were created by circles die cut from Art Alchemy paint and the gorgeous Emerald Creek brads. 


My next layout was my interpretation of the PageMaps sketch. I turned the sketch 90 degrees clockwise. Instead of the diamonds, I used balloons. With the coordinating Attwell washi tape, I made bows to anchor the floating balloons. As well, I am smitten with the matching badges; they are THE perfect accessory to each project!


Believe it or not, this layout was difficult for me to construct. I have had these pictures for quite some time but could never find the right pattern papers...until this month's kit!


This double page layout highlighted the grey, black and yellow colours in the pattern paper. With the vibrant colours of my images, the softer colours were perfect. The Attwell puffy stickers and alphas were a joy to work with; they added dimension, colour and pizzaz to my layout!


This next layout was created from all the cut file overlays seen on instagram. I do not own a silhouette but I do happen to own alot of dies. With the pattern paper, I used my Vagabond and the Taylored Expressions Birthday Toppers to create my version of overlays. The title was created with Mama Elephant dies.


This final layout was created with leftovers of pattern paper, puffy alphas and puffy stickers! What I love is how the bold colours and patterns highlight my random images from our Saskatchewan visit.


Thanks for letting me share my projects - please link me to your projects made with the Scrap Shotz April 2016 monthly kit!


Wednesday, May 4, 2016

Scrap Shotz 'Spring Delights' April Kit Reveal

Hello,

Welcome to the blog for a look at my projects made with the April Scrap Shotz kit featuring the fabulous Attwell collection by Fancy Pants Designs.
I have lots to share so top up your coffee or beverage of choice and enjoy, feel free to click on any image to get a closer look :).

Time to Shine
One of my goals for the year is to use my Cameo more so I spent some time in the Silhouette Studio software and created this diamond cut file to showcase the fabulous patterns in the Attwell line.

I created pearls/dots with Nuvo cystal drops to hold down the gold thread and embellish the layout. Puffy stickers frame the photo as well as the corrugated paper mat. The title is courtesy of a flair button placed on the corner of the photo.


Summer Fun
This blooms patterned paper just begs for a starring role on a layout, I trimmed it and turned it on it's side so the blooms draw the eye toward the photo. I painted a base for my photo mat with the Art Alchemy paint included in the kit and layered tags over the top. The banner is cut from the corrugated paper and it holds the puffy banner sticker and alphas from the add-on puffy alphabet letters. I accidentally dripped some paint on the layout so I decided to go with it and dip the end of my paintbrush in the paint and make dots on card stock.

#Brier

This layout is based on this Pagemaps sketch Lorraine shared with you on Monday. I created a cut file on my Cameo and then hand cut the patterned paper diamonds to fill the negative spaces on the card stock. I've then popped up a couple of the white card stock diamonds.
The gorgeous Emerald Creek Crafts brads included in the kit accent some of the diamonds.
The add on puffy striped alphas again comprise the title.

Live Laugh Love

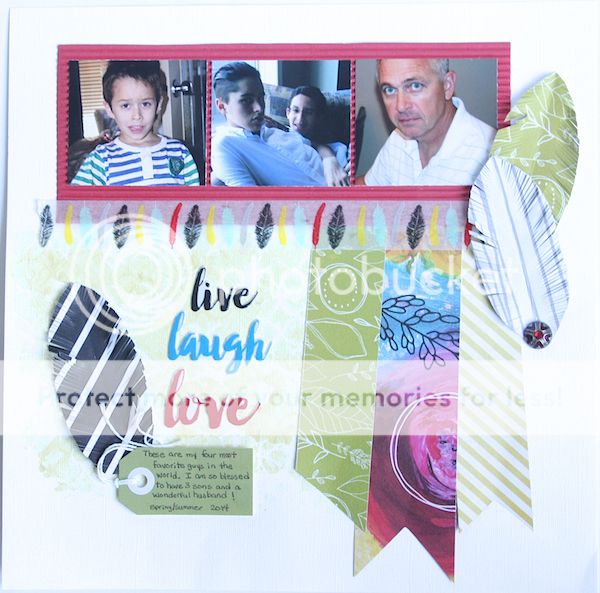
I wanted to showcase the Alchemy paint included in the kit on this layout so I started off with applying the paint over the Tim Holtz lattice work stencil. I should have taped the stencil down prior to applying the paint as some of the lovely details in the stencil are lost because the paint oozed underneath it but I think it works okay in the end ;).
The puffy word stickers stand out as the title over the painted area. Just make sure you apply a little extra adhesive if you glue anything over top of the paint to make sure it sticks. I've used one of the kit tags to house my journaling for the layout.

The brad sits at the bottom of my hand cut feathers grounding them so they don't appear to be floating in the middle of nowhere ;)).

Project Life/Pocket Scrapbook Layout

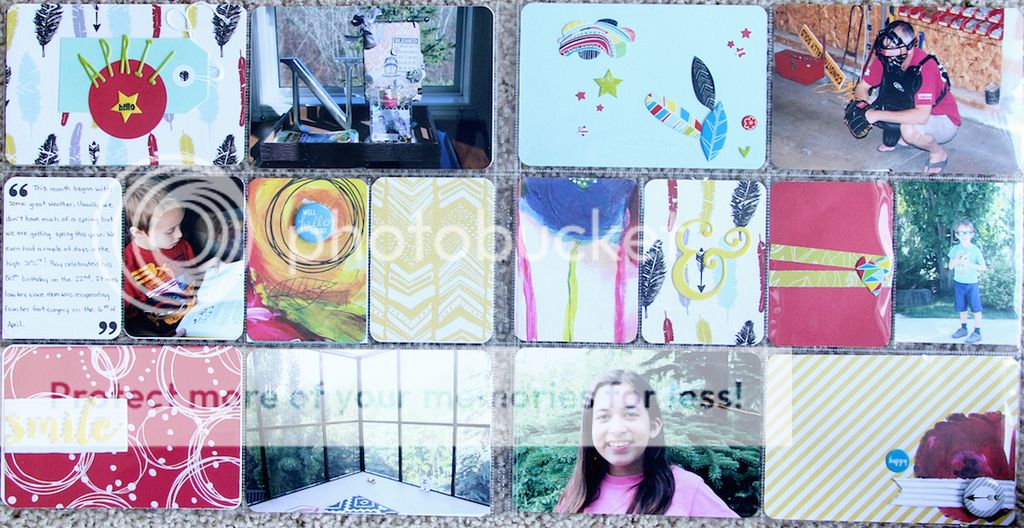
The top photo is the left side of the layout and the bottom is the right side of the layout. I have to be honest, I wasn't able to get my April photos printed in time so I used some older ones to fill in for now.
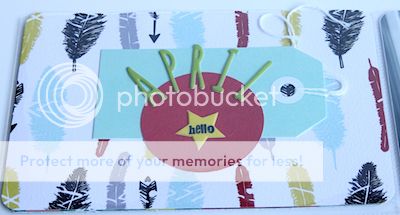
These green puffy alphas are included in the kit, this tag is part of the tag add on for the kit. You can see that I've used a number of the puffy stickers on my filler cards for the pocket pages.

Here is the spread side by side:


Surprise
Isn't this card stock color lovely? It's one of the card stock papers included in the kit. I created a border of tags with the add on tags down the side, then backed the patterned papers on black card stock to make them stand out. Another title with puffy alphas, this time the green ones included in the kit and a few more puffy stickers finish off this layout.

Do What You Love Tag
I've been wanting to play with the Tim Holtz Distress Watercolor Crayons and the floral paper in the kit inspired this tag. I coloured small portions of this tag and then rubbed the color with my finger to lightly blend. After setting it aside for awhile to ensure the colors "dried", I applied translucent embossing paste to the top left and bottom right corners over a Tim Holtz stencil, let dry, then applied more Distress watercolour, again rubbing it with my finger to bring out the embossed portion of the tag.  I spritzed a little Brushed Pewter Tim Holtz Mica spray and then stamped the blooms and butterfly with the Altenew Wild Hibiscus stamp set and Archival Ink. I've also brushed a little of the Art Alchemy paint on the stamped images and lastly finished with a flair buttom from the kit.

These two cards feature images from the Altenew Wild Hibiscus stamp set. The top card is simple a piece of scrap patterned paper along the right side, flower image is stamped with Altenew ink and enamel dots are from my stash. The bottom card also uses scraps which are matted on black card stock. The add on striped washi tape unifies the patterns.
I've purposely left the card fronts blank, I'll add a sentiment later depending on whether I need a birthday, thank you, etc. card.

Mosaic Card
I have lots of mosaic type of projects lately and wanted to give one a try myself. I took scraps of paper, trimmed them down and randomly laid them on black card stock, moving them around until I was satisfied with the placement. I wasn't entirely satisfied with the end result so I decided to add a piece of vellum paper over top to soften the pattern. The flower is a stamp from the Altenew Wild Hibiscus set stamped in Versafine black ink and then embossed with clear embossing powder, a little red watercolour highlights the image.

Thank You card
Ths was another very easy card to make, I simple die cut a frame to lay over the floral patterned paper, added the stamped sentiment to a hand cut banner, matted it on white corrugated paper included in the kit and then adhered to a green card stock base.

Thinking of You card

I love the combination of the yellow, black and white and decided to try out stamping with the Art Alchemy paint from the kit. It stamped not too bad considering I just applied the paint to the stamp with my finger, would probably get a better image if I applied the paint with a brayer.

Happy Birthday card
The best part about using papers from the same line is how well the coordinate together. I've used 4 different patterns on this card. I have die cut happy 3 times then glued them together to create a little dimension, die cut and sentiment are the Mama Elephant Clear Stamp Set Happy Everything.
Nuvo Crystal Drops finish off the card with red dots, they look like pearls don't they?

#Me and You
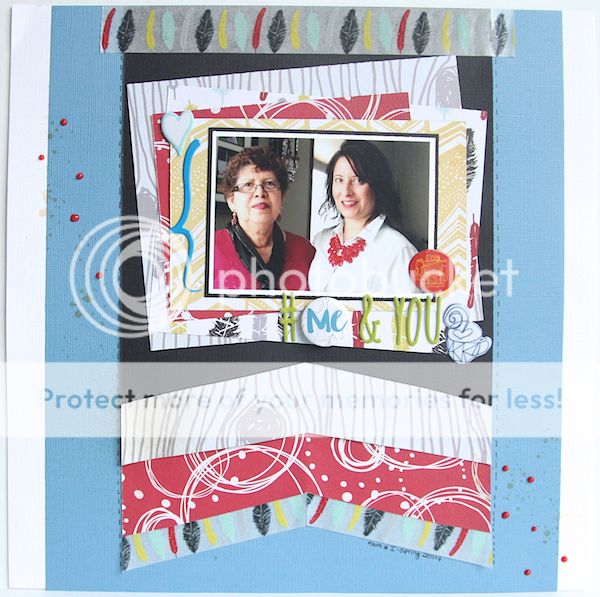
I created a giant flag down the middle of the page with card stock, patterned paper and the feather washi tape included in the kit. The photo is matted on white, then black card stock and layered over a larger photo mat of offset patterned papers. Puffy stickers also frame the photo and the title is comprised of green puffy alphas and a flair button.
I like to have a title on a layout but, to be honest, I often struggle with what to "call" the layout so bring on the hashtag...pretty much anything will work as a title for me beginning with "#".

I hope you've enjoyed my kit projects this month, did you count them as you went along? I'll sum up the total for you:

Layouts: 6 
Cards:  6
Tag: 1
Pocket Scrapbooking: 1 spread (2 pages)

for a grand total of 14 projects from 1 kit. Add ons I purchased, 1 washi tape, 1 package of tags.

Thanks for stopping by and have a wonderful day!

Rosie