Showing posts with label Color Kaleidoscope. Show all posts

Friday, March 29, 2019

Vicki Boutin Color Kaleidoscope with a Sketch

Carolyn back again for some more layouts and more Color Kaleidoscope! I love, love, love this collection. Here are a few more ideas to get your creativity flowing.

First up, I have my interpretation of the Creative Scrapbooker Magazine March Sketch. Here is my layout.
Here is the sketch.
As you can tell, I may have gotten a little side tracked with the sketch, but that is what is great about a sketch. It gets your creativity going. At first I wasn't sure what I wanted in the giant space at the bottom so I figured a giant title would work well. I really wanted to use the purple paper as part of my background so I found some pictures with purple in them. Since my daughter is on a swing, the cloud paper and die cuts were an obvious choice. There is even a chipboard sticker that says "goofball". How does Vicki know my kid so well?

I also used a puffy sticker in the camera and cardstock butterfly stickers. The title was easy to make using my Silhouette Cameo. I chose a font I liked, used the offset button to make an outline and cut the outline from black cardstock. The rainbow letters I traced using the scraps from my cut mat and glued them to the back of the outline. I cut the chain with my Cameo using grey cardstock. The final touch was to raise up the clouds with some foam backing and add some journaling.

Here is another project that was super easy but I think it's my favourite! It catches my eye every time I walk past it.
This one started with me flipping through my photos trying to find one that matched the "Pop Dots" paper. I was so excited when I found this one. How lucky was that? I used a stencil with some modeling paste mixed with black paint. I taped over the parts of the stencil I didn't need and taped the stencil to my paper. Be very careful not to drag paste through any open areas of the stencil, off the edge or let the stencil fall into the paste elsewhere on the paper. 

Next, I used some punches to cut circles out of matching papers in the collection. I scattered them around. I left space to do some journaling. Here is the border paper in the Scrap Shotz's store. The title is so cool. The first three words are from the chipboard sticker sheet. The word "house" I made using a similar font in my Silhouette Cameo and pasting it to a white paper. I added some thread for good measure. There are also puffy stickers and cardstock stickers on this layout too.

That's all for now! I hope you have a creative day!

Wednesday, March 27, 2019

Vicki Boutin Color Kaleidoscope Scrapbook Layouts

Hello everyone! Carolyn back with some awesome new products. I've been playing with the new Vicki Boutin - Color Kaleidoscope Collection. If you love color, you will love this collection. The colors are rich without being too bright. It also lends itself to mixed media. Especially if you are like me and get a little scared to take the plunge. Some of the "mixing" is done for you in the embellishments and papers.

I have two layouts to show you today. One includes a photo tutorial.

Here is the first layout.
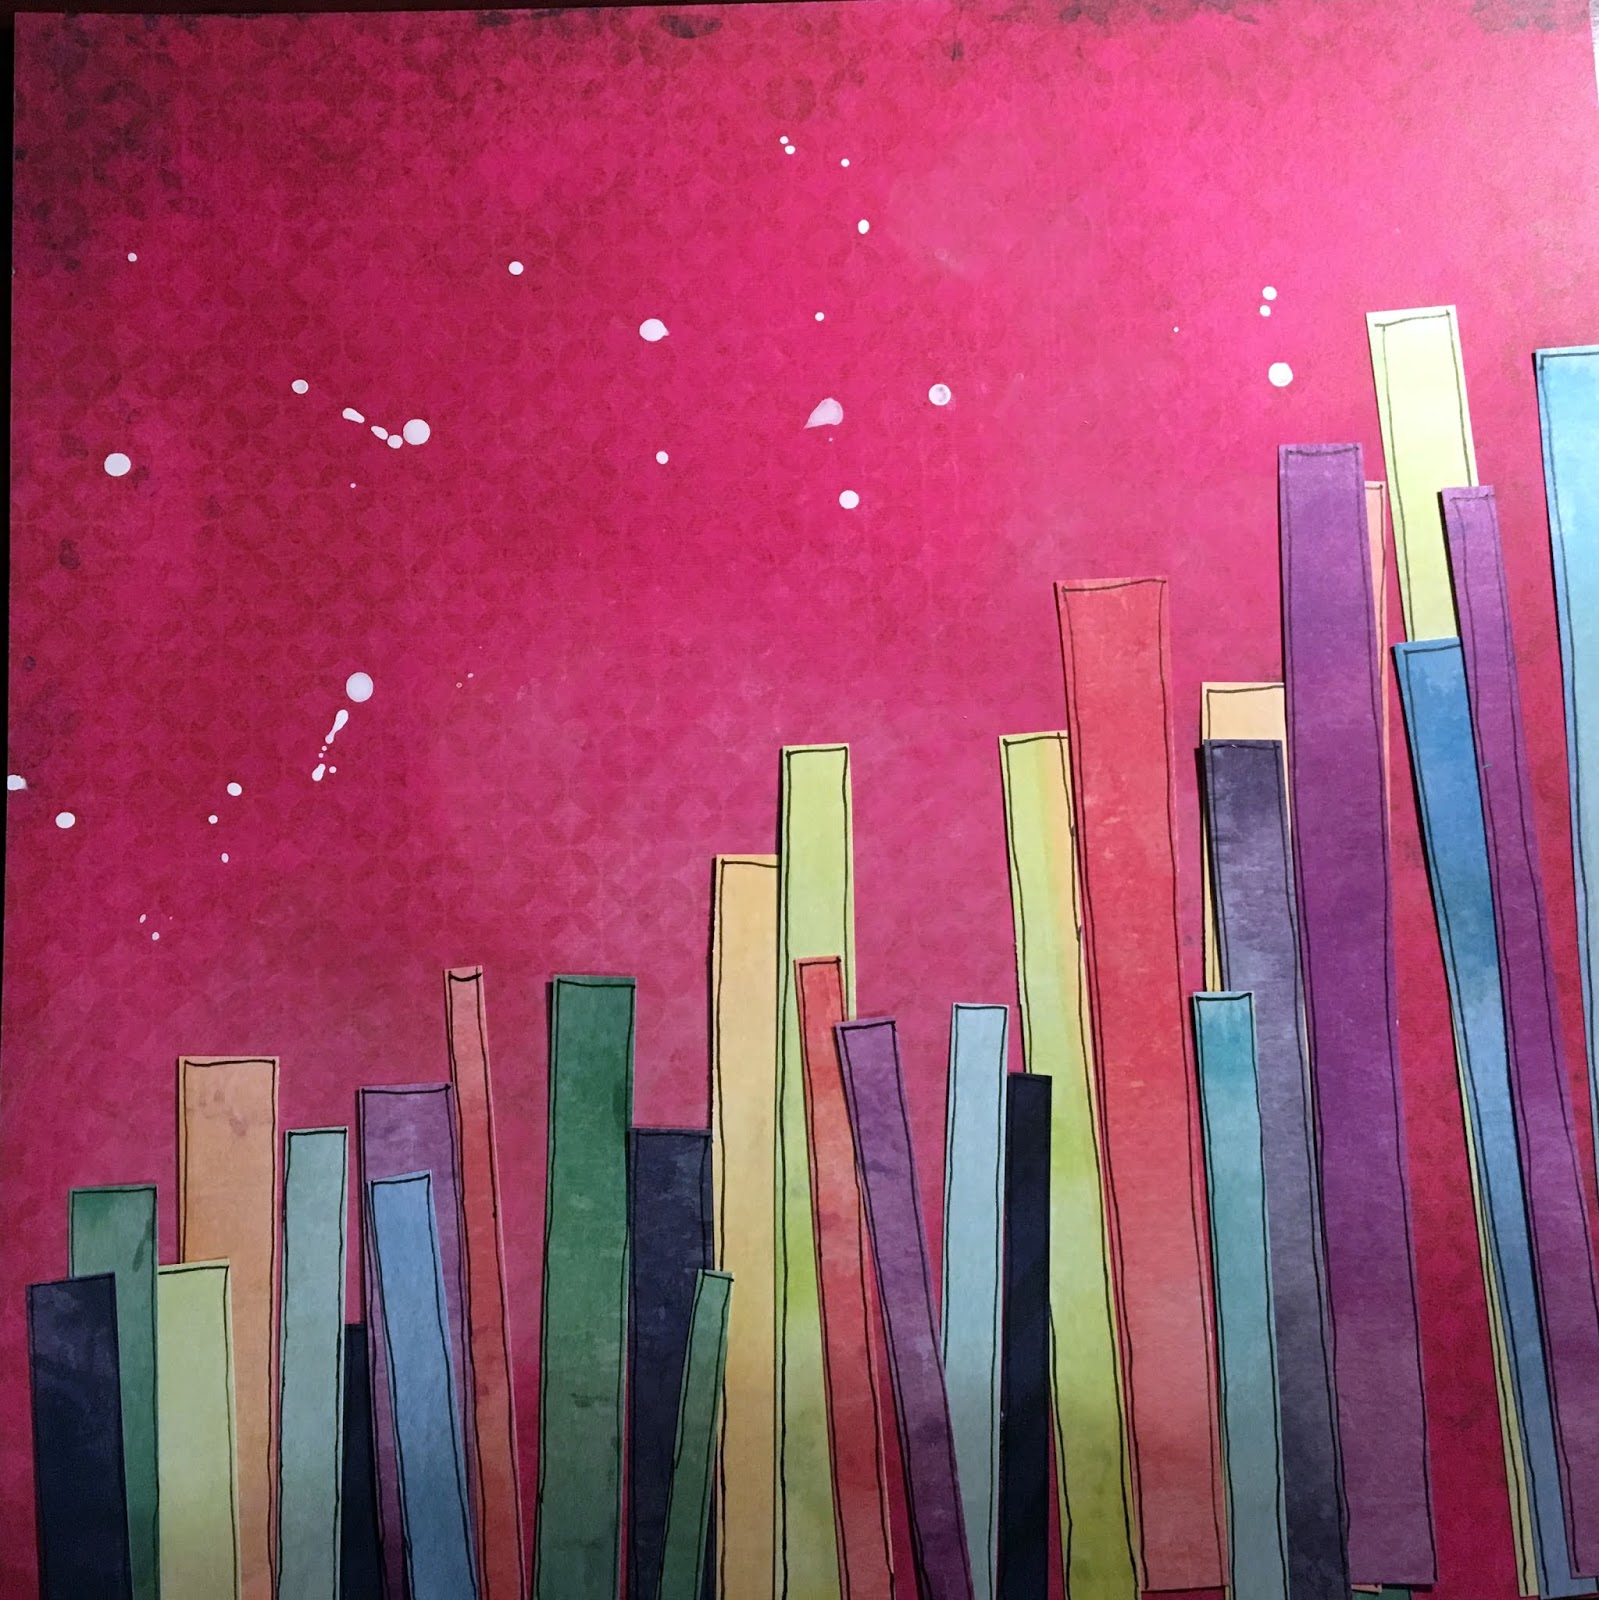
I began by adding lots of water to some white gesso. I used a tissue to swirl it onto the back of the Hearts Paper to tone down the pink colour so my paper strips will pop. I splattered some non-watered gesso around the top of the page. Next, I cut strips out of this rainbow paper. I tried to make them a variety of lengths. I outlined them with a black pen so they would stand out. Then I laid them on the page until I liked the combination of lengths and colours.
I cropped my photos and picked an arrangement for them. I glued all the strips to the page and chose a title.
I used flowers from the Ephemera Die Cut Pack. I moved them around until I liked the arrangement around the photos. I ended up moving them slightly after I glued my photos. I also added a paint brush under my title. I thought it went with my theme of the girls doing their make-up.
Now the final steps. I decided I needed to matte my photos so I used the purple paper that is on the back of the rainbow paper. I only tacked down the center of the photos so the flowers could be slid underneath. I chose some phrases from the Chipboard Stickers and cut them apart in groups of three. The rule of three is something I always try to follow. Especially when I'm having a hard time making my layout look balanced. 
I added some journaling and the date with chipboard stickers. I felt that too many of my splatters were covered so I placed a paper over certain parts of my layout and added splatters. I tucked some grey thread under the flowers. I also saw these butterflies lying on my desk from a previous project. They were the insides of a cut file. I used some yellow paint and a black pen and bent them so they were dimensional. I just glued the centers so I could bend the wings how I wanted. The last touch was to rough-up the strips along the bottom. I felt the top was messy and the bottom was too clean so I ran my fingernail along the edges of the papers and tore them slightly. So here is the final product!
Now for layout #2! I seriously couldn't stop playing with this collection. I had so many ideas, I had piles of different papers and photos all over my desk. I guess I was into angles because my next layout has a diagonal across the bottom like the last one but is still very different.
For this one, use a white piece of cardstock as the base. Tear the Pop Dots Paper on an angle. I always tear so there is a white border showing along the edge. I used some clear gesso on the white paper and let it dry. This helps the paint to absorb less into the paper and you can move it around a bit. Then I dabbed yellow paint on top and splattered a little bit. I matted the photo and used a combination of die cut flowers and fussy cut flowers. I hate wasting die cuts so I cut off the parts that were under my photo and used them along the top border. There are so many fun banners and stickers in this collection, I had to add a whole bunch! Check out these Puffy Stickers!

Thanks so much for stopping by! I hope you enjoy playing with this collection as much as I did. I'll be back on Friday with many more layouts!