Tuesday, July 10, 2012

Fabulous Find: Kaisercraft Tigerlily

It is summer in Calgary...well as summery as Calgary can be! I think the Tigerlily papers from Kaisercraft are reflective of the season; don't you?

In the collection, there are several yummy pattern papers, some softly patterned and others with bold designs and vivid colours. I personally love the packet of coordinating die cuts as there is a wide assortment included. The colours are rather summery; there is a sweet pairing of orange and pink with a touch of chocolate brown...all in all, these papers are perfect for those spring/summer days, birthdays, weddings and that special little girl in your life.

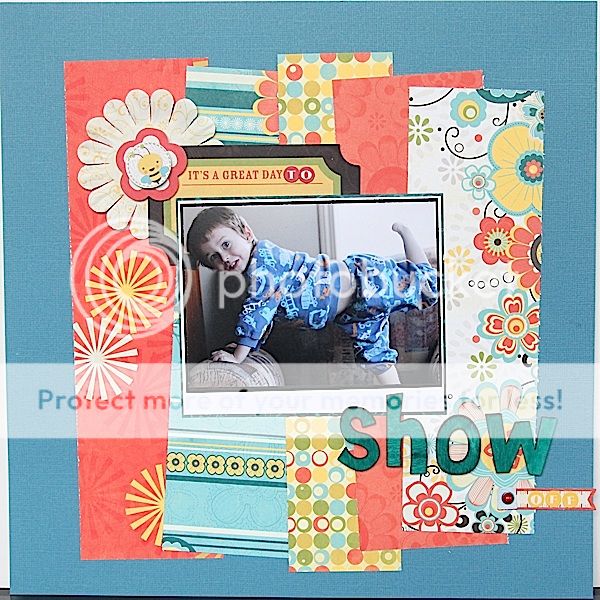
Below is my layout:


Supplies:  Bazzill (cardstock); Kaisercraft (pattern paper, die cut, words); Stampin' Up (torn book edge punch); American Crafts (alphas); WRMK (chomper); stitching

What do you think of Kaisercraft Tigerlily?

Friday, July 6, 2012

Scrapping with Scraps!

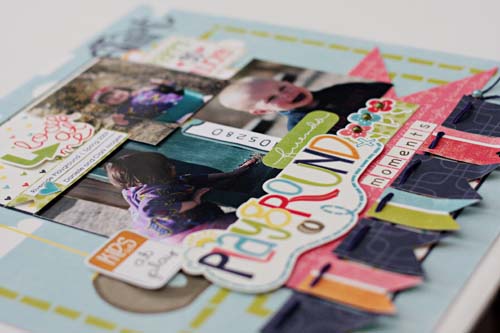
Are you strapped for time? If so, I have an uber quick layout completed for your inspiration!


Supplies:  BasicGrey (die cut pattern paper, patern papers, die cuts, linen accents, dimensional accents, alphas); Queen & Co (pearls); Prima (alphas); EK Success (square punch); Tim Holtz (mini attacher); Little Yellow Bicycle (dimensional butterfly)

Here is a close-up of the accent cluster! It is very easy to create! 

Directions to create an accent cluster:
  • Choose 4-6 coordinating accents of varying sizes and shapes.
  • Layer each accent on top of each other such that pieces of each accent is visible. 
  • Try to vary the amount that each accent appears visible to add interest.
  • As well, try inking the edges of some or add some gems and pearls for extra visual interest.
  • Attach using glue dots of my personal favorite, the Tim Holtz Mini Attacher.
  • Voila!


Tuesday, July 3, 2012

Scrapping With Scraps!

It's July - the sun is out and scrappy time is limited. Does that sound familiar?

If you want to whip up a quick layout, here is some inspiration that is guaranteed to have you scrounging your offcuts bin!


Supplies:  Echo Park (pattern paper, die cut stickers, alphas); Fiskars (cloud punch); Hemptique (hemp); EK Success (square punch); American Crafts (pen for faux stitching); Queen & Co (pearls)

A couple of close-ups - one to show the uber cute Fiskars cloud punch and secondly the fun banner!


What have you done lately with your scraps?

Thursday, June 28, 2012

Fabulous Find: Authentique Celebrate

One of my newest favorite manufacturers is Authentique.  For me, they have hit a home run with every release.

The layout below uses the Celebrate line. The line features interesting patterns and textures such as the wood grain (yum!) as well as vivid colours. Don't be intimidated by the colour palette - yes it is vivid but oh so versatile. My layout documents my daughter's track meet - it is perfect for sporting events! But it is also perfect for birthdays, school outings and vacations.


Supplies:  Authentique (pattern paper); Close to my Heart (cardstock); Cosmo Cricket (alphas); Heidi Swapp (number); Hemptique (twine on number and layout)

Please share your Authentique Celebrate projects - I think you will agree that this line is simply fabulous!

Monday, June 25, 2012

Instructions: Heidi Swapp Memory File

It seems alot of you loved Rosie's Heidi Swapp Memory File project - it was absolutely beautiful! We are so lucky....Rosie has created some instructions for everyone.

Here we go...

Just wanted to share a few details on how this memory file project came together. I had a LOT of photos I wanted to use so after a bit of surfing on the 'net I settled on creating "mini-books" inside the memory file folder. 


I began with choosing two Colour Magic Memory files and misted them with glimmer mist. Once they were dry I cut one of the files in half to create two "mini folders", you can see them below. They are adhered to the base file with Smash tape and became another area to attach photos directly to and also to attach photo protectors to creating "flip books" within the file. I used a strong double sided adhesive on ribbon to hold the "mini folders" firmly in place on the base file which you can't see in the photo.


My next step was deciding what order I wanted my photos to go in. Once I had them sorted I could see how many for each "section" I  had so I could decide where I needed to use photo protectors to hold additional photos.

You can see from all the images my best friend in this project was Smash tape with a bit of Queen & Co. tape thrown in, basically I wanted to avoid the sewing machine and I like the look of the tape.


In the images above and below, I have adhered photos to the front and back of transparencies and then attached the transparencies to the memory file using Smash tape. The Smash tape becomes the "hinge" so you can flip the "page" . I've done the same thing with photo protector inserts as you can see more clearly below. I cut down an American Crafts 6x12 page protector, inserted the photos and attached the protector to the memory file with Smash tape.


I added the journaling as I completed each "section" along with the stickers. I didn't really have a plan for the embellishments, I basically added them where I "felt" they should go.
 
Lastly, I added the fringe border to the front inside cover and decorated the front of the Memory file.


Hopefully this gives you a good idea how I put this project together. If you have a specific question I haven't addressed here, leave a comment and I will be happy to answer it for you here.


Thank you Rosie - love the instructions!

Thursday, June 21, 2012

Fabulous Find: Heidi Swapp Memory File

It's been awhile since I shared a Fabulous Find; hasn't it? Well, let me share this Fabulous Find - the Heidi Swapp Memory File.

Let me show you what Rosie did with the Heidi Swapp Memory File. Isn't this absolutely gorgeous???


Want to know something amazing? Rosie has used over 50 photos! 

Thank you Rosie for sharing your beautiful work!

Tuesday, June 5, 2012

Scrap Shotz June Reveal

Wowsers! It's June??? Yup...and Scrap Shotz has a stunning kit this month featuring Bo Bunny's Hello Sunshine! The kit is jam packed with goodness - it has 12 Bo Bunny papers, coordinating cardstock, Noteworthy rub ons, stamp, half package of pets, Queen & Company jewels, Pink Paislee wooden letters and a bottle of Dylusions spray. I am eagerly waiting by my mailbox for this kit; aren't you?

Now let me share some projects the Design Team created:

Rosie whipped up this fantastic layout using several pattern papers without being overwhelming!


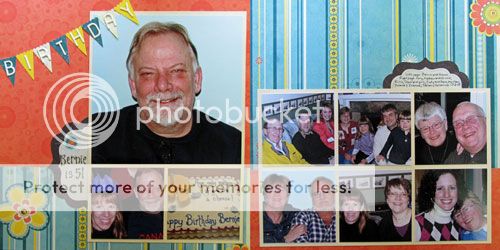
Love this 2-pager from Gail - adore that banner and fabulous photos!


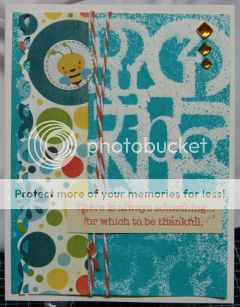
Ellen created this beautiful card with the Dylusions spray taking centre stage.


Jennifer created this sweet layout - love love love the accents on this layout; don't you?


And Jamie created this elegant card, so striking...


I think you will agree that the Design Team did another amazing job!