Saturday, April 30, 2022

Pinkfresh Happy Heart Layouts from the February Kit

 It's Carolyn here with part 2 of my Pinkfresh "Happy Heart" layouts. I made three more layouts with this pretty kit from February. There are still kits in the shop which you can find here.


My first layout has a lot of fussy cutting. All the windows were cut from a different paper because I wanted to make a grid pattern and make sure all the faces were looking across the paper. This was my nephew's baby shower which had a ton of pictures and this layout used 9 of those pictures! I used some ephemera, puffy stickers and Nuvo drops for embellishments. The title is a mixture of different embellishments. There is a wooden accent and a title from the title pack. The word "we" is actually from the word "awesome" which I cut apart. The word "Theo" is from the word "hello" and I turned one of the "l's" upside down and drew a couple more x's to make the letter T. I'm quite impressed that I found all the letters I needed!


This paper had most of the flowers already printed on it so it was very easy to create. I made a border and a matte for the picture using some cardstock in the kit. I used some of the title ephemera and puffy stickers for embellishments. Would you believe after all the titles I've used on my 5 layouts with this kit, I still have some leftover? They go a long way. The butterflies are fussy cut and propped up on foam to make them fly. I also drew some flight paths.


This border paper is so pretty, I had to use it. I cut out the middle and replaced it with the opposite side of the cutout. The edges were not so pretty so I found some shiny cord in my stash to cover it. I fussy cut the butterflies in the corners and used a title from the title pack. There are some Nuvo drops to add some more colour and dimension and I made flags with scraps from my other layouts. 

Thanks for looking at these layouts! Have a scrappy day!

Monday, April 25, 2022

Pinkfresh Happy Heart February Kit Layouts

Hi friends! Carolyn here today to show you some layouts using the February Kit. The kit features the Pinkfresh Happy Heart Collection. This collection has soft yellow, pink, green and blue features, perfect for all sorts of occasions. 


My first layout uses one of the papers as a frame for the layout and I cropped another paper a little bit smaller to fit in the frame. I outlined it with a black pen to make it pop. I used a circle cutter to trim my photos and my Silhouette Cameo to cut out the frames for the pictures. I wanted to keep with the circle theme so I added three of the wooden embellishments to create a visual triangle. I fussy cut three butterflies from one of the papers to create another visual triangle. 


Before I glued everything down, I splattered pink and black paint to add even smaller circles to the layout. I realized after gluing that there was an open spot so instead of trying to splatter more I used it for my journaling. The final touch was the titles. There are so many to choose from in this kit! 


My second layout dug into the title ephemera pack - big time! It was fun laying them on the paper trying to come up with a way to make them work together. Once I was happy with their placement, I looked for puffy stickers and ephemera that could fill the small gaps around the words. I didn't always  have something small enough, so I used some Nuvo drops and Stickles from previous kits to make some dots. 


Thank-you for stopping by the blog today. I'll be back later this week with three more layouts to share. 

Thursday, April 21, 2022

More Simple Stories Boho Baby!

 Hello All!

Rosie back with another layout featuring the Simple Stories Boho Baby collection.

This layout is all about my baby...that would be my youngest who's 13 now, lol...


I was inspired by a layout created by my fellow DT member Brande Davison and this alphabet paper was perfect for my son's school photo. I tore the paper down the centre and rolled the edges prior to adhering to the star paper from the collection kit, I then added black watercolour ink spatters.

The title card is a 3x4 journal card  that originally looked like this:


I cut a piece of white cardstock to cover "little one" and then added the number 8 and popped up the label sticker with foam adhesive.


I layered some foam stickers and a tab sticker at the top of the card.

Foam stickers, chipboard and collection kit stickers embellish this layout, 


as well as some Studio Katia Onyx Crystals.

Just like that, another non-themed layout is done!

I hope you're inspired to look at your "themed" paper collections in a new way!

Happy Crafting!

Monday, April 18, 2022

Simple Stories Boho Baby!

 Hello Scrap Shotz Friends!

Rosie here to share some projects using the lovely Simple Stories line Boho Baby, I worked with the collection pack, chipboard frames, foam stickers and chipboard pieces.

While this is technically a baby line it can be used for other types of projects as well.


The colours in this photo worked perfectly with the colours in this collection. 

I started by spattering black watercolour ink over white 12x12 cardstock. I then placed the yellow floral chipboard frame, layered a piece of patterned paper over it, then the stars chipboard frame and a piece of paper over that. 

I've arranged the frames so the "baby" elements on them are covered up by the papers. I'm also using the non-baby themed side of the patterned papers.


I'm using one on the journal cards whose title works with this photo from my daughter's grad photo shoot and the "oh baby" sticker works with it to create the title.

I've then embellished with foam stickers, cardstock stickers and chipboard pieces that can work for more than just babies.


Don't shy away from a collection that you love because you don't have the "right" photos to use it with. 

I'll be back later this week with another non-baby layout!

Thanks for stopping by and Happy Crafting!

Rosie

Sunday, February 20, 2022

Day in the Life Traveler Notebook

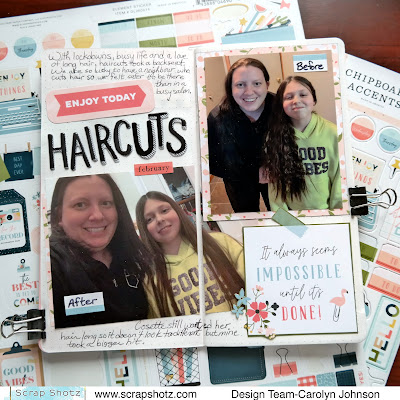
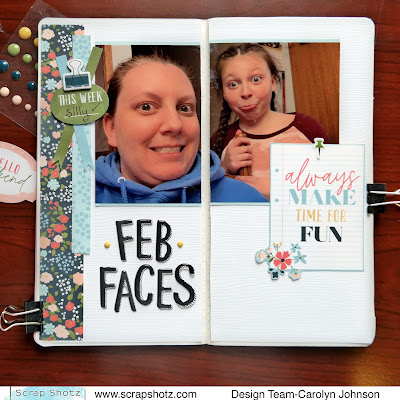
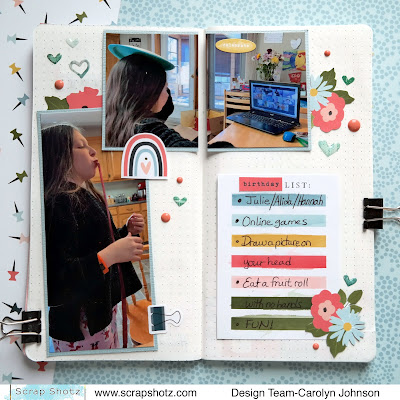
 Hello! I've been playing with the January kit featuring the Echo Park "Day in the Life" Collection. This collection has all the usual fun papers and embellishments but it is also perfect for a planner or traveler notebook. I have so few pictures from 2021 due to the pandemic that I can probably do a traveler notebook for most of the year! 


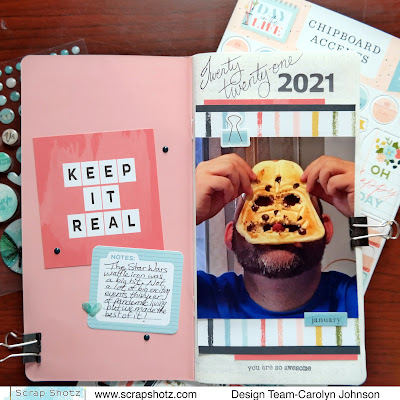
Is it bad that this was the only picture that I had from January?! We gave my husband a Star Wars waffle iron for his birthday so we enjoyed playing with our waffles. All the papers in the collection have cut apart cards on the back that correspond to each month. The tag that says "Keep it Real" is a cut apart card. The journaling is on a card from the ephemera pack. I also added some cardstock stickers and enamel dots. The date and stamping are from an older kit. The heart is from a 49th and Market sticker pack that comes with the kit.


I'm in love with the "Sunny Days" Thickers! They are so playful. This page uses a fussy cut card, some cardstock stickers and ephemera.


I find that cutting pictures and leaving them spaced a little bit across the gutter helps to close the book. Which is also necessary when adding chipboard to the page. I used some of the Bazzill white textured cardstock as the background. 


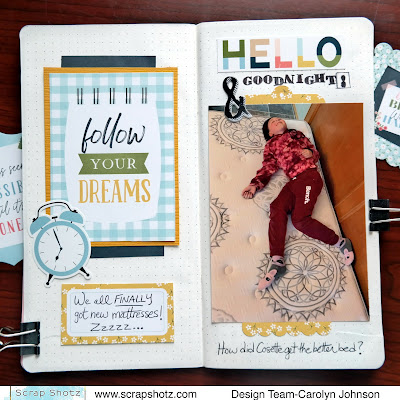
My daughter thought it was pretty fun to try out the new mattress in the living room. I used some amber colour Bazzill textured cardstock, cut apart card, cardstock stickers and ephemera. The stamps I dug out of my collection.


This page is showing how birthdays were celebrated all year - on Zoom! I fussy cut the flowers rainbow and used more of those pretty 49th and Market stickers. The photos are matted with Bazzill textured cardstock Coastal colour.


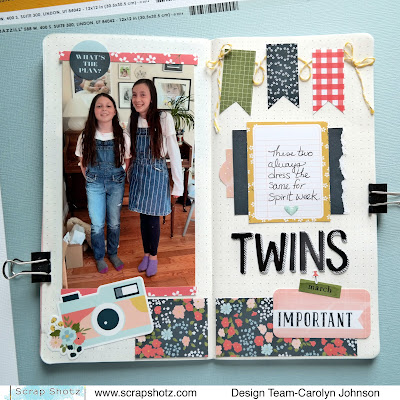
My last spread uses lots of ephemera and stickers and some twine from my stash. 

It was fun playing on a different sized surface than my usual 12x12. I hope you've been inspired! Thanks so much for stopping by!

Wednesday, February 9, 2022

More Feelin’ Frosty Inspiration!

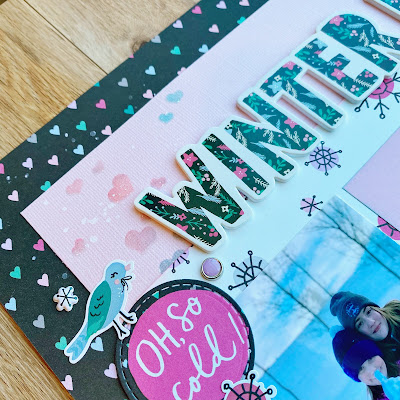
Hello friends! It’s Karla back today with a couple more projects from using the Feelin’ Frosty Collection by Simple Stories! I think pretty papers and stickers make winter more fun, and this collection definitely has lots of fun and cuteness!! Here’s a look at the first layout I’m sharing today. 


I love the bright colours in this collection! I decided to use a Pagemaps sketch as a jumping off point to create this layout. I printed a 4x6 photo and two 3x4 photos with my Canon Selphy printer and layered on some polka dot and green snowflake papers from the Collection Pack to start. 


I added in titles with the Chipboard Stickers and some diecut letters and then created a fun cluster of embellishments with Chipboard and Puffy stickers as well as the 12x12 Sticker Sheet included in the Collection Pack (which can also be purchased separately HERE).


I diecut some of the 2x2 squares from the cut apart paper and layered on word stickers, Foam and Chipboard snowflakes and added in a few of the brads from the Decorative Brads Pack. I even added a few pink polka dots using a stencil from my stash and some Kitch Flamingo Ink on the white cardstock.


For the next layout, we made a scrapbook page online for last week's Thursday's Demo! You can watch it on Facebook HERE or click the video below to see exactly how it came together - then scroll down to see all the closeups! 


Products Used:


Thanks so much for stopping by! Don't forget to check out our Facebook Page every Thursday at 1 pm MST for a Live Demo with fun techniques and new products to inspire you! Have an amazing week friends 💓


Monday, February 7, 2022

Simple Stories, More Good Stuff


Hello, I am here today to wax poetic (again) about the Simple Stories, Good Life! Scrap Shotz sent me this collection to play with this month and I am loving it! You can check out my first 2 layouts here. 

Now, let’s show you a few more … 

Wood grain for the Win


For this layout I wanted to bring in a dark background to contrast the bright colours of the collection. So reached for a dark wood grain pattern paper from my stash. Wood grain is essentially a neutral and should go with anything in your stash. When you are struggling to match (which is my biggest struggle) - reach for wood grain. 

I prepped the wood grain by stamping some little hearts in Tim Holtz Distress Inks in Picked Rasberry and Mustard Seed then outlined each with a white pen, and added some white acrylic paint splatters. The hearts I made were my attempt at mimicking those in the collection. 

From there I focused on the cut apart 3x4 cards in the collection and bits & pieces embellishments. I cut a few big pattern paper rectangles to back my 3x4 card grid design, then focused on the grid. Matting each photo with a few layers and letting the 4th spot of the grid act as a title spot. 


I finished off the layout with these super cute photos of my niece (which I printed with a muted filter so they didn’t clash too much with the collection colours), and tucked and added embellishments and enamel dots all about.

Add Some Black to Make it All Match 


For my next layout I wanted to document a fun, fancy donut shop adventure with me and a couple siblings - all of us donut addicts. I was keen to include the Boca Grande logo I cut from the donut box but it looked too dark with the bright Good Stuff colours. So I added some more black to the collection goodies to make it all matchy-matchy! 


I started with this great circle pattern paper and using a washi tape roll and a glue bottle bottom as a stencil, used a black journaling pen to add black circles just off centre on many of the circles in the pattern. Drawing around each a few times and not perfectly. Then I used my favourite Picket Fence Studios, Paper Glaze in Black Peony and a Vicki Boutin stencil to add those cute starbursts in and around the circles and some splatters. I also messily drew lines around the outer edge of the pattern and backed it on black card stock. 

From there it was just a matter of finding all the foodie inspired bits & pieces from the collection and tucking them around the Boca Grande and my photos. I fussy cut the saying from one of the cut apart cards in the kit to use as my title. 

Let the Collection Inspire Your Design 

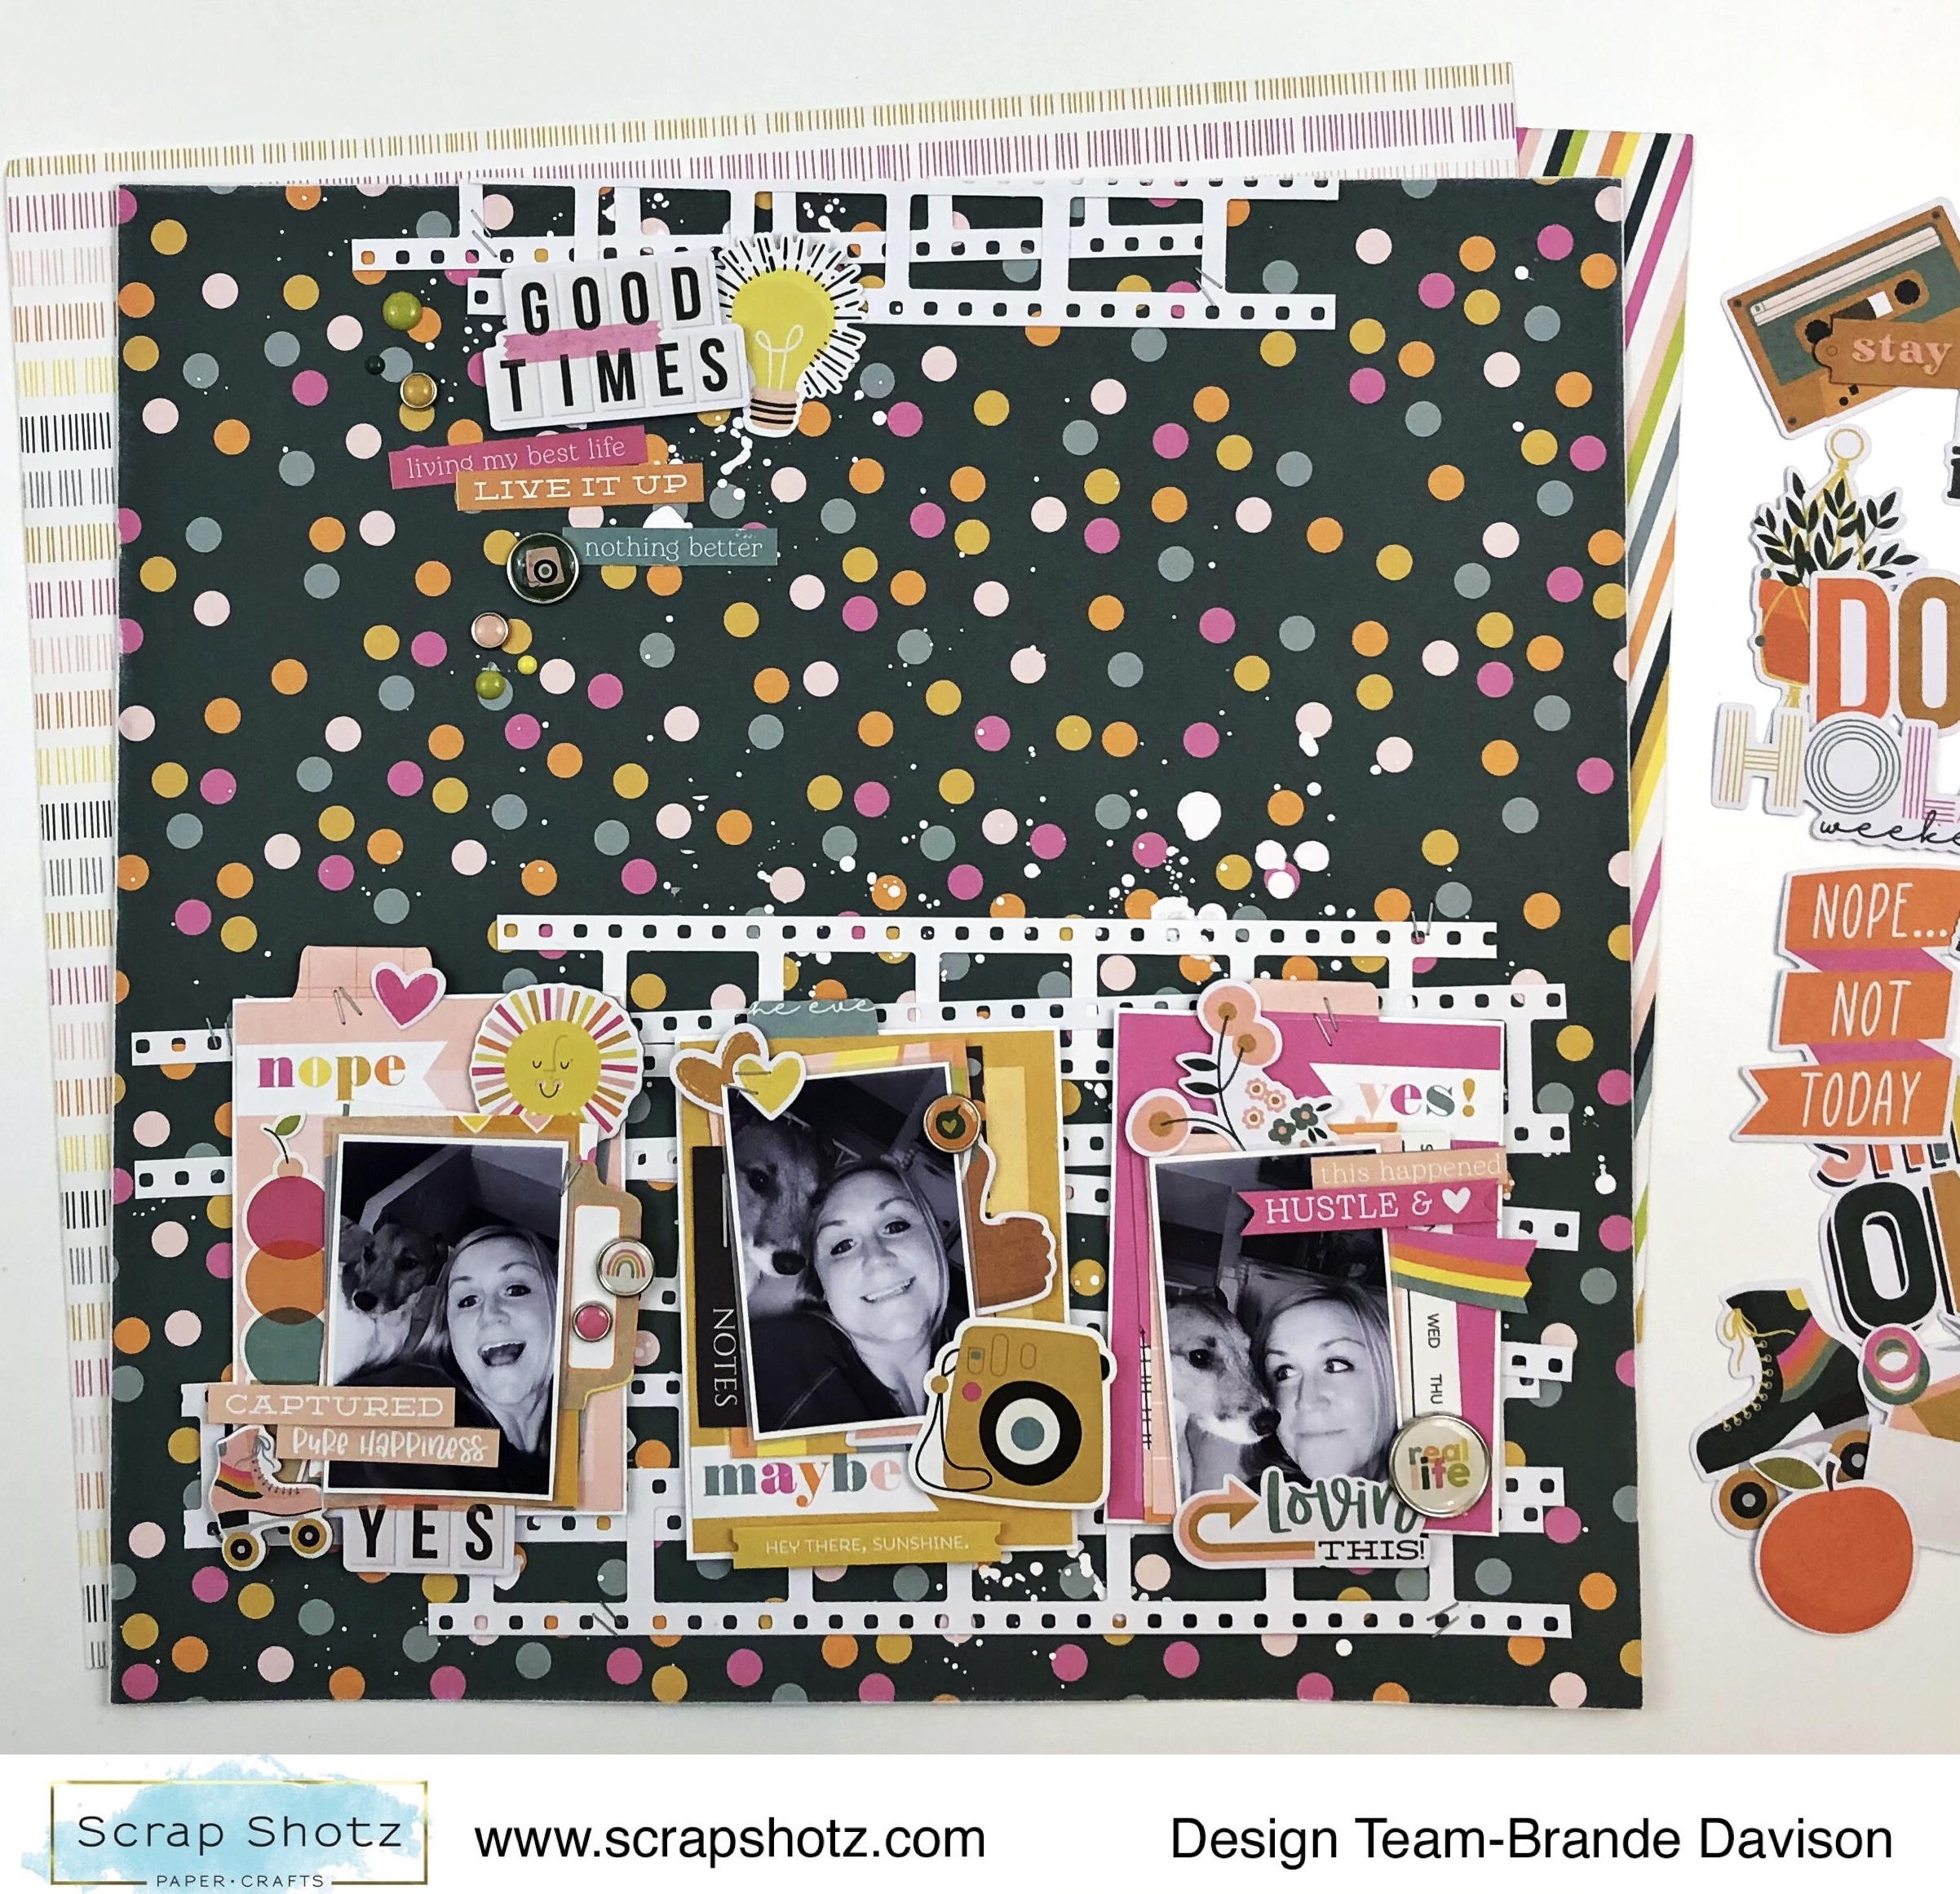
For my last layout, I let the Collection inspire me - from photo choice, to story and all the way to design. One of the pattern papers featured these 3x4 cut apart a cards that had the titles: Nope, Maybe, and Yes. The titles reminded me of attempting to take a selfie with our dog and the pictures went for bad to worse. Ha! 

I used each 3x4 card as an anchor and then matched a bunch of stickers, bits & pieces, and brads to the colour of the journal card. It was really fun to focus on the colour instead of how much sense the embellishments made - my fav is that thumbs up in the middle, yellow pile. So fun! 

I did add some white splatters to the background and punched out a bunch of these film strips in white to create a break between the busy polka dot pattern and my photos. Then added a few film strips to the top and some more embellishments to balance the page. 

I had such fun with this collection and love that it was so perfect for just the everyday fun stuff. There are still Simple Stories, Good Life in the Scrap Shotz shop!