Monday, August 28, 2023

Simple Stories - Simple Vintage Essentials

Hello! I am back in my craft room after a busy summer. It feels pretty good to being back in creative mode. I was excited to work with this line. "Simple Stories Simple Vintage Essentials" is very monochromatic, and I love how colors pop on it!

These older photos of my sweet granddaughter make me smile, and her bright coat helps them jump off the page. I used a few different patterns from the patterned paper pack, cutting squares at 4.5 inches and mounting them on a mat, that was mounted on a dotted background that was adhered to a cardstock base.  Over the quad patterned paper, I mounted another pattern in a larger square, popped it up on foam and used that as the base for my photos. The gold heart accents and the gold thickers are from my stash and the clipboard clips are from the Chipboard Clipboard ephemera pack. 

I really like the pattern on this paper with all the rulers on it. I mounted a 8" strip in the middle and built my layout up from that, using foam to pop up the photo, different words from the foam sticker sheet and a die cut Hello from my stash. The postcard and other layering bits were from the ephemera packs, and more of the clips from the Chipboard Clipboard pack. I knew that this photo was going to be on a layout as soon as I took it. That's my sister climbing up the ladder on our RV attempting to get a cell signal at the Big Valley Jamboree. 

This layout was fun. The layers under the photo were already done for me, I popped one of the ephemera pieces on a bit of foam, then mounted it on another. So easy to get the multi-layers! I put that onto a patterned paper piece that I cut around the tags about halfway up the page, distressed them a bit, inked the edges and sewed around it a couple of times. The flowers are 49 and Market blooms that also had a bit of distressing. I used the labels from the ephemera pack with the inserts intact. (You can use the frames or the words separately if you'd like.) To give the labels a bit of dimension, where ever you could see them, I put glossy accents on the rivets to make them look 3D. I also put glossy accents on the clips and on the heart under the photo. 
 

Of course, I ended my scrap session with some cards. These were fun and easy to create, and I think they'll be ones I use quickly. They'll be great for office greetings and occasions.


Thanks for having a look! Anytime you have a question, please just ask. Have a great week!


Thursday, August 17, 2023

More Scrapbook Layouts & Pocket Pages with Simple Stories Trail Mix!

Hello friends! Karla back again today with four MORE fun layouts using the awesome Simple Stories Trail Mix collection! If you missed Monday's post with the first four layouts and a video created with the same supplies, be sure to check that out HERE! For the first layout I used the fun background paper that reminds me of flash cards, above and below my photos. 


I added in some Bazzil Cardstock in a matching colour and matted my photos with the Fall Color Vibe 6x8 Paper Pad. I created a pocket in the photo on left and used the cut apart journaling library card as a piece that can be pulled out. Last year we decided to recreate a photo (the OG!) from 2018 with all the kiddos from our yearly camping trip. I used some Simple Stories Color Vibe alpha stickers on the top of this card.


I used the foam stickers along with various stickers and ephemera from the collection and embellished with The Robin's Nest Dew Drops.


Next, I created a pocket page documenting our meals in the shelter at the campground.


I used some of the 4x6 and 3x4 cut apart cards to tuck into my pockets.


Then I layered stickers and tags to finish it off.


I turned over the pocket page and filled the backside with more photos and embellishments.


When I'm creating a pocket page I normally add the photos I want to be on the page and then decorate around them.


I chose the nature cards and images for this page and added a friends chipboard sticker.


Lastly, I created a page using more of the reds and browns from the collection.


I added various strips of the left over papers and some splatters with Tim Holtz Mica Spray for a few shiny splatters! 


I added in some stenciling with the Tim Holtz Brush Hex Stencil from the mini 3 pack and Distress Oxide Ink. I added in some more of the The Robin's Nest Dew Drops to finish off the layout! 


I can't believe I made 8 layouts in the last few days using this Simple Stories Trail Mix collection! I still have a few more things left in the collection and I already have plans for them ;) 

Thanks so much for stopping by! Have a happy crafty day!

PS. Don't forget to stop by the Scrap Shotz Facebook Page at 1 pm MT on Thursday for a fun LIVE Demo - every week!! 


Monday, August 14, 2023

Scrapbook Layouts with Simple Stories Trail Mix!

Hello friends! Karla back today with four fun layouts using the awesome Simple Stories Trail Mix collection!! This is a wonderful summertime, adventure collection, which could be used into the Fall! This first layout we made Live on Facebook, but I've added an edited video below which you can view on YouTube! Be sure to scroll down to see three more projects!! Seriously I just couldn't stop!


I used the Creative Scrapbooker July sketch as a starting point for this layout, but flipped the orientation. I added in Distress Oxide Inks and a Vicki Boutin World Traveler Stencil from her Where To Next Collection.


There are so many fun elements in this collection - I used the Decorative Brads, Patches Bits and Pieces, Chipboard Stickers, Foam Stickers and the 12 x 12 Collection Pack, which also includes stickers. I also pulled in some of the Fall Color Vibe papers from the 6x8 paper pad. There are lots of fun papers available in the Color Vibe Line


I added on The Robin's Nest Dew Drops and some hemp twine for my cut apart tag and then journaled on the tag and around my photos.


Next, I created a layout using the August sketch from the Creative Scrapbooker VIP Group. I added in some stenciling again with the Distress Oxide Inks. The colours just happen to go perfectly with our Summer Colour Palette Challenge in the Scrap Shotz Papercrafting Facebook Group! You have until the end of the month to add a project for a chance to win! Check out the Album with details HERE!


I added the Decorative Brads and used various pieces from the collection to add a few clusters of embellishments.


I created my title using the Foam Stickers, Patches Bits and Pieces and a sticker from the collection pack!


I added a few Oxide Ink splatters with the Tim Holtz Splatter Brush, which always gives a cool effect!


Thirdly, I created a layout documenting our travels out to the mountains.


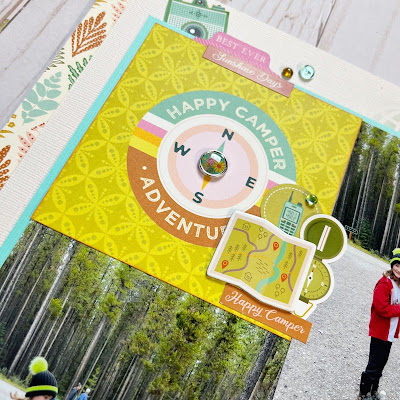
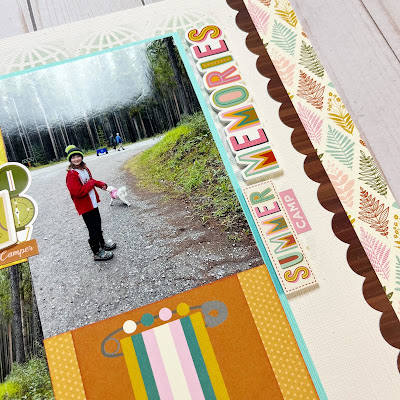
I used one of the 4x4 cut apart cards and those pretty Color Vibe papers and created a grid design with strips of patterned paper.


This cute camper is so fun!! I added in a cluster of embellishments and those lovely The Robin's Nest Dew Drops!


Lastly, I used the beautiful trails and trees paper and the August sketch from the Creative Scrapbooker Sketchy Challenge FB Group


The cut apart tags are great for journaling on, making tag booklets or just as decorative elements.


I added a foam sticker title, a cluster of embellishements and matted my photo with some of the Color Vibe Fall paper. 


Thanks so much for stopping by! I love how these all turned out! And, I'll be back on Thursday with FOUR more layouts with this collection!! 

PS. Don't forget to stop by the Scrap Shotz Facebook Page at 1 pm MT on Thursday for a fun LIVE Demo - every week!! 


Tuesday, August 1, 2023

Simple Stories Retro Summer Layouts

Hello everyone! I have some super fun layouts to share with you today using the Simple Stories "Retro Summer" collection. This kit was so easy to work with and I only had the 12 x 12 Collection Kit. There are so many elements that can be cut apart to make embellishments, the kit can go a long way. If you have any pictures of swimming or cold drinks, this is the kit for you!


The first layout uses this sunshine paper. I debated adding some stitching to the sun rays but decided to do something different and make dots with Liquid Pearls and Nuvo Drops from previous kits. Much faster than stitching! 


The kit has cut apart cards and cut apart tags which I used for the background layers. The sticker sheet in the kit has all the embellishments. The final touch was a title made from some older Amy Tangerine Thickers.


The second layout uses all those Pandemic ice cream pictures (since that was one of the only things you could do). The background is one piece of paper but I chose to make the ice cream dripping off the top stand out by lining it with some yellow and white twine. I also used some Studio Katia Polymer Clay Rainbow Dots from a previous kit to cover the round sprinkles. I can't believe how the colours matched perfectly. They added a nice three dimensional element to the page. 


The rest of the layout uses a cut apart card for the journaling and stickers from the kit for embellishments.


The final layout again uses one piece of paper for the background. I decided to jazz it up by gluing sequins around the pool to make it look like stone. 


The rest of the layout is made with layers of papers and stickers from the kit. 

There you have it! I hope you get a chance to play with this fabulous collection!